2002 CHEVROLET AVEO brakes
[x] Cancel search: brakesPage 1986 of 5127

Driving on Snow or Ice
Most of the time, those places where the tires meet the
road probably have good traction.
However, if there is snow or ice between the tires and
the road, you can have a very slippery situation. You will
have a lot less traction, or grip, and will need to be
very careful.What is the worst time for this? Wet ice. Very cold snow
or ice can be slick and hard to drive on. But wet ice
can be even more trouble because it may offer the least
traction of all. You can get wet ice when it is about
freezing, 32°F (0°C), and freezing rain begins to fall. Try
to avoid driving on wet ice until salt and sand crews
can get there.
Whatever the condition — smooth ice, packed, blowing,
or loose snow — drive with caution.
Accelerate gently. Try not to break the fragile traction. If
you accelerate too fast, the drive wheels will spin and
polish the surface under the tires even more.
Unless you have the Anti-Lock Brake System (ABS),
you will want to brake very gently, too. If you do
have ABS, seeAnti-Lock Brake System (ABS) on
page 4-7. This system improves your vehicle’s stability
when you make a hard stop on a slippery road.
Whether you have ABS or not, you will want to begin
stopping sooner than you would on dry pavement.
Without ABS, if you feel your vehicle begin to slide, let
up on the brakes a little. Push the brake pedal down
steadily to get the most traction you can.
4-23
Page 2000 of 5127
Service............................................................5-3
Accessories and Modifications..........................5-3
California Proposition 65 Warning.....................5-3
Doing Your Own Service Work.........................5-4
Adding Equipment to the Outside of Your
Vehicle......................................................5-4
Fuel................................................................5-5
Gasoline Octane............................................5-5
Gasoline Specifications....................................5-5
California Fuel...............................................5-5
Additives.......................................................5-6
Fuels in Foreign Countries...............................5-6
Filling the Tank..............................................5-7
Filling a Portable Fuel Container.......................5-9
Checking Things Under the Hood....................5-10
Hood Release..............................................5-10
Engine Compartment Overview.......................5-12
Engine Oil...................................................5-13
Engine Air Cleaner/Filter................................5-17
Automatic Transaxle Fluid..............................5-19
Manual Transaxle Fluid..................................5-21
Hydraulic Clutch...........................................5-21
Engine Coolant.............................................5-22
Coolant Surge Tank Pressure Cap..................5-24
Engine Overheating.......................................5-24
Cooling System............................................5-26Power Steering Fluid.....................................5-30
Windshield Washer Fluid................................5-31
Brakes........................................................5-32
Battery........................................................5-35
Jump Starting...............................................5-36
Headlamp Aiming...........................................5-39
Bulb Replacement..........................................5-40
Halogen Bulbs..............................................5-40
Headlamps..................................................5-40
Front Turn Signal and Parking Lamps..............5-42
Turn Signal Lamps (Side)..............................5-42
Taillamps, Turn Signal, Stoplamps and
Back-up Lamps.........................................5-43
Replacement Bulbs.......................................5-44
Windshield Wiper Blade Replacement..............5-44
Tires..............................................................5-45
Tire Sidewall Labeling...................................5-46
Tire Terminology and Definitions.....................5-48
Inflation - Tire Pressure.................................5-51
Tire Inspection and Rotation...........................5-52
When It Is Time for New Tires.......................5-53
Buying New Tires.........................................5-54
Different Size Tires and Wheels......................5-54
Uniform Tire Quality Grading..........................5-55
Wheel Alignment and Tire Balance..................5-56
Wheel Replacement......................................5-56
Section 5 Service and Appearance Care
5-1
Page 2002 of 5127
Service
Your dealer knows your vehicle best and wants you to
be happy with it. We hope you will go to your dealer
for all your service needs. You will get genuine GM parts
and GM-trained and supported service people.
We hope you will want to keep your GM vehicle all GM.
Genuine GM parts have one of these marks:
Accessories and Modications
When you add non-GM accessories to your vehicle they
can affect your vehicle’s performance and safety,
including such things as, airbags, braking, stability, ride
and handling, emissions systems, aerodynamics,
durability, and electronic systems like anti-lock brakes,
traction control and stability control. Some of these
accessories may even cause malfunction or damage not
covered by warranty.
GM Accessories are designed to complement and
function with other systems on your vehicle. Your GM
dealer can accessorize your vehicle using genuine
GM Accessories. When you go to your GM dealer and
ask for GM Accessories, you will know that GM-trained
and supported service technicians will perform the
work using genuine GM Accessories.
California Proposition 65 Warning
Most motor vehicles, including this one, contain and/or
emit chemicals known to the State of California to
cause cancer and birth defects or other reproductive
harm. Engine exhaust, many parts and systems
(including some inside the vehicle), many fluids, and
some component wear by-products contain and/or emit
these chemicals.
5-3
Page 2012 of 5127
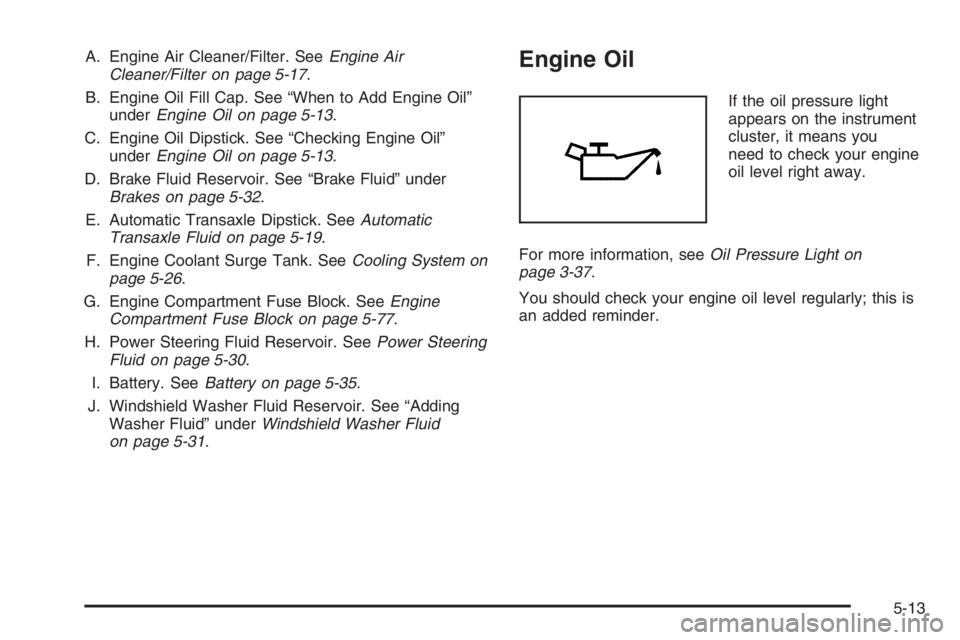
A. Engine Air Cleaner/Filter. SeeEngine Air
Cleaner/Filter on page 5-17.
B. Engine Oil Fill Cap. See “When to Add Engine Oil”
underEngine Oil on page 5-13.
C. Engine Oil Dipstick. See “Checking Engine Oil”
underEngine Oil on page 5-13.
D. Brake Fluid Reservoir. See “Brake Fluid” under
Brakes on page 5-32.
E. Automatic Transaxle Dipstick. SeeAutomatic
Transaxle Fluid on page 5-19.
F. Engine Coolant Surge Tank. SeeCooling System on
page 5-26.
G. Engine Compartment Fuse Block. SeeEngine
Compartment Fuse Block on page 5-77.
H. Power Steering Fluid Reservoir. SeePower Steering
Fluid on page 5-30.
I. Battery. SeeBattery on page 5-35.
J. Windshield Washer Fluid Reservoir. See “Adding
Washer Fluid” underWindshield Washer Fluid
on page 5-31.Engine Oil
If the oil pressure light
appears on the instrument
cluster, it means you
need to check your engine
oil level right away.
For more information, seeOil Pressure Light on
page 3-37.
You should check your engine oil level regularly; this is
an added reminder.
5-13
Page 2020 of 5127
Manual Transaxle Fluid
It is not necessary to check the transaxle fluid level.
A transaxle fluid leak is the only reason for fluid loss.
If a leak occurs, take the vehicle to the dealership
service department and have it repaired as soon as
possible. SeePart D: Recommended Fluids and
Lubricants on page 6-25for the proper fluid to use.
Hydraulic Clutch
There is one reservoir for both the brake and the
hydraulic clutch fluid. SeeBrakes on page 5-32for more
information.
The hydraulic clutch linkage in your vehicle is
self-adjusting. The master cylinder reservoir is filled with
hydraulic fluid.
A fluid loss in this system could indicate a problem.
Have the system inspected and repaired.
When to Check and What to Use
Refer to the Maintenance Schedule to determine how
often you should check the fluid level in your master
cylinder reservoir and for the proper fluid. SeePart B:
Owner Checks and Services on page 6-18andPart D:
Recommended Fluids and Lubricants on page 6-25.
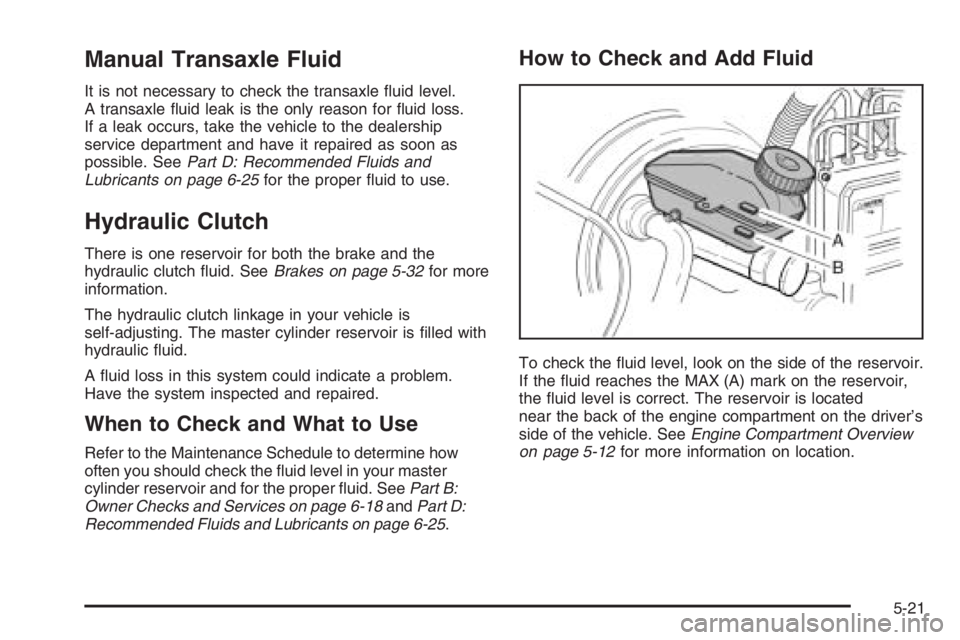
How to Check and Add Fluid
To check the fluid level, look on the side of the reservoir.
If the fluid reaches the MAX (A) mark on the reservoir,
the fluid level is correct. The reservoir is located
near the back of the engine compartment on the driver’s
side of the vehicle. SeeEngine Compartment Overview
on page 5-12for more information on location.
5-21
Page 2031 of 5127
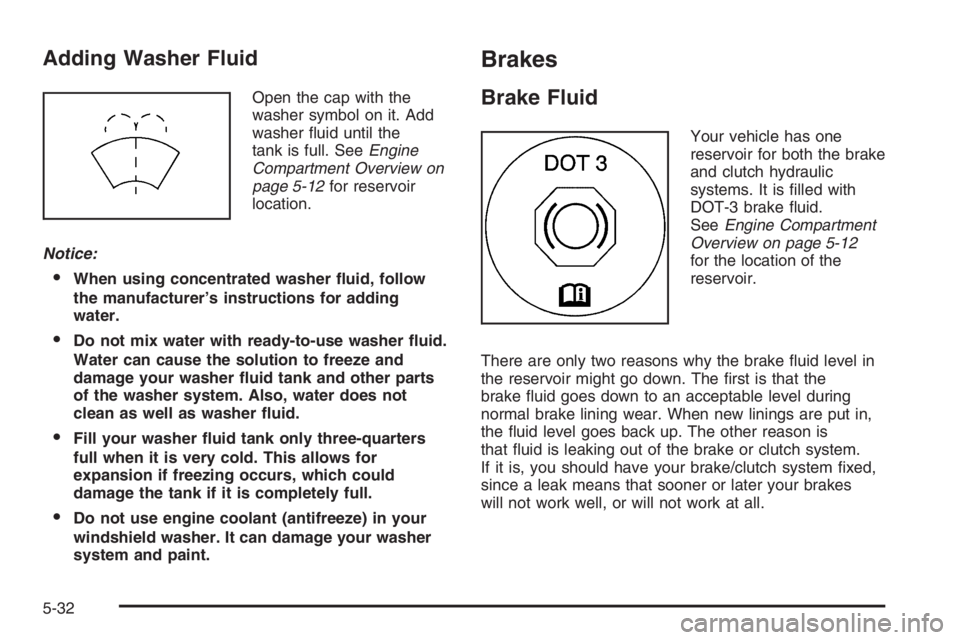
Adding Washer Fluid
Open the cap with the
washer symbol on it. Add
washer fluid until the
tank is full. SeeEngine
Compartment Overview on
page 5-12for reservoir
location.
Notice:
When using concentrated washer uid, follow
the manufacturer’s instructions for adding
water.
Do not mix water with ready-to-use washer uid.
Water can cause the solution to freeze and
damage your washer uid tank and other parts
of the washer system. Also, water does not
clean as well as washer uid.
Fill your washer uid tank only three-quarters
full when it is very cold. This allows for
expansion if freezing occurs, which could
damage the tank if it is completely full.
Do not use engine coolant (antifreeze) in your
windshield washer. It can damage your washer
system and paint.
Brakes
Brake Fluid
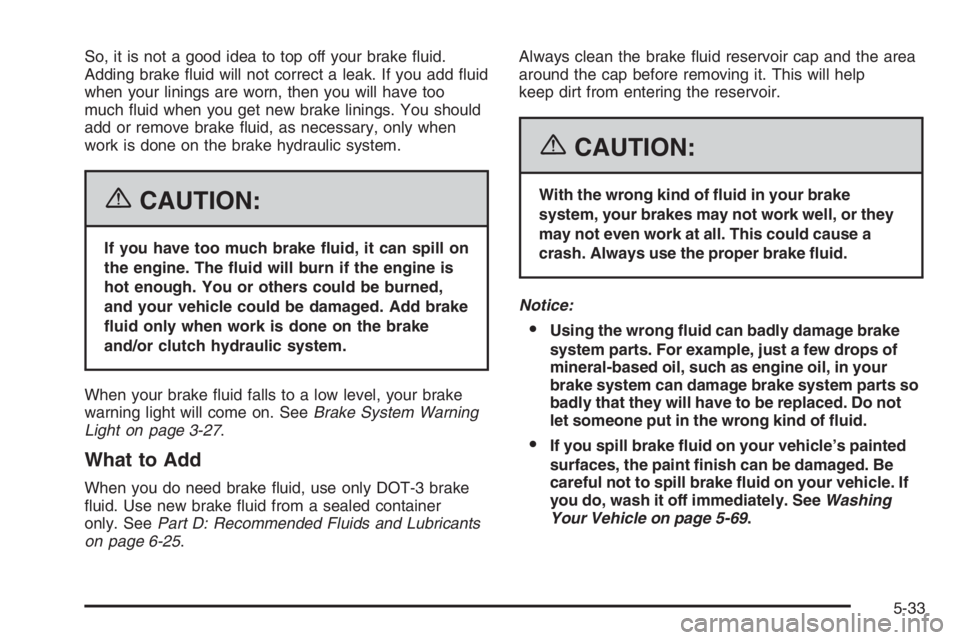
Your vehicle has one
reservoir for both the brake
and clutch hydraulic
systems. It is filled with
DOT-3 brake fluid.
SeeEngine Compartment
Overview on page 5-12
for the location of the
reservoir.
There are only two reasons why the brake fluid level in
the reservoir might go down. The first is that the
brake fluid goes down to an acceptable level during
normal brake lining wear. When new linings are put in,
the fluid level goes back up. The other reason is
that fluid is leaking out of the brake or clutch system.
If it is, you should have your brake/clutch system fixed,
since a leak means that sooner or later your brakes
will not work well, or will not work at all.
5-32
Page 2032 of 5127
So, it is not a good idea to top off your brake fluid.
Adding brake fluid will not correct a leak. If you add fluid
when your linings are worn, then you will have too
much fluid when you get new brake linings. You should
add or remove brake fluid, as necessary, only when
work is done on the brake hydraulic system.
{CAUTION:
If you have too much brake uid, it can spill on
the engine. The uid will burn if the engine is
hot enough. You or others could be burned,
and your vehicle could be damaged. Add brake
uid only when work is done on the brake
and/or clutch hydraulic system.
When your brake fluid falls to a low level, your brake
warning light will come on. SeeBrake System Warning
Light on page 3-27.
What to Add
When you do need brake fluid, use only DOT-3 brake
fluid. Use new brake fluid from a sealed container
only. SeePart D: Recommended Fluids and Lubricants
on page 6-25.Always clean the brake fluid reservoir cap and the area
around the cap before removing it. This will help
keep dirt from entering the reservoir.
{CAUTION:
With the wrong kind of uid in your brake
system, your brakes may not work well, or they
may not even work at all. This could cause a
crash. Always use the proper brake uid.
Notice:
Using the wrong uid can badly damage brake
system parts. For example, just a few drops of
mineral-based oil, such as engine oil, in your
brake system can damage brake system parts so
badly that they will have to be replaced. Do not
let someone put in the wrong kind of uid.
If you spill brake uid on your vehicle’s painted
surfaces, the paint nish can be damaged. Be
careful not to spill brake uid on your vehicle. If
you do, wash it off immediately. SeeWashing
Your Vehicle on page 5-69.
5-33
Page 2033 of 5127
Brake Wear
Your vehicle has front disc brakes and may have rear
drum brakes or rear disc brakes.
Disc brake pads have built-in wear indicators that make a
high-pitched warning sound when the brake pads are
worn and new pads are needed. The sound may come
and go or be heard all the time your vehicle is moving,
except when you are pushing on the brake pedal firmly.
{CAUTION:
The brake wear warning sound means that soon
your brakes will not work well. That could lead
to an accident. When you hear the brake wear
warning sound, have your vehicle serviced.
Notice:Continuing to drive with worn-out brake
pads could result in costly brake repair.
Some driving conditions or climates may cause a brake
squeal when the brakes are first applied or lightly applied.
This does not mean something is wrong with your brakes.
Properly torqued wheel nuts are necessary to help
prevent brake pulsation. When tires are rotated, inspect
brake pads for wear and evenly tighten wheel nuts in
the proper sequence to GM torque specifications.If you have rear drum brakes, they do not have wear
indicators, but if you ever hear a rear brake rubbing
noise, have the rear brake linings inspected immediately.
Also, the rear brake drums should be removed and
inspected each time the tires are removed for rotation or
changing. When you have the front brake pads
replaced, have the rear brakes inspected, too.
Brake linings should always be replaced as complete
axle sets.
SeeBrake System Inspection on page 6-24.
Brake Pedal Travel
See your dealer if the brake pedal does not return to
normal height, or if there is a rapid increase in
pedal travel. This could be a sign of brake trouble.
Brake Adjustment
Every time you make a moderate brake stop, your disc
brakes adjust for wear. If you rarely make a moderate or
heavier stop, then your brakes might not adjust correctly.
If you drive in that way, then — very carefully — make a
few moderate brake stops about every 1,000 miles
(1 600 km), so your brakes will adjust properly.
If your brake pedal goes down farther than normal, your
rear drum brakes may need adjustment. Adjust them by
backing up and firmly applying the brakes a few times.
5-34