2002 CHEVROLET AVEO tires
[x] Cancel search: tiresPage 1631 of 5127

Tires..............................................................5-51
Inflation - Tire Pressure.................................5-59
Tire Inspection and Rotation...........................5-60
When It Is Time for New Tires.......................5-61
Buying New Tires.........................................5-62
Uniform Tire Quality Grading..........................5-63
Wheel Alignment and Tire Balance..................5-64
Wheel Replacement......................................5-64
Tire Chains..................................................5-66
If a Tire Goes Flat........................................5-66
Changing a Flat Tire.....................................5-67
Compact Spare Tire......................................5-75
Appearance Care............................................5-76
Cleaning the Inside of Your Vehicle.................5-76
Care of Safety Belts......................................5-79
Weatherstrips...............................................5-79
Cleaning the Outside of Your Vehicle..............5-79Sheet Metal Damage.....................................5-81
Finish Damage.............................................5-81
Underbody Maintenance................................5-82
Chemical Paint Spotting.................................5-82
Vehicle Care/Appearance Materials..................5-82
Vehicle Identication......................................5-83
Vehicle Identification Number (VIN).................5-83
Service Parts Identification Label.....................5-84
Electrical System............................................5-84
Add-On Electrical Equipment..........................5-84
Headlamp Wiring..........................................5-84
Windshield Wiper Fuses................................5-84
Power Windows and Other Power Options.......5-84
Fuses and Circuit Breakers............................5-85
Capacities and Specications..........................5-91
Section 5 Service and Appearance Care
5-2
Page 1667 of 5127

Properly torqued wheel nuts are necessary to help
prevent brake pulsation. When tires are rotated, inspect
brake pads for wear and evenly tighten wheel nuts in
the proper sequence to GM torque specifications.
Your rear drum brakes do not have wear indicators, but
if you ever hear a rear brake rubbing noise, have the
rear brake linings inspected immediately. Also, the rear
brake drums should be removed and inspected each
time the tires are removed for rotation or changing.
When you have the front brake pads replaced, have the
rear brakes inspected, too.
Brake linings should always be replaced as complete
axle sets.
SeeBrake System Inspection on page 6-25.
Brake Pedal Travel
See your dealer if the brake pedal does not return to
normal height, or if there is a rapid increase in
pedal travel. This could be a sign of brake trouble.
Brake Adjustment
Every time you make a moderate brake stop, your disc
brakes adjust for wear. If you rarely make a moderate or
heavier stop, then your brakes might not adjust correctly.If you drive in that way, then – very carefully – make a
few moderate brake stops about every 1,000 miles
(1 600 km), so your brakes will adjust properly.
If your brake pedal goes down farther than normal, your
rear drum brakes may need adjustment. Adjust them by
backing up and firmly applying the brakes a few times.
Replacing Brake System Parts
The braking system on a vehicle is complex. Its many
parts have to be of top quality and work well together if
the vehicle is to have really good braking. Your vehicle
was designed and tested with top-quality GM brake parts.
When you replace parts of your braking system – for
example, when your brake linings wear down and you
need new ones put in – be sure you get new approved
GM replacement parts. If you do not, your brakes may no
longer work properly. For example, if someone puts in
brake linings that are wrong for your vehicle, the balance
between your front and rear brakes can change – for the
worse. The braking performance you have come to
expect can change in many other ways if someone puts
in the wrong replacement brake parts.
5-38
Page 1680 of 5127
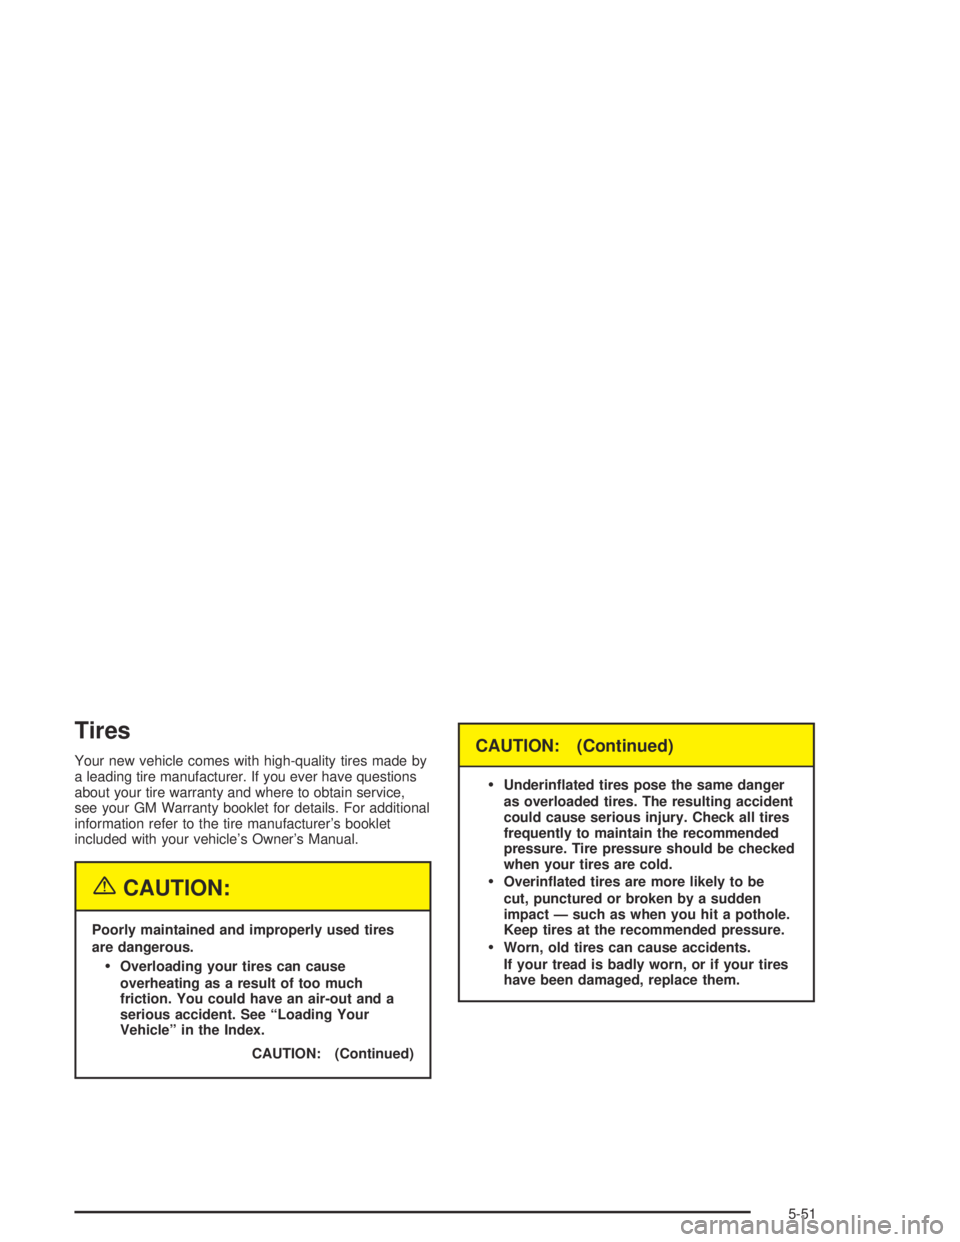
Tires
Your new vehicle comes with high-quality tires made by
a leading tire manufacturer. If you ever have questions
about your tire warranty and where to obtain service,
see your GM Warranty booklet for details. For additional
information refer to the tire manufacturer’s booklet
included with your vehicle’s Owner’s Manual.
{CAUTION:
Poorly maintained and improperly used tires
are dangerous.
Overloading your tires can cause
overheating as a result of too much
friction. You could have an air-out and a
serious accident. See “Loading Your
Vehicle” in the Index.
CAUTION: (Continued)
CAUTION: (Continued)
Underinated tires pose the same danger
as overloaded tires. The resulting accident
could cause serious injury. Check all tires
frequently to maintain the recommended
pressure. Tire pressure should be checked
when your tires are cold.
Overinated tires are more likely to be
cut, punctured or broken by a sudden
impact — such as when you hit a pothole.
Keep tires at the recommended pressure.
Worn, old tires can cause accidents.
If your tread is badly worn, or if your tires
have been damaged, replace them.
5-51
Page 1682 of 5127

(A) Tire Size:The tire size is a combination of letters
and numbers used to define a particular tire’s width,
height, aspect ratio, construction type and service
description. See the “Tire Size” illustration later in this
section for more detail.
(B) Department of Transportation (DOT):The
Department of Transportation (DOT) code indicates that
the tire is in compliance with the U.S. Department of
Transportation Motor Vehicle Safety Standards.
(C) Tire Identication Number (TIN):The letters and
numbers following DOT code are the Tire Identification
Number (TIN). The TIN shows the manufacturer and
plant code, tire size, and date the tire was manufactured.
The TIN is molded onto both sides of the tire, although
only one side may have the date of manufacture.
(D) Tire Ply Material:The type of cord and number of
plies in the sidewall and under the tread.(E) Uniform Tire Quality Grading (UTQG):Tire
manufacturers are required to grade tires based on
three performance factors: treadwear, traction and
temperature resistance. For more information see
Uniform Tire Quality Grading on page 5-63.
(F) Maximum Cold Ination Load Limit:Maximum
load that can be carried and the maximum pressure
needed to support that load. For information on
recommended tire pressure seeInflation - Tire Pressure
on page 5-59andLoading Your Vehicle on page 4-32.
5-53
Page 1687 of 5127

Speed Rating:An alphanumeric code assigned to a
tire indicating the maximum speed at which a tire
can operate.
Traction:The friction between the tire and the road
surface. The amount of grip provided.
Tread:The portion of a tire that comes into contact
with the road.
Treadwear Indicators:Narrow bands, sometimes
called “wear bars,” that show across the tread of a tire
when only 2/32 inch of tread remains. SeeWhen It
Is Time for New Tires on page 5-61.
Tread Width:The width of the tire’s tread.
UTQGS:Uniform Tire Quality Grading Standards,
a tire information system that provides consumers with
ratings for a tire’s traction, temperature and treadwear.
Ratings are determined by tire manufacturers using
government testing procedures. The ratings are molded
into the sidewall of the tire. SeeUniform Tire Quality
Grading on page 5-63.Vehicle Capacity Weight:The number of designated
seating positions multiplied by 150 pounds (68 kg)
plus the rated cargo load. SeeLoading Your Vehicle
on page 4-32.
Vehicle Maximum Load on the Tire:Load on an
individual tire due to curb weight, accessory weight,
occupant weight and cargo weight.
Vehicle Placard:A label permanently attached to a
vehicle showing original equipment tire size and
the recommended cold inflation pressure. SeeLoading
Your Vehicle on page 4-32.
5-58
Page 1688 of 5127

Ination - Tire Pressure
The tire and loading information label, shows the correct
inflation pressures for your tires when they’re cold.
“Cold” means your vehicle has been sitting for at least
three hours or driven no more than 1 mile (1.6 km).
SeeLoading Your Vehicle on page 4-32, for the location
of your vehicle’s tire and loading information label.
Notice:Don’t let anyone tell you that underination
or overination is all right. It’s not. If your tires
don’t have enough air (underination), you can get
the following:
Too much exing
Too much heat
Tire overloading
Bad wear
Bad handling
Bad fuel economy
If your tires have too much air (overination),
you can get the following:
Unusual wear
Bad handling
Rough ride
Needless damage from road hazards
When to Check
Check your tires once a month or more.
Don’t forget your compact spare tire. It should be at
60 psi (420 kPa).
How to Check
Use a good quality pocket-type gage to check tire
pressure. You can’t tell if your tires are properly inflated
simply by looking at them. Radial tires may look properly
inflated even when they’re underinflated. Check the tire’s
inflation pressure when the tires are cold. Cold means
your vehicle has been sitting for at least three hours or
driven no more than 1 mile (1.6 km).
Remove the valve cap from the tire valve stem. Press
the tire gage firmly onto the valve to get a pressure
measurement. If the cold tire inflation pressure matches
the recommended pressure on the Tire and Loading
Information label, no further adjustment is necessary.
If the inflation pressure is low, add air until you reach the
recommended amount.
If you overfill the tire, release air by pushing on the
metal stem in the center of the tire valve. Recheck the
tire pressure with the tire gage.
Be sure to put the valve caps back on the valve stems.
They help prevent leaks by keeping out dirt and moisture.
5-59
Page 1689 of 5127

Tire Inspection and Rotation
Tires should be rotated every 5,000 to 8,000 miles
(8 000 to 13 000 km).
Any time you notice unusual wear, rotate your tires as
soon as possible and check wheel alignment. Also
check for damaged tires or wheels. SeeWhen It Is Time
for New Tires on page 5-61andWheel Replacement
on page 5-64for more information.
The purpose of regular rotation is to achieve more
uniform wear for all tires on the vehicle. The first rotation
is the most important. SeePart A: Scheduled
Maintenance Services on page 6-4for scheduled
rotation intervals.When rotating your tires, always use the correct rotation
pattern shown here.
Don’t include the compact spare tire in your tire rotation.
5-60
Page 1690 of 5127

After the tires have been rotated, adjust the front and
rear inflation pressures as shown on the tire and loading
information label. Make certain that all wheel nuts are
properly tightened. See “Wheel Nut Torque” under
Capacities and Specifications on page 5-91.
{CAUTION:
Rust or dirt on a wheel, or on the parts to
which it is fastened, can make wheel nuts
become loose after a time. The wheel could
come off and cause an accident. When you
change a wheel, remove any rust or dirt from
places where the wheel attaches to the vehicle.
In an emergency, you can use a cloth or a
paper towel to do this; but be sure to use a
scraper or wire brush later, if you need to, to
get all the rust or dirt off. See “Changing a Flat
Tire” in the Index.
When It Is Time for New Tires
One way to tell when it’s
time for new tires is to
check the treadwear
indicators, which will
appear when your tires
have only 1/16 inch
(1.6 mm) or less of tread
remaining.
You need a new tire if any of the following statements
are true:
•You can see the indicators at three or more places
around the tire.
•You can see cord or fabric showing through the
tire’s rubber.
•The tread or sidewall is cracked, cut or snagged
deep enough to show cord or fabric.
•The tire has a bump, bulge or split.
•The tire has a puncture, cut or other damage that
can’t be repaired well because of the size or
location of the damage.
5-61