2002 CHEVROLET AVEO climate control
[x] Cancel search: climate controlPage 1550 of 5127
The main components of your instrument panel are the
following:
A. Air Outlet. SeeOutlet Adjustment on page 3-15.
B. Instrument Panel Cluster. SeeInstrument Panel
Cluster on page 3-18.
C. Digital Clock and Secondary Information Center.
SeeClock on page 3-25andSecondary Information
Center (SIC) on page 3-24.
D. Hazard Warning Flashers Button. SeeHazard
Warning Flashers on page 3-3.
E. Instrument Panel Brightness Control. See
“Instrument Panel Brightness” underInterior Lamps
on page 3-10.
F. Hood Release. SeeHood Release on page 5-11.
G. Horn. SeeHorn on page 3-4.
H. Audio System. SeeAudio System(s) on page 3-34.
I. Cupholder. SeeCupholder(s) on page 2-36.
J. Ashtray. SeeAshtrays and Cigarette Lighter on
page 3-12.
K. Cigarette Lighter. SeeAshtrays and Cigarette
Lighter on page 3-12.
L. Climate Control System. SeeClimate Control
System on page 3-12.
M. Glove Box. SeeGlove Box on page 2-36.Hazard Warning Flashers
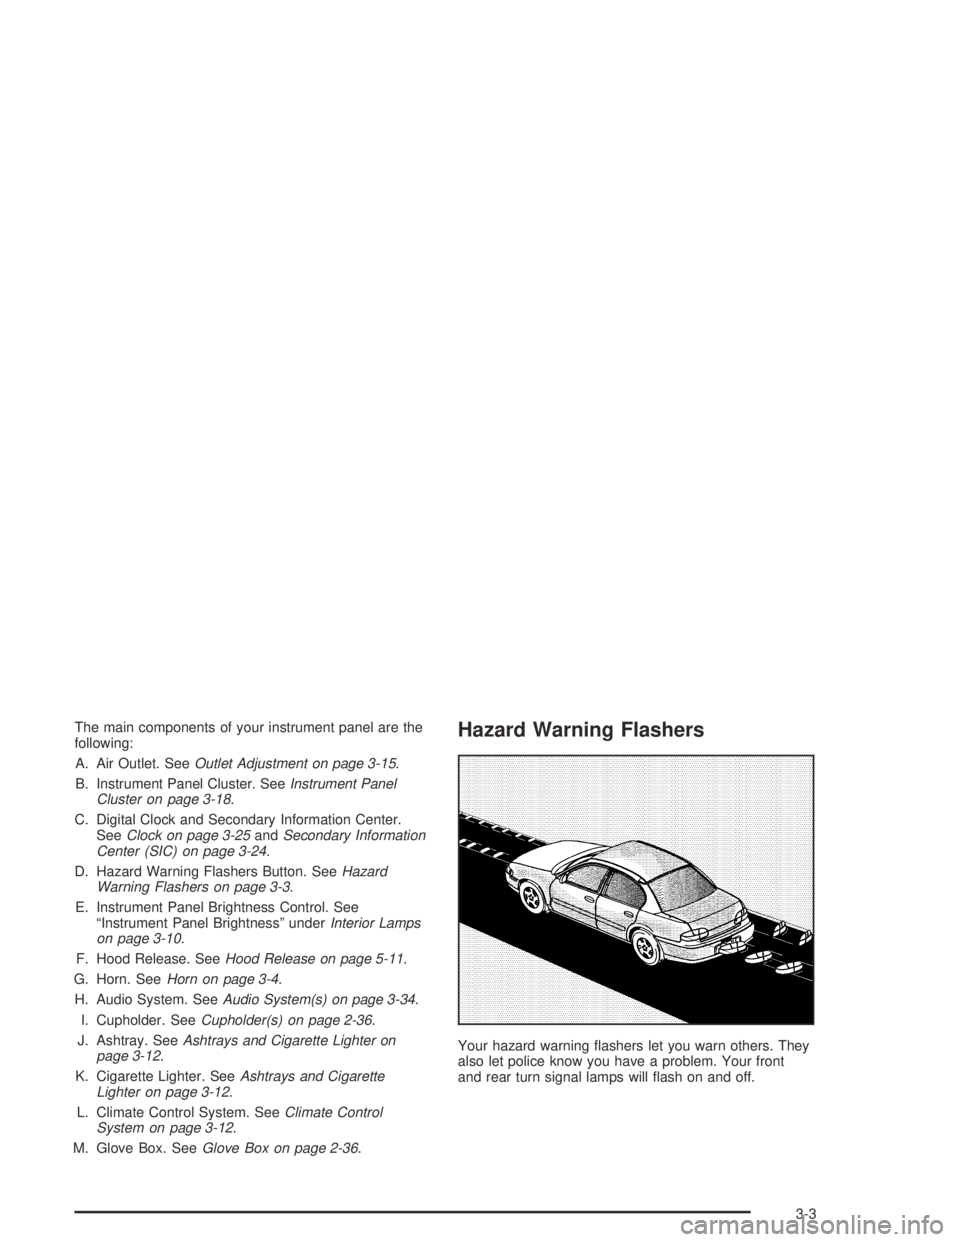
Your hazard warning flashers let you warn others. They
also let police know you have a problem. Your front
and rear turn signal lamps will flash on and off.
3-3
Page 1559 of 5127
Ashtrays and Cigarette Lighter
The ashtray is located at the lower part of the center
instrument panel. To remove the front ashtray for
cleaning, open the ashtray fully, press in the retaining
tab and pull the bin out.
Notice:If you put papers or other �ammable items
in the ashtray, hot cigarettes or other smoking
materials could ignite them and possibly damage
your vehicle. Never put �ammable items in the
ashtray.
The cigarette lighter is located to the right of the front
ashtray. To use it, turn the ignition to ACC or ON, push
the cigarette lighter in all the way and let go. When it
is ready, it will pop back out by itself.
Notice:Holding a cigarette lighter in while it is
heating will not allow the lighter to back away from
the heating element when it is hot. Damage from
overheating may occur to the lighter or heating
element. Do not hold a cigarette lighter in while it
is heating.
Climate Controls
Climate Control System
With this system you can control the heating, cooling
and ventilation for your vehicle.
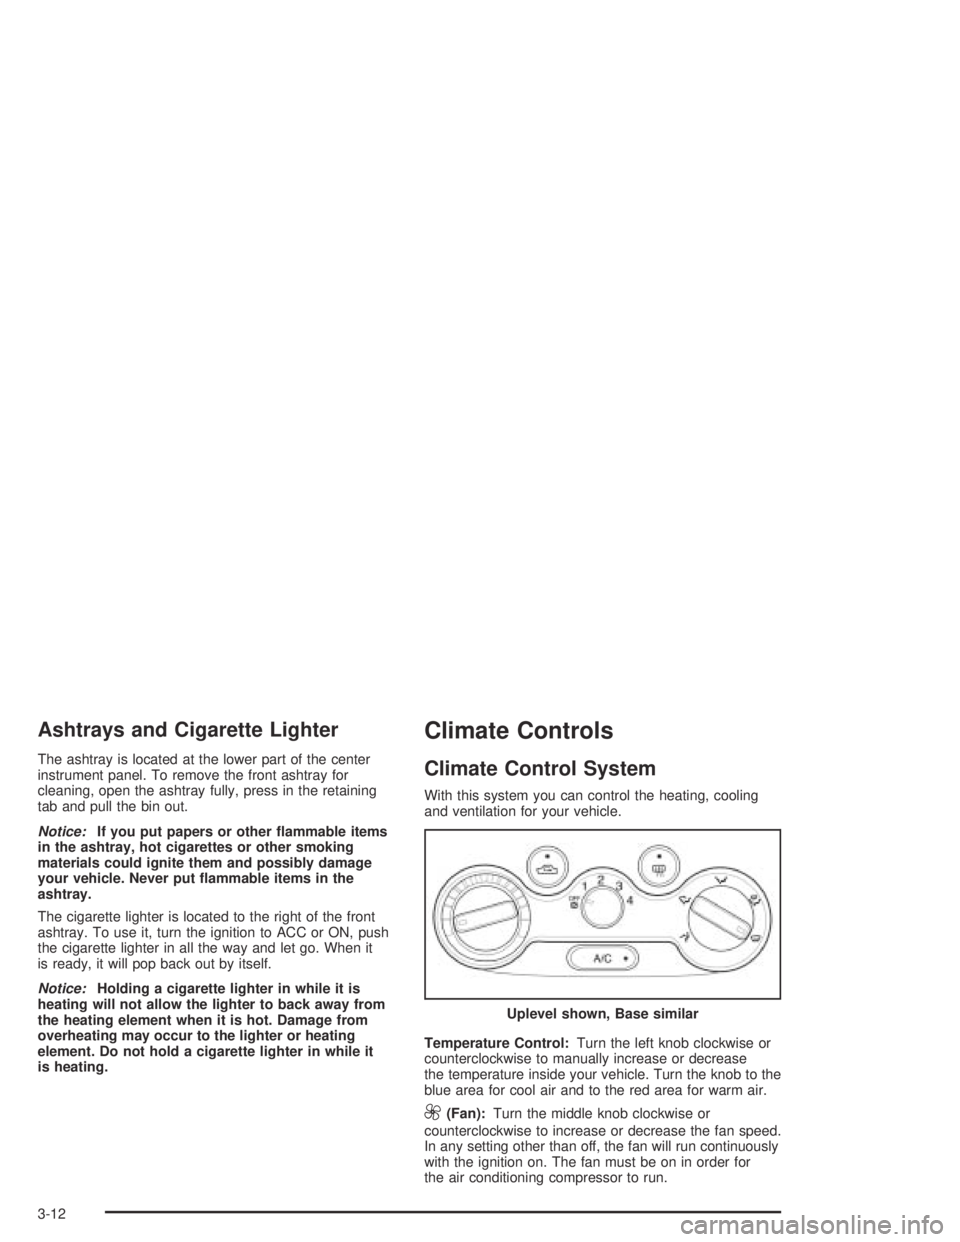
Temperature Control:Turn the left knob clockwise or
counterclockwise to manually increase or decrease
the temperature inside your vehicle. Turn the knob to the
blue area for cool air and to the red area for warm air.
9(Fan):Turn the middle knob clockwise or
counterclockwise to increase or decrease the fan speed.
In any setting other than off, the fan will run continuously
with the ignition on. The fan must be on in order for
the air conditioning compressor to run.Uplevel shown, Base similar
3-12
Page 1561 of 5127
For quick cool down on hot days, do the following:
1. Select the vent mode.
2. Select the highest fan speed.
3. Press the A/C button.
4. Select the recirculation mode.
5. Select the coolest temperature.
Using these settings together for long periods of time
may cause the air inside of your vehicle to become too
dry. To prevent this from happening, after the air in
your vehicle has cooled, turn the recirculation mode off.
The air conditioning system removes moisture from
the air, so you may sometimes notice a small amount of
water dripping underneath your vehicle while idling or
after turning off the engine. This is normal.
Defogging and Defrosting
Fog on the inside of windows is a result of high humidity
or moisture condensing on the cool window glass.
This can be minimized if the climate control system is
used properly. There are two modes to clear fog or frost
from your windshield. Use the defog mode to clear
the windows of fog or moisture and warm the
passengers. Use the defrost mode to remove fog or
frost from the windshield more quickly.For best results, clear all snow and ice from the
windshield before defrosting.
Select one of these available modes from the right knob.
É(Defog):This mode directs most of the air to the
windshield and the floor outlets. A small amount of air is
also directed to the outboard outlets for the side windows.
To help clear the side windows quickly, do the following:
1. Select the bi-level mode.
2. Select the highest fan speed.
3. Select A/C.
4. Select the temperature.
0(Defrost):This mode directs the air to the
windshield and the outboard outlets for the side
windows.
To help clear the windshield quickly, do the following:
1. Select the defrost mode.
2. Select the highest temperature.
3. Select the highest fan speed.
Do not drive the vehicle until all windows are clear.
3-14
Page 1692 of 5127
Uniform Tire Quality Grading
Quality grades can be found where applicable on the
tire sidewall between tread shoulder and maximum
section width. For example:
Treadwear 200 Traction AA Temperature A
The following information relates to the system
developed by the United States National Highway
Traffic Safety Administration, which grades tires by
treadwear, traction and temperature performance.
(This applies only to vehicles sold in the United States.)
The grades are molded on the sidewalls of most
passenger car tires. The Uniform Tire Quality Grading
system does not apply to deep tread, winter-type
snow tires, space-saver or temporary use spare tires,
tires with nominal rim diameters of 10 to 12 inches
(25 to 30 cm), or to some limited-production tires.
While the tires available on General Motors passenger
cars and light trucks may vary with respect to these
grades, they must also conform to federal safety
requirements and additional General Motors Tire
Performance Criteria (TPC) standards.
Treadwear
The treadwear grade is a comparative rating based on
the wear rate of the tire when tested under controlled
conditions on a specified government test course.
For example, a tire graded 150 would wear one and
a half (1.5) times as well on the government course as
a tire graded 100. The relative performance of tires
depends upon the actual conditions of their use,
however, and may depart significantly from the norm
due to variations in driving habits, service practices and
differences in road characteristics and climate.
Traction – AA, A, B, C
The traction grades, from highest to lowest, are AA, A,
B, and C. Those grades represent the tire’s ability
to stop on wet pavement as measured under controlled
conditions on specified government test surfaces of
asphalt and concrete. A tire marked C may have poor
traction performance. Warning: The traction grade
assigned to this tire is based on straight-ahead braking
traction tests, and does not include acceleration,
cornering, hydroplaning, or peak traction characteristics.
5-63
Page 1766 of 5127
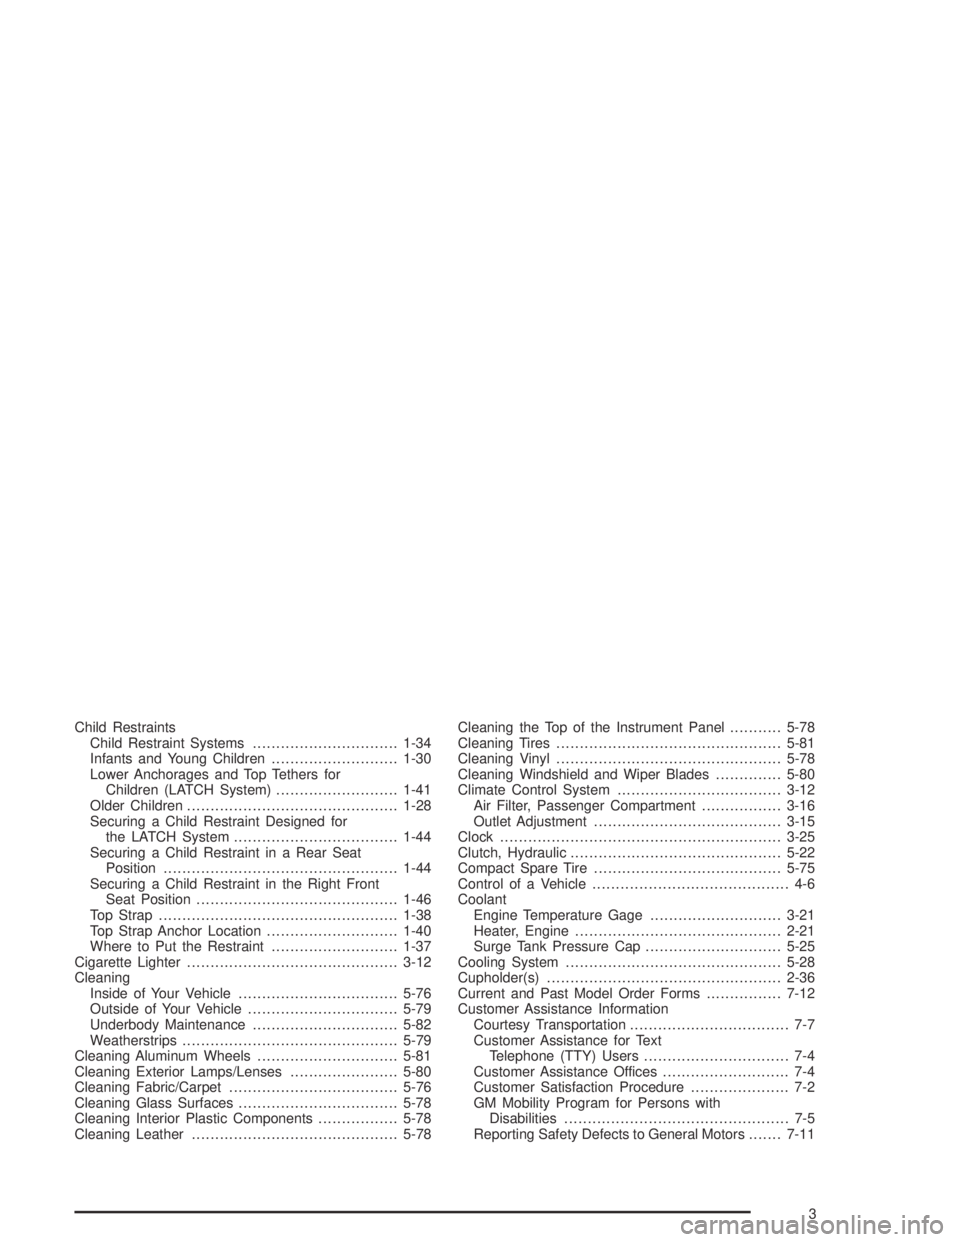
Child Restraints
Child Restraint Systems...............................1-34
Infants and Young Children...........................1-30
Lower Anchorages and Top Tethers for
Children (LATCH System)..........................1-41
Older Children.............................................1-28
Securing a Child Restraint Designed for
the LATCH System...................................1-44
Securing a Child Restraint in a Rear Seat
Position..................................................1-44
Securing a Child Restraint in the Right Front
Seat Position...........................................1-46
Top Strap...................................................1-38
Top Strap Anchor Location............................1-40
Where to Put the Restraint...........................1-37
Cigarette Lighter.............................................3-12
Cleaning
Inside of Your Vehicle..................................5-76
Outside of Your Vehicle................................5-79
Underbody Maintenance...............................5-82
Weatherstrips..............................................5-79
Cleaning Aluminum Wheels..............................5-81
Cleaning Exterior Lamps/Lenses.......................5-80
Cleaning Fabric/Carpet....................................5-76
Cleaning Glass Surfaces..................................5-78
Cleaning Interior Plastic Components.................5-78
Cleaning Leather............................................5-78Cleaning the Top of the Instrument Panel...........5-78
Cleaning Tires................................................5-81
Cleaning Vinyl................................................5-78
Cleaning Windshield and Wiper Blades..............5-80
Climate Control System...................................3-12
Air Filter, Passenger Compartment.................3-16
Outlet Adjustment........................................3-15
Clock............................................................3-25
Clutch, Hydraulic.............................................5-22
Compact Spare Tire........................................5-75
Control of a Vehicle.......................................... 4-6
Coolant
Engine Temperature Gage............................3-21
Heater, Engine............................................2-21
Surge Tank Pressure Cap.............................5-25
Cooling System..............................................5-28
Cupholder(s)..................................................2-36
Current and Past Model Order Forms................7-12
Customer Assistance Information
Courtesy Transportation.................................. 7-7
Customer Assistance for Text
Telephone (TTY) Users............................... 7-4
Customer Assistance Offices........................... 7-4
Customer Satisfaction Procedure..................... 7-2
GM Mobility Program for Persons with
Disabilities................................................ 7-5
Reporting Safety Defects to General Motors.......7-11
3
Page 1778 of 5127
Seats and Restraint Systems........................... 1-1
Front Seats
............................................... 1-2
Rear Seats
............................................... 1-6
Safety Belts
.............................................1-12
Child Restraints
.......................................1-30
Airbag System
.........................................1-56
Restraint System Check
............................1-71
Features and Controls..................................... 2-1
Keys
........................................................ 2-2
Doors and Locks
....................................... 2-7
Windows
.................................................2-12
Theft-Deterrent Systems
............................2-14
Starting and Operating Your Vehicle
...........2-17
Mirrors
....................................................2-32
Storage Areas
.........................................2-34
Sunroof
..................................................2-35
Instrument Panel............................................. 3-1
Instrument Panel Overview
.......................... 3-4
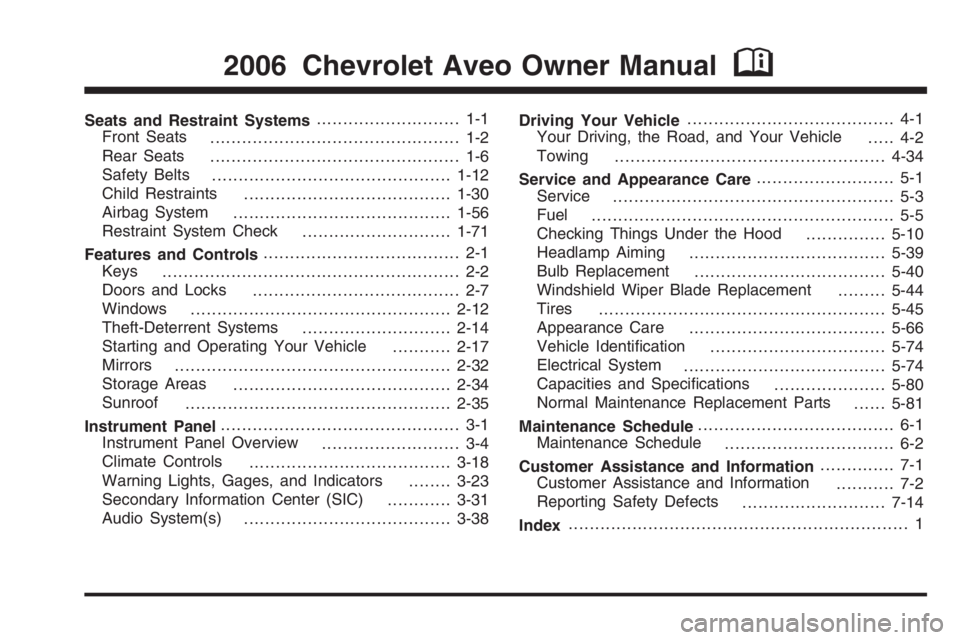
Climate Controls
......................................3-18
Warning Lights, Gages, and Indicators
........3-23
Secondary Information Center (SIC)
............3-31
Audio System(s)
.......................................3-38Driving Your Vehicle....................................... 4-1
Your Driving, the Road, and Your Vehicle
..... 4-2
Towing
...................................................4-34
Service and Appearance Care.......................... 5-1
Service
..................................................... 5-3
Fuel
......................................................... 5-5
Checking Things Under the Hood
...............5-10
Headlamp Aiming
.....................................5-39
Bulb Replacement
....................................5-40
Windshield Wiper Blade Replacement
.........5-44
Tires
......................................................5-45
Appearance Care
.....................................5-66
Vehicle Identification
.................................5-74
Electrical System
......................................5-74
Capacities and Specifications
.....................5-80
Normal Maintenance Replacement Parts
......5-81
Maintenance Schedule..................................... 6-1
Maintenance Schedule
................................ 6-2
Customer Assistance and Information.............. 7-1
Customer Assistance and Information
........... 7-2
Reporting Safety Defects
...........................7-14
Index................................................................ 1
2006 Chevrolet Aveo Owner ManualM
Page 1781 of 5127
Vehicle Damage Warnings
Also, in this manual you will find these notices:
Notice:These mean there is something that could
damage your vehicle.
A notice tells about something that can damage the
vehicle. Many times, this damage would not be covered
by your vehicle’s warranty, and it could be costly. But
the notice will tell what to do to help avoid the damage.
When you read other manuals, you might see
CAUTION and NOTICE warnings in different colors or in
different words.
There are also warning labels on the vehicle. They use
the same words, CAUTION or NOTICE.
Vehicle Symbols
The vehicle has components and labels that use
symbols instead of text. Symbols are shown along with
the text describing the operation or information
relating to a specific component, control, message,
gage, or indicator.
If you need help figuring out a specific name of a
component, gage, or indicator, reference the following
topics:
•Seats and Restraint Systems in Section 1
•Features and Controls in Section 2
•Instrument Panel Overview in Section 3
•Climate Controls in Section 3
•Warning Lights, Gages, and Indicators in Section 3
•Audio System(s) in Section 3
•Engine Compartment Overview in Section 5
iv
Page 1864 of 5127
Lockout Protection
This feature helps prevent locking your key in the car.
The driver’s door can only be locked with the door
closed. From the outside of the vehicle, close the
driver’s door and lock it using the key or the remote
keyless entry transmitter, if equipped.
This feature cannot guarantee that you will never be
locked out of your vehicle. Always remember to
take your key with you.
Trunk (Sedan)
{CAUTION:
It can be dangerous to drive with the trunk lid
open because carbon monoxide (CO) gas can
come into your vehicle. You cannot see or
smell CO. It can cause unconsciousness and
even death.
CAUTION: (Continued)
CAUTION: (Continued)
If you must drive with the trunk lid open or if
electrical wiring or other cable connections
must pass through the seal between the body
and the trunk lid:
Make sure all other windows are shut.
Turn the fan on your heating or cooling
system to its highest speed and select the
control setting that will force outside air
into your vehicle. See Climate Control
System.
If you have air outlets on or under the
instrument panel, open them all the way.
SeeEngine Exhaust on page 2-30.
To open the trunk on your sedan from outside of your
vehicle, insert the key into the lock cylinder and turn the
key clockwise or use the remote keyless entry
transmitter, if equipped.
2-9