Page 180 of 427

2-114
CHANGE ENGINE OIL Message
This message is displayed
when the engine oil needs
to be changed. The message
is only displayed for
15 seconds at the start of
each ignition cycle.
When you change the engine oil, be sure to reset the
Engine Oil Life Monitor. See ªEngine Oil, When to
Changeº in the Index.
SECURITY Message
This message is displayed
when the content
theft
-deterrent system has
been activated and also
monitors the Passlock
�
System.
If the security message is displayed continuously while
driving and stays on, there may be a problem with the
Passlock System. Your vehicle will not be protected by
Passlock, and you should see your dealer.
LOW WASHER FLUID Message
This message is displayed
when the vehicle is low on
windshield washer fluid.
The message is only
displayed for 15 seconds
at the start of each
ignition cycle.
For more information see, ªWindshield Washer Fluidº in
the Index.
SERVICE RIDE CONTROL Message
This message is displayed
when a possible problem
exists with the Road
Sensing Suspension system.
Page 186 of 427

2-120
Menu
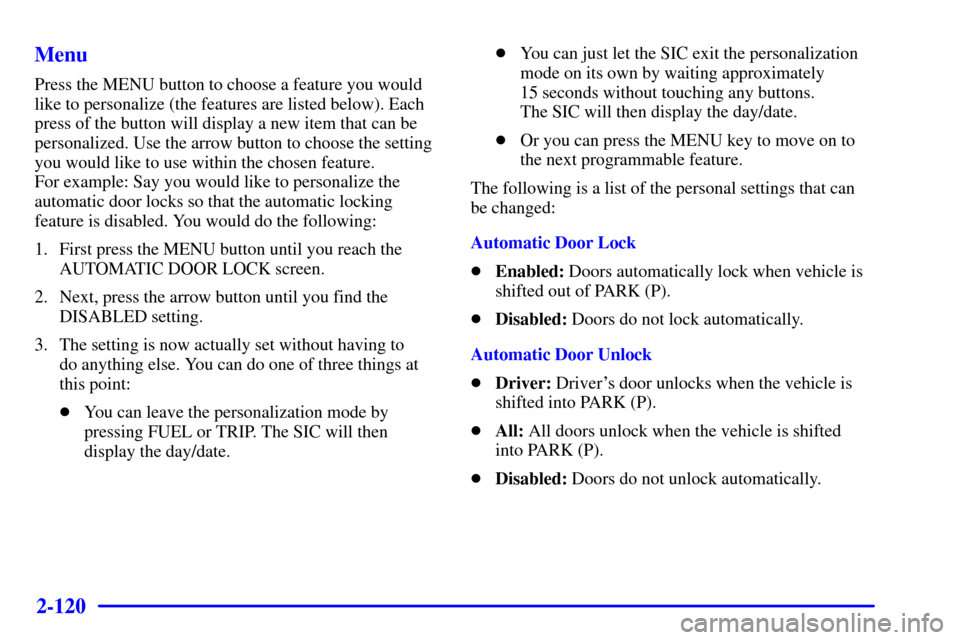
Press the MENU button to choose a feature you would
like to personalize (the features are listed below). Each
press of the button will display a new item that can be
personalized. Use the arrow button to choose the setting
you would like to use within the chosen feature.
For example: Say you would like to personalize the
automatic door locks so that the automatic locking
feature is disabled. You would do the following:
1. First press the MENU button until you reach the
AUTOMATIC DOOR LOCK screen.
2. Next, press the arrow button until you find the
DISABLED setting.
3. The setting is now actually set without having to
do anything else. You can do one of three things at
this point:
�You can leave the personalization mode by
pressing FUEL or TRIP. The SIC will then
display the day/date.�You can just let the SIC exit the personalization
mode on its own by waiting approximately
15 seconds without touching any buttons.
The SIC will then display the day/date.
�Or you can press the MENU key to move on to
the next programmable feature.
The following is a list of the personal settings that can
be changed:
Automatic Door Lock
�Enabled: Doors automatically lock when vehicle is
shifted out of PARK (P).
�Disabled: Doors do not lock automatically.
Automatic Door Unlock
�Driver: Driver's door unlocks when the vehicle is
shifted into PARK (P).
�All: All doors unlock when the vehicle is shifted
into PARK (P).
�Disabled: Doors do not unlock automatically.
Page 187 of 427

2-121
Remote Lock Feedback
�Horn: Horn chirps on second press of the LOCK
button on the keyless entry transmitter.
�Lamps: Parking lamps flash on each press of the
LOCK button on the keyless entry transmitter.
�Horn and Lamps: Parking lamps flash on each
press, horn chirps on second press of UNLOCK on
the keyless entry transmitter.
�None: No horn or lamp feedback to the LOCK
button on the keyless entry transmitter.
Remote Unlock Feedback
�Horn: Horn chirps on each press of the UNLOCK
button on the keyless entry transmitter.
�Lamps: Parking lamps flash on each press of the
UNLOCK button on the keyless entry transmitter.
�Horn and Lamps: Parking lamps flash and horn
chirps on each press of the UNLOCK button on the
keyless entry transmitter.
�None: No horn or lamp feedback will occur when
the UNLOCK button on the keyless entry transmitter
is pressed.Headlamp Delay
�None: Headlamps do not stay on after the ignition is
turned to OFF.
�10/20/30/60/120/180 Seconds: Amount of time
headlamps stay on after the ignition is turned to OFF
when it is dark (switch must be in auto headlamp
position).
Perimeter Lamps
�Enabled: Parking lamps, headlamps and puddle
lamps turn on for 40 seconds when the UNLOCK
button on the keyless entry transmitter is pressed.
This feature only operates when it is dark.
�Disabled: Feature disabled, no perimeter lamps will
come on.
Page 188 of 427

2-122
Seat and Mirror Recall
�Remote: When the remote keyless entry transmitters
are programmed for each driver (driver 1 or 2),
pressing the UNLOCK button on the transmitter will
move the seat and mirrors to the stored memory
position for the driver associated with that particular
transmitter (driver 1 or 2). For more information on
seat and mirror recall functions, see ªMemory Seat
and Memory Mirrorsº in the Index.
�Key In: Inserting the key into the ignition will cause
the seat and mirrors to move to a stored memory
position for driver 1 or 2.
�Disabled: Position recall will not work with the
keyless entry transmitter or when the key is placed in
the ignition. Driver must manually select memory
button 1 or 2 to activate the memory seat recall when
disable is selected.Exit Position of Seat
�Enabled: Removing the key from the ignition will
move the seat to the stored driver 1 or 2 exit position.
�Disabled: The seat will not move to the exit position
when the key is removed from the ignition. Driver
must manually press the EXIT button to activate the
seat exit position feature when disable is selected.
Reverse Mirror Tilt
�Passenger: Mirror on the passenger's side of
the vehicle will tilt to a stored memory position
for driver 1 or 2 when the vehicle is placed
in REVERSE (R).
�Driver: Mirror on the driver's side of the vehicle
will tilt to a stored memory position for driver 1 or 2
when the vehicle is placed in REVERSE (R).
�All: Both the driver's and passenger's side
mirrors will tilt down to a stored memory position
for driver 1 or 2 when the vehicle is placed
in REVERSE (R).
�Disabled: No mirrors will tilt when the vehicle is
placed in REVERSE (R).
Page 190 of 427

2-124
Language and Personalization Reset
1. Press and hold the MENU button. After two seconds,
the display will begin cycling through the languages
at one second intervals. Release the MENU button
when the desired language is displayed.
2. The previous action will also reset the
personalization values to their factory default
settings which are as follows.
�Automatic Door Lock: Enabled
�Automatic Door Unlock: All
�Remote Lock Feedback: Horn
�Remote Unlock Feedback: Lamps
�Headlamp Delay: 30 seconds
�Perimeter Lamps: Enabled
�Memory Position Recall: Key In
�Exit Position of Seat: Enabled
�Mirror Reverse Tilt: Passenger
�Alarm Warning: Horn and Lamps
�Display Units: EnglishUltrasonic Rear Parking Assist (URPA)
Ultrasonic Rear Parking Assist can help you to
determine how close an object is to your rear bumper
within a given area, making parking easier.
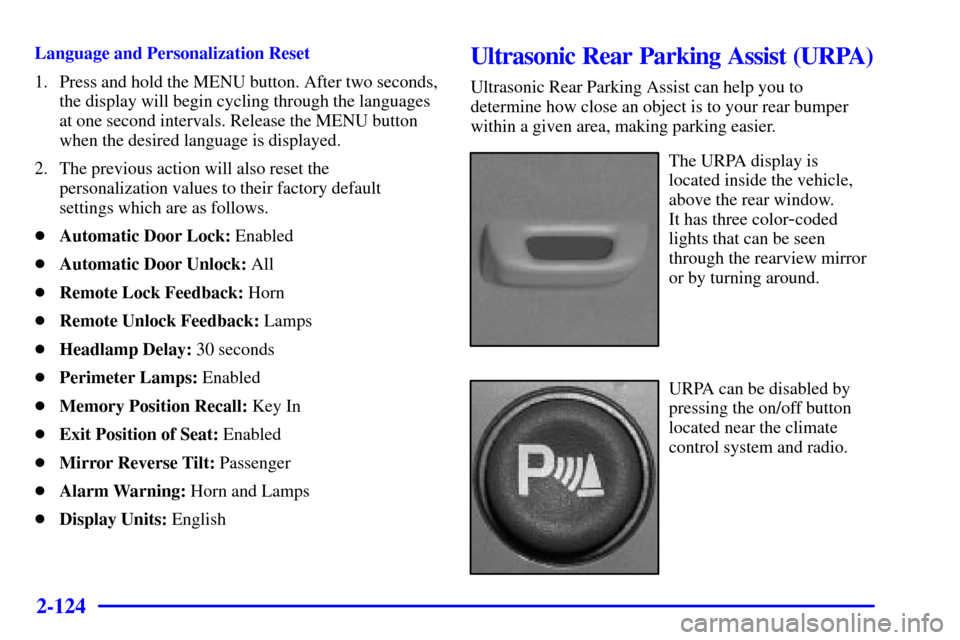
The URPA display is
located inside the vehicle,
above the rear window.
It has three color
-coded
lights that can be seen
through the rearview mirror
or by turning around.
URPA can be disabled by
pressing the on/off button
located near the climate
control system and radio.
Page 194 of 427

3-2
Comfort Controls
Electronic Climate Control System
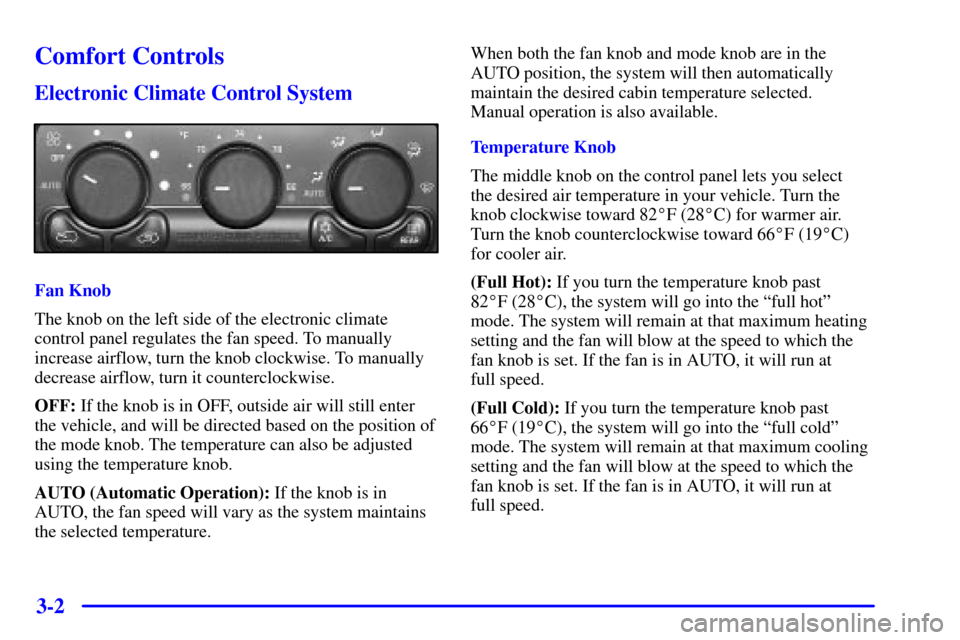
Fan Knob
The knob on the left side of the electronic climate
control panel regulates the fan speed. To manually
increase airflow, turn the knob clockwise. To manually
decrease airflow, turn it counterclockwise.
OFF: If the knob is in OFF, outside air will still enter
the vehicle, and will be directed based on the position of
the mode knob. The temperature can also be adjusted
using the temperature knob.
AUTO (Automatic Operation): If the knob is in
AUTO, the fan speed will vary as the system maintains
the selected temperature.When both the fan knob and mode knob are in the
AUTO position, the system will then automatically
maintain the desired cabin temperature selected.
Manual operation is also available.
Temperature Knob
The middle knob on the control panel lets you select
the desired air temperature in your vehicle. Turn the
knob clockwise toward 82�F (28�C) for warmer air.
Turn the knob counterclockwise toward 66�F (19�C)
for cooler air.
(Full Hot): If you turn the temperature knob past
82�F (28�C), the system will go into the ªfull hotº
mode. The system will remain at that maximum heating
setting and the fan will blow at the speed to which the
fan knob is set. If the fan is in AUTO, it will run at
full speed.
(Full Cold): If you turn the temperature knob past
66�F (19�C), the system will go into the ªfull coldº
mode. The system will remain at that maximum cooling
setting and the fan will blow at the speed to which the
fan knob is set. If the fan is in AUTO, it will run at
full speed.
Page 199 of 427

3-7 Defogging and Defrosting
On cool, humid days, use defog to keep the windshield
and side windows clear. Use defrost to remove fog or ice
from the windshield in extremely humid or cold conditions.
Use defrost with the temperature knob toward the red area
and the fan knob turned all the way clockwise.
Rear Window Defogger
Do not remove the rear window with the rear defogger on.
You may see a discharge spark coming from the latch area
if you remove the rear window with the rear defogger on.
The lines running across the rear window are the
defogger grid. The lines warm the glass.
To turn on the rear
window defogger,
press this button located
below the mode knob.The rear window defogger will only work if the ignition
is in RUN. For best results, clear the window of as much
snow or ice as possible first.
The defogger will shut itself off after several minutes.
If you need additional warming time, press the button
again. You can turn the defogger off at any time by
pressing the button.
Your vehicle is equipped with heated outside mirrors.
The rear window defogger button will also activate the
heated outside mirrors.
Do not attach a temporary vehicle license, tape or decals
across the defogger grid on the rear window.NOTICE:
Don't use a razor blade or something else sharp
on the inside of the rear window. If you do, you
could cut or damage the warming grid, and the
repairs wouldn't be covered by your warranty.
Page 202 of 427

3-10 AM-FM Stereo with Cassette Tape Player
(Bose
�)
Included with this audio system is a six disc CD changer.
It also is equipped with Bose� speakers and Bose
amplifier. Please see your dealer for details.Playing the Radio
PWR (Power): Press this knob to turn the system
on and off.
VOL (Volume): Turn this knob clockwise to increase
volume. Turn it counterclockwise to decrease volume.
The knob is capable of being turned continuously.
SCV (Speed
-Compensated Volume): With SCV,
your audio system adjusts automatically to make up for
road and wind noise as you drive. Set the volume at the
desired level. Turn the control ring behind the upper
knob clockwise to adjust the SCV. Each notch on the
control ring allows for more volume compensation
at faster vehicle speeds. Then, as you drive, SCV
automatically increases the volume, as necessary, to
overcome noise at any speed. The volume level should
always sound the same to you as you drive. If you don't
want to use SCV, turn the control ring counterclockwise.
REAR DSPL (Display): When the main radio is
turned on, press this button to turn on the rear seat
audio display on the main radio. Press it again to turn
the rear seat audio display off.
PR (Power Rear): Press this button to turn rear seat
audio on or off. The light to the right of the button will
illuminate to indicate that rear seat audio is on.