Page 181 of 427
2-115
CARGO LAMP ON Message
This message is displayed
when the cargo lamps are
turned on and the ignition
key is turned to RUN.
LOW FUEL Message
This message is displayed
when your vehicle is low
on fuel.
Refer to the fuel gage for a better indication of the
amount of fuel remaining in the fuel tank.
SERVICE STABILITY SYSTEM Message
If you ever see the
SERVICE STABILITY
SYSTEM message, it means
there may be a problem
with your stability
enhancement system.
If you see this message, try to reset the system
(stop; turn off the engine; then start the engine again).
If the SERVICE STABILITY SYSTEM message still
comes on, it means there is a problem. You should see
your dealer for service. Reduce your speed and drive
accordingly. See ªStabilitrak Systemº in the Index.
Page 184 of 427

2-118
Fuel
�Each press of the FUEL button will change the
display between the fuel remaining range, average
fuel economy, instantaneous fuel economy and a
blank display.
�The average fuel economy can be reset using the
RESET button.
Trip
Each press of the TRIP button will change the display
between personal trip computer, business trip computer,
timer, vehicle history, annual mileage and a blank display.Personal Trip Computer and Business Trip Computer
�Each press of the arrow button will change the
display between turn on/off, trip odometer,
fuel used, average fuel economy and average speed.
�The ON/OFF button will turn the trip computer on
and off. The information on the trip computer only
gets updated when it is turned on. The personal and
business computers are independent, i.e. turning one
of them on does not turn the other off.
�All information associated with the trip computer
will be reset when the RESET button is pressed.
�If the RESET button is pressed and held for more
than two seconds, all of the trip computer settings
will reset starting from the last ignition cycle
(turning the ignition from OFF to RUN). This
feature is for someone who has forgotten to reset the
trip computer when pulling out of the driveway and
does not realize it until after driving for awhile.
Page 185 of 427

2-119
Timer
�Each press of the ON/OFF button will turn the timer
on or off.
�The RESET button will reset the timer to 00:00:00.
�If turned on, the timer will accumulate whenever
the SIC is powered (the engine does not have to
be running).
�The timer will rollover after 99:59:59.
Vehicle History Last 15 Days
�The first press of the arrow button will display the
maximum speed and accumulated mileage for the
current day.
�Every press of the arrow button after will display the
maximum speed and accumulated mileage for the
previous day.
�This feature requires the date and time to be set
correctly. Refer to the setting of day/date/time under
the MENU button explained later in this section.Annual Mileage
�The annual mileage displayed is the mileage
accumulated since the annual mileage was reset.
�Pressing the RESET button will reset the annual
mileage to 0.
�Pressing the arrow button will display the ratio of
personal trip computer mileage to annual mileage as
a percent.
�Pressing the arrow button again will display the ratio
of business trip computer mileage to annual mileage
as a percent.
Page 189 of 427

2-123
Alarm Warning
�Horn: Horn will sound when alarm is active.
�Lamps: Headlamps and park lamps will cycle on
and off when alarm is activated.
�Horn and Lamps: Horn and lamps will alternate
when the alarm is activated.
�None: No alarm warning will come on.
Language
�English: All information displayed in English.
�French: All information displayed in French.
�Spanish: All information displayed in Spanish.
�Arabic: All information displayed in Arabic.Display Units
�English: Units displayed in English units.
�Metric: Units displayed in metric units.
Day/Date/Time
�The RESET button will enable the operator to reset
the day/date/time. Each press of the RESET button
will scroll through the following: set year, set month,
set day, set hour, set minutes and set AM/PM.
�Whichever is currently selected (e.g. year, month,
day, etc.) will flash. The arrow button is then used to
adjust the value. Each press of the arrow button will
change the value by one. If the arrow button is
pushed and held, the value will keep changing until
the button is released.
�While in menu mode, the SIC will display the
day/date if no buttons have been pressed for more
than 15 seconds.
Page 190 of 427

2-124
Language and Personalization Reset
1. Press and hold the MENU button. After two seconds,
the display will begin cycling through the languages
at one second intervals. Release the MENU button
when the desired language is displayed.
2. The previous action will also reset the
personalization values to their factory default
settings which are as follows.
�Automatic Door Lock: Enabled
�Automatic Door Unlock: All
�Remote Lock Feedback: Horn
�Remote Unlock Feedback: Lamps
�Headlamp Delay: 30 seconds
�Perimeter Lamps: Enabled
�Memory Position Recall: Key In
�Exit Position of Seat: Enabled
�Mirror Reverse Tilt: Passenger
�Alarm Warning: Horn and Lamps
�Display Units: EnglishUltrasonic Rear Parking Assist (URPA)
Ultrasonic Rear Parking Assist can help you to
determine how close an object is to your rear bumper
within a given area, making parking easier.
The URPA display is
located inside the vehicle,
above the rear window.
It has three color
-coded
lights that can be seen
through the rearview mirror
or by turning around.
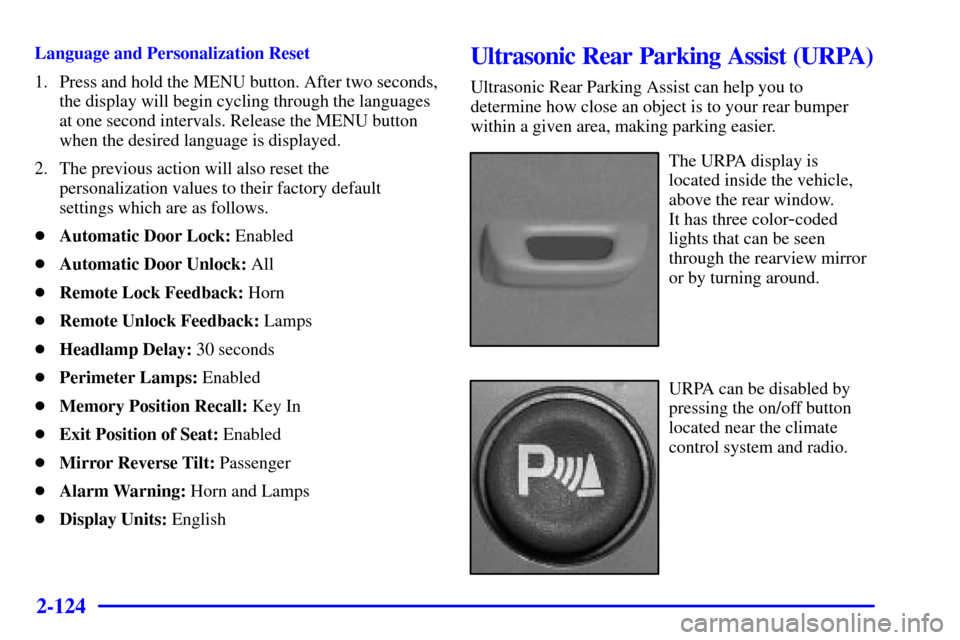
URPA can be disabled by
pressing the on/off button
located near the climate
control system and radio.
Page 203 of 427

3-11
Finding a Station
AM FM: Press this button to switch between AM, FM1
and FM2. The display will show your selection.
TUNE: Press this knob lightly so it extends. Turn it to
choose radio stations. Push the knob back into its stored
position when you're not using it.
SEEK : Press the right or left arrow to seek to
the next station or previous station and stay there.
The sound will mute while seeking.
To scan, press and hold SEEK for two seconds until
SCAN appears on the display. Scan allows you to
listen to stations for a few seconds. The receiver will
continue to scan and momentarily stop at each station
until you press the button again. The sound will mute
while scanning.
P.SCAN (Preset Scan): The preset scan button lets
you scan through your favorite stations stored on your
pushbuttons. Select either the AM, FM1 or FM2 mode
and then press P.SCAN. It will scan through each station
stored on your pushbuttons and stop for a few seconds
before continuing to scan through all of the pushbuttons.Press P.SCAN again or one of the pushbuttons to stop
scanning and listen to a specific preset station. P.SCAN
will light up on the display while in this mode. If one of
the stations stored on a pushbutton is too weak for
the location you are in, the radio display will show the
channel number (P1 through P6) for several seconds
before advancing to the next preset station.
Setting Preset Stations
The six numbered pushbuttons let you return to
your favorite stations. You can set up to 18 stations
(six AM, six FM1 and six FM2), by performing the
following steps:
1. Turn the radio on.
2. Press AM FM to select AM, FM1 or FM2.
3. Tune in the desired station.
4. Press and hold one of the six pushbuttons.
The sound will mute. When it returns, release the
pushbutton. Whenever you press that numbered
pushbutton, the station you set will return.
5. Repeat the steps for each pushbutton.
Page 208 of 427

3-16
While listening to a cassette tape, press the up arrow to
hear the next selection on the tape. Press the down arrow
to go back to the previous selection. The SEEK button is
inactive if the tape mode on the front radio is in use.
While listening to a CD, press the up arrow to hear the
next track on the CD. Press the down arrow to go back
to the start of the current track (if more than eight
seconds have played). The SEEK button is inactive in
the CD mode if a remote CD player or the CD changer
is in use.
To scan stations, press and hold one of the SEEK arrows
until the radio goes into the scan mode. Scan allows you
to listen to stations for a few seconds. The receiver will
continue to scan and momentarily stop at each station
until you press one of the SEEK arrows again. The scan
function is inactive if the AM FM mode on the front
radio is in use.VOL (Volume): Press this knob lightly so it extends.
Turn the knob clockwise to increase volume and
counterclockwise to decrease volume. Push the knob
back into its stored position when you're not using it.
The upper VOL knob controls the upper headphone
and the lower VOL knob controls the lower headphone.
P.SET PROG (Preset Program): The front passengers
must be listening to something different for each of
these functions to work:
�Press this button to seek through the preset radio
stations set on the pushbuttons on the main radio.
�When a cassette tape is playing, press this button to
go to the other side of the tape.
�When a CD is playing in the CD changer, press this
button to select a disc.
TAPE CD: Press this button to switch between the tape
and CD changer if all are loaded. Press AM FM to
return to the radio when a cassette tape or CD is playing.
The inactive tape or CD will remain safely inside the
radio for future listening.
Page 211 of 427

3-19
FWD 6 (Forward): Press and hold this pushbutton to
advance quickly through a track. Release it to resume
playing.
SEEK : Press the right SEEK arrow to go to
the next track on the CD. Press the left SEEK arrow to
go to the previous track on the CD. The sound will mute
while seeking.
P.SCAN (Preset Scan): Press this button to hear the
tracks in random, rather than sequential, order. DSC will
appear on the radio display, which will randomly play
the tracks on the current CD. Press this button again to
make the radio display ALL, which will randomly play
all of the loaded CDs. Press this button again to turn off
random play, OFF will appear on the radio display.
AM FM: Press AM FM to listen to the radio when a
CD is playing.
CHANGER: Press this button if you have a CD loaded
in the changer and the radio is turned on, to play a CD.
Press this button to switch between playing a tape and
the CD changer if all are loaded.Compact Disc Changer Errors
ERR (Error): If this message appears on the display,
it could be for one of the following reasons:
�You are driving on a very rough road.
(The CD should play when the road gets smoother.)
�A CD is upside down.
�It is dirty, scratched or wet.
�It is very humid. (If so, wait about an hour and
try again.)
�The CD player is very hot.
Press the CHANGER button to make ERR turn off
the display.
If any error occurs repeatedly or if an error cannot be
corrected, contact your dealer.