Page 62 of 174

62n
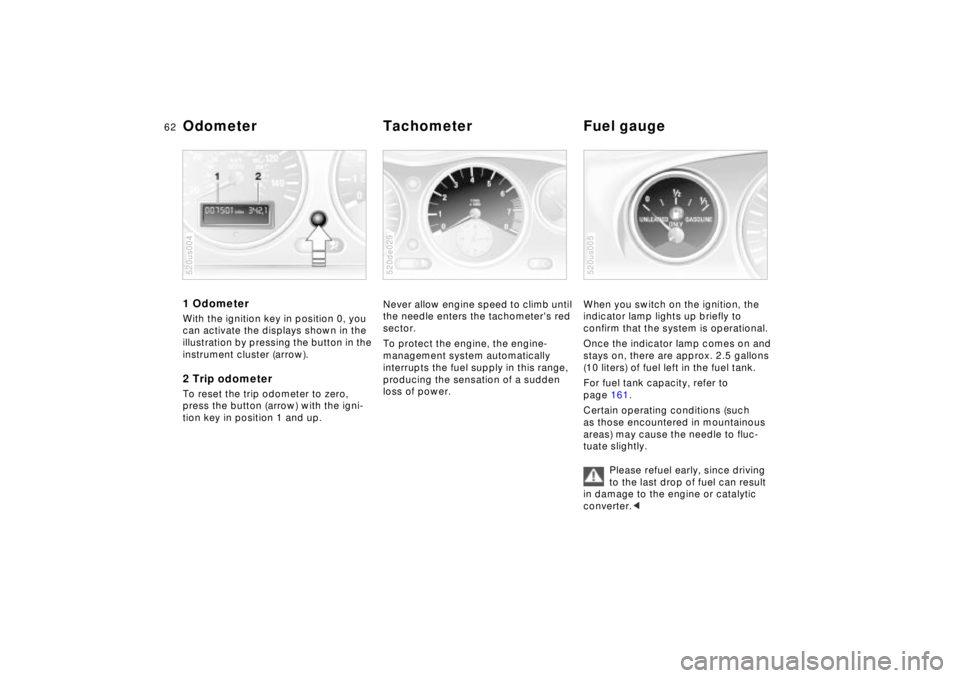
1 Odometer With the ignition key in position 0, you
can activate the displays shown in the
illustration by pressing the button in the
instrument cluster (arrow).2 Trip odometerTo reset the trip odometer to zero,
press the button (arrow) with the igni-
tion key in position 1 and up.520us004
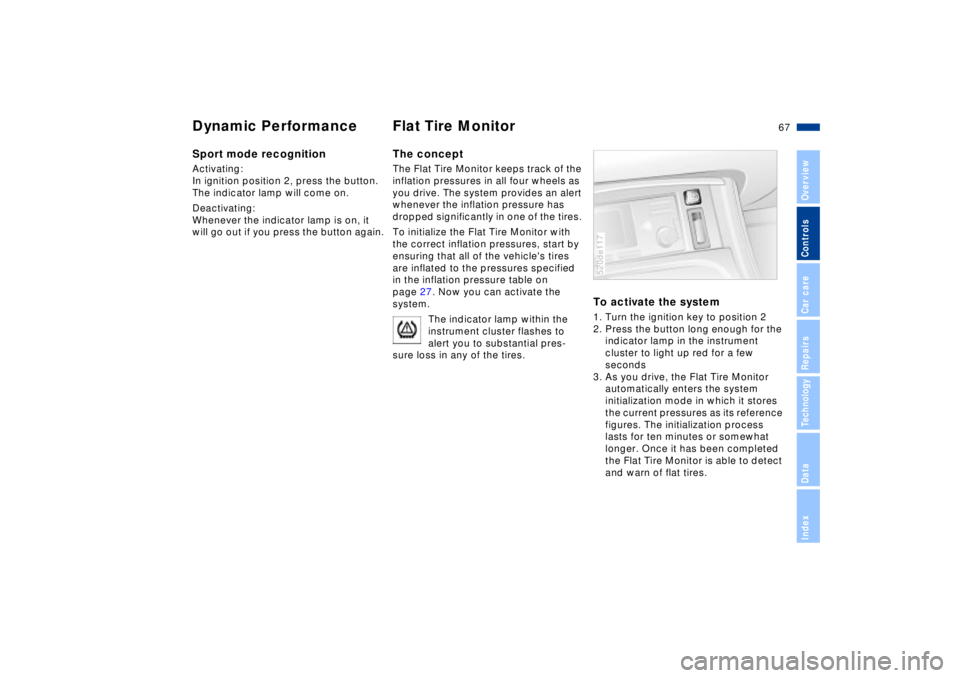
Never allow engine speed to climb until
the needle enters the tachometer's red
sector.
To protect the engine, the engine-
management system automatically
interrupts the fuel supply in this range,
producing the sensation of a sudden
loss of power.520de029
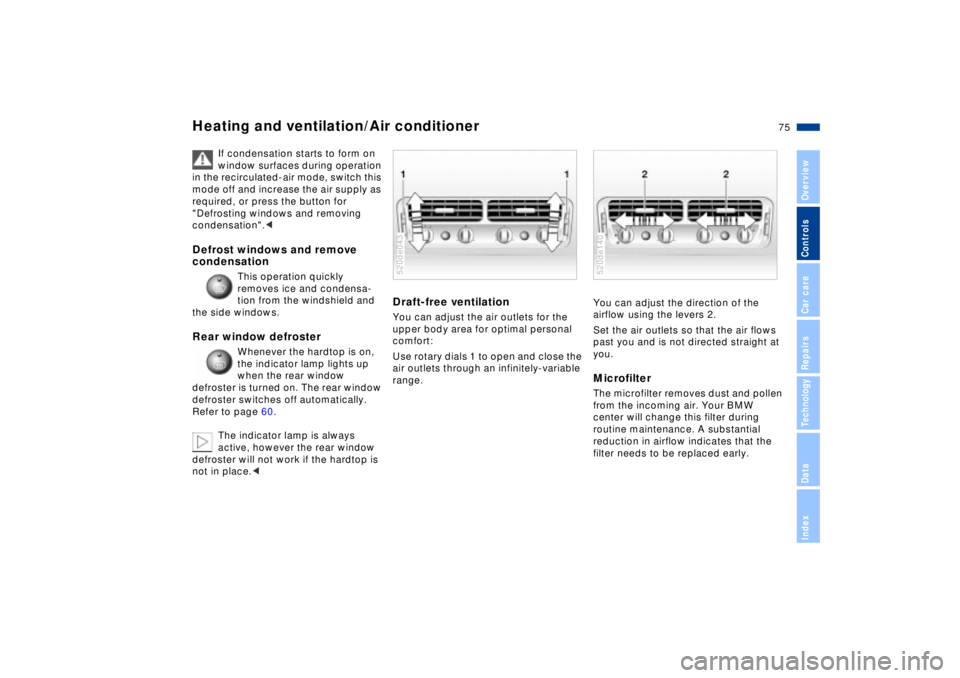
When you switch on the ignition, the
indicator lamp lights up briefly to
confirm that the system is operational.
Once the indicator lamp comes on and
stays on, there are approx. 2.5 gallons
(10 liters) of fuel left in the fuel tank.
For fuel tank capacity, refer to
page 161.
Certain operating conditions (such
as those encountered in mountainous
areas) may cause the needle to fluc-
tuate slightly.
Please refuel early, since driving
to the last drop of fuel can result
in damage to the engine or catalytic
converter.<520us005
Odometer Tachometer Fuel gauge
Page 67 of 174

67n
IndexDataTechnologyRepairsCar careControlsOverview
Dynamic Performance Flat Tire MonitorSport mode recognitionActivating:
In ignition position 2, press the button.
The indicator lamp will come on.
Deactivating:
Whenever the indicator lamp is on, it
will go out if you press the button again.
The conceptThe Flat Tire Monitor keeps track of the
inflation pressures in all four wheels as
you drive. The system provides an alert
whenever the inflation pressure has
dropped significantly in one of the tires.
To initialize the Flat Tire Monitor with
the correct inflation pressures, start by
ensuring that all of the vehicle's tires
are inflated to the pressures specified
in the inflation pressure table on
page 27. Now you can activate the
system.
The indicator lamp within the
instrument cluster flashes to
alert you to substantial pres-
sure loss in any of the tires.
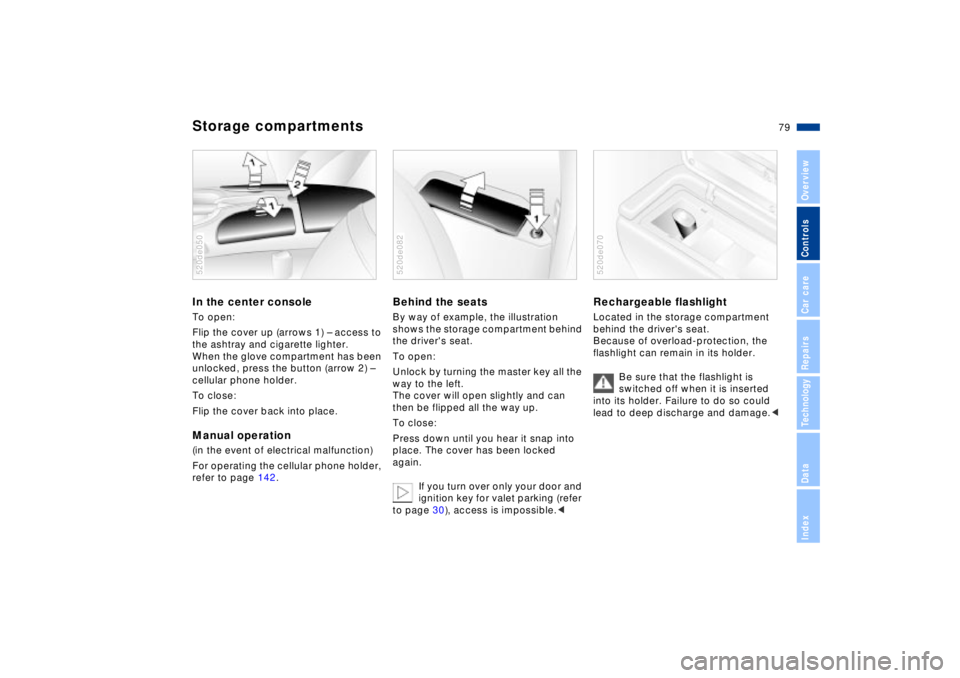
To activate the system1. Turn the ignition key to position 2
2. Press the button long enough for the
indicator lamp in the instrument
cluster to light up red for a few
seconds
3. As you drive, the Flat Tire Monitor
automatically enters the system
initialization mode in which it stores
the current pressures as its reference
figures. The initialization process
lasts for ten minutes or somewhat
longer. Once it has been completed
the Flat Tire Monitor is able to detect
and warn of flat tires.520de117
Page 69 of 174

69n
IndexDataTechnologyRepairsCar careControlsOverview
Parking lamps (side marker
lamps)
With the switch in this position,
the front, rear and side vehicle
lighting is switched on.
When leaving the vehicle parked, you
also have the additional option of acti-
vating the lighting on just one side, refer
to page 70.
Low beams
If you switch off the ignition
while the low beams are on,
only the parking lamps (side
marker lamps) remain on.
520de036
"Follow me home" lamps:
If you actuate the headlamp
flasher after you have parked the
vehicle and shut off the engine, the low
beams will remain on for a brief period.
You may also have this function deacti-
vated if you wish.<
"LIGHTS ON" warningIf you turn the ignition key to position 0,
an acoustic signal will sound for a few
seconds after the driver's door has
been opened if the low beams have not
been switched off.Daytime driving lamps
*
The headlamps are automatically
switched on for daylight driving when
ignition key is in position 2.
Turn the knob to adjust the lighting
intensity.520us008
Parking lamps/Low beams Instrument lighting
Page 70 of 174
70n
High beams/Standing lamps Rear fog lamp 1 High beams (blue indicator lamp)
2 Headlamp flasher (blue indicator
lamp)
3 Standing lampsStanding lamps, left or rightWhen leaving the vehicle parked, you
also have the additional option of acti-
vating the lighting on just one side:
With the ignition key in position 0, move
the turn signal lever in the desired
direction (for left or right side); allow the
detent to engage.520de025
The yellow indicator lamp in the
instrument cluster lights up
whenever the rear fog lamp is
switched on.
Comply with legal requirements
regarding fog lamp use.
520de039
Page 75 of 174

75n
IndexDataTechnologyRepairsCar careControlsOverview
Heating and ventilation/Air conditioner
If condensation starts to form on
window surfaces during operation
in the recirculated-air mode, switch this
mode off and increase the air supply as
required, or press the button for
"Defrosting windows and removing
condensation".<
Defrost windows and remove
condensation
This operation quickly
removes ice and condensa-
tion from the windshield and
the side windows.
Rear window defroster
Whenever the hardtop is on,
the indicator lamp lights up
when the rear window
defroster is turned on. The rear window
defroster switches off automatically.
Refer to page 60.
The indicator lamp is always
active, however the rear window
defroster will not work if the hardtop is
not in place.<
Draft-free ventilation You can adjust the air outlets for the
upper body area for optimal personal
comfort:
Use rotary dials 1 to open and close the
air outlets through an infinitely-variable
range.520de043
You can adjust the direction of the
airflow using the levers 2.
Set the air outlets so that the air flows
past you and is not directed straight at
you.MicrofilterThe microfilter removes dust and pollen
from the incoming air. Your BMW
center will change this filter during
routine maintenance. A substantial
reduction in airflow indicates that the
filter needs to be replaced early.520de140
Page 79 of 174

79n
IndexDataTechnologyRepairsCar careControlsOverview
Storage compartmentsIn the center console To open:
Flip the cover up (arrows 1) Ð access to
the ashtray and cigarette lighter.
When the glove compartment has been
unlocked, press the button (arrow 2) Ð
cellular phone holder.
To close:
Flip the cover back into place. Manual operation(in the event of electrical malfunction)
For operating the cellular phone holder,
refer to page 142.520de050
Behind the seatsBy way of example, the illustration
shows the storage compartment behind
the driver's seat.
To open:
Unlock by turning the master key all the
way to the left.
The cover will open slightly and can
then be flipped all the way up.
To close:
Press down until you hear it snap into
place. The cover has been locked
again.
If you turn over only your door and
ignition key for valet parking (refer
to page 30), access is impossible.<520de082
Rechargeable flashlight
Located in the storage compartment
behind the driver's seat.
Because of overload-protection, the
flashlight can remain in its holder.
Be sure that the flashlight is
switched off when it is inserted
into its holder. Failure to do so could
lead to deep discharge and damage.<520de070
Page 82 of 174
82n
Cigarette lighterPress in. You can remove the lighter
from its socket for use as soon as it
snaps back out.
Hold or touch the hot cigarette
lighter by the knob only. Holding
or touching it in other areas could result
in burns.
The cigarette lighter remains opera-
tional when the ignition key has been
removed. This is yet another reason you
should never allow unsupervised chil-
dren to remain alone in the vehicle.<520de053
Cigarette lighter socketThe socket is suitable for attaching
power supplies for flashlights, car
vacuum cleaners, or other appliances
up to a rating of approx. 200 watts at
12 volts. Avoid damaging the socket by
inserting plugs of improper shapes or
sizes.
Page 83 of 174

83n
IndexDataTechnologyRepairsCar careControlsOverview
Cargo loadingStowing cargo If you are carrying cargo in the luggage
compartment of your BMW Z8 roadster:
>Load heavy cargo as far forward as
possible, directly behind the luggage
compartment partition
>Cover sharp edges and corners.
If you are stowing cargo behind the
seats in your BMW Z8 roadster:
>Stow only lightweight objects, such
as clothing
>Do not pile objects higher than the
top edge of the backrest.
Do not stow either heavy cargo or
cargo with sharp edges and
corners behind the seats, or else they
could damage the back of the seat or
the rear trim panel.
Cargo that is too big or unwieldy and
stowed behind the seats can also
prevent the seat from locking properly
into position. Therefore, check to make
sure that the seat is properly locked
into place, moving the seat forward if
necessary. Refer to page 45.
Always position and secure the load
correctly. If you do not, it can endanger
vehicle occupants during braking or
evasive maneuvers.
Do not exceed the approved gross
weight or the approved axle loads (refer
to page 160), otherwise the vehicle's
operating safety is no longer assured
and you are in violation of the law.
Make sure to secure heavy or hard
objects you stow in the passenger area,
otherwise, these objects could be flung
about during braking or evasive maneu-
vers and possibly injure vehicle occu-
pants.<