2002 BMW Z8 engine
[x] Cancel search: enginePage 25 of 174

25n
IndexDataTechnologyRepairsCar careControlsOverview
Refueling Fuel filler door
Before filling the tank, shut off the
engine. If you do not, fuel cannot
flow into the tank and the Service
Engine Soon lamp may come on.<
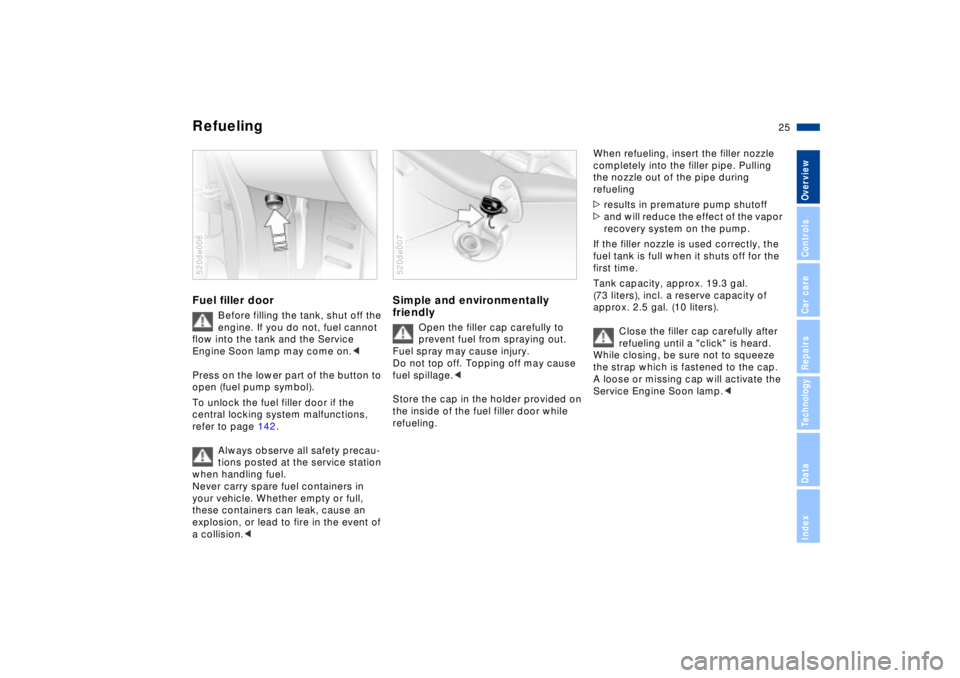
Press on the lower part of the button to
open (fuel pump symbol).
To unlock the fuel filler door if the
central locking system malfunctions,
refer to page 142.
Always observe all safety precau-
tions posted at the service station
when handling fuel.
Never carry spare fuel containers in
your vehicle. Whether empty or full,
these containers can leak, cause an
explosion, or lead to fire in the event of
a collision.<
520de006
Simple and environmentally
friendly
Open the filler cap carefully to
prevent fuel from spraying out.
Fuel spray may cause injury.
Do not top off. Topping off may cause
fuel spillage.<
Store the cap in the holder provided on
the inside of the fuel filler door while
refueling.
520de007
When refueling, insert the filler nozzle
completely into the filler pipe. Pulling
the nozzle out of the pipe during
refueling
>results in premature pump shutoff
>and will reduce the effect of the vapor
recovery system on the pump.
If the filler nozzle is used correctly, the
fuel tank is full when it shuts off for the
first time.
Tank capacity, approx. 19.3 gal.
(73 liters), incl. a reserve capacity of
approx. 2.5 gal. (10 liters).
Close the filler cap carefully after
refueling until a "click" is heard.
While closing, be sure not to squeeze
the strap which is fastened to the cap.
A loose or missing cap will activate the
Service Engine Soon lamp.<
Page 26 of 174

26n
Fuel quality Tire inflation pressure The engine uses lead-free gasoline
only.
Required fuel:
>Premium Unleaded Gasoline,
min. 91 AKI
AKI = Anti Knock Index
Do not use leaded fuels. The use
of leaded fuels will cause perma-
nent damage to the system's oxygen
sensor and the catalytic converter.<
You will find the tire inflation pressures
on the door pillar (visible with door
open).Check tire pressuresAll pressure specifications are indicated
in psi (kilopascal) for cold tires at
ambient temperature (refer also to the
next page).
Remember to reactivate the Flat
Tire Monitor after every wheel or
tire change, refer to page 67.<520de008
Check tire inflation pressures
regularly Ð at least every two
weeks and before each extended
journey. Otherwise, incorrect tire pres-
sure can lead to poor handling, tire
damage and accidents.<
Comply with tire approval
specificationsThe inflation pressures in the table
apply to tires made by BMW-approved
manufacturers. Your BMW center is
familiar with these pressures. Higher
pressures may be specified for tires
made by other manufacturers.
You will find a list of approved tire sizes
on page 104.
Your vehicle is equipped with tires that
not only meet US standards, but also
European standards. We recommend
the exclusive use of BMW-approved
tires.
Page 29 of 174

Overview
Controls and features
Operation, care
and maintenance
Owner service procedures
Technical data
Index Advanced technology
29n
IndexDataTechnologyRepairsCar careControlsOverview
Driving:
Ignition and steering lock55
Starting the engine56
Switching off the engine57
Parking brake57
Manual transmission58
Turn signal indicator/Headlamp
flasher58
Washer/Wiper system59
Rear window defroster60
Cruise control61
Everything under control:
Odometer62
Tachometer62
Fuel gauge62
Coolant temperature gauge63
Service Interval Display63
Clock64
Multi-Information Radio (MIR)64
Technology for safety and
driving convenience:
Dynamic Stability Control
(DSC)65
Dynamic Performance
Control66
Flat Tire Monitor67Lamps:
Parking lamps/Low beams69
Instrument lighting69
High beams/Standing lamps70
Rear fog lamp70
Interior lamps71
Reading lamps71
Controlling the climate for
pleasant driving:
Heating and ventilation/
Air conditioner72
Seat heating77
Interior conveniences:
Glove compartment78
Storage compartments78
Beverage holder80
Cellular phone81
Ashtray81
Cigarette lighter82
Loading and transporting:
Cargo loading83
Page 31 of 174

31n
IndexDataTechnologyRepairsCar careControlsOverview
Electronic vehicle immobilizer The key to securityThe electronic vehicle immobilizer
reduces your BMW's susceptibility to
theft by rendering it impossible to start
the engine using any means other than
the car's own individual keys. The
system operates automatically, with no
action or intervention on your part. Your
BMW center can cancel the system
authorization for individual keys (for
instance, if a key is lost). A deactivated
key can no longer be used to start the
engine.520de146
Advanced electronics in actionAt the heart of this system is an elec-
tronic chip that is integrated into the
key. The lock mechanism itself is actu-
ally a dual-function device, simulta-
neously serving as a communications
interface designed to allow the security
system to maintain a continuous stream
of variable, vehicle-specific signals with
the electronic circuitry in the key. The
system will release the ignition, elec-
trical steering lock, fuel injection and
starter for use only if it detects an
"authorized" key.
Exposure to external force can
damage the key's integrated elec-
tronic circuitry and render it inoperative.
A damaged key can no longer be used
to start the engine or release the
steering lock.<
Page 41 of 174

41n
IndexDataTechnologyRepairsCar careControlsOverview
The automatic convertible topWeather protectionThe fabric convertible top combines
reliable protection from the elements
with simple, convenient operation. Here
are a few tips to ensure that you enjoy
your BMW Z8 roadster.
It is advisable to close the convertible
top when the vehicle is parked. The
closed convertible top not only protects
the passenger compartment from
unforeseeable damage from the
weather, it also provides a certain
degree of theft protection. Even if the
convertible top is closed, store your
valuables only in the locked luggage
compartment.
To prevent damage to its rear window,
avoid opening or closing the fabric top
unless the temperature is well above
freezing. Operate the convertible top only
when the vehicle is stationary,
otherwise the procedure will be inter-
rupted. Driving before the opening or
closing procedure has been properly
concluded can lead to damage or
injury.
Do not lay objects on the convertible
top, since they would fall off when the
convertible top is operated and cause
damage or injuries.
Make sure that no objects or people get
in the way while the convertible top is
opening or closing, so that no damage
or injuries occur.
The automatic operating procedure is
interrupted immediately if the switch
for actuating the top is released. The
procedure can be continued in the
desired direction by pressing this
switch.<
To openFrom ignition key position 1:
If at all possible, only operate the
convertible top if the engine is running
to avoid discharging the battery.
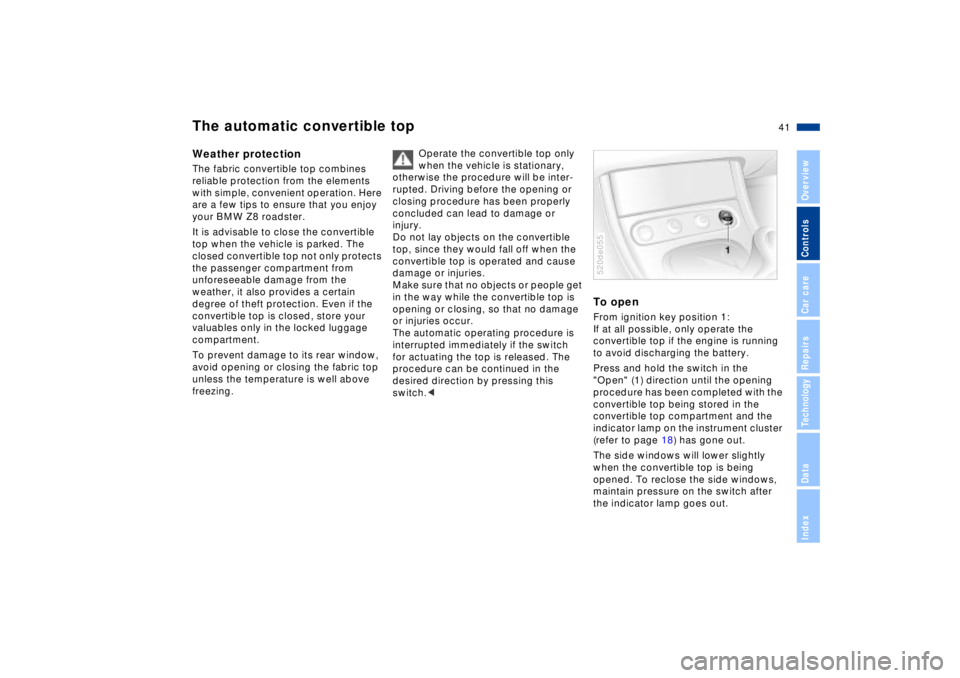
Press and hold the switch in the
"Open" (1) direction until the opening
procedure has been completed with the
convertible top being stored in the
convertible top compartment and the
indicator lamp on the instrument cluster
(refer to page 18) has gone out.
The side windows will lower slightly
when the convertible top is being
opened. To reclose the side windows,
maintain pressure on the switch after
the indicator lamp goes out. 520de055
Page 56 of 174

56n
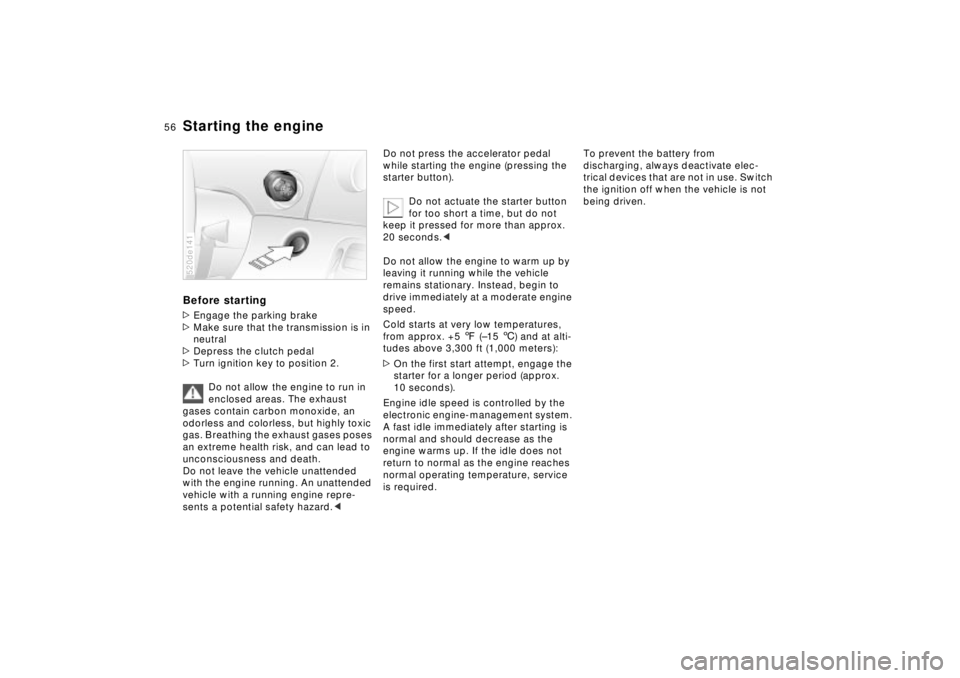
Starting the engine Before starting>Engage the parking brake
>Make sure that the transmission is in
neutral
>Depress the clutch pedal
>Turn ignition key to position 2.
Do not allow the engine to run in
enclosed areas. The exhaust
gases contain carbon monoxide, an
odorless and colorless, but highly toxic
gas. Breathing the exhaust gases poses
an extreme health risk, and can lead to
unconsciousness and death.
Do not leave the vehicle unattended
with the engine running. An unattended
vehicle with a running engine repre-
sents a potential safety hazard.<520de141
Do not press the accelerator pedal
while starting the engine (pressing the
starter button).
Do not actuate the starter button
for too short a time, but do not
keep it pressed for more than approx.
20 seconds.<
Do not allow the engine to warm up by
leaving it running while the vehicle
remains stationary. Instead, begin to
drive immediately at a moderate engine
speed.
Cold starts at very low temperatures,
from approx. +5 7 (Ð15 6) and at alti-
tudes above 3,300 ft (1,000 meters):
>On the first start attempt, engage the
starter for a longer period (approx.
10 seconds).
Engine idle speed is controlled by the
electronic engine-management system.
A fast idle immediately after starting is
normal and should decrease as the
engine warms up. If the idle does not
return to normal as the engine reaches
normal operating temperature, service
is required.
To prevent the battery from
discharging, always deactivate elec-
trical devices that are not in use. Switch
the ignition off when the vehicle is not
being driven.
Page 57 of 174

57n
IndexDataTechnologyRepairsCar careControlsOverview
Switching off the engine Parking brake Turn ignition key to position 1 or 0.
Never remove the ignition key
while the vehicle is rolling. If you
do so, the ignition lock would engage
when the steering wheel is turned.
When you leave the vehicle, always
remove the ignition key and engage the
steering lock.
Always engage the parking brake when
parking on hills and inclined surfaces,
as first gear or reverse may not provide
adequate resistance to rolling.<
The parking brake is primarily designed
to prevent the vehicle from rolling while
parked. It operates on the rear wheels. To engage The lock engages automatically when
you lift the lever, and the indicator lamp
in the instrument cluster comes on
when the ignition key is in position 2.
Refer to page 21.To releasePull up slightly on the lever, press the
button and lower the lever. 520de024
If, in rare circumstances, it should
be necessary to engage the
parking brake while the vehicle is in
motion, do not pull hard on the lever.
Keep your thumb pressed against the
release button while carefully pulling
the lever up to apply moderate pres-
sure.
Excessive pressure can lead to over-
braking and loss of traction (fishtailing)
at the rear axle.
The brake lamps do not come on when
the parking brake is engaged.
Always engage the parking brake when
parking on hills and inclined surfaces,
as selecting first gear or reverse may
not provide adequate resistance to
rolling.<
To avoid corrosion and one-sided
braking, apply the parking brake lightly
from time to time when coasting to a
standstill (at a traffic signal, for
instance), provided that it is safe to do
so.
Page 58 of 174

58n
Manual transmission Indicator/Headlamp ßasher Every time you shift gears, always
depress the clutch pedal all the way
down, pushing the gear lever into the
desired position.
Always remember to depress the clutch
pedal when starting the engine; a lock-
out device prevents starting when the
clutch is engaged.
The shift lever's neutral plane is located
between 3rd and 4th gears.
The shift lever automatically returns to
the 3rd/4th plane whenever you select
neutral. 520de158
When shifting across the gate to
the 5th/6th gear plane always
remember to push the lever to the right
to avoid inadvertent engagement of 3rd
or 4th gear.<
Reverse Select only when the vehicle is
stationary. Press the shift lever to the
left to overcome the resistance.
As you do this, the backup lamp will
turn on automatically when the ignition
key is in position 2.
Never slip the clutch to prevent
the vehicle from rolling backwards
when stopping on hills. Slipping the
clutch for extended periods leads to
rapid, premature clutch wear.<
1 High beams (blue indicator lamp)
2 Headlamp flasher (blue indicator
lamp)
3 Turn signal indicator (green indicator
lamp and cyclical clicking from the
blinker relay)
If the indicator lamp and the clicking
from the relay are faster than normal,
one of the turn signal bulbs is defective. To signal brieflyPress the lever up to but not beyond
the pressure point. It then returns to the
center position when released. 520de025