2002 BMW Z8 ECU
[x] Cancel search: ECUPage 3 of 174

Congratulations, and thank you for choosing a BMW.
Thorough familiarity with your vehicle will provide you with enhanced co\
ntrol and
security when you drive it. We therefore have this request:
Please take the time to read this Owner's Manual and familiarize yoursel\
f with the
information that we have compiled for you before starting off in your ne\
w BMW. It
contains important data and instructions intended to help you derive max\
imum use
and satisfaction from your BMW's unique range of technical features. The\
manual
also contains information on care and maintenance designed to enhance op\
erating
safety and contribute to maintaining the value of your vehicle throughou\
t an
extended service life.
This manual is supplemented by a Service and Warranty Information Bookle\
t
(US models) or a Warranty and Service Guide Booklet (Canadian models)\
.
We recommend that you read the applicable publication thoroughly.
Your BMW is covered by the following warranties:
Ð New Vehicle Limited Warranty
Ð Limited Rust Perforation Warranty
Ð Federal Emissions System Defect Warranty
Ð Federal Emissions Performance Warranty
Ð California Emissions Control System Limited Warranty
Detailed information concerning these warranties is provided in the Serv\
ice and
Warranty Information Booklet (US models) or in the Warranty and Servic\
e Guide
Booklet (Canadian models).
We wish you an enjoyable driving experience.
BMW AG
Page 10 of 174

Contents
Overview
Controls and features
Cockpit16
Instrument cluster18
Indicator and warning lamps20
Hazard warning flashers24
Warning triangle24
First-aid kit24
Refueling25
Fuel quality26
Tire inflation pressure26
Locks and security systems:
Keys30
Electronic vehicle
immobilizer31
Central locking system32
Opening and closing Ð from the
outside32
Using the key32
Using the remote control33
Opening and closing Ð from the
inside36
Luggage compartment lid37
Alarm system38
Electric power windows40
The automatic convertible
top41
Adjustments:
Seats45
Steering wheel47
Mirrors47
Vehicle Memory, Key
Memory49
Passenger safety systems:
Safety belts50
Airbags51
Transporting children safely53
Driving:
Ignition and steering lock55
Starting the engine56
Switching off the engine57
Parking brake57
Manual transmission58
Turn signal indicator/Headlamp
flasher58
Washer/Wiper system59
Rear window defroster60
Cruise control61
Everything under control:
Odometer62
Tachometer62
Fuel gauge62
Coolant temperature gauge63
Service Interval Display63
Clock64
Multi-Information Radio (MIR)64
Technology for safety and
driving convenience:
Dynamic Stability Control
(DSC)65
Dynamic Performance
Control66
Flat Tire Monitor67
Contents
Page 28 of 174

28n
Locks and security systems:
Keys30
Electronic vehicle
immobilizer31
Central locking system32
Opening and closing Ð from the
outside32
Using the key32
Using the remote control33
Opening and closing Ð from the
inside36
Luggage compartment lid37
Alarm system38
Electric power windows40
The automatic convertible
top41
Adjustments:
Seats45
Steering wheel47
47
Vehicle Memory, Key
Memory49
Passenger safety systems:
Safety belts50
Airbags51
Transporting children safely53
Controls
Page 30 of 174

30n
Keys1 The Key Memory functions are stored
in the remote-control key, refer to
page 49
You can mark individual keys for
subsequent identification by apply-
ingh the colored decals that you
received when accepting delivery of
your vehicle
There is an extended-life battery
in every master key that is
charged automatically in the steering
lock every time you drive.
For this reason, if you have a master
key that is not in regular use, use that
key approximately once every year
while driving for an extended period to
charge the battery. Also refer to
page 33.< 520de142
2 Spare key for storage in a safe place,
such as in your wallet. This master
key is not intended for continuous
use
3 Door and ignition key
The lock for the glove compartment
cannot be operated with this key.
This is recommended for valet
parking, etc.
There is a key case available for using
your master key on a regular basis.
Replacement keysReplacement keys are available exclu-
sively through your BMW center. Your
BMW center is obligated to ensure that
a person requesting a key is authorized
to do so, since the keys are an integral
element of the security system (refer to
"Electronic vehicle immobilizer" in the
following columns).
If possible, take all of the master
keys that belong to the vehicle
with you when you pick up your
replacement key.
Whenever you receive a new replace-
ment key, turn it once to position 2 in
the ignition lock (ignition switched on)
and then back, so that the electronic
vehicle immobilizer can initialize the
new key.<
Page 31 of 174

31n
IndexDataTechnologyRepairsCar careControlsOverview
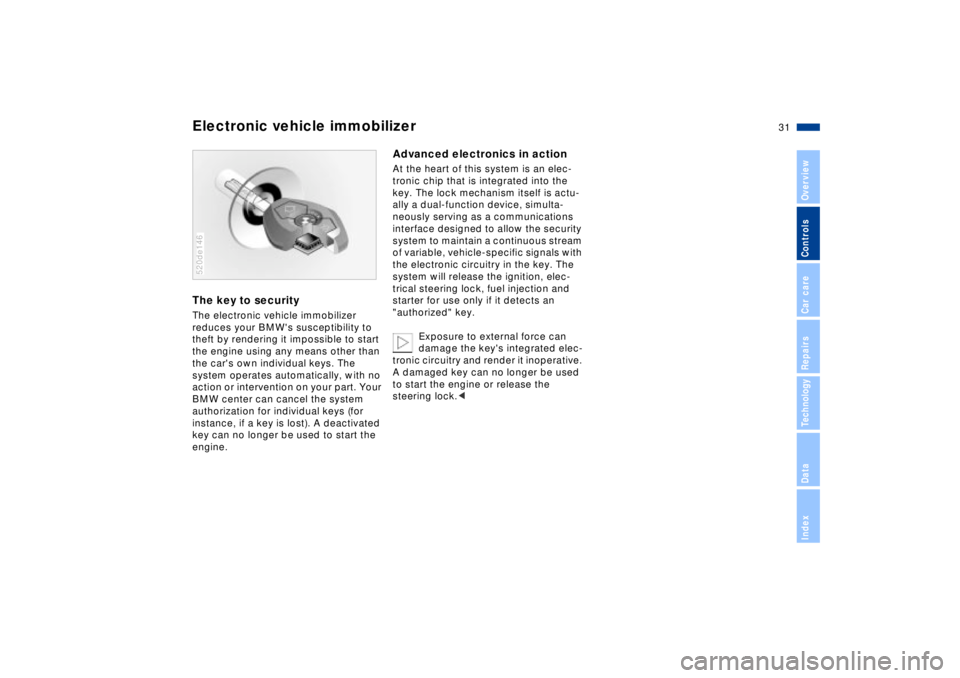
Electronic vehicle immobilizer The key to securityThe electronic vehicle immobilizer
reduces your BMW's susceptibility to
theft by rendering it impossible to start
the engine using any means other than
the car's own individual keys. The
system operates automatically, with no
action or intervention on your part. Your
BMW center can cancel the system
authorization for individual keys (for
instance, if a key is lost). A deactivated
key can no longer be used to start the
engine.520de146
Advanced electronics in actionAt the heart of this system is an elec-
tronic chip that is integrated into the
key. The lock mechanism itself is actu-
ally a dual-function device, simulta-
neously serving as a communications
interface designed to allow the security
system to maintain a continuous stream
of variable, vehicle-specific signals with
the electronic circuitry in the key. The
system will release the ignition, elec-
trical steering lock, fuel injection and
starter for use only if it detects an
"authorized" key.
Exposure to external force can
damage the key's integrated elec-
tronic circuitry and render it inoperative.
A damaged key can no longer be used
to start the engine or release the
steering lock.<
Page 34 of 174

34n
Opening and closing Ð from the outsideTo unlock the vehicle Press button 1.
Press the button once to unlock the
driver's door only; press it a second
time to unlock the passenger door, the
luggage compartment lid, the fuel filler
door, the glove compartment, and the
cellular phone holder.
If necessary, you can open the fuel filler
door by pressing the button inside the
vehicle; refer to page 25.Convenience opening modePress and hold button 1. The windows
are then opened. 520de143
To lock and secure Press button 2.
You can have different confirma-
tion signals programmed into the
system to verify that it has assumed
active operational status.<520de145
To deactivate the tilt alarm sensor
and interior motion sensor Press button 2 again immediately after
locking.
For additional information, refer to
page 39.To switch on the interior lamps With the vehicle locked, press button 2.520de145
Page 39 of 174

39n
IndexDataTechnologyRepairsCar careControlsOverview
Alarm systemIndicator lamp displaysThe indicator lamp is located in the
inside rear view mirror's rotary knob.
>The indicator lamp flashes continu-
ously: the system is armed
>The indicator lamp flashes during
arming: a door, the hood or luggage
compartment lid is not completely
closed. Even if you do not respond by
securing the affected area, the system
starts to monitor all other points and
the indicator lamp reverts to contin-
uous, uninterrupted operation once
ten seconds have elapsed. The inte-
rior motion sensor remains off
>The indicator lamp goes out during
disarming: no manipulation or
attempted intrusions have been
detected in the period since the
system was armed520de014
>The indicator lamp flashes for
10 seconds when the system is
disarmed: an attempted entry has
been detected in the period since the
system was armed.
Following triggering of an alarm, the
indicator lamp will flash continuously.Avoiding unintentional alarms The tilt alarm sensor and interior motion
sensor may be switched off at the same
time to prevent a false alarm from being
triggered (in garages with elevator
ramps, for instance), or when the
vehicle is transported by trailer or train:
Lock the vehicle twice (= arm the
system) by pressing button 2 on the
remote control twice in succession
(refer to page 34), or lock the vehicle
twice with the key (refer to page 32).
The indicator lamp lights up briefly and
then flashes continuously. The tilt alarm
sensor and the interior motion sensor
remain deactivated for as long as the
system is armed.
Interior motion sensorIn order for the interior motion sensor to
function properly, the windows and the
luggage compartment lid must be
closed.
Nevertheless, you should deactivate
the interior motion sensor (refer to the
previous column) if
>children or animals are left in the
vehicle
>windows should remain open.
For US vehicles only:
The interior motion sensor is not
installed on US models as it has not
received FCC (Federal Communica-
tions Commission) approval.<
Page 43 of 174

43n
IndexDataTechnologyRepairsCar careControlsOverview
The automatic convertible top4. Press on both left and right sides to
lock the cover in place
5. Pull the button to verify that the
locking mechanism is engaged
securely.
The cover lock responds by alter-
nately engaging and releasing
with each successive application of
pressure.<
Be sure that the cover is properly
secured on the vehicle. If it is not
firmly secured, air pressure could
loosen the cover at higher speeds.<520de038
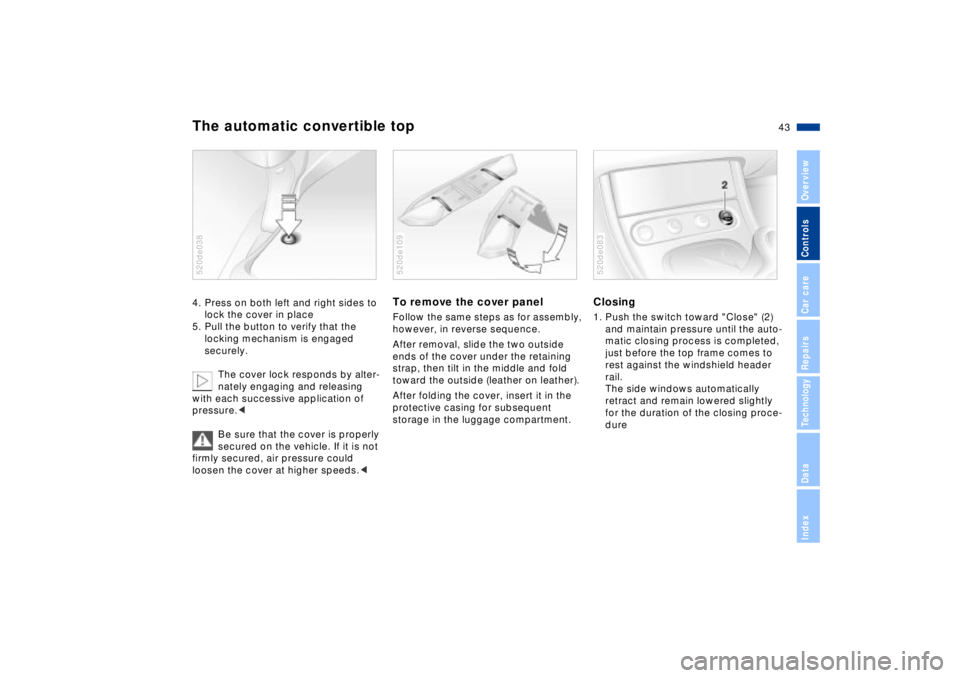
To remove the cover panelFollow the same steps as for assembly,
however, in reverse sequence.
After removal, slide the two outside
ends of the cover under the retaining
strap, then tilt in the middle and fold
toward the outside (leather on leather).
After folding the cover, insert it in the
protective casing for subsequent
storage in the luggage compartment.520de109
Closing1. Push the switch toward "Close" (2)
and maintain pressure until the auto-
matic closing process is completed,
just before the top frame comes to
rest against the windshield header
rail.
The side windows automatically
retract and remain lowered slightly
for the duration of the closing proce-
dure520de083