2002 BMW Z8 CONVERTIBLE lock
[x] Cancel search: lockPage 50 of 174
50n
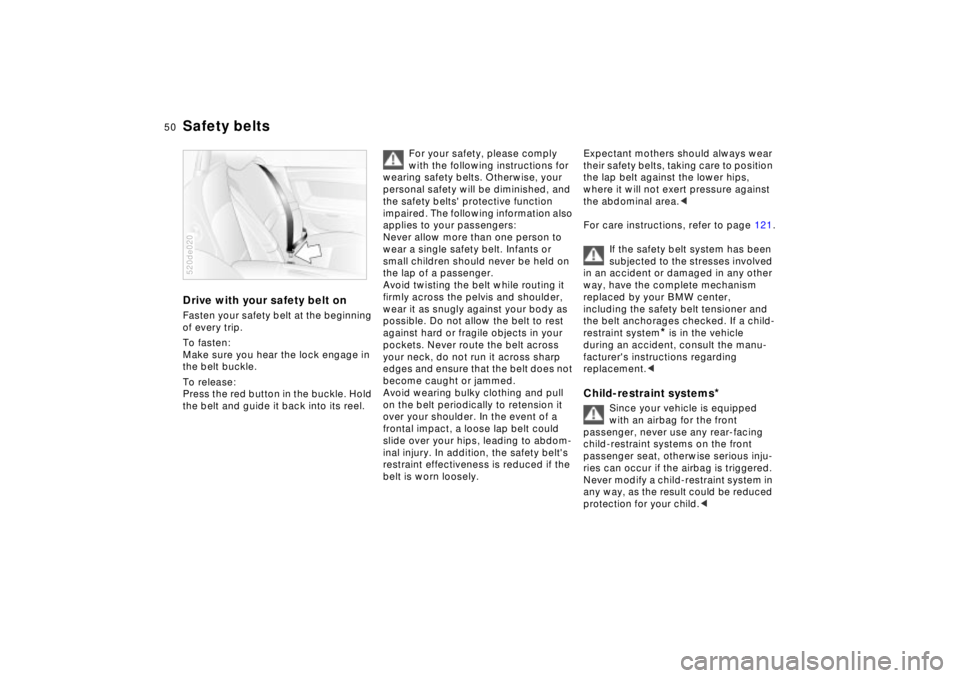
Drive with your safety belt onFasten your safety belt at the beginning
of every trip.
To fasten:
Make sure you hear the lock engage in
the belt buckle.
To release:
Press the red button in the buckle. Hold
the belt and guide it back into its reel. 520de020
For your safety, please comply
with the following instructions for
wearing safety belts. Otherwise, your
personal safety will be diminished, and
the safety belts' protective function
impaired. The following information also
applies to your passengers:
Never allow more than one person to
wear a single safety belt. Infants or
small children should never be held on
the lap of a passenger.
Avoid twisting the belt while routing it
firmly across the pelvis and shoulder,
wear it as snugly against your body as
possible. Do not allow the belt to rest
against hard or fragile objects in your
pockets. Never route the belt across
your neck, do not run it across sharp
edges and ensure that the belt does not
become caught or jammed.
Avoid wearing bulky clothing and pull
on the belt periodically to retension it
over your shoulder. In the event of a
frontal impact, a loose lap belt could
slide over your hips, leading to abdom-
inal injury. In addition, the safety belt's
restraint effectiveness is reduced if the
belt is worn loosely.
Expectant mothers should always wear
their safety belts, taking care to position
the lap belt against the lower hips,
where it will not exert pressure against
the abdominal area.<
For care instructions, refer to page 121.
If the safety belt system has been
subjected to the stresses involved
in an accident or damaged in any other
way, have the complete mechanism
replaced by your BMW center,
including the safety belt tensioner and
the belt anchorages checked. If a child-
restraint system
* is in the vehicle
during an accident, consult the manu-
facturer's instructions regarding
replacement.<
Child-restraint systems
*
Since your vehicle is equipped
with an airbag for the front
passenger, never use any rear-facing
child-restraint systems on the front
passenger seat, otherwise serious inju-
ries can occur if the airbag is triggered.
Never modify a child-restraint system in
any way, as the result could be reduced
protection for your child.<
Safety belts
Page 52 of 174
52n
AirbagsSitting correctly with airbags
Comply with the following instruc-
tions for the airbags, otherwise,
the airbags may not be able to provide
their maximum protection, with
resulting risks to personal safety. All
passengers in the vehicle should be
aware of and comply with this informa-
tion:
The airbag is a supplemental restraint
device; it is not a substitute or replace-
ment for your safety belt, which you
should continue to wear at all times.
When adjusting your seat, assume a
comfortable driving posture allowing
comfortable and secure access to all of
the vehicle's controls. Avoid sitting too
close to the steering wheel.
Always hold the steering wheel by the
rim Ð hands in the "9 o'clock" and
"3 o'clock" positions Ð otherwise, your
hands or arms could be injured if the
airbag is triggered.
Never allow any other passengers,
animals or objects to intrude into the
area between the airbag and the driver
or front passenger.
Do not use the cover panel above the
front passenger airbag as a storage
area.
Do not apply adhesive materials to the
cover panels of the airbags, or cover or
modify them in any other way.
Do not use a rear-facing child seat in
the front passenger seat. If you use a
child-restraint system, carefully read
and comply with the instructions on
page 53.
Be sure that child seats are installed
correctly and with the greatest possible
distance between them and the side
airbag. Do not allow children to lean out
of the child's seat in the direction of the
side trim panels. If they do so, serious
injuries can occur if the airbag is trig-
gered.<
Even when all these guidelines are
observed, there is still a small residual
risk of injury to the face, hands and
arms occurring from airbag deployment
in isolated instances.
The ignition and inflation noise may
cause a mild temporary hearing loss in
extremely sensitive individuals.
You will find the proper airbag safety
precautions on both sun visors and on
the instrument cluster (US models).
For additional information concerning
the airbag system, refer to pages 123
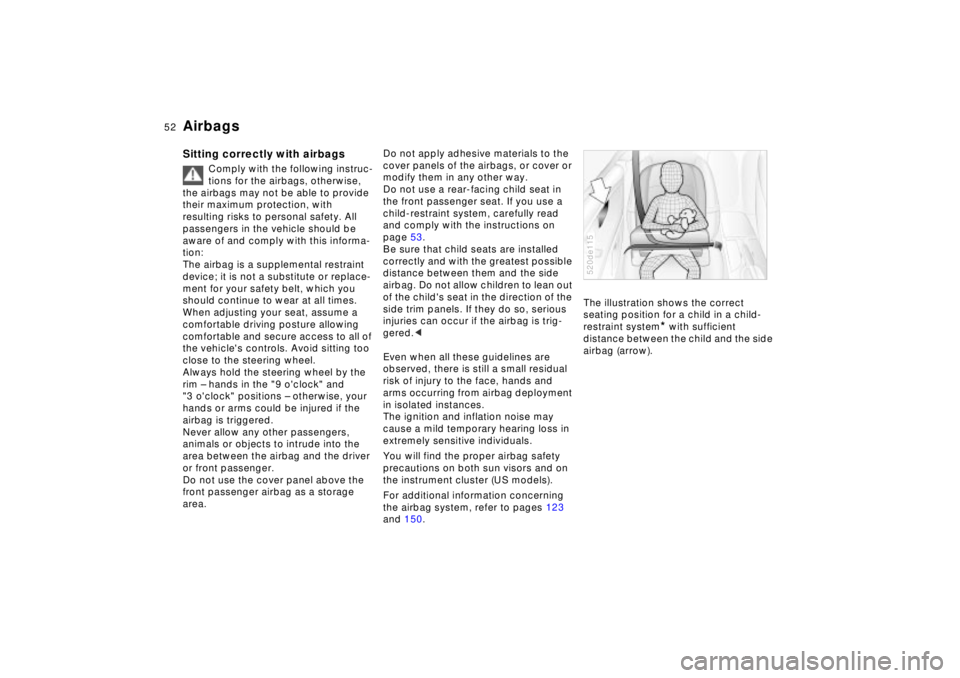
and 150.The illustration shows the correct
seating position for a child in a child-
restraint system
* with sufficient
distance between the child and the side
airbag (arrow).
520de115
Page 54 of 174
54n
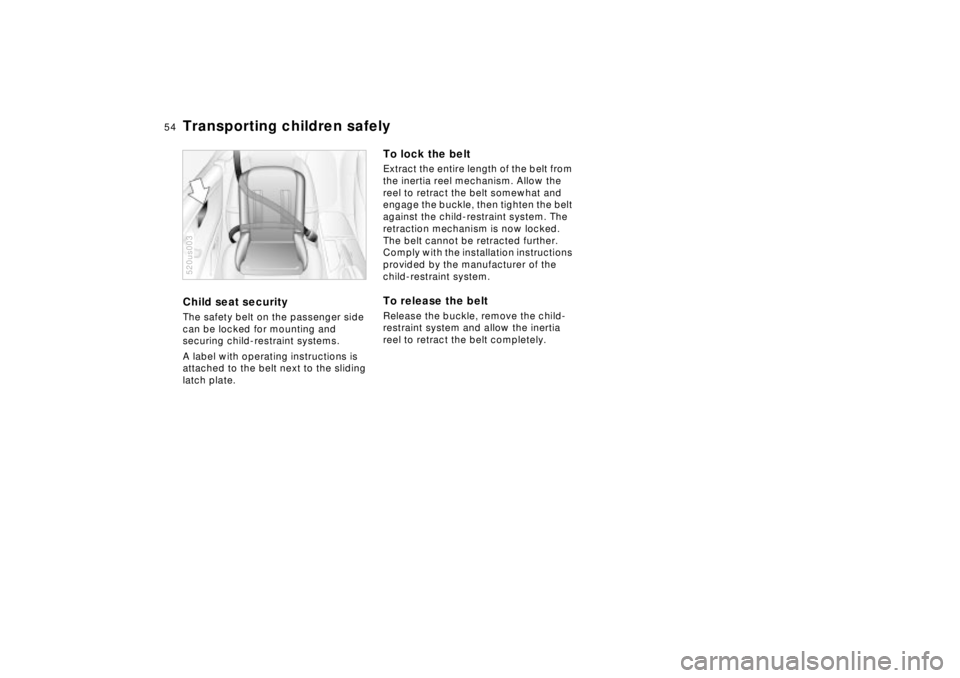
Transporting children safelyChild seat securityThe safety belt on the passenger side
can be locked for mounting and
securing child-restraint systems.
A label with operating instructions is
attached to the belt next to the sliding
latch plate.520us003
To lock the beltExtract the entire length of the belt from
the inertia reel mechanism. Allow the
reel to retract the belt somewhat and
engage the buckle, then tighten the belt
against the child-restraint system. The
retraction mechanism is now locked.
The belt cannot be retracted further.
Comply with the installation instructions
provided by the manufacturer of the
child-restraint system.To release the beltRelease the buckle, remove the child-
restraint system and allow the inertia
reel to retract the belt completely.
Page 55 of 174
55n
IndexDataTechnologyRepairsCar careControlsOverview
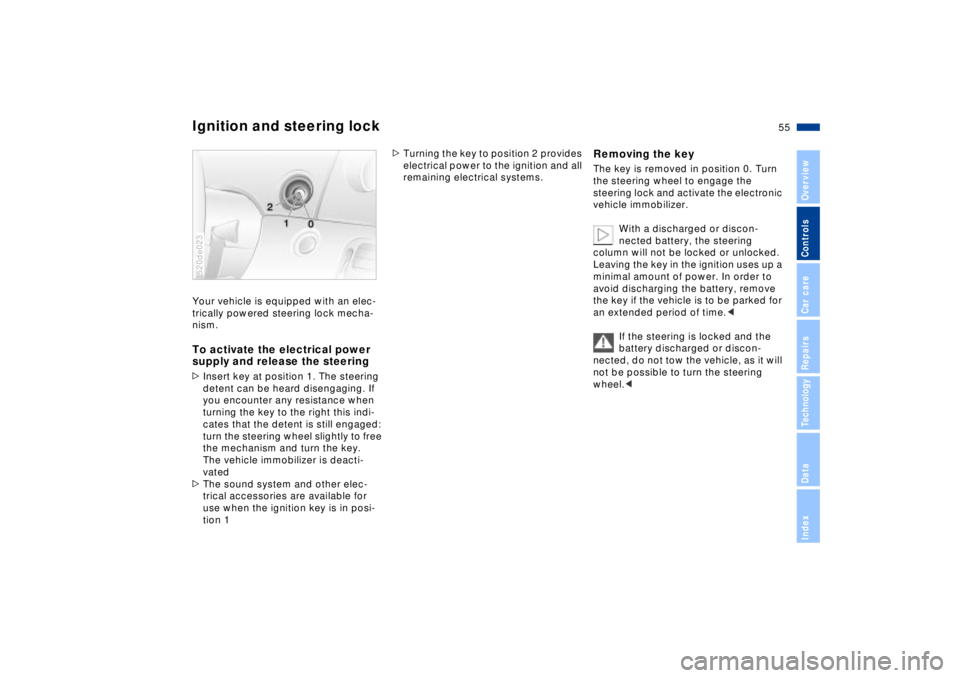
Your vehicle is equipped with an elec-
trically powered steering lock mecha-
nism.To activate the electrical power
supply and release the steering>Insert key at position 1. The steering
detent can be heard disengaging. If
you encounter any resistance when
turning the key to the right this indi-
cates that the detent is still engaged:
turn the steering wheel slightly to free
the mechanism and turn the key.
The vehicle immobilizer is deacti-
vated
>The sound system and other elec-
trical accessories are available for
use when the ignition key is in posi-
tion 1 520de023
>Turning the key to position 2 provides
electrical power to the ignition and all
remaining electrical systems.
Removing the key The key is removed in position 0. Turn
the steering wheel to engage the
steering lock and activate the electronic
vehicle immobilizer.
With a discharged or discon-
nected battery, the steering
column will not be locked or unlocked.
Leaving the key in the ignition uses up a
minimal amount of power. In order to
avoid discharging the battery, remove
the key if the vehicle is to be parked for
an extended period of time.<
If the steering is locked and the
battery discharged or discon-
nected, do not tow the vehicle, as it will
not be possible to turn the steering
wheel.<
Ignition and steering lock
Page 57 of 174
57n
IndexDataTechnologyRepairsCar careControlsOverview
Switching off the engine Parking brake Turn ignition key to position 1 or 0.
Never remove the ignition key
while the vehicle is rolling. If you
do so, the ignition lock would engage
when the steering wheel is turned.
When you leave the vehicle, always
remove the ignition key and engage the
steering lock.
Always engage the parking brake when
parking on hills and inclined surfaces,
as first gear or reverse may not provide
adequate resistance to rolling.<
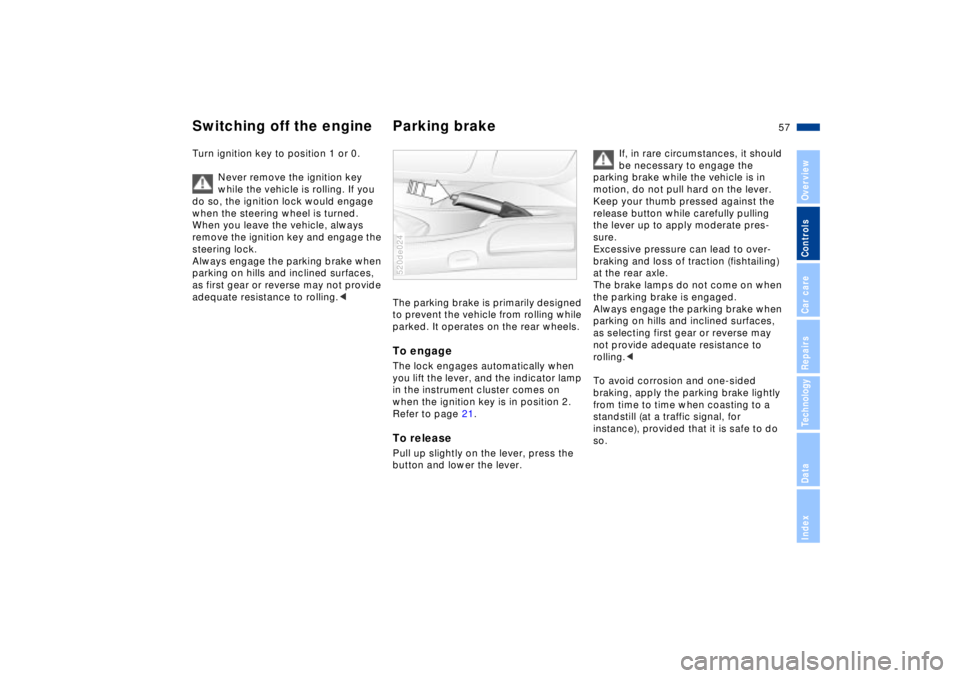
The parking brake is primarily designed
to prevent the vehicle from rolling while
parked. It operates on the rear wheels. To engage The lock engages automatically when
you lift the lever, and the indicator lamp
in the instrument cluster comes on
when the ignition key is in position 2.
Refer to page 21.To releasePull up slightly on the lever, press the
button and lower the lever. 520de024
If, in rare circumstances, it should
be necessary to engage the
parking brake while the vehicle is in
motion, do not pull hard on the lever.
Keep your thumb pressed against the
release button while carefully pulling
the lever up to apply moderate pres-
sure.
Excessive pressure can lead to over-
braking and loss of traction (fishtailing)
at the rear axle.
The brake lamps do not come on when
the parking brake is engaged.
Always engage the parking brake when
parking on hills and inclined surfaces,
as selecting first gear or reverse may
not provide adequate resistance to
rolling.<
To avoid corrosion and one-sided
braking, apply the parking brake lightly
from time to time when coasting to a
standstill (at a traffic signal, for
instance), provided that it is safe to do
so.
Page 58 of 174

58n
Manual transmission Indicator/Headlamp ßasher Every time you shift gears, always
depress the clutch pedal all the way
down, pushing the gear lever into the
desired position.
Always remember to depress the clutch
pedal when starting the engine; a lock-
out device prevents starting when the
clutch is engaged.
The shift lever's neutral plane is located
between 3rd and 4th gears.
The shift lever automatically returns to
the 3rd/4th plane whenever you select
neutral. 520de158
When shifting across the gate to
the 5th/6th gear plane always
remember to push the lever to the right
to avoid inadvertent engagement of 3rd
or 4th gear.<
Reverse Select only when the vehicle is
stationary. Press the shift lever to the
left to overcome the resistance.
As you do this, the backup lamp will
turn on automatically when the ignition
key is in position 2.
Never slip the clutch to prevent
the vehicle from rolling backwards
when stopping on hills. Slipping the
clutch for extended periods leads to
rapid, premature clutch wear.<
1 High beams (blue indicator lamp)
2 Headlamp flasher (blue indicator
lamp)
3 Turn signal indicator (green indicator
lamp and cyclical clicking from the
blinker relay)
If the indicator lamp and the clicking
from the relay are faster than normal,
one of the turn signal bulbs is defective. To signal brieflyPress the lever up to but not beyond
the pressure point. It then returns to the
center position when released. 520de025
Page 64 of 174
64n
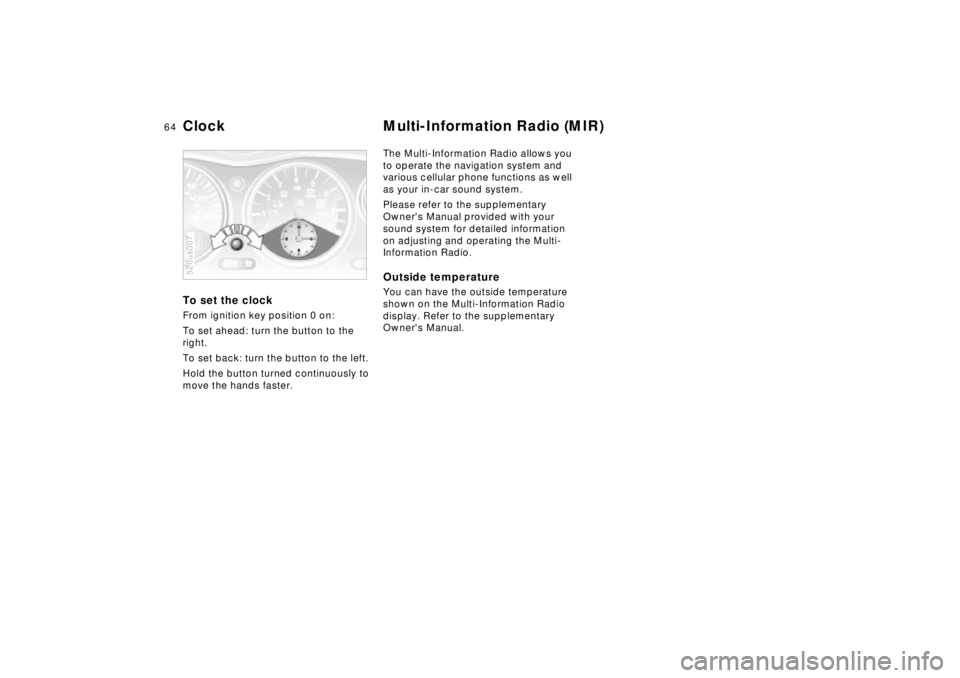
To set the clock From ignition key position 0 on:
To set ahead: turn the button to the
right.
To set back: turn the button to the left.
Hold the button turned continuously to
move the hands faster.520us007
The Multi-Information Radio allows you
to operate the navigation system and
various cellular phone functions as well
as your in-car sound system.
Please refer to the supplementary
Owner's Manual provided with your
sound system for detailed information
on adjusting and operating the Multi-
Information Radio.Outside temperature You can have the outside temperature
shown on the Multi-Information Radio
display. Refer to the supplementary
Owner's Manual.
Clock Multi-Information Radio (MIR)
Page 74 of 174
74n
Heating and ventilation/Air conditionerAir supply
You can select blower speeds
from 1 to 4. The higher the
setting, the greater the
amount of heat and air supply.
In position 0, the blower, heating and
air conditioner are switched off.
Temperature
In order to increase the inte-
rior temperature, turn to the
right. For rapid heating, turn
completely to the right. Then
select an interior temperature that is
comfortable for you.
Air distribution
You can direct the airflow onto
the windows , toward the
upper body and into the
footwell . You can also
make all intermediate settings. The
"6 o'clock" setting is recommended for
normal conditions (refer also to the
illustration and overview on page 72).
Recirculated-air mode
If there are unpleasant odors
in the incoming air, you can
temporarily block the air
supply. The system then recir-
culates the air already within the
vehicle.
If condensation starts to form on
window surfaces during operation
in the recirculated-air mode, switch this
mode off and increase the air supply as
required, or press the button for
"Defrosting windows and removing
condensation".<
Incoming-air mode
Recommended when driving
with the convertible top down.
The degree to which the
passenger compartment is
heated depends on temperature selec-
tion and air distribution.
Air conditioner/Incoming-air
mode
The air is cooled and dehu-
midified and Ð depending on
the temperature setting Ð
warmed again when the air
conditioner is switched on.
Depending on the weather, the wind-
shield may fog over briefly when the
engine is started.
Use the button to switch the air condi-
tioner off at outside temperatures
below approx. 41 7(5 6). This will
help to prevent condensation from
forming on window surfaces.
If the windows fog over after switching
the air conditioner off, switch it back
on.
Air conditioner/Recirculated-air
mode
You may find it useful to acti-
vate both systems to cool the
vehicle more rapidly after it
has been parked with the top
up on a hot day. This setting provides
the coldest possible airflow from the
vent outlets (with temperature selection
switch turned all the way to the left).