2002 BMW Z3 ECU
[x] Cancel search: ECUPage 150 of 187

150n
Wheel change
The wheel with the flat tire cannot
be placed in the spare wheel
bracket in the place of the spare
wheel.<
There is a plastic bag in the onboard
tool kit. Put the flat tire and the storage
tray into this bag.
Do not reposition the storage tray
in the spare wheel bracket without
the spare wheel.<
Using the lifting handle, pull the spare
wheel bracket upward until the spring
retainer catches. Secure the bracket
with the hexagon nut Ð ensure that it is
tightened down correctly.
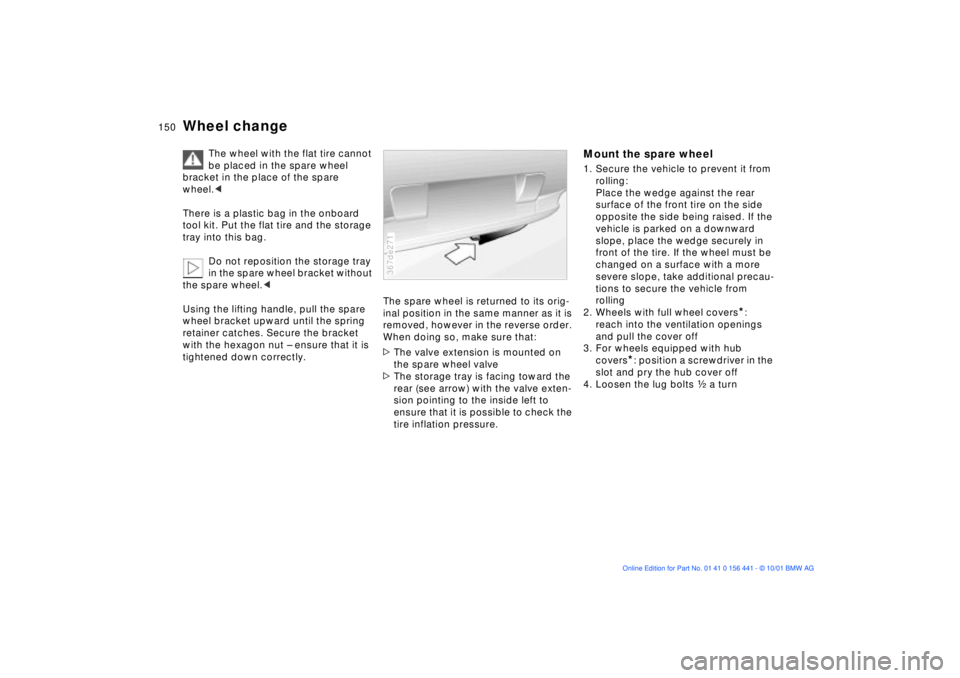
The spare wheel is returned to its orig-
inal position in the same manner as it is
removed, however in the reverse order.
When doing so, make sure that:
>The valve extension is mounted on
the spare wheel valve
>The storage tray is facing toward the
rear (see arrow) with the valve exten-
sion pointing to the inside left to
ensure that it is possible to check the
tire inflation pressure.367de271
Mount the spare wheel1. Secure the vehicle to prevent it from
rolling:
Place the wedge against the rear
surface of the front tire on the side
opposite the side being raised. If the
vehicle is parked on a downward
slope, place the wedge securely in
front of the tire. If the wheel must be
changed on a surface with a more
severe slope, take additional precau-
tions to secure the vehicle from
rolling
2. Wheels with full wheel covers
*:
reach into the ventilation openings
and pull the cover off
3. For wheels equipped with hub
covers
*: position a screwdriver in the
slot and pry the hub cover off
4. Loosen the lug bolts g a turn
Page 152 of 187

152n
Wheel change13. Wheels with full wheel covers:
Place the wheel cover with the
valve opening over the valve. Use
both hands to press the cover
securely onto the rim
14. Check and correct the inflation
pressure at the earliest opportunity.
Use only the full wheel cover
installed by the factory. Other
wheel covers may not fit securely. The
full wheel cover may not be installed on
the spare wheel because the cover
could be damaged.<
The jack is designed for changing
wheels only. Do not attempt to lift
a different vehicle model or any other
type of load with the jack. To do so
could lead to property damage or
personal injury.
To ensure continued safety, check the
tightness of the lug bolts at the earliest
opportunity (torque specification:
72 lbs ft [100 Nm]).<
If light-alloy wheels other than Original
BMW light-alloy wheels have been
mounted, it may be necessary to use
different lug bolts for those wheels.
Replace the defective tire as soon as
possible and have the new wheel/tire
balanced.
Driving with the spare wheelDrive cautiously and do not exceed a
speed of 50 mph (80 km/h).
Be aware that vehicle handling will be
altered. Slower brake response time,
longer braking distances and changed
steering characteristics may be antici-
pated when approaching limit condi-
tions.
Only one spare wheel may be
mounted at any time. Mount a
wheel and tire with the same size and
specifications as the others at the
earliest possible opportunity. Maintain
the specified tire inflation pressures,
refer to the table on page 27.<
Page 154 of 187

154n
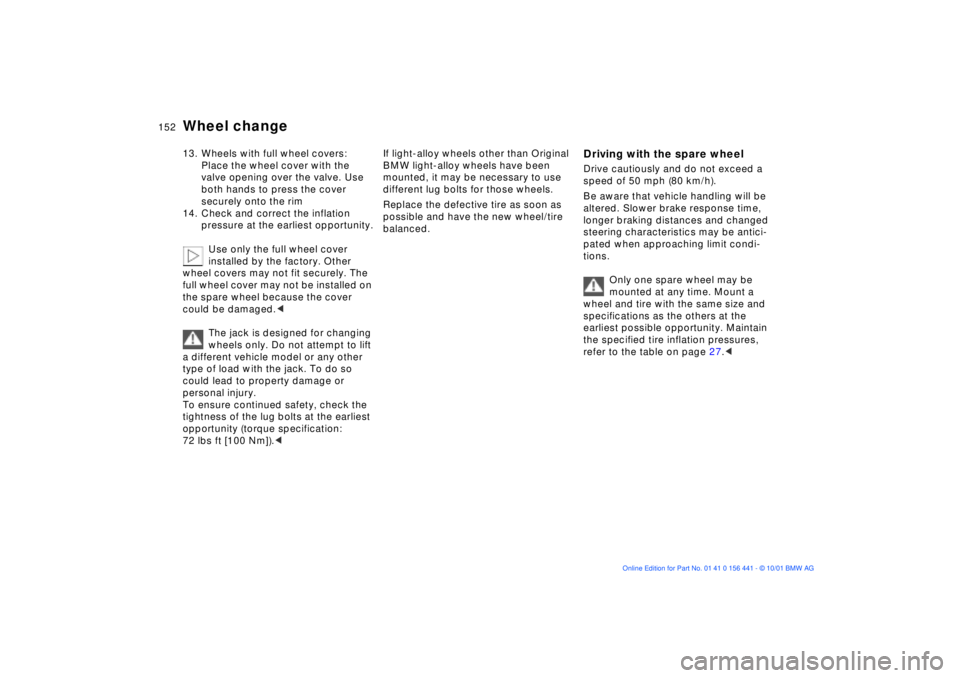
BatteryCharge condition You can read the charge condition of
the battery with the "Magic Eye"
(hydrometer):
>Green: adequate charge
>Black: not charged adequately.
The battery must be recharged
Please contact your BMW center.
>Yellow: replace the battery.
The projected service life of the
battery can only be reached if the
battery is fully-charged at all times.
Check the charge condition of the
battery frequently if the vehicle is used
primarily for driving short distances. < 367de337
Charging the batteryCharge the battery in the vehicle only
when the engine is switched off.
Charge the battery using the auxiliary
jump-start terminal and a ground in the
engine compartment, refer to Jump-
starting on page 158.
Before performing any work on
the electrical system, disconnect
the cable from the negative terminal. If
you do not, short circuits can create the
risk of fire or personal injury.<
If you plan to park the vehicle for longer
than 4 weeks, disconnect the battery
from the vehicle electrical system by
disconnecting the cable at the negative
terminal. Then recharge the battery with
an appropriate battery charger.
If you intend to store your vehicle for
longer than twelve weeks: remove the
battery, charge it and store it in a cool
(but frost- and dust-free) room. Every
three months and before reinstalling the
battery, have it recharged. If it is not
recharged, it will not be serviceable.
Every time the battery is discharged,
especially over extended periods, its
service life is reduced, refer also to
page 131.
Return used batteries to a recy-
cling point or your BMW center.
Maintain the battery in an upright posi-
tion for transport and storage. Secure
the battery against tilting when trans-
porting.<
Page 155 of 187

155n
IndexDataTechnologyRepairsMaintenanceControlsOverview
BatteryRemoval and installation
Do not disconnect the battery
cables when the engine is running.
Disconnecting the battery cables when
the engine is running will cause a
voltage surge which will damage the
vehicle's onboard electronics.
Do not make any modifications in the
wires leading to the positive terminal. If
you do so, the battery safety terminal's
safety function will no longer be guaran-
teed. Repair and disposal must be
performed by trained technicians only.<
When removing the battery, disconnect
the negative terminal first, then the
positive terminal.
Unscrew the battery retaining clamp.
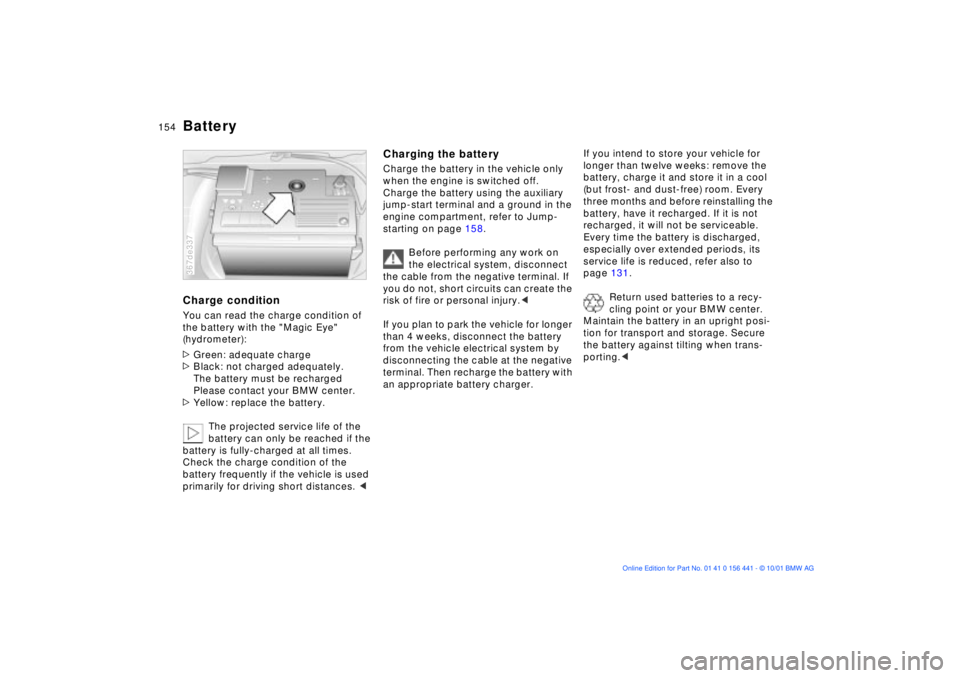
Z3 coupe:
Loosen the screw (arrow) on the battery
safety bar and remove the bar.
When installing the battery, connect the
positive terminal first, then connect the
negative terminal.
When installing the battery, be
sure that the battery and the
safety bar (Z3 coupe) are mounted
properly. If this is not done, the battery
will not be adequately secured in case
of an accident.< 367de336
Z3 cou
pe
Page 156 of 187

156n
FusesIf an electrical accessory should fail,
switch it off and check the fuse.
The fuse box (electrical distribution
center), which contains spare fuses,
relays and plastic tweezers, is located
on the left-hand side of the engine
compartment, refer to page 120.
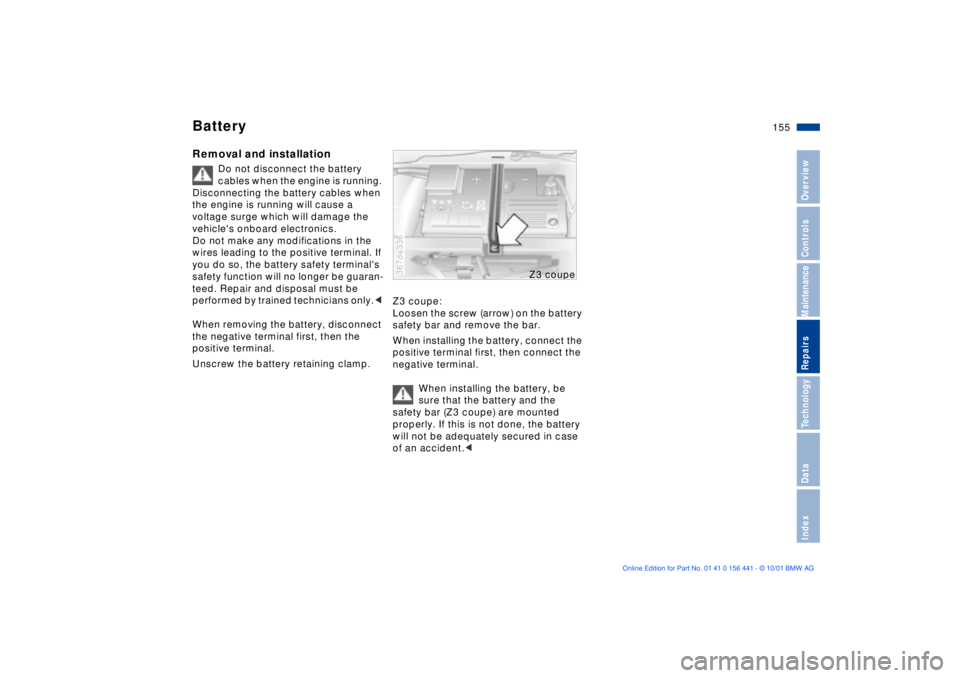
1. Press the retaining flap in and lift off
the cover
2. Use the plastic tweezers to remove
the fuse for the accessory or equip-
ment that has stopped working
3. If the fuse is burned through
("blown"), the metal strip will have
melted and separated. Replace the
blown fuse with a new fuse of the
same ampere rating (color code).365de080
A listing of the fuses, their respective
ampere ratings and the equipment in
their circuits is provided on the cover of
the fuse box.
When you close the fuse box, be sure
that the cover is seated securely.
Do not attempt to repair a burned
fuse or replace it with a fuse
having a different color or ampere
rating. To do this could cause a fire in
the vehicle resulting from a circuit over-
load.<
If a fuse burns through again, have the
source of the fault checked and
corrected by a BMW center.
Page 181 of 187

Everything from A to Z
181n
IndexDataTechnologyRepairsMaintenanceControlsOverview
Heated seats89
Heating and
ventilation80, 84
Heat-up, rapid83
Height171
Height adjustment, seats49
Help with jump starting158
High beams23, 64
bulb replacement137t
High Performance Synthetic
Oil124
High-mount brake lamp
(center)141
Hood release118t
Horn17
Hub cover150
Hydraulic brake assistant,
refer to DBCIIce warning71
Identification number of the
vehicle127
Identification, tires114
Ignition key30
Ignition switch58
Immobilizer, electronic31
Immobilizer, vehicle31Imprint4
Indicator lamps20
Inflation
pressures26t, 110
Inflation pressures,
tires26t
INSPECTION69
Instrument panel16
lighting76
Instruments18
Interface socket for onboard
diagnostics (OBD)133
Interior lamps77
bulb replacement142t
Interlock58
Intermittent wipe switch65
JJack146t
Jump-starting158tKKeys30
Keys with remote
control30, 33
Key, battery change143t
Kickdown63
LLamp switch76
Lashing eyes94
Leather care, refer to the
"Caring for your vehicle"
manual
Length171
License plate lamps
bulb replacement141t
Light-alloy wheel116
LIGHTS ON warning76
Limited slip differential166
Load-securing devices94
Lock buttons36
Locks, care105
Low beams76
bulb replacement137t
Low-fuel indicator lamp68
Lug bolts150, 151
Lug wrench147t
Luggage compartment36
capacity172
locking separately37
Luggage compartment lamp
bulb replacement142tLuggage compartment
lid36
electrical
malfunction37t
emergency release from
luggage compartment's
interior38
manual operation37t
MM + S tires115
Magic Eye
refer to Battery charge
condition154
Maintenance69, 128
Malfunction, cellular
phone107
Manual operation
doors32t
fuel filler door157t
luggage
compartment37t
luggage compartment
lid37t
Manual transmission61
Master key with battery
lamp143
Page 183 of 187

Everything from A to Z
183n
IndexDataTechnologyRepairsMaintenanceControlsOverview
Replacing fuses156t
Replacing windshield wiper
blades136t
Reporting safety defects7
Reservoir, washer
system122t
Roll-up cover93
Roof load capacity172
Roof-mounted luggage
rack95
Rubber seals and
components, winter105SSafety belt tensioner166
Safety belts52
Safety defects, reporting7
Seals and components,
winter105
Seat adjustment49
Seat heating89
Securing cargo94
Selector lever, automatic
transmission62
Service and Warranty
Information Booklet
(US models)129Service Interval
Display69, 128
Set temperature82, 86
Shiftlock62
Side airbags54, 130
Side marker lamps, bulb
replacement139t
Sitting correctly with
airbags55
Skid control106
Slippery roads105
Snow chains105t
Socket92
electrical appliances92
flashlight92
vacuum cleaner92
Spare keys30
Spare tire147t
Spare wheel147t
Spark plugs174
Special features of winter
tires115
Special oils124
Specifications, engine170
Speed, average72
Speed control67
Starting assistance158tStarting problems
59, 100, 158
Starting the engine59
Steel wheel116
Steering106
Steering wheel lock58
Steptronic62
Storage boxes90
Storage compartments90
Storage trays90
Storing the vehicle130
Summer tires114
Sunroof39
Switching off the engine60
Symbols4, 153
TTachometer68
Tail lamp assembly, bulb
replacement139t
Tail lamps139, 140
bulb replace-
ment139t, 140t
Tank capacity173
Technical Data169
Technical
modifications6, 132Telephone
refer to the separate
Owner's Manual
Temperature display
engine coolant69
outside temperature71
Temperature
layering82, 87
Third brake lamp141
Tire change, refer to wheel
change146t
Tire condition110
Tire failure, Z3 roadster,
Z3 coupe146
Tire inflation pressures110
checking26t
Tire Quality Grading112
Tire replacement111, 112
Tire rotation between front
and rear113
Tire size116
Tire tread110
Tires, identification114
Tools136t
Torque170
Tow fittings159t
Towing the vehicle159t