Page 48 of 187
48n
Power convertible top, roadster
*
2. When the doors are closed, lower the
side windows slightly
3. Pull the release lever away from the
frame as far as possible
4. Hold the footbrake down during the
entire closing procedure
5. Press and hold the button for
convertible top operation in the
"Close" direction (1) until the closing
process is completed and the
convertible top frame has docked
against the windshield frame367us366
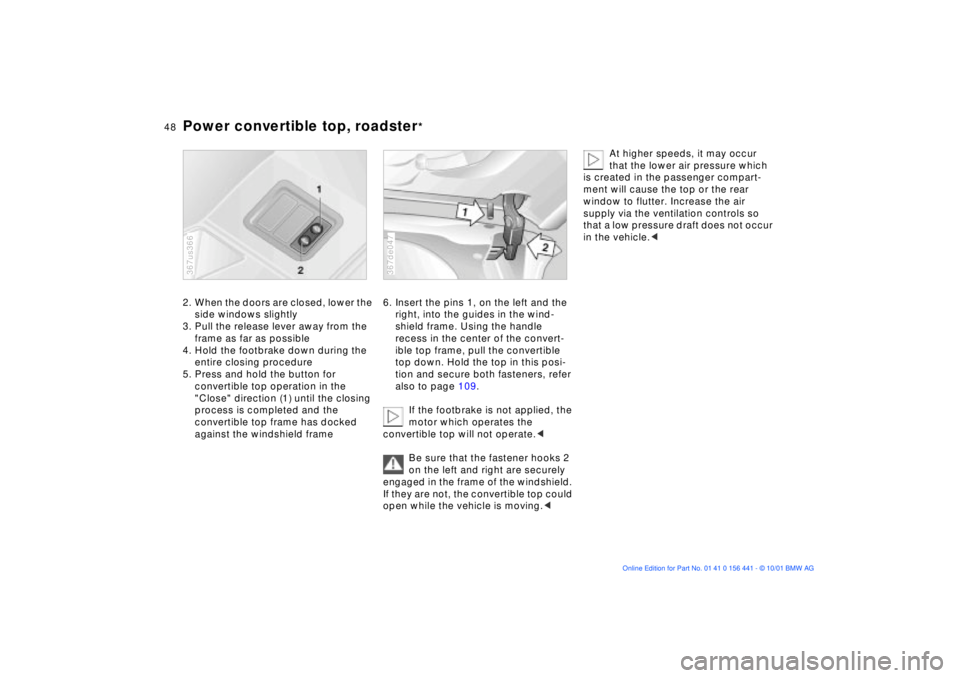
6. Insert the pins 1, on the left and the
right, into the guides in the wind-
shield frame. Using the handle
recess in the center of the convert-
ible top frame, pull the convertible
top down. Hold the top in this posi-
tion and secure both fasteners, refer
also to page 109.
If the footbrake is not applied, the
motor which operates the
convertible top will not operate.<
Be sure that the fastener hooks 2
on the left and right are securely
engaged in the frame of the windshield.
If they are not, the convertible top could
open while the vehicle is moving.< 367de047
At higher speeds, it may occur
that the lower air pressure which
is created in the passenger compart-
ment will cause the top or the rear
window to flutter. Increase the air
supply via the ventilation controls so
that a low pressure draft does not occur
in the vehicle.<
Page 49 of 187
49n
IndexDataTechnologyRepiarsMaintenanceControlsOverview
For maximum safety, please comply
with the following:
Never try to adjust your seat while
operating the vehicle. The seat
could respond with an unexpected
movement, and the ensuing loss of
vehicle control could result in an acci-
dent.
Be sure that the safety belt is fastened
firmly against your body at all times. In
the event of a frontal impact, a loose lap
belt could slide over your hips, leading
to abdominal injury. In addition, the
safety belt's restraint effectiveness is
reduced if the belt is worn loosely.
When adjusting your seat, select a
position that provides the maximum
distance between you and the steering
wheel, instrument panel and door while
still allowing comfortable and safe
access to all vehicle controls.<
Correct sitting postureTo reduce strain on your spinal column,
sit all the way back in the seat and rest
your back fully against the backrest.
In the ideal sitting posture, your head
extends along a straight line from your
spine.
For long-distance driving, you may wish
to increase the backrest tilt angle
slightly to reduce muscular tension.
You should also be able to grasp the
highest point of the steering wheel with
your arms slightly bent.
After a seat adjustment in the coupe,
adjust the height of the safety belt also,
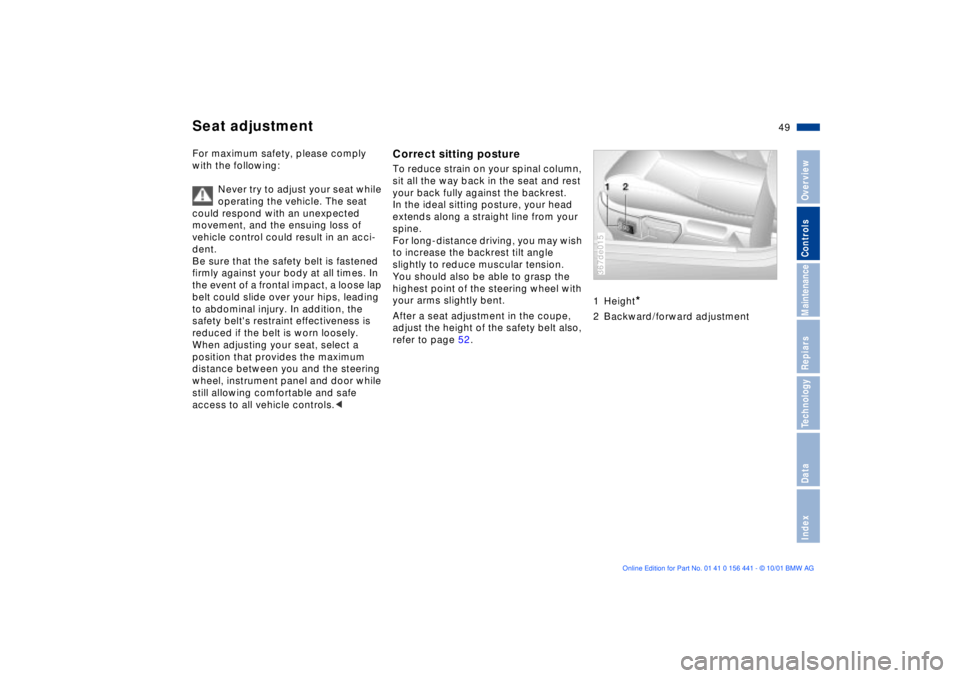
refer to page 52.1 Height
*
2 Backward/forward adjustment367de015
Seat adjustment
Page 54 of 187
54n
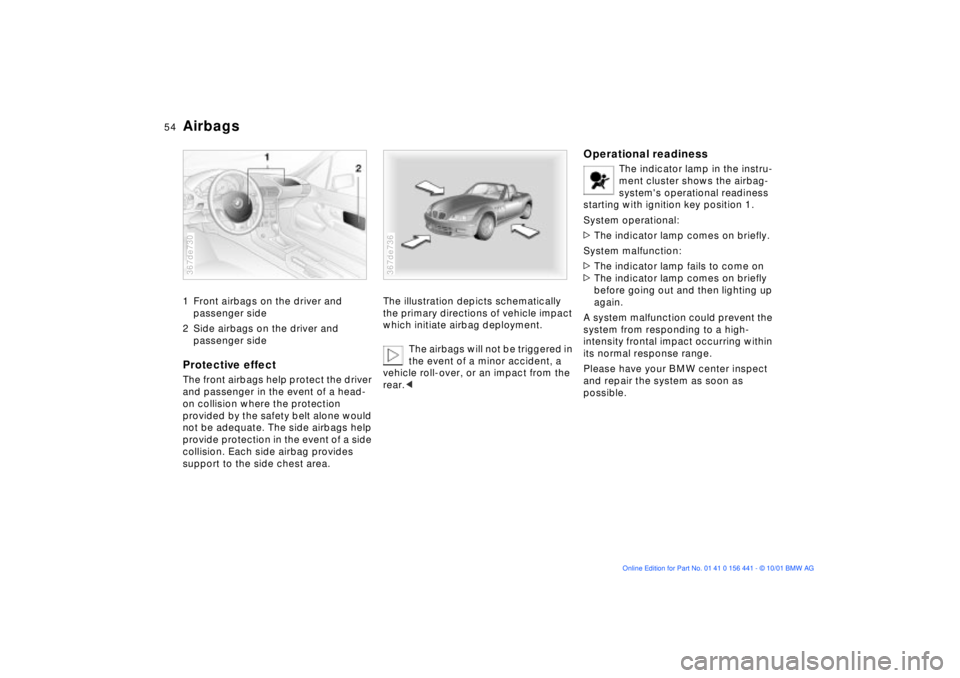
Airbags1 Front airbags on the driver and
passenger side
2 Side airbags on the driver and
passenger sideProtective effectThe front airbags help protect the driver
and passenger in the event of a head-
on collision where the protection
provided by the safety belt alone would
not be adequate. The side airbags help
provide protection in the event of a side
collision. Each side airbag provides
support to the side chest area.367de730
The illustration depicts schematically
the primary directions of vehicle impact
which initiate airbag deployment.
The airbags will not be triggered in
the event of a minor accident, a
vehicle roll-over, or an impact from the
rear.< 367de736
Operational readiness
The indicator lamp in the instru-
ment cluster shows the airbag-
system's operational readiness
starting with ignition key position 1.
System operational:
>The indicator lamp comes on briefly.
System malfunction:
>The indicator lamp fails to come on
>The indicator lamp comes on briefly
before going out and then lighting up
again.
A system malfunction could prevent the
system from responding to a high-
intensity frontal impact occurring within
its normal response range.
Please have your BMW center inspect
and repair the system as soon as
possible.
Page 58 of 187
58n
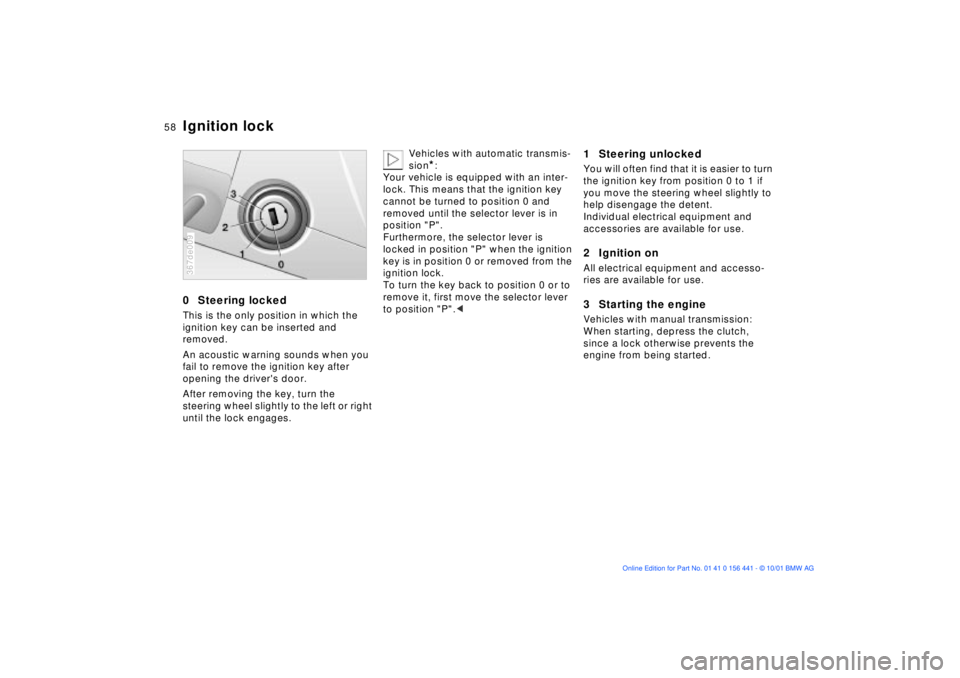
0 Steering lockedThis is the only position in which the
ignition key can be inserted and
removed.
An acoustic warning sounds when you
fail to remove the ignition key after
opening the driver's door.
After removing the key, turn the
steering wheel slightly to the left or right
until the lock engages.367de009
Vehicles with automatic transmis-
sion
*:
Your vehicle is equipped with an inter-
lock. This means that the ignition key
cannot be turned to position 0 and
removed until the selector lever is in
position "P".
Furthermore, the selector lever is
locked in position "P" when the ignition
key is in position 0 or removed from the
ignition lock.
To turn the key back to position 0 or to
remove it, first move the selector lever
to position "P".<
1 Steering unlockedYou will often find that it is easier to turn
the ignition key from position 0 to 1 if
you move the steering wheel slightly to
help disengage the detent.
Individual electrical equipment and
accessories are available for use.2 Ignition onAll electrical equipment and accesso-
ries are available for use.3 Starting the engineVehicles with manual transmission:
When starting, depress the clutch,
since a lock otherwise prevents the
engine from being started.
Ignition lock
Page 60 of 187
60n
Switching off the engine Parking brakeTurn the ignition key to position 1 or 0.
Do not remove the ignition key
while the vehicle is rolling. The
steering locks and it is impossible to
steer the vehicle.
Always remove the ignition key and
engage the steering lock before leaving
the vehicle.
Vehicles with manual transmission:
Always engage the parking brake when
parking on slopes and inclined
surfaces, since even placing the gear-
shift lever in 1st gear or reverse may not
provide adequate resistance to rolling.
Vehicles with automatic transmission:
Place the selector lever in "P".<
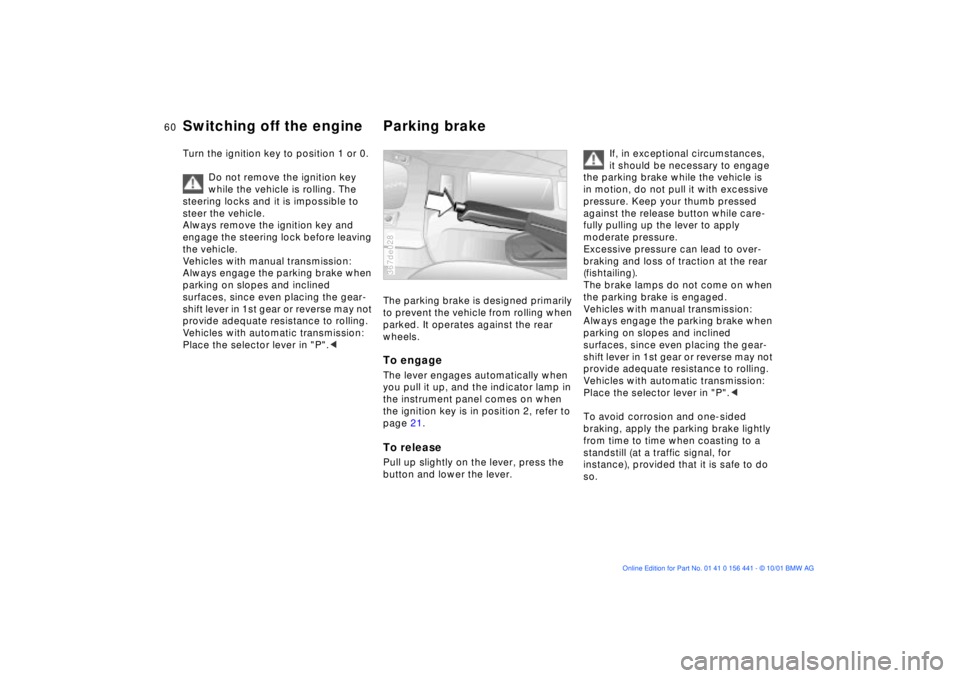
The parking brake is designed primarily
to prevent the vehicle from rolling when
parked. It operates against the rear
wheels.To engageThe lever engages automatically when
you pull it up, and the indicator lamp in
the instrument panel comes on when
the ignition key is in position 2, refer to
page 21.To releasePull up slightly on the lever, press the
button and lower the lever.367de028
If, in exceptional circumstances,
it should be necessary to engage
the parking brake while the vehicle is
in motion, do not pull it with excessive
pressure. Keep your thumb pressed
against the release button while care-
fully pulling up the lever to apply
moderate pressure.
Excessive pressure can lead to over-
braking and loss of traction at the rear
(fishtailing).
The brake lamps do not come on when
the parking brake is engaged.
Vehicles with manual transmission:
Always engage the parking brake when
parking on slopes and inclined
surfaces, since even placing the gear-
shift lever in 1st gear or reverse may not
provide adequate resistance to rolling.
Vehicles with automatic transmission:
Place the selector lever in "P".<
To avoid corrosion and one-sided
braking, apply the parking brake lightly
from time to time when coasting to a
standstill (at a traffic signal, for
instance), provided that it is safe to do
so.
Page 68 of 187

68n
1 OdometerYou can activate the displays shown in
the illustration with the ignition key in
position 0 by pressing the button in the
instrument cluster (arrow).2 Trip odometer/Gear indicator
for automatic transmission with
Steptronic
*
Trip odometer:
To reset the trip odometer to zero,
press the button (arrow) with the igni-
tion key in position 1 or higher.
Gear indicator:
>S for Sport Program
>M1 to M5 for manual mode.367us710
Never allow the engine to operate with
the needle in the red overspeed sector
of the gauge.
To protect the engine, the engine-
management system automatically
interrupts the fuel supply in this range;
you will notice a loss of power.367de005
When you switch on the ignition, the
indicator lamp comes on briefly to
confirm that the system is operational.
Once the indicator lamp stays on
continuously, there are still approx.
2.1 gallons (8 liters) of fuel in the fuel
tank.
Tank capacity: page 173.
If the tilt of the vehicle varies (extended
driving in mountainous areas, for
example), the needle may fluctuate
slightly.
Please refuel early, since driving
to the last drop of fuel can result in
damage to the engine and/or catalytic
converter.< 367us006
Odometer Tachometer Fuel gauge
Page 76 of 187
76n
Parking lamps/Low beams Fog lampsParking lamps (position lamps/
side marker lamps)
Position 1
With the switch in this position,
vehicle lighting on both sides is
on.
Low beams
Position 2
When you switch the ignition off
while the low beams are still on,
only the parking lamps (position lamps/
side marker lamps) remain on.
Instrument panel lightingIn order to adjust the illumination
intensity, turn the pulled switch. 367us021
LIGHTS ON warningWhen you open the driver's door after
turning the ignition key to position 0,
a warning signal sounds for a few
seconds to remind you if the headlamps
have not been switched off.Daytime driving lamps
*
The headlamps are automatically
switched on for daylight driving at
ignition key position 2.
Front fog lamps
*
A green indicator lamp comes
on in the instrument cluster to
indicate that the front fog lamps
are on.
It is not possible to switch on the front
fog lamps together with the high
beams.
367us023
Page 92 of 187
92n
Cigarette lighter
*
Press in. The lighter can be removed as
soon as it pops up.
Hold or touch the hot cigarette
lighter by the knob only. Holding
or touching it in other areas could result
in burns.
The cigarette lighter remains opera-
tional when the ignition key has been
removed. For this reason, children
should never be left in the vehicle unat-
tended.< 367de734
Cigarette lighter socketThis socket can be used for connecting
a ßashlight, car vacuum cleaner, or
other appliances up to approx.
200 watts at 12 volts. Do not damage
the socket by inserting plugs of a
different shape or size.
Non-smoker's equipment
package
*
On vehicles with the non-smoker's
equipment package, the socket is
concealed by a cover.
For access to the socket: lift the cover
off.367de733