Page 43 of 186

43n
OverviewControlsMaintenanceRepairsDataIndex
Alarm systemTo arm and disarm the alarm
systemWhen the vehicle is locked or unlocked
with the key or the remote control, the
alarm system is also simultaneously
armed or disarmed.
You can have different acknowl-
edgment signals set to confirm
arming and disarming.<
You can also open the luggage
compartment lid/tailgate when the
system is armed by pressing the button
on the remote control (refer to page 35).
When you close the luggage compart-
ment lid/tailgate, the luggage compart-
ment is secured again.
Indicator lamp displays>The indicator lamp below the interior
rearview mirror flashes continuously:
the system is armed
>The indicator lamp flashes during
arming: door(s), the hood or luggage
compartment lid/tailgate are not
completely closed. Even if you do not
secure the indicated area, the system
begins to monitor the remaining
areas, and the indicator lamp flashes
continuously after 10 seconds.
However, the interior motion sensor
is not activated
>If the indicator lamp goes out when
the system is disarmed: no manipula-
tion or attempted intrusions have
been detected in the period since the
system was armed390de020
>If the indicator lamp flashes for
10 seconds when the system is
disarmed: an attempted entry has
been detected in the period since the
system was armed.
Following triggering of an alarm, the
indicator lamp will flash continuously.Avoiding unintentional alarmsThe tilt alarm sensor and interior motion
sensor may be switched off at the same
time. To prevent a false alarm from
being triggered (in garages with
elevator ramps, for instance), or when
the vehicle is transported by trailer or
train:
Lock the vehicle (arm the alarm system)
twice in succession: press button 2 on
the remote control transmitter twice
(refer to page 35), or turn the key in the
door lock to the right (lock) twice in
succession (refer to page 33).
The indicator lamp lights up briefly and
then flashes continuously. The tilt alarm
sensor and the interior motion sensor
are deactivated as long as the system is
armed.
Page 46 of 186

46n
Sliding/tilt sunroof
*
To prevent injuries, exercise care
when closing the sliding/tilt
sunroof and keep it in your field of
vision until it is shut.
Before leaving the vehicle, switch off
the electric sunroof mechanism by
taking out the ignition key. Do not leave
children unattended in the vehicle with
access to vehicle keys. The key could
be used to start the engine and operate
vehicle systems such as the power
sunroof, etc. Unsupervised use of these
systems can result in serious personal
injury.<
For the convenience mode via the door
lock or the remote control, refer to
page 33 or 35.
Raising Ð Opening Ð ClosingWith the ignition key in position 1 or 2,
press the switch or slide it in the
desired direction until you feel resis-
tance.
When lifting, the headliner retracts
several inches.
The headliner insert can not be
closed with the sunroof in its
raised position.<
After the ignition has been switched off,
you can still operate the sliding/tilt
sunroof as long as neither of the front
doors has been opened.390de724
Automatic
* opening and closing
Press the switch past the resistance
point and then release it.
Other automatic operations are:
>With the sunroof open, press the
switch briefly toward "Lift:" the
sunroof automatically extends to its
fully-raised position
>With the sunroof lifted, press the
switch briefly toward "Open:" the
sunroof automatically opens all the
way.
Pressing the switch again briefly stops
the motion.Safety featureIf the sliding/tilt sunroof encounters
resistance at a point roughly past the
middle of its travel when it is closing,
the closing cycle is interrupted and the
sliding/tilt sunroof will open again
slightly.
Page 49 of 186
49n
OverviewControlsMaintenanceRepairsDataIndex
Manually-adjusted seatSeat adjustment1 Backward/Forward adjustment
Pull the lever and slide the seat to the
desired position.
After you release the lever, move the
seat forward or backward slightly to
engage the detent
2 Cushion height
Pull the lever and apply weight to
or remove weight from the seat as
required390us731
3 Backrest angle
Pull the lever and apply weight to or
remove weight from the backrest as
required.
Comply with the adjustment
instructions on page 48. Failure to
do so could result in diminished
personal safety.< 390us732
Page 51 of 186

51n
OverviewControlsMaintenanceRepairsDataIndex
Electric power seats
*
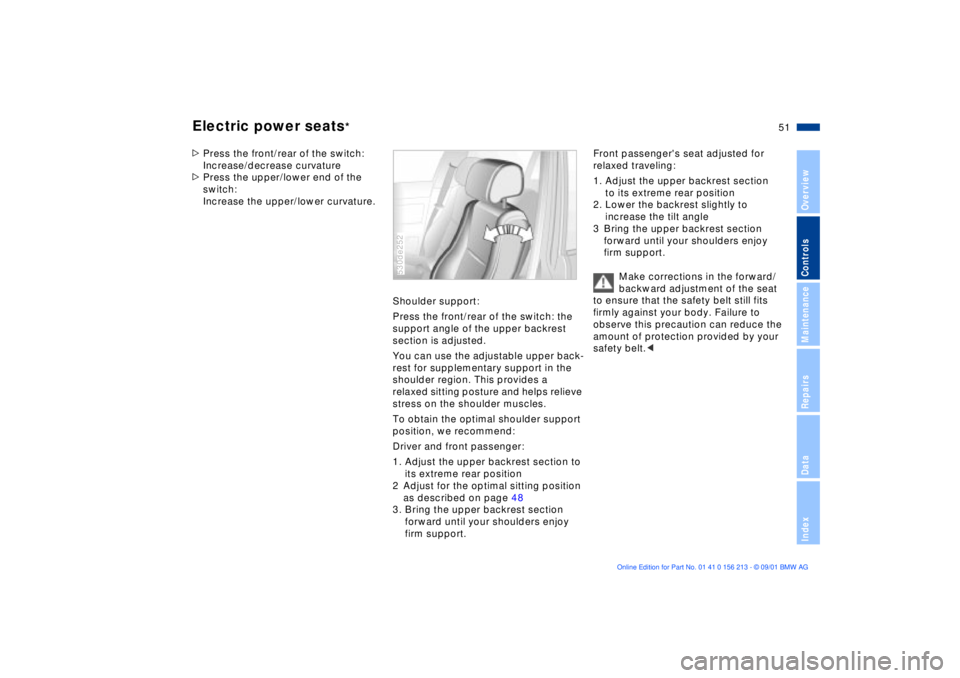
>Press the front/rear of the switch:
Increase/decrease curvature
>Press the upper/lower end of the
switch:
Increase the upper/lower curvature.
Shoulder support:
Press the front/rear of the switch: the
support angle of the upper backrest
section is adjusted.
You can use the adjustable upper back-
rest for supplementary support in the
shoulder region. This provides a
relaxed sitting posture and helps relieve
stress on the shoulder muscles.
To obtain the optimal shoulder support
position, we recommend:
Driver and front passenger:
1. Adjust the upper backrest section to
its extreme rear position
2 Adjust for the optimal sitting position
as described on page 48
3. Bring the upper backrest section
forward until your shoulders enjoy
firm support.
530de252
Front passenger's seat adjusted for
relaxed traveling:
1. Adjust the upper backrest section
to its extreme rear position
2. Lower the backrest slightly to
increase the tilt angle
3 Bring the upper backrest section
forward until your shoulders enjoy
firm support.
Make corrections in the forward/
backward adjustment of the seat
to ensure that the safety belt still fits
firmly against your body. Failure to
observe this precaution can reduce the
amount of protection provided by your
safety belt.<
Page 55 of 186

55n
OverviewControlsMaintenanceRepairsDataIndex
Seat, mirror and steering wheel memory Seat heating
*
Your BMW center can adjust your
vehicle's systems in such a
manner that your personalized settings
are automatically called up for the seat,
mirror and steering wheel positions
when you unlock the vehicle with your
personal remote control key.<
Before using the key memory
feature to unlock the vehicle
always ensure that no objects are
stored in the footwell behind the
driver's seat. If you fail to do so,
persons or objects could be injured or
damaged if the seat should move back-
ward.<
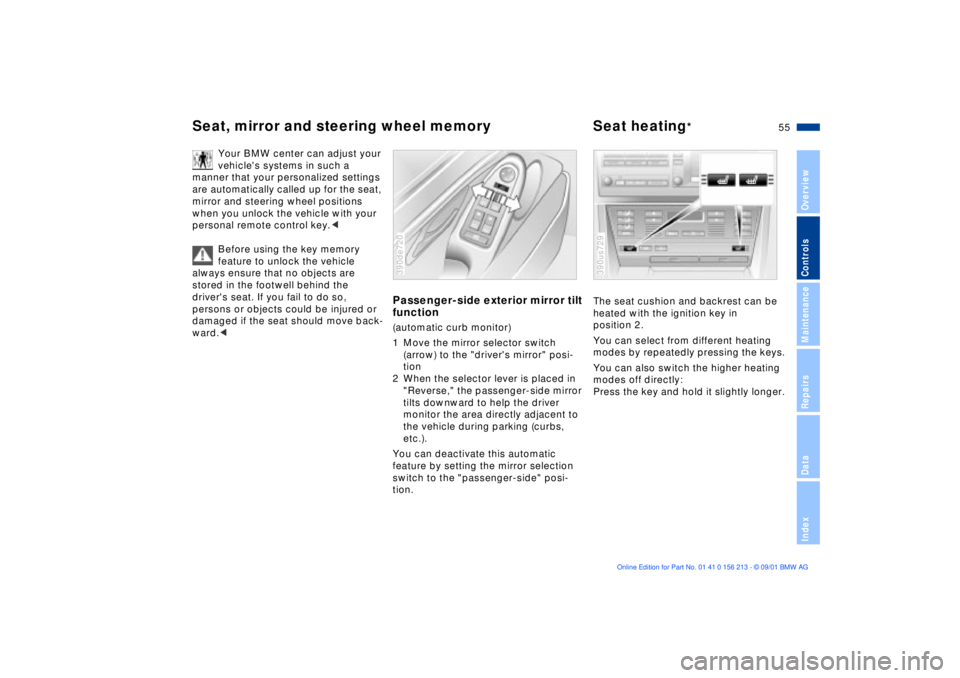
Passenger-side exterior mirror tilt
function(automatic curb monitor)
1 Move the mirror selector switch
(arrow) to the "driver's mirror" posi-
tion
2 When the selector lever is placed in
"Reverse," the passenger-side mirror
tilts downward to help the driver
monitor the area directly adjacent to
the vehicle during parking (curbs,
etc.).
You can deactivate this automatic
feature by setting the mirror selection
switch to the "passenger-side" posi-
tion.390de720
The seat cushion and backrest can be
heated with the ignition key in
position 2.
You can select from different heating
modes by repeatedly pressing the keys.
You can also switch the higher heating
modes off directly:
Press the key and hold it slightly longer.390us729
Page 56 of 186

56n
Adjusting steering wheel Heated steering wheel
*
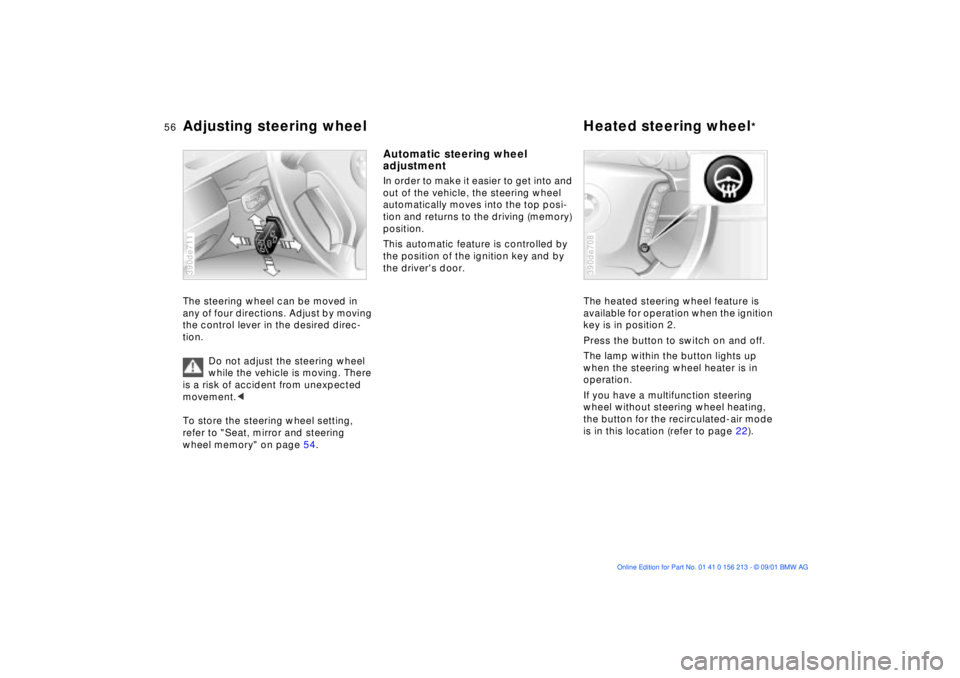
The steering wheel can be moved in
any of four directions. Adjust by moving
the control lever in the desired direc-
tion.
Do not adjust the steering wheel
while the vehicle is moving. There
is a risk of accident from unexpected
movement.<
To store the steering wheel setting,
refer to "Seat, mirror and steering
wheel memory" on page 54.390de711
Automatic steering wheel
adjustmentIn order to make it easier to get into and
out of the vehicle, the steering wheel
automatically moves into the top posi-
tion and returns to the driving (memory)
position.
This automatic feature is controlled by
the position of the ignition key and by
the driver's door.
The heated steering wheel feature is
available for operation when the ignition
key is in position 2.
Press the button to switch on and off.
The lamp within the button lights up
when the steering wheel heater is in
operation.
If you have a multifunction steering
wheel without steering wheel heating,
the button for the recirculated-air mode
is in this location (refer to page 22).
390de708
Page 60 of 186
60n
AirbagsThis is the right way for a child to sit in a
child restraint when rear side airbags
(arrow) are provided.380de637
This is the right way for a larger child to
sit wearing the safety belt when rear
side airbags (arrow) are provided.380de638
Indicator lamp
The indicator lamp indicates the
operational status of the airbag
system from ignition key posi-
tion 1.
System operational:
>The indicator lamp comes on briefly
then goes out.
System malfunction:
>The indicator lamp fails to come on
>The indicator lamp comes on briefly
before going out and then lighting up
again.
Please respond to any malfunctions in
the system by immediately having it
inspected at your BMW center; other-
wise the airbag could fail to respond to
an accident in which both the angle and
the severity of the impact would
normally trigger airbag deployment.
Page 66 of 186

66n
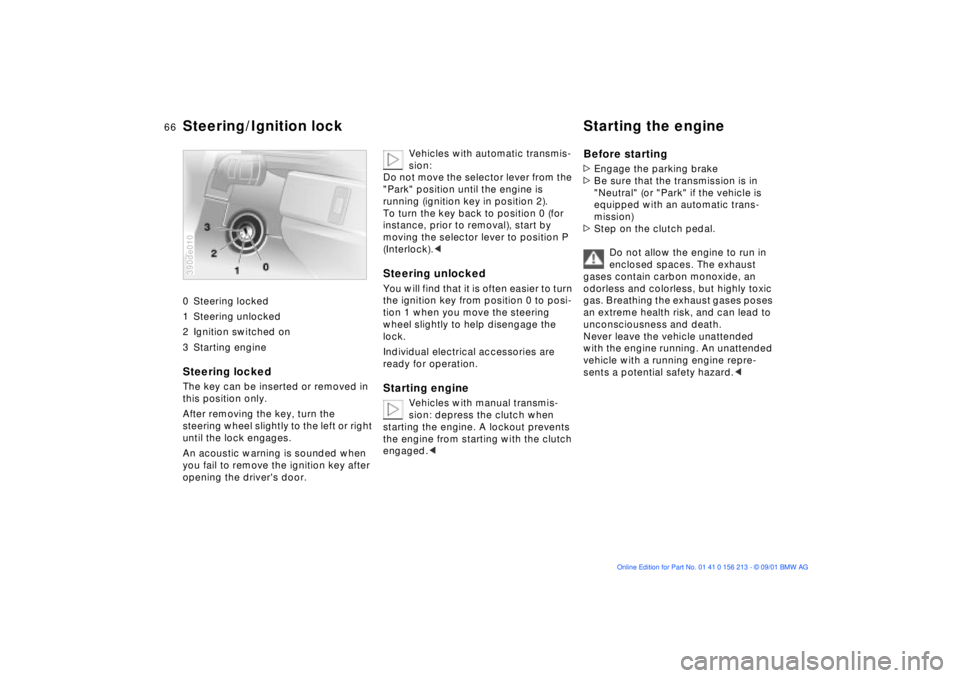
0 Steering locked
1 Steering unlocked
2 Ignition switched on
3 Starting engine
Steering locked The key can be inserted or removed in
this position only.
After removing the key, turn the
steering wheel slightly to the left or right
until the lock engages.
An acoustic warning is sounded when
you fail to remove the ignition key after
opening the driver's door. 390de010
Vehicles with automatic transmis-
sion:
Do not move the selector lever from the
"Park" position until the engine is
running (ignition key in position 2).
To turn the key back to position 0 (for
instance, prior to removal), start by
moving the selector lever to position P
(Interlock).<
Steering unlocked You will find that it is often easier to turn
the ignition key from position 0 to posi-
tion 1 when you move the steering
wheel slightly to help disengage the
lock.
Individual electrical accessories are
ready for operation.Starting engine
Vehicles with manual transmis-
sion: depress the clutch when
starting the engine. A lockout prevents
the engine from starting with the clutch
engaged.<
Before starting>Engage the parking brake
>Be sure that the transmission is in
"Neutral" (or "Park" if the vehicle is
equipped with an automatic trans-
mission)
>Step on the clutch pedal.
Do not allow the engine to run in
enclosed spaces. The exhaust
gases contain carbon monoxide, an
odorless and colorless, but highly toxic
gas. Breathing the exhaust gases poses
an extreme health risk, and can lead to
unconsciousness and death.
Never leave the vehicle unattended
with the engine running. An unattended
vehicle with a running engine repre-
sents a potential safety hazard.<
Steering/Ignition lock Starting the engine