2002 BMW 330Ci COUPE ESP
[x] Cancel search: ESPPage 75 of 147

75n
OverviewControlsMaintenanceRepairsDataIndex
Flat Tire Monitor
*
The conceptAs you drive, the Flat Tire Monitor
keeps track of pressure levels in all four
tires in order to detect and warn of any
substantial pressure loss.
The system actually detects pressure
loss by monitoring differences in the
relative speeds of the four wheels. It
interprets variations outside specified
limits as severe pressure loss, and then
responds by generating a warning.
Initializing the systemInitializing is necessary to familiarize the
system with the correct inflation pres-
sure.
Repeat this process after any changes
in tire inflation pressure, tire rotation or
replacement. Do not carry out further
system initialization after adjusting the
inflation pressure and letting the system
"learn" the correct pressures.
1. Check the tire inflation pressures in
all the tires, comparing them with the
inflation pressure chart on page 25
and adjusting their pressure if neces-
sary
2. Turn the ignition key to position 2
3. Press the button as long as you need
to until the indicator lamp on the
instrument cluster lights up. After a
little while, the indicator lamp will go
out by itself
4. After a few minutes driving time, the
Flat Tire Monitor adopts the current
pressure levels as the reference, and
from that point on, can detect and
report a flat tire.
Page 76 of 147

76n
Flat Tire Monitor
*
To activate/deactivate the systemThe Flat Tire Monitor automatically
assumes operation whenever you turn
the ignition key to position 2. Unless
manually deactivated, it is always on
during normal vehicle operation.
To deactivate the system: press the
button, the yellow indicator lamp comes
on.
To activate the system: press the
button again, the indicator lamp goes
out.
You should deactivate the system
before driving with snow chains, as the
chains can generate spurious warnings
and/or prevent the system from
detecting actual pressure loss.
Flat tire warning
The red warning lamp in the
instrument cluster lights up to
warn of pressure loss and tire
failure. This visual alert is accompanied
by an acoustic warning signal. Reduce
your speed immediately, and steer and
brake gently as you bring the vehicle to
a stop.
To reset the warning lamp: after
replacing the damaged tire you will
need to reset the red warning lamp
manually: maintain pressure on the Flat
Tire Monitor button until the warning
lamp goes out. Then reinitialize the
system.
The Flat Tire Monitor cannot
provide you with advance warning
of sudden and severe tire damage
caused by external factors.
The system also does not detect the
gradual and minor loss of pressure that
all tires display over extended periods
of time.<
Check tire inflation pressures on a
regular basis, correcting them as
necessary, refer to page 24.
The system may respond to operation
on slippery or snow-covered road
surfaces with false warnings or delays
in detecting actual pressure loss.
Performance-oriented driving (slip at
the drive wheels, high rates of lateral
acceleration) can also increase the time
that the Flat Tire Monitor requires to
detect a flat.<
System malfunctionsThe yellow indicator lamp in the instru-
ment cluster lights up and remains on
until the problem is corrected.
Please refer the problem to your BMW
center.
Page 77 of 147

77n
OverviewControlsMaintenanceRepairsDataIndex
Parking lamps/Low beamsParking lamps
The front, rear and side vehicle
lighting is switched on. You can
use the parking lamps for
parking. For lighting on one side for
parking as an additional feature, refer to
page 78.
Low beams
When the ignition is switched off
while the low beams are on, the
headlamps go out and only the
parking lamps remain on.
FOLLOW ME HOME lamps:
When you activate the headlamp
flasher after parking the vehicle with the
lights turned off, the low-beam head-
lamps will come on for a short time. You
can also have this function deacti-
vated.<
LIGHTS ON warningWhen you open the driver's door, after
having turned the ignition key to posi-
tion 0, you will hear an acoustic signal
for a few seconds to remind you that
the lamps have not been switched off.Daytime driving lamps
*
If you desire, the light switch can be left
in the second position:
When the ignition is switched off, the
external lighting is also switched off.
You can have the activation
settings for the daytime driving
lamps programmed on your vehicle.<
Automatic headlight control
*
When the switch is set to this
position the system automati-
cally activates and cancels the
low beams in response to changes in
ambient light ( in tunnels, at dusk, etc.)
as well as rain and snow.
The vehicle's external lights
remain on constantly when you
switch on the front fog lamps after the
headlights have come on automati-
cally.<
Automatic headlight control
cannot serve as a substitute for
the driver's judgement in determining
when the vehicle lights should be
switched on. For example, the sensors
are not able to detect fog. To avoid
safety risks, you should respond to
these kinds of low-visibility situations
by switching the headlights on manu-
ally.< You can have the sensitivity of
your vehicle's automatic head-
light control adjusted.<
Page 81 of 147

81n
OverviewControlsMaintenanceRepairsDataIndex
Air conditioningAir supply
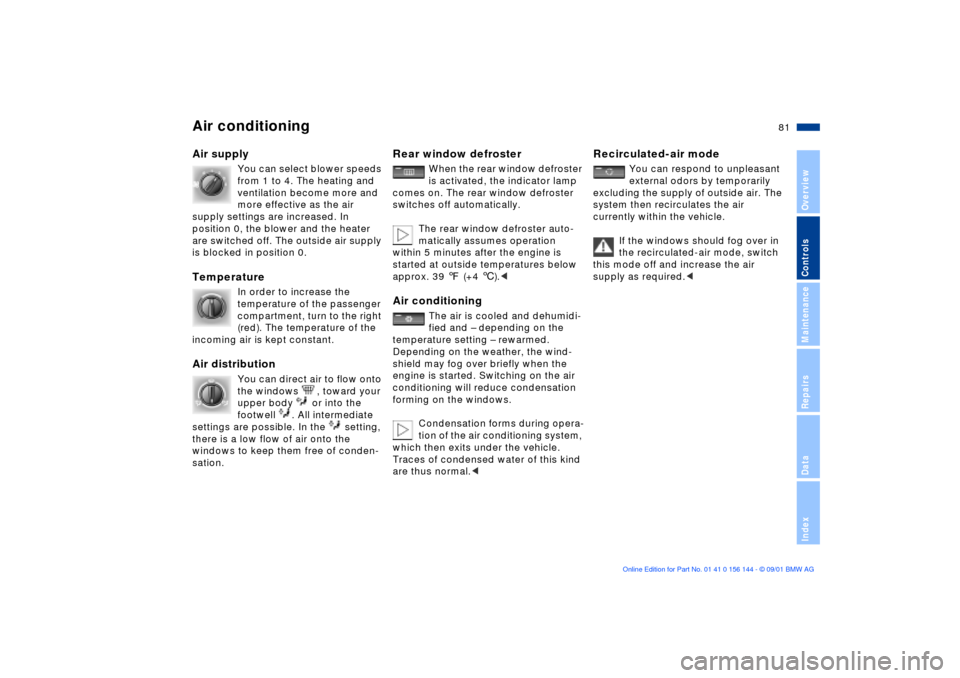
You can select blower speeds
from 1 to 4. The heating and
ventilation become more and
more effective as the air
supply settings are increased. In
position 0, the blower and the heater
are switched off. The outside air supply
is blocked in position 0.
Temperature
In order to increase the
temperature of the passenger
compartment, turn to the right
(red). The temperature of the
incoming air is kept constant.
Air distribution
You can direct air to flow onto
the windows , toward your
upper body or into the
footwell . All intermediate
settings are possible. In the setting,
there is a low flow of air onto the
windows to keep them free of conden-
sation.
Rear window defroster
When the rear window defroster
is activated, the indicator lamp
comes on. The rear window defroster
switches off automatically.
The rear window defroster auto-
matically assumes operation
within 5 minutes after the engine is
started at outside temperatures below
approx. 39 7 (+4 6).<
Air conditioning
The air is cooled and dehumidi-
fied and Ð depending on the
temperature setting Ð rewarmed.
Depending on the weather, the wind-
shield may fog over briefly when the
engine is started. Switching on the air
conditioning will reduce condensation
forming on the windows.
Condensation forms during opera-
tion of the air conditioning system,
which then exits under the vehicle.
Traces of condensed water of this kind
are thus normal.<
Recirculated-air mode
You can respond to unpleasant
external odors by temporarily
excluding the supply of outside air. The
system then recirculates the air
currently within the vehicle.
If the windows should fog over in
the recirculated-air mode, switch
this mode off and increase the air
supply as required.<
Page 85 of 147

85n
OverviewControlsMaintenanceRepairsDataIndex
Automatic climate control
*
Automatic recirculated-air control
(AUC)
You can respond to unpleasant
external odors or pollutants by
temporarily stopping the flow of outside
air. The system then recirculates the air
currently within the vehicle.
Press the button repeatedly to select
one of three different operating modes.
>Indicator lamps off: outside airflow is
on
>Left-hand indicator lamp on Ð AUC
mode: the system recognizes pollut-
ants in the outside air and blocks the
flow of air when necessary. The
system then recirculates the air
currently within the vehicle.
Depending on the air quality, the
automatic system then switches back
and forth between outside air supply
and recirculation of the air within the
vehicle
>Right-hand indicator lamp on: the
flow of external air into the vehicle is
permanently blocked. The system
then recirculates the air currently
within the vehicle.
If the windows fog over in the
recirculated-air mode, switch the
recirculated-air mode off and increase
the air supply as required.<
Rear window defroster
When the rear window defroster
is activated, the indicator lamp
comes on. The rear window defroster
switches off automatically.
The rear window defroster auto-
matically assumes operation
within 5 minutes after the engine is
started at outside temperatures below
approx. 39 7 (+4 6).<
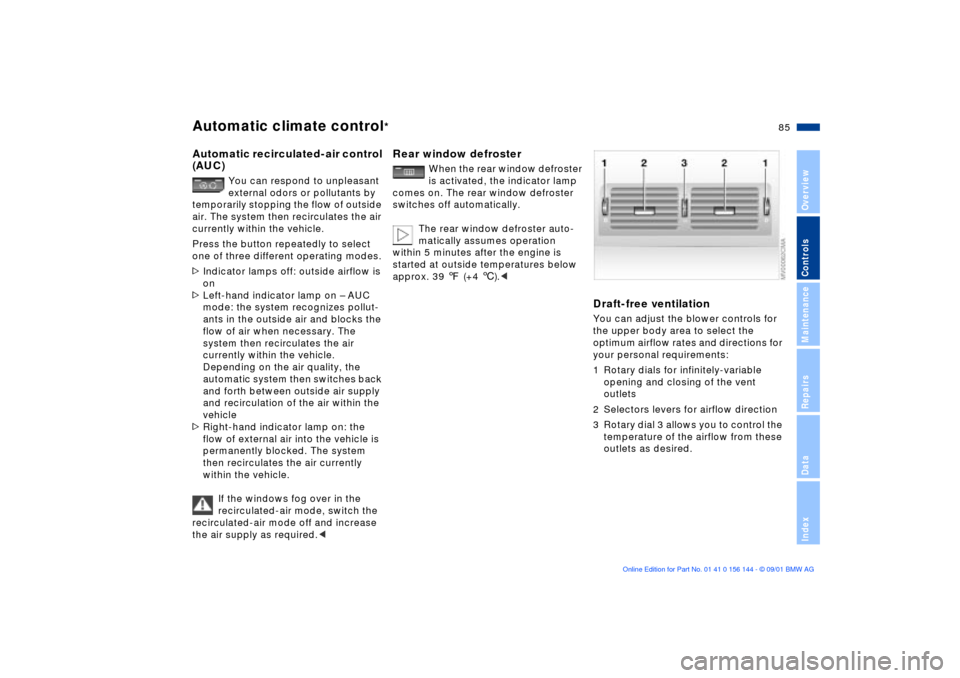
Draft-free ventilationYou can adjust the blower controls for
the upper body area to select the
optimum airflow rates and directions for
your personal requirements:
1 Rotary dials for infinitely-variable
opening and closing of the vent
outlets
2 Selectors levers for airflow direction
3 Rotary dial 3 allows you to control the
temperature of the airflow from these
outlets as desired.
Page 86 of 147

86n
Automatic climate control
*
Roller sun blind
*
Premium sound system
*
Microfilter/activated-charcoal
filterThe built-in microfilter removes dust
and pollen from the incoming air. The
activated-charcoal filter provides addi-
tional protection by filtering gaseous
pollutants from the outside air. Your
BMW center replaces this combined
filter as a standard part of your sched-
uled maintenance. A substantial reduc-
tion in airflow indicates that the filter
needs to be replaced before scheduled
maintenance.
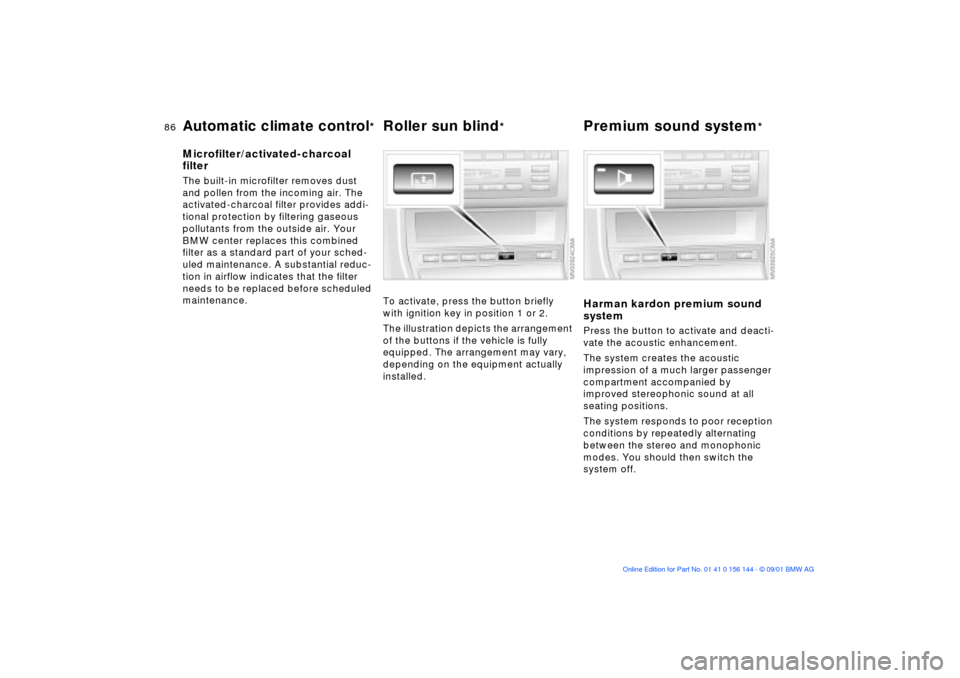
To activate, press the button briefly
with ignition key in position 1 or 2.
The illustration depicts the arrangement
of the buttons if the vehicle is fully
equipped. The arrangement may vary,
depending on the equipment actually
installed.
Harman kardon premium sound
systemPress the button to activate and deacti-
vate the acoustic enhancement.
The system creates the acoustic
impression of a much larger passenger
compartment accompanied by
improved stereophonic sound at all
seating positions.
The system responds to poor reception
conditions by repeatedly alternating
between the stereo and monophonic
modes. You should then switch the
system off.
Page 91 of 147

91n
OverviewControlsMaintenanceRepairsDataIndex
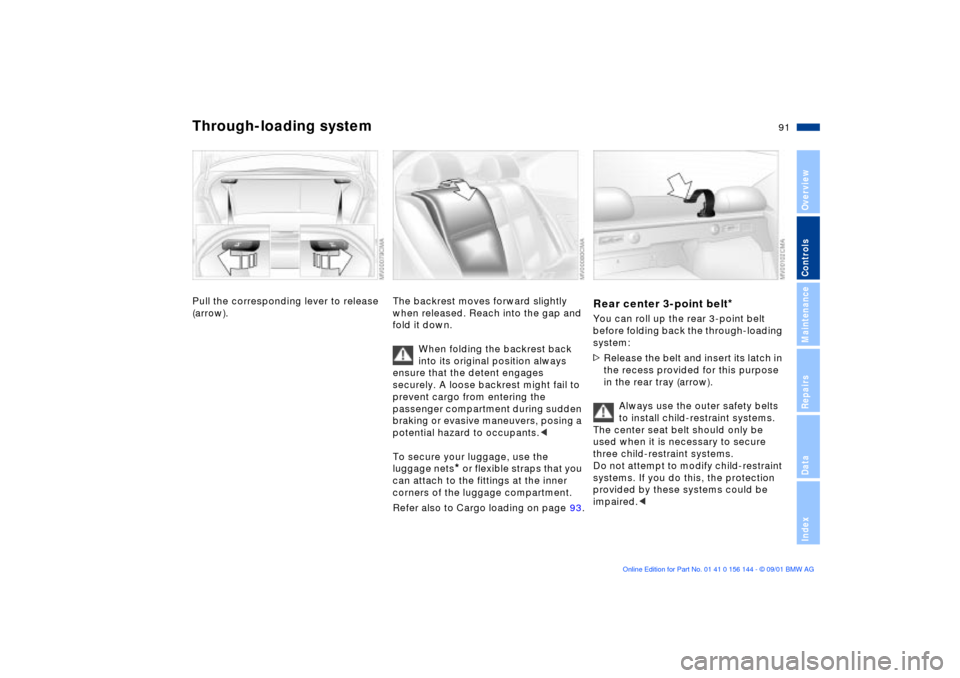
Through-loading systemPull the corresponding lever to release
(arrow).
The backrest moves forward slightly
when released. Reach into the gap and
fold it down.
When folding the backrest back
into its original position always
ensure that the detent engages
securely. A loose backrest might fail to
prevent cargo from entering the
passenger compartment during sudden
braking or evasive maneuvers, posing a
potential hazard to occupants.<
To secure your luggage, use the
luggage nets
* or flexible straps that you
can attach to the fittings at the inner
corners of the luggage compartment.
Refer also to Cargo loading on page 93.
Rear center 3-point belt
*
You can roll up the rear 3-point belt
before folding back the through-loading
system:
>Release the belt and insert its latch in
the recess provided for this purpose
in the rear tray (arrow).
Always use the outer safety belts
to install child-restraint systems.
The center seat belt should only be
used when it is necessary to secure
three child-restraint systems.
Do not attempt to modify child-restraint
systems. If you do this, the protection
provided by these systems could be
impaired.<
Page 94 of 147

94n
Cargo loading Roof-mounted luggage rack
*
Always position and secure the
load correctly. If you do not, it can
endanger the passengers during
braking or evasive maneuvers.
Do not exceed the approved gross
weight or the approved maximum axle
loads, refer to page 134, otherwise the
vehicle's operating safety is no longer
assured and you are in violation of the
law.
Do not stow heavy or hard objects in
the passenger compartment without
securing them. Otherwise they would
be thrown around during braking and
evasive maneuvers and endanger the
passengers.<
A special roof-rack system is available
as an optional extra for your BMW.
Please observe the precautions
included with the installation instruc-
tions.AnchoragesAccess to the anchorages:
To fold up the cover (arrow), please use
the tool provided with the roof-rack
system.Loading and driving notesRoof-mounted luggage racks raise the
center of gravity of the vehicle when
they are loaded. For this reason, they
have a major effect on the vehicle's
handling and steering response.
You should therefore always remember
not to exceed the approved roof load
capacity, the approved gross vehicle
weight or the axle loads when loading
the rack. These weights are listed under
Technical Data on page 134.
Make sure that the load is not too bulky,
and attempt to distribute it evenly.
Always load the heaviest pieces first (on
the bottom). Be sure that adequate
clearance is maintained for raising the
sliding/tilt sunroof, and that objects do
not project into the opening path of the
luggage compartment lid.
Secure the roof luggage correctly and
securely to prevent it from shifting or
being lost during driving (danger to
following traffic).
Drive smoothly and avoid sudden
acceleration and braking. Do not corner
at high speeds.
The luggage rack and the roof load
increase aerodynamic resistance:
increased fuel consumption and addi-
tional stress on the vehicle's body are
the result.