2002 BMW 325Ci COUPE ECU
[x] Cancel search: ECUPage 3 of 147

Preface
Congratulations, and thank you for choosing a BMW.
Thorough familiarity with your vehicle will provide you with enhanced control and
security when you drive it. Therefore, we have one request:
Please take the time to read this Owner's Manual and familiarize yourself with the
information that we have compiled for you before starting off in your new BMW. The
manual contains important data and instructions intended to assist you in obtaining
maximum satisfaction from your BMW's unique array of advanced technical
features. It also contains information on vehicle maintenance designed to enhance
operating safety while simultaneously helping you to maintain your BMW's value
throughout an extended service life. For additional information refer to the supple-
mental manuals.
This OwnerÔs Manual should be considered a permanent part of this vehicle. It
should stay with the vehicle when sold to provide the next owner with important
operating, safety and maintenance information.
This manual is supplemented by a Service and Warranty Information Booklet
(US models) or a Warranty and Service Guide Booklet (Canadian models).
We recommend that you read this publication thoroughly.
Your BMW is covered by the following warranties:
Ð New Vehicle Limited Warranty
Ð Limited Rust Perforation Warranty
Ð Federal Emissions System Defect Warranty
Ð Federal Emissions Performance Warranty
Ð California Emission Control System Limited Warranty
Detailed information about these warranties is listed in the Service and Warranty
Information Booklet (US models) or in the Warranty and Service Guide Booklet
(Canadian models).
We wish you an enjoyable driving experience.
BMW AG
Page 29 of 147

29n
OverviewControlsMaintenanceRepairsDataIndex
Opening and closing Ð via the remote controlThe conceptThe remote control gives you an excep-
tionally convenient method for
unlocking and locking your vehicle.
Furthermore, it provides two additional
functions which you can only execute
via the remote control:
>To switch on interior lamps, refer to
page 30.
With this function, you can also
search for the vehicle, when parked
in an underground garage, for
instance
>To open the luggage compartment
lid, refer to page 30.
The luggage compartment lid will
open slightly, regardless of whether it
was previously locked or unlocked.
Whenever you unlock (lock) the vehicle,
you simultaneously deactivate (activate)
the anti-theft system, disarm (arm) the
alarm system and switch the interior
lamps on (off).
You can have a signal set to
confirm that the vehicle's locks
have engaged securely.<
Since children might be able to
lock the doors from the inside,
always take the vehicle keys with you
so that the vehicle can be opened again
from the outside at any time.<
If it is no longer possible to lock
the vehicle via the remote control,
the battery is discharged. Use this key
while driving for an extended period in
order to recharge the battery.
To prevent unauthorized use of the
remote control, for example surrender
only the door and ignition key or the
spare key when leaving the vehicle for
valet parking, refer to page 28.
In the event of a system malfunction,
please contact your BMW center. You
can also obtain replacement keys
there.<
1 Unlock and convenience opening
2 Lock and secure, interior lamp activa-
tion, disarming tilt alarm sensor and
interior motion sensor
3 Open the luggage compartment lidTo unlockPress the button once to unlock the
driver's door.
Press the button a second time to
disengage all vehicle locks.
Page 30 of 147

30n
Opening and closing Ð via the remote controlConvenience opening modePress and hold button to open the elec-
tric power windows and sliding/tilt
sunroof.To lock and securePress button.
Never use the remote control to
lock the doors when leaving
passengers in the vehicle, as they
would then be unable to open the door
from the inside.
and interior motion sensor
*
Press button a second time immedi-
ately after locking.
For additional information, refer to
page 37.
To open the luggage
compartment lidPress button.
The luggage compartment lid will open
slightly, regardless of whether it was
previously locked or unlocked.
Before and after a trip, be sure
that the luggage compartment lid
has not been opened unintentionally.
danger by holding down the button for
between two and five seconds.
Press the button to cancel the alarm.External systemsExternal systems or devices may cause
local interference in the functions of the
remote control.
Should this occur, you can still open
and close the vehicle using the master
key in either the door or luggage
compartment locks.
For US owners onlyThe transmitter and receiver units
comply with part 15 of the FCC (Federal
Communication Commission) regula-
tions. Operation is governed by the
following:
FCC ID: LX8EWS
LX8FZVS
LX8FZVE
Compliance statement:
This device complies with part 15 of the
FCC Rules. Operation is subject to the
following two conditions:
>This device may not cause harmful
interference, and
>this device must accept any interfer-
ence received, including interference
that may cause undesired operation.
Any unauthorized modifications to
these devices could void the
user's authority to operate the equip-
ment.<
Page 31 of 147

31n
OverviewControlsMaintenanceRepairsDataIndex
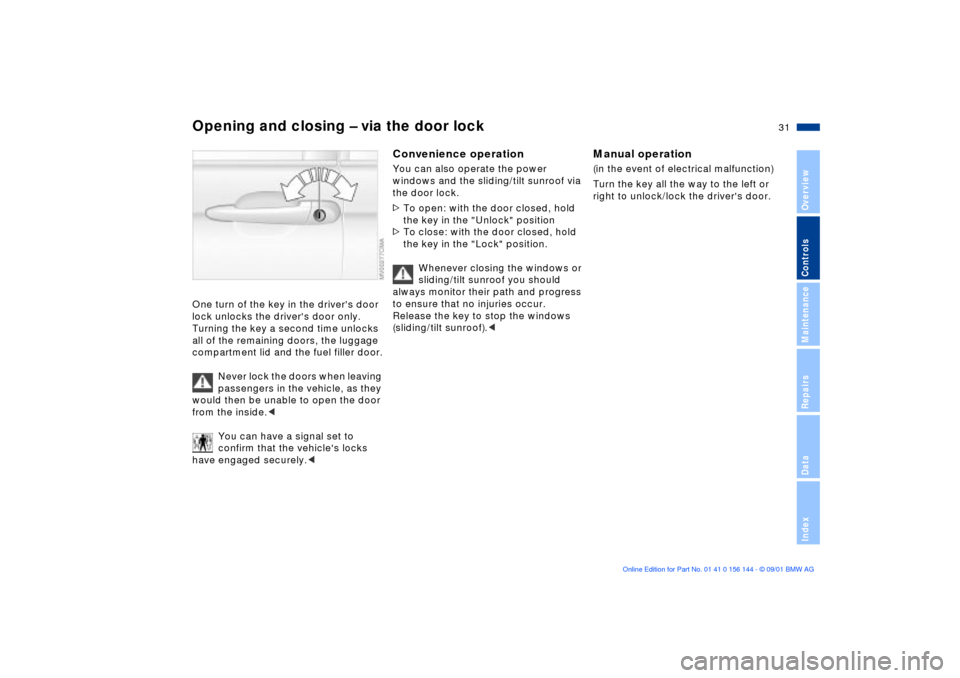
Opening and closing Ð via the door lockOne turn of the key in the driver's door
lock unlocks the driver's door only.
Turning the key a second time unlocks
all of the remaining doors, the luggage
compartment lid and the fuel filler door.
Never lock the doors when leaving
passengers in the vehicle, as they
would then be unable to open the door
from the inside.<
You can have a signal set to
confirm that the vehicle's locks
have engaged securely.<
Convenience operationYou can also operate the power
windows and the sliding/tilt sunroof via
the door lock.
>To open: with the door closed, hold
the key in the "Unlock" position
>To close: with the door closed, hold
the key in the "Lock" position.
Whenever closing the windows or
sliding/tilt sunroof you should
always monitor their path and progress
to ensure that no injuries occur.
Release the key to stop the windows
(sliding/tilt sunroof).<
Manual operation (in the event of electrical malfunction)
Turn the key all the way to the left or
right to unlock/lock the driver's door.
Page 33 of 147

33n
OverviewControlsMaintenanceRepairsDataIndex
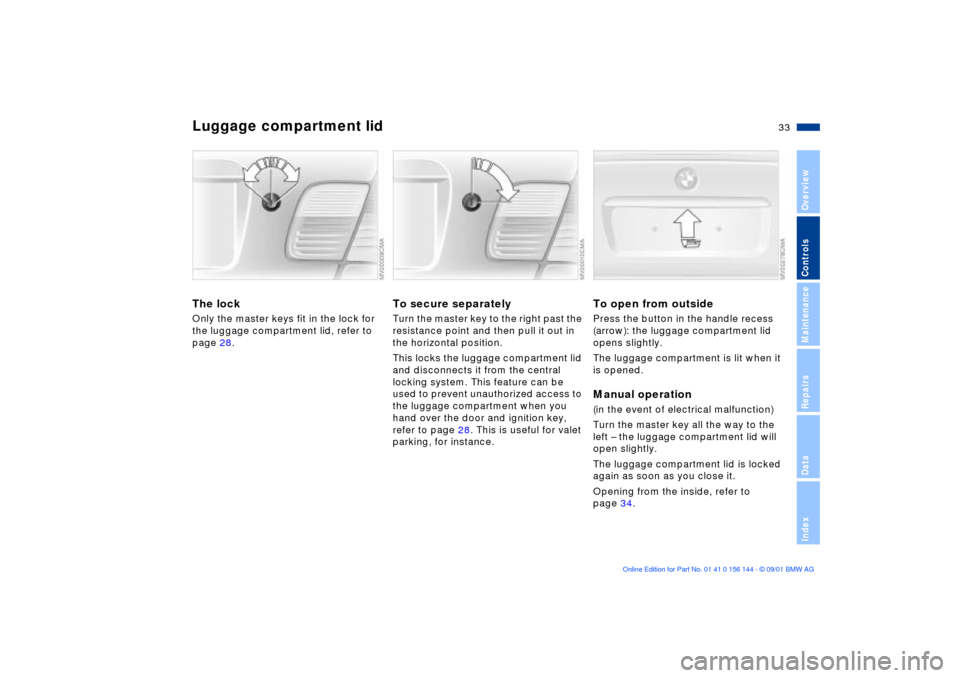
Luggage compartment lid The lockOnly the master keys fit in the lock for
the luggage compartment lid, refer to
page 28.
To secure separatelyTurn the master key to the right past the
resistance point and then pull it out in
the horizontal position.
This locks the luggage compartment lid
and disconnects it from the central
locking system. This feature can be
used to prevent unauthorized access to
the luggage compartment when you
hand over the door and ignition key,
refer to page 28. This is useful for valet
parking, for instance.
To open from outsidePress the button in the handle recess
(arrow): the luggage compartment lid
opens slightly.
The luggage compartment is lit when it
is opened. Manual operation(in the event of electrical malfunction)
Turn the master key all the way to the
left Ð the luggage compartment lid will
open slightly.
The luggage compartment lid is locked
again as soon as you close it.
Opening from the inside, refer to
page 34.
Page 35 of 147

35n
OverviewControlsMaintenanceRepairsDataIndex
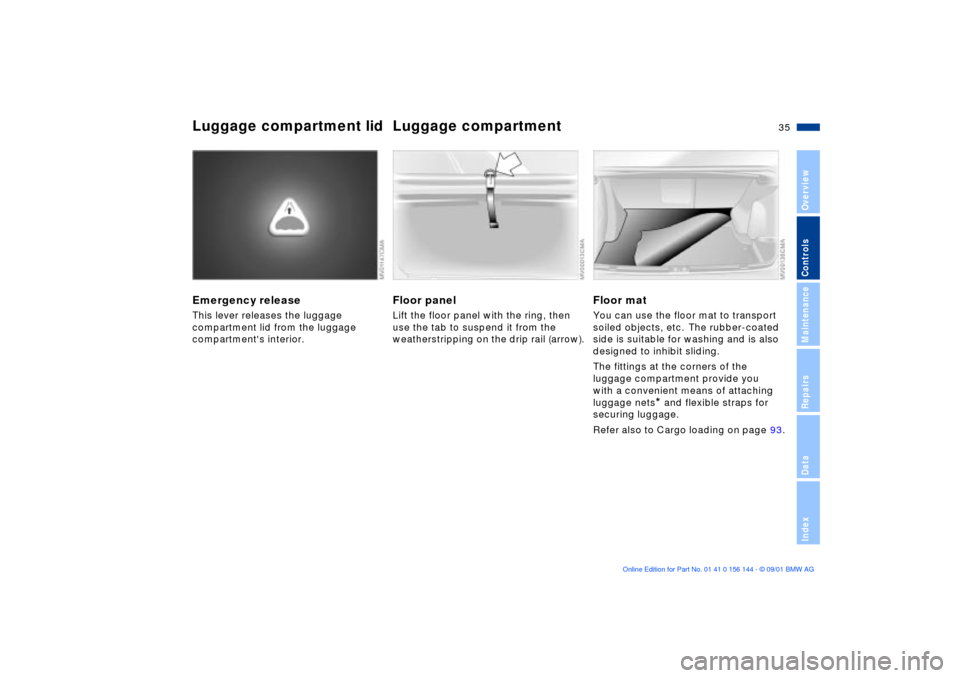
Luggage compartment lid Luggage compartment Emergency releaseThis lever releases the luggage
compartment lid from the luggage
compartment's interior.
Floor panelLift the floor panel with the ring, then
use the tab to suspend it from the
weatherstripping on the drip rail (arrow).
Floor matYou can use the floor mat to transport
soiled objects, etc. The rubber-coated
side is suitable for washing and is also
designed to inhibit sliding.
The fittings at the corners of the
luggage compartment provide you
with a convenient means of attaching
luggage nets
* and flexible straps for
securing luggage.
Refer also to Cargo loading on page 93.
Page 36 of 147

36n
Alarm system
*
The conceptThe vehicle alarm system responds:
>When a door, the hood or the
luggage compartment lid is opened
>To movement inside the vehicle (inte-
rior motion sensor)
>To variations in the vehicle's tilt angle
such as those occurring during
attempts to steal the wheels or tow
the vehicle
>To interruption of battery voltage.
The system responds to unauthorized
vehicle entry and attempted theft by
simultaneously activating the following:
>The acoustic alarm sounds for
30 seconds
>The hazard warning flashers are acti-
vated for approx. five minutes
>The high beams flash on and off in
rhythm with the hazard warning
flashers.
To arm and disarm the
alarm systemWhen the vehicle is locked or unlocked
via the driver's door lock or with the
remote control, the alarm system is also
simultaneously armed or disarmed.
You can have different acknowl-
edgment signals set to confirm
arming and disarming.<
You can open the luggage compart-
ment lid even when the system is
armed by pressing the button on the
remote control, refer to page 30. When
it is closed, the lid is once again
secured.
Indicator lamp displays>The indicator lamp below the interior
rearview mirror flashes continuously:
the system is armed
>The indicator lamp flashes while the
system is armed: the door(s), the
hood or luggage compartment lid are
not completely closed. Even if you do
not close the alerted area(s), the
remaining areas are secured, and the
indicator lamp will flash continuously
after 10 seconds. However, the inte-
rior motion sensor is not activated
Page 51 of 147

51n
OverviewControlsMaintenanceRepairsDataIndex
Transporting children safelyLATCH child-restraint mounting
system
*
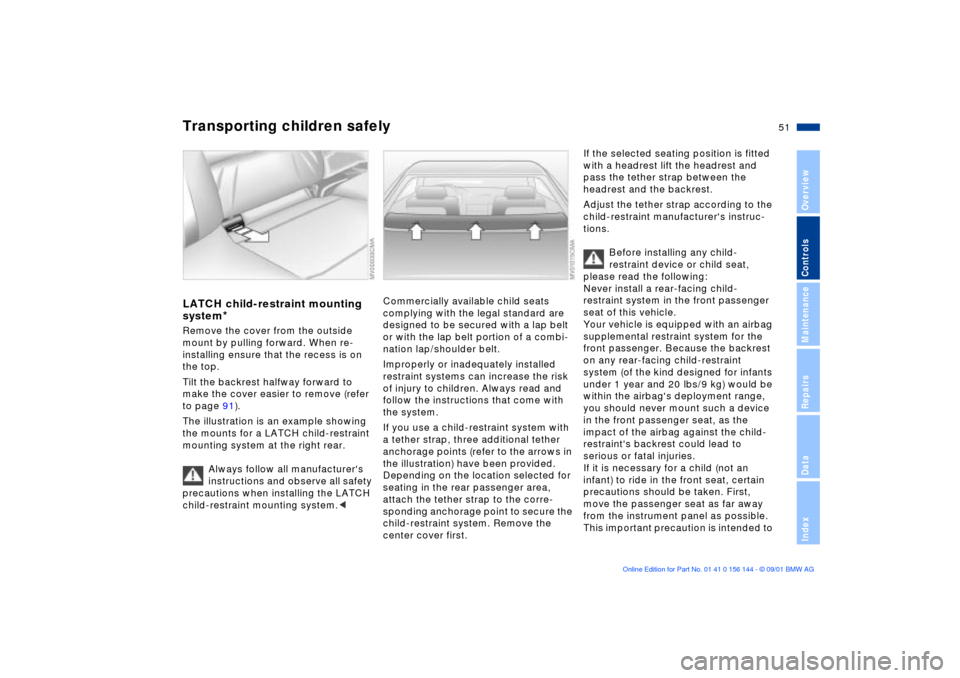
Remove the cover from the outside
mount by pulling forward. When re-
installing ensure that the recess is on
the top.
Tilt the backrest halfway forward to
make the cover easier to remove (refer
to page 91).
The illustration is an example showing
the mounts for a LATCH child-restraint
mounting system at the right rear.
Always follow all manufacturer's
instructions and observe all safety
precautions when installing the LATCH
child-restraint mounting system.<
Commercially available child seats
complying with the legal standard are
designed to be secured with a lap belt
or with the lap belt portion of a combi-
nation lap/shoulder belt.
Improperly or inadequately installed
restraint systems can increase the risk
of injury to children. Always read and
follow the instructions that come with
the system.
If you use a child-restraint system with
a tether strap, three additional tether
anchorage points (refer to the arrows in
the illustration) have been provided.
Depending on the location selected for
seating in the rear passenger area,
attach the tether strap to the corre-
sponding anchorage point to secure the
child-restraint system. Remove the
center cover first.
If the selected seating position is fitted
with a headrest lift the headrest and
pass the tether strap between the
headrest and the backrest.
Adjust the tether strap according to the
child-restraint manufacturer's instruc-
tions.
Before installing any child-
restraint device or child seat,
please read the following:
Never install a rear-facing child-
restraint system in the front passenger
seat of this vehicle.
Your vehicle is equipped with an airbag
supplemental restraint system for the
front passenger. Because the backrest
on any rear-facing child-restraint
system (of the kind designed for infants
under 1 year and 20 lbs/9 kg) would be
within the airbag's deployment range,
you should never mount such a device
in the front passenger seat, as the
impact of the airbag against the child-
restraint's backrest could lead to
serious or fatal injuries.
If it is necessary for a child (not an
infant) to ride in the front seat, certain
precautions should be taken. First,
move the passenger seat as far away
from the instrument panel as possible.
This important precaution is intended to