2002 BMW 325Ci CONVERTIBLE maintenance
[x] Cancel search: maintenancePage 51 of 159
51n
OverviewControlsMaintenanceRepairsDataIndex
Head restraints Entering the rearRear head restraints
To avoid possible violation of
traffic laws, never retract the head
restraints unless the rear seats are
empty. Always ensure that the head
restraints are raised before transporting
passengers in the rear seat.<
To completely lower the rear head
restraints:
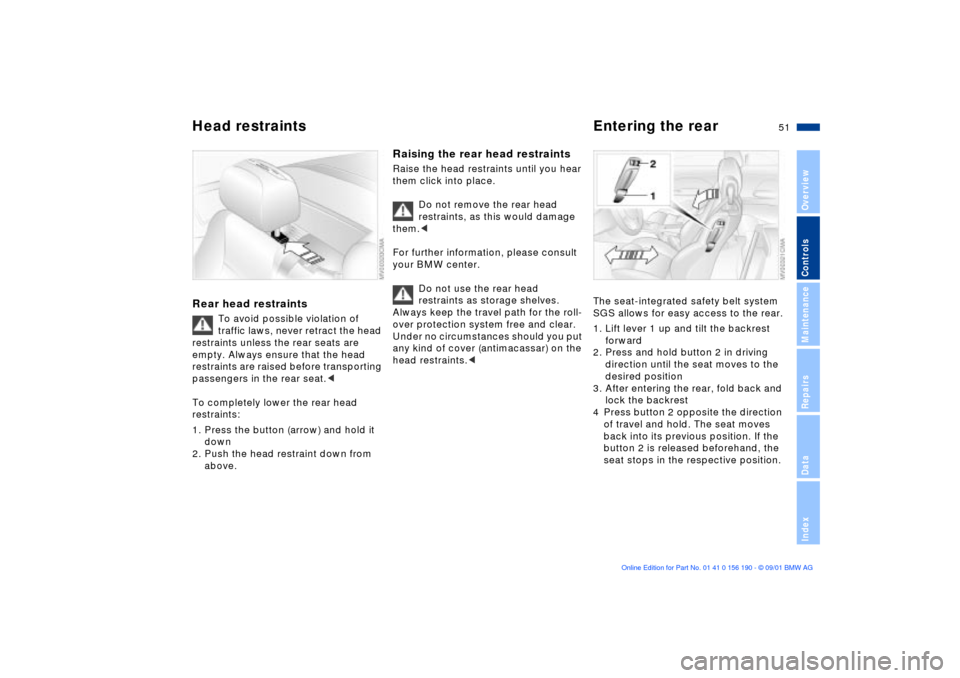
1. Press the button (arrow) and hold it
down
2. Push the head restraint down from
above.
Raising the rear head restraintsRaise the head restraints until you hear
them click into place.
Do not remove the rear head
restraints, as this would damage
them.<
For further information, please consult
your BMW center.
Do not use the rear head
restraints as storage shelves.
Always keep the travel path for the roll-
over protection system free and clear.
Under no circumstances should you put
any kind of cover (antimacassar) on the
head restraints.<
The seat-integrated safety belt system
SGS allows for easy access to the rear.
1. Lift lever 1 up and tilt the backrest
forward
2. Press and hold button 2 in driving
direction until the seat moves to the
desired position
3. After entering the rear, fold back and
lock the backrest
4 Press button 2 opposite the direction
of travel and hold. The seat moves
back into its previous position. If the
button 2 is released beforehand, the
seat stops in the respective position.
Page 53 of 159
53n
OverviewControlsMaintenanceRepairsDataIndex
Seat and mirror memory
*
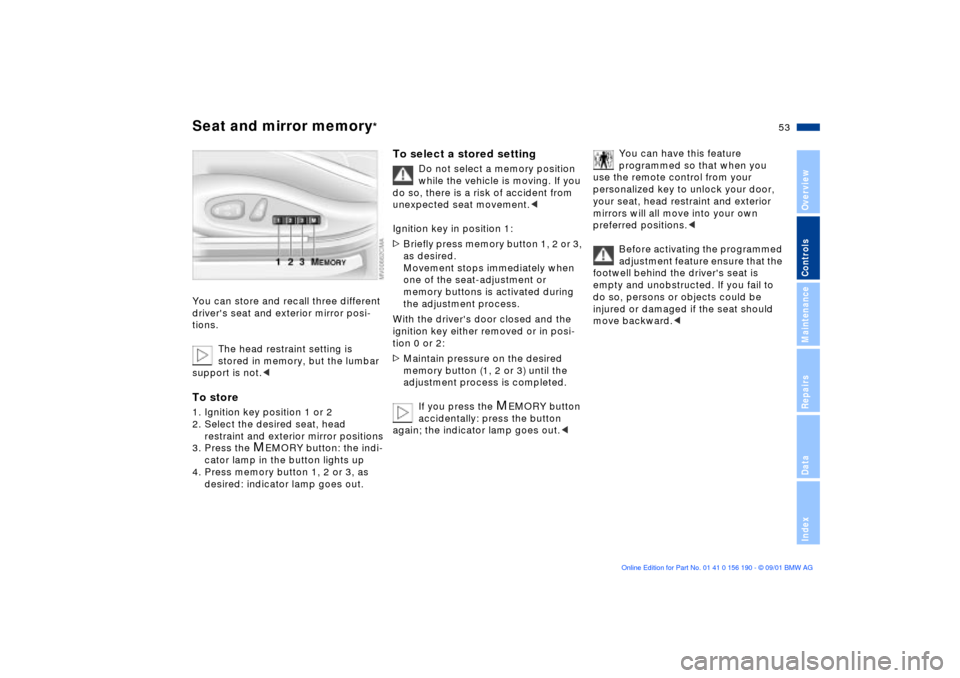
You can store and recall three different
driver's seat and exterior mirror posi-
tions.
The head restraint setting is
stored in memory, but the lumbar
support is not.
restraint and exterior mirror positions
3. Press the
M
EMORY button: the indi-
cator lamp in the button lights up
4. Press memory button 1, 2 or 3, as
desired: indicator lamp goes out.
To select a stored setting
Do not select a memory position
while the vehicle is moving. If you
do so, there is a risk of accident from
unexpected seat movement.<
Ignition key in position 1:
>Briefly press memory button 1, 2 or 3,
as desired.
Movement stops immediately when
one of the seat-adjustment or
memory buttons is activated during
the adjustment process.
With the driver's door closed and the
ignition key either removed or in posi-
tion 0 or 2:
>Maintain pressure on the desired
memory button (1, 2 or 3) until the
adjustment process is completed.
If you press the
M
EMORY button
accidentally: press the button
again; the indicator lamp goes out.<
You can have this feature
programmed so that when you
use the remote control from your
personalized key to unlock your door,
your seat, head restraint and exterior
mirrors will all move into your own
preferred positions.<
Before activating the programmed
adjustment feature ensure that the
footwell behind the driver's seat is
empty and unobstructed. If you fail to
do so, persons or objects could be
injured or damaged if the seat should
move backward.<
Page 55 of 159
55n
OverviewControlsMaintenanceRepairsDataIndex
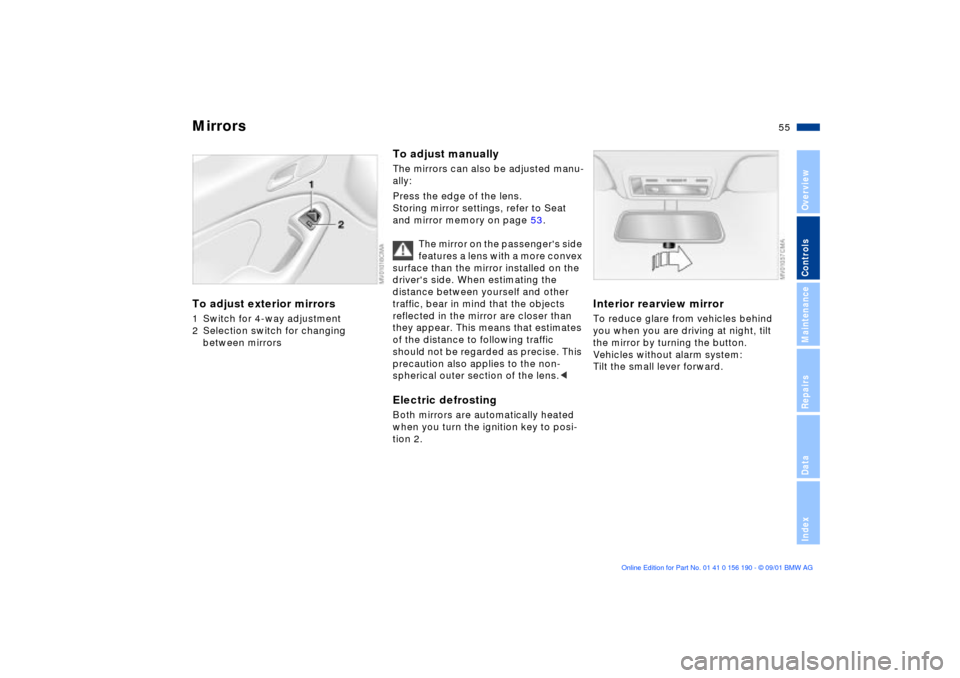
Mirrors To adjust exterior mirrors1 Switch for 4-way adjustment
2 Selection switch for changing
between mirrors
To adjust manuallyThe mirrors can also be adjusted manu-
ally:
Press the edge of the lens.
Storing mirror settings, refer to Seat
and mirror memory on page 53.
The mirror on the passenger's side
features a lens with a more convex
surface than the mirror installed on the
driver's side. When estimating the
distance between yourself and other
traffic, bear in mind that the objects
reflected in the mirror are closer than
they appear. This means that estimates
of the distance to following traffic
should not be regarded as precise. This
precaution also applies to the non-
spherical outer section of the lens.
tion 2.
Interior rearview mirror To reduce glare from vehicles behind
you when you are driving at night, tilt
the mirror by turning the button.
Vehicles without alarm system:
Tilt the small lever forward.
Page 57 of 159
57n
OverviewControlsMaintenanceRepairsDataIndex
Airbags
The airbags do not deploy in
response to minor collisions, rear
impacts and certain kinds of vehicle
rollover.<
For your safety, comply with the
following instructions for the
airbags. If you do not, the airbags may
not be able to provide their maximum
protection. All passengers in the vehicle
should be aware of and comply with
these directions:
The airbags are supplemental restraint
devices designed to provide extra
protection; they are not a substitute for
safety belts. Wear your safety belt at all
times. The airbags will not be triggered
in the event of a minor accident, a
vehicle rollover, or collisions from the
rear. In these instances, the safety belt
provides optimal protection.
Airbags are located under cover panels
in the steering wheel, in the instrument
panel, in the side trim panels in the
front and rear
*, in the roof panels, and
in the sides of the inside roof lining.
Adjust your seat to a position that
provides maximum distance between
you and the steering wheel, the instru-
ment panel and the door while still
allowing comfortable and safe access
to all vehicle controls.
To avoid sustaining hand and arm inju-
ries, always grasp the steering wheel
on the rim with the hands at the 9 and
3 o'clock positions. Do not place your
hands on the center pad.
Never allow any objects to obstruct the
area between the airbag and an occu-
pant.
Do not use the cover panel above the
passenger-side airbag as a storage
area.
Do not apply adhesive materials to the
cover panels of the airbags, cover them
or modify them in any other way.
Do not install a rear-facing child-
restraint system in the front passenger
seat of this vehicle.
Children under 13 years of age and less
than 5 ft (150 cm) tall should ride only in
the rear seat.
Infants or small children should never
be held on the lap of a passenger.
If your vehicle is equipped with side
airbags in the rear passenger area
*, be
sure that child restraints are mounted
correctly with the greatest-possible
distance between them and the airbags
in the side trim panels. Do not allow
children to lean out of the child's seat in
the direction of the side trim panels. If
they do so, serious injuries can occur if
the airbag is triggered.
(infants and small children in appro-
priate child-restraint systems; larger
children and adults using the safety
belts). Never let an occupant's head
rest near or on a side airbag, as the
inflating airbag could cause a serious or
fatal injury. Please note that the word
Airbag imprinted on the door trim panel
indicates the airbag's location.
Accident research shows that the
safest place for children in an auto-
mobile is in the rear seat. However, a
child sitting in the rear seat and not
properly restrained may place his or her
head on or near the airbag, if so
equipped. For example, a child Ñ even
though belted Ñ may fall asleep with his
or her head against the side airbag. It
may be difficult for a driver to ensure
that children in the rear seat will remain
properly positioned at all times and not
place their heads on or near the side
airbag.
Therefore, we recommend that the
rear-seat side airbags, if installed in the
vehicle, be deactivated if children will
travel in the rear seat.
The rear-seat side airbags may already
have been deactivated, either at the
time of manufacture or by a BMW
Page 59 of 159
59n
OverviewControlsMaintenanceRepairsDataIndex
Transporting children safelyLATCH child-restraint mounting
system
*
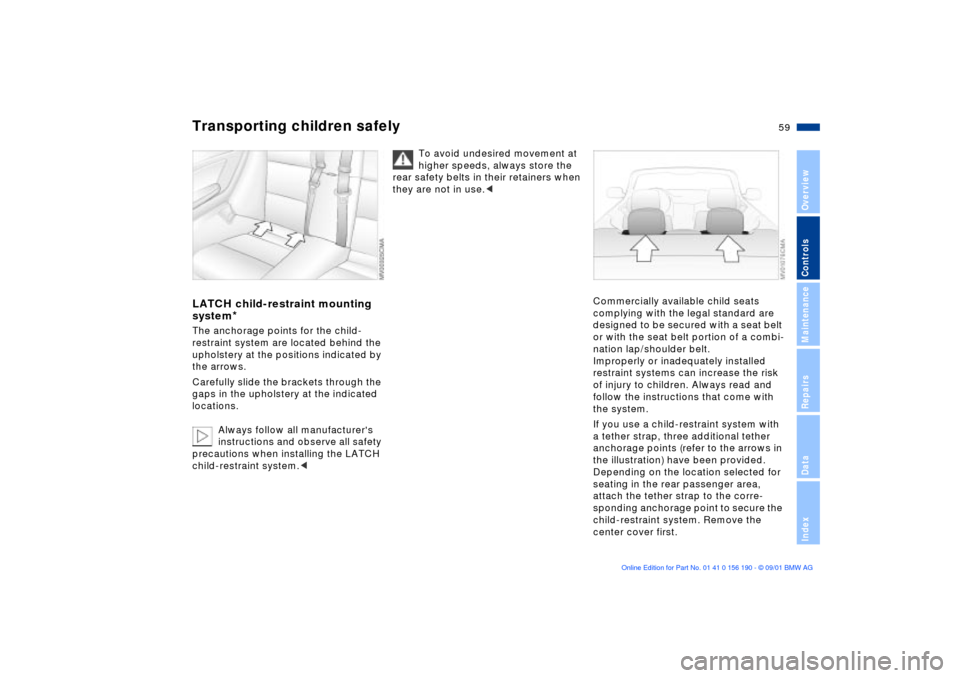
The anchorage points for the child-
restraint system are located behind the
upholstery at the positions indicated by
the arrows.
Carefully slide the brackets through the
gaps in the upholstery at the indicated
locations.
Always follow all manufacturer's
instructions and observe all safety
precautions when installing the LATCH
child-restraint system.<
To avoid undesired movement at
higher speeds, always store the
rear safety belts in their retainers when
they are not in use.<
Commercially available child seats
complying with the legal standard are
designed to be secured with a seat belt
or with the seat belt portion of a combi-
nation lap/shoulder belt.
Improperly or inadequately installed
restraint systems can increase the risk
of injury to children. Always read and
follow the instructions that come with
the system.
If you use a child-restraint system with
a tether strap, three additional tether
anchorage points (refer to the arrows in
the illustration) have been provided.
Depending on the location selected for
seating in the rear passenger area,
attach the tether strap to the corre-
sponding anchorage point to secure the
child-restraint system. Remove the
center cover first.
Page 61 of 159

61n
OverviewControlsMaintenanceRepairsDataIndex
Transporting children safelyRollover protection systemTo lock the safety beltExtract the entire length of the belt from
the inertia reel mechanism. Allow the
reel to retract the belt somewhat and
engage the buckle, then tighten the belt
against the child-restraint system. The
retraction mechanism is now locked.
The belt cannot be extracted further.
Always observe the installation instruc-
tions provided by the manufacturer of
the child-restraint system.To release the safety beltRelease the safety belt, remove the
child's seat and retract the safety belt to
its end position on the belt retractor.In the event of an accident or some
other critical driving situation (extreme
tilting in the longitudinal or transverse
axis, loss of contact with the ground),
the rollover protection system will be
automatically activated. The protective
bars located in the rear head restraints
extend within fractions of a second.
In addition to the integrated rollover bar
in the windshield frame, the rollover
protection system affords all the vehicle
occupants necessary headroom.
Always keep the travel path for the
rollover protection system free
and clear. Under no circumstances
should you cover the head restraints.
In the event of less serious accidents,
the safety belt will protect you and,
depending on the severity of the acci-
dent, so will the safety belt tensioner
and the multi-stage airbag restraint
system as well.<
If, after being automatically triggered,
its protective function is not needed,
then the rollover protection system can
be lowered back into place. No special
tool is needed for this.
1. Using a screwdriver from the on-
board tool kit, remove the cover
panel; to do this, position the screw-
driver under the notch (arrow)
Page 62 of 159
62n
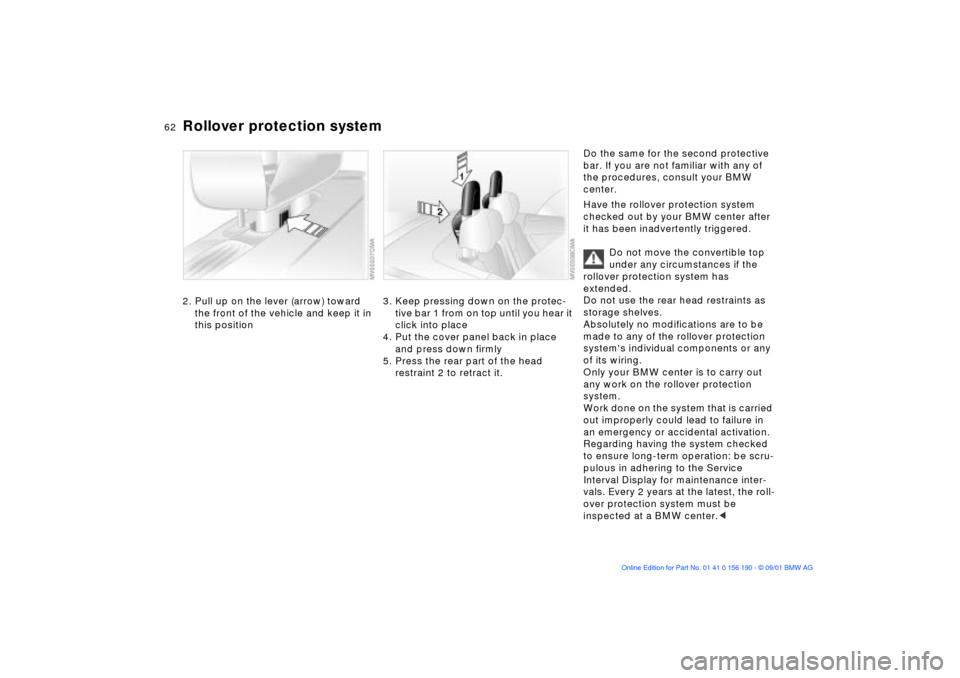
Rollover protection system2. Pull up on the lever (arrow) toward
the front of the vehicle and keep it in
this position
3. Keep pressing down on the protec-
tive bar 1 from on top until you hear it
click into place
4. Put the cover panel back in place
and press down firmly
5. Press the rear part of the head
restraint 2 to retract it.
Do the same for the second protective
bar. If you are not familiar with any of
the procedures, consult your BMW
center.
Have the rollover protection system
checked out by your BMW center after
it has been inadvertently triggered.
Do not move the convertible top
under any circumstances if the
rollover protection system has
extended.
Do not use the rear head restraints as
storage shelves.
Absolutely no modifications are to be
made to any of the rollover protection
system's individual components or any
of its wiring.
Only your BMW center is to carry out
any work on the rollover protection
system.
Work done on the system that is carried
out improperly could lead to failure in
an emergency or accidental activation.
Regarding having the system checked
to ensure long-term operation: be scru-
pulous in adhering to the Service
Interval Display for maintenance inter-
vals. Every 2 years at the latest, the roll-
over protection system must be
inspected at a BMW center.<
Page 63 of 159
63n
OverviewControlsMaintenanceRepairsDataIndex
Vehicle Memory, Key Memory How the system functionsNo doubt you have reflected at one
time or another on how great it would
be if you could permanently configure
your vehicle's various features and
adjustments to mirror your own indi-
vidual preferences. In engineering your
vehicle, BMW has incorporated a
number of options for personal adjust-
ment that can be programmed into your
vehicle at your BMW center.
The available configuration data fall into
two categories, according to whether
their primary orientation is the vehicle
(Vehicle Memory) or the individual (Key
Memory). Provided that each person
has a separate remote-control key, you
can have your BMW center enter
adjustment data for as many as four
different individuals into the system.
The system then relies on a bilateral
data exchange to identify the individual
user and dial in the selected settings
whenever the remote control unit is
used to disengage the door locks.
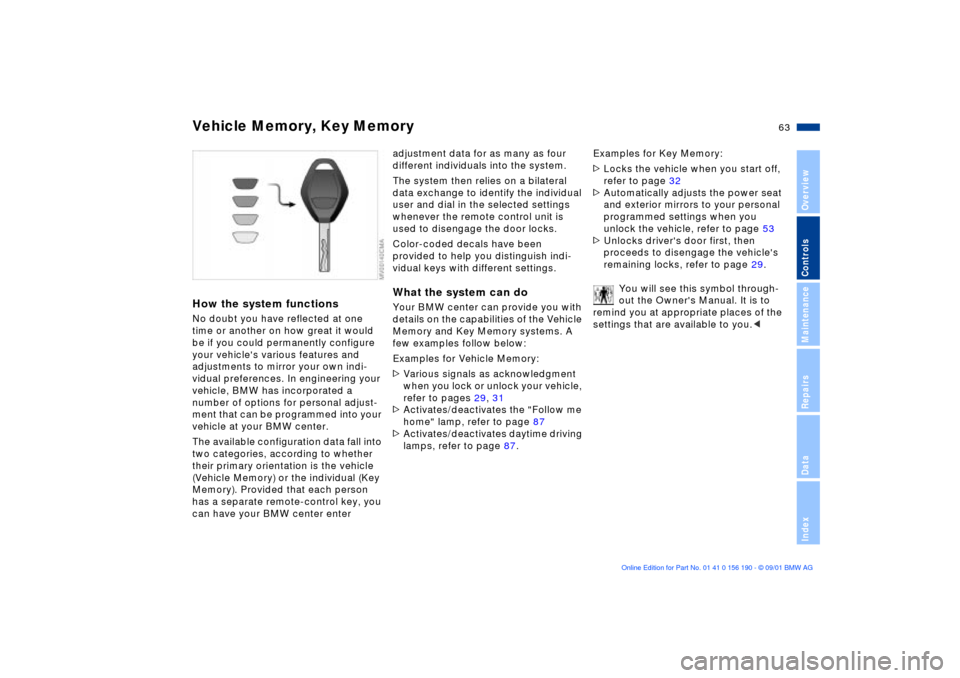
Color-coded decals have been
provided to help you distinguish indi-
vidual keys with different settings.What the system can doYour BMW center can provide you with
details on the capabilities of the Vehicle
Memory and Key Memory systems. A
few examples follow below:
Examples for Vehicle Memory:
>Various signals as acknowledgment
when you lock or unlock your vehicle,
refer to pages 29, 31
>Activates/deactivates the "Follow me
home" lamp, refer to page 87
>Activates/deactivates daytime driving
lamps, refer to page 87.Examples for Key Memory:
>Locks the vehicle when you start off,
refer to page 32
>Automatically adjusts the power seat
and exterior mirrors to your personal
programmed settings when you
unlock the vehicle, refer to page 53
>Unlocks driver's door first, then
proceeds to disengage the vehicle's
remaining locks, refer to page 29.
You will see this symbol through-
out the Owner's Manual. It is to
remind you at appropriate places of the
settings that are available to you.<