2002 BMW 325Ci CONVERTIBLE key
[x] Cancel search: keyPage 54 of 159

54n
Seat and mirror memory
*
Seat heating
**Steering wheel
Passenger-side exterior mirror tilt
function(Automatic curb monitor
*)
1. Move the mirror selector switch 1 to
the "driver's mirror" position
2. When the selector lever is placed in
"Reverse," the passenger-side mirror
tilts downward. This allows the driver
to see the area directly adjacent to
the vehicle during parking (curbs,
etc.).
You can deactivate this automatic
feature by setting the mirror selection
switch to the "passenger side" position.
The seat cushion and backrest can be
heated with the ignition key in
position 2.
You can select different heating modes
by repeatedly pressing the buttons.
You can also switch the higher heating
modes off directly:
Press the button and hold it slightly
longer.
Adjustment1. Push the locking lever downward
2. Adjust the steering column's rake
and reach to suit your seat position
3. Pull the lever back in.
Never adjust the steering wheel
while the vehicle is moving, other-
wise you run the risk of an accident due
to unexpected movement.<
Page 55 of 159
55n
OverviewControlsMaintenanceRepairsDataIndex
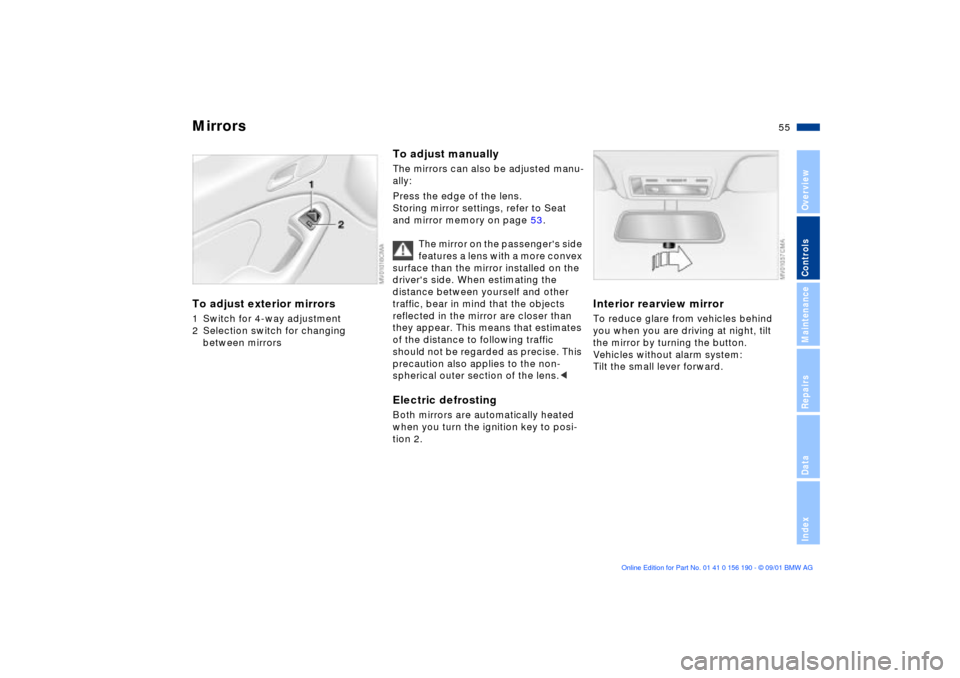
Mirrors To adjust exterior mirrors1 Switch for 4-way adjustment
2 Selection switch for changing
between mirrors
To adjust manuallyThe mirrors can also be adjusted manu-
ally:
Press the edge of the lens.
Storing mirror settings, refer to Seat
and mirror memory on page 53.
The mirror on the passenger's side
features a lens with a more convex
surface than the mirror installed on the
driver's side. When estimating the
distance between yourself and other
traffic, bear in mind that the objects
reflected in the mirror are closer than
they appear. This means that estimates
of the distance to following traffic
should not be regarded as precise. This
precaution also applies to the non-
spherical outer section of the lens.
tion 2.
Interior rearview mirror To reduce glare from vehicles behind
you when you are driving at night, tilt
the mirror by turning the button.
Vehicles without alarm system:
Tilt the small lever forward.
Page 56 of 159
56n
Mirrors AirbagsInterior rearview mirror with
automatic dimming featureThis mirror automatically dims through
an infinitely-variable range. It returns to
its clear, undimmed mode whenever
you engage reverse.
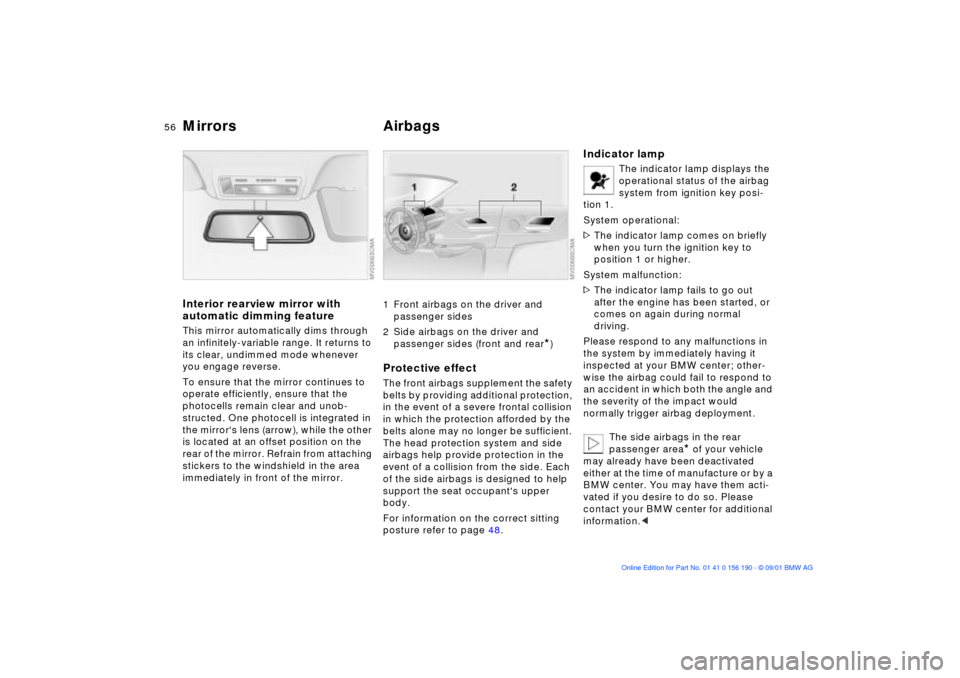
To ensure that the mirror continues to
operate efficiently, ensure that the
photocells remain clear and unob-
structed. One photocell is integrated in
the mirror's lens (arrow), while the other
is located at an offset position on the
rear of the mirror. Refrain from attaching
stickers to the windshield in the area
immediately in front of the mirror.
1 Front airbags on the driver and
passenger sides
2 Side airbags on the driver and
passenger sides (front and rear
*)
Protective effectThe front airbags supplement the safety
belts by providing additional protection,
in the event of a severe frontal collision
in which the protection afforded by the
belts alone may no longer be sufficient.
The head protection system and side
airbags help provide protection in the
event of a collision from the side. Each
of the side airbags is designed to help
support the seat occupant's upper
body.
For information on the correct sitting
posture refer to page 48.
Indicator lamp
The indicator lamp displays the
operational status of the airbag
system from ignition key posi-
tion 1.
System operational:
>The indicator lamp comes on briefly
when you turn the ignition key to
position 1 or higher.
System malfunction:
>The indicator lamp fails to go out
after the engine has been started, or
comes on again during normal
driving.
Please respond to any malfunctions in
the system by immediately having it
inspected at your BMW center; other-
wise the airbag could fail to respond to
an accident in which both the angle and
the severity of the impact would
normally trigger airbag deployment.
The side airbags in the rear
passenger area
* of your vehicle
may already have been deactivated
either at the time of manufacture or by a
BMW center. You may have them acti-
vated if you desire to do so. Please
contact your BMW center for additional
information.<
Page 63 of 159
63n
OverviewControlsMaintenanceRepairsDataIndex
Vehicle Memory, Key Memory How the system functionsNo doubt you have reflected at one
time or another on how great it would
be if you could permanently configure
your vehicle's various features and
adjustments to mirror your own indi-
vidual preferences. In engineering your
vehicle, BMW has incorporated a
number of options for personal adjust-
ment that can be programmed into your
vehicle at your BMW center.
The available configuration data fall into
two categories, according to whether
their primary orientation is the vehicle
(Vehicle Memory) or the individual (Key
Memory). Provided that each person
has a separate remote-control key, you
can have your BMW center enter
adjustment data for as many as four
different individuals into the system.
The system then relies on a bilateral
data exchange to identify the individual
user and dial in the selected settings
whenever the remote control unit is
used to disengage the door locks.
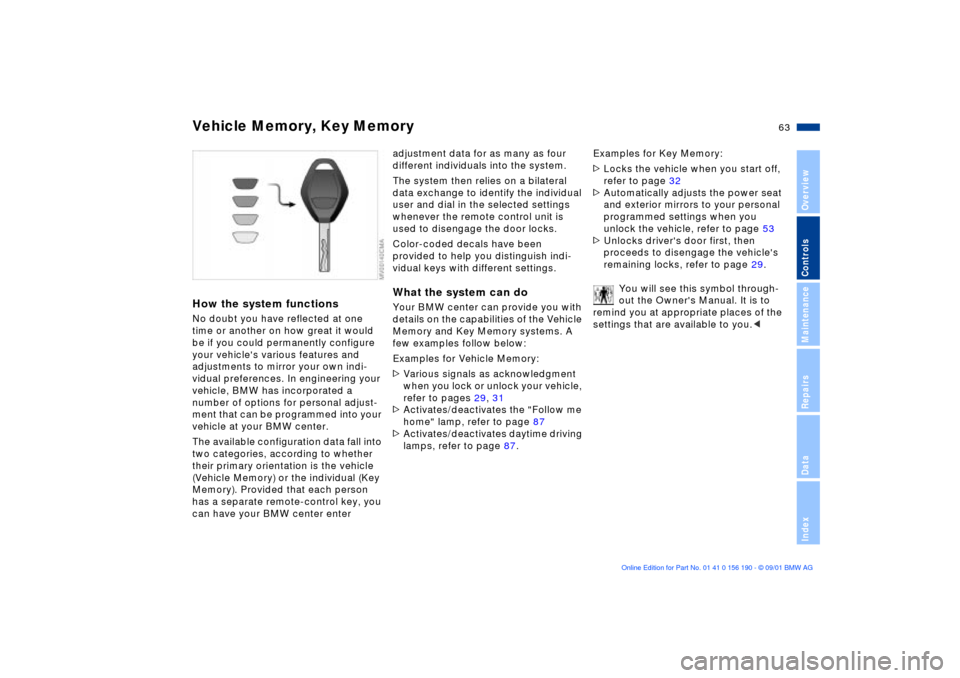
Color-coded decals have been
provided to help you distinguish indi-
vidual keys with different settings.What the system can doYour BMW center can provide you with
details on the capabilities of the Vehicle
Memory and Key Memory systems. A
few examples follow below:
Examples for Vehicle Memory:
>Various signals as acknowledgment
when you lock or unlock your vehicle,
refer to pages 29, 31
>Activates/deactivates the "Follow me
home" lamp, refer to page 87
>Activates/deactivates daytime driving
lamps, refer to page 87.Examples for Key Memory:
>Locks the vehicle when you start off,
refer to page 32
>Automatically adjusts the power seat
and exterior mirrors to your personal
programmed settings when you
unlock the vehicle, refer to page 53
>Unlocks driver's door first, then
proceeds to disengage the vehicle's
remaining locks, refer to page 29.
You will see this symbol through-
out the Owner's Manual. It is to
remind you at appropriate places of the
settings that are available to you.<
Page 64 of 159
64n
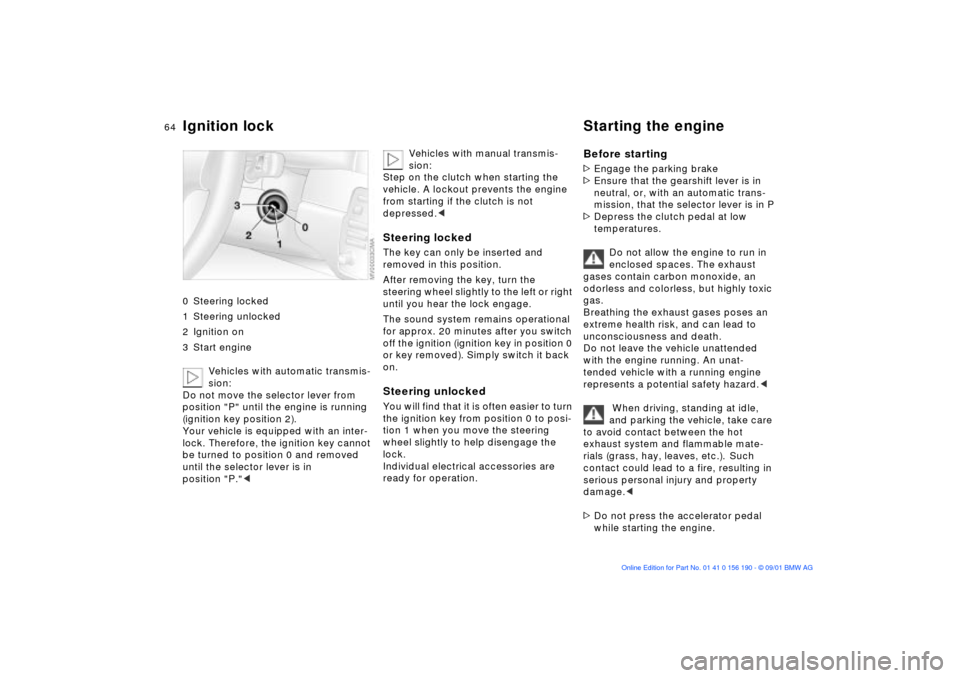
Ignition lock Starting the engine 0 Steering locked
1 Steering unlocked
2 Ignition on
3 Start engine
Vehicles with automatic transmis-
sion:
Do not move the selector lever from
position "P" until the engine is running
(ignition key position 2).
Your vehicle is equipped with an inter-
lock. Therefore, the ignition key cannot
be turned to position 0 and removed
until the selector lever is in
position "P."<
Vehicles with manual transmis-
sion:
Step on the clutch when starting the
vehicle. A lockout prevents the engine
from starting if the clutch is not
depressed.<
Steering lockedThe key can only be inserted and
removed in this position.
After removing the key, turn the
steering wheel slightly to the left or right
until you hear the lock engage.
The sound system remains operational
for approx. 20 minutes after you switch
off the ignition (ignition key in position 0
or key removed). Simply switch it back
on.Steering unlocked You will find that it is often easier to turn
the ignition key from position 0 to posi-
tion 1 when you move the steering
wheel slightly to help disengage the
lock.
Individual electrical accessories are
ready for operation.
Before starting>Engage the parking brake
>Ensure that the gearshift lever is in
neutral, or, with an automatic trans-
mission, that the selector lever is in P
>Depress the clutch pedal at low
temperatures.
Do not allow the engine to run in
enclosed spaces. The exhaust
gases contain carbon monoxide, an
odorless and colorless, but highly toxic
gas.
Breathing the exhaust gases poses an
extreme health risk, and can lead to
unconsciousness and death.
Do not leave the vehicle unattended
with the engine running. An unat-
tended vehicle with a running engine
represents a potential safety hazard.<
When driving, standing at idle,
and parking the vehicle, take care
to avoid contact between the hot
exhaust system and flammable mate-
rials (grass, hay, leaves, etc.). Such
contact could lead to a fire, resulting in
serious personal injury and property
damage.<
>Do not press the accelerator pedal
while starting the engine.
Page 65 of 159

65n
OverviewControlsMaintenanceRepairsDataIndex
Starting the engine Switching off the engine
Do not actuate the starter for too
short a time, but do not actuate it
for more than approx. 20 seconds.
Release the ignition key immediately
when the engine starts.
Do not allow the engine to warm up by
leaving it running while the vehicle
remains stationary. Instead, drive off
immediately at a moderate engine
speed.<
If the engine does not start on the first
attempt (if it is very hot or cold, for
instance):
>Press the accelerator pedal halfway
down while engaging the starter.
Cold starts at extremely low tempera-
tures of roughly +5 7 (Ð15 6) or below
and at altitudes of over 3,300 ft
(1,000 m):
>On the first start attempt, engage the
starter for a longer period (approx.
10 seconds)
>Press the accelerator pedal halfway
down while engaging the starter.
Engine idle speed is controlled by the
engine computer system. Increased
speeds at start-up are normal and
should decrease as the engine warms
up. If engine speed does not decrease,
service is required.
To prevent the battery from discharging,
always deactivate electrical devices
that are not in use. Switch the ignition
off when the vehicle is not being driven.
Extended starting attempts, char-
acterized by excessively frequent
or long periods with the starter
engaged, can lead to catalyst
damage.<
Turn the ignition key to position 1 or 0.
You should never remove the igni-
tion key when the vehicle is in
motion, as the steering lock could
engage.
When you leave the vehicle, always
remove the ignition key and engage the
steering lock.
Vehicles with manual transmission:
Always engage the parking brake when
parking on hills and slopes, as first gear
or reverse may not provide adequate
resistance to rolling.
Vehicles with automatic transmission:
Place the selector lever in "P."<
Page 66 of 159
66n
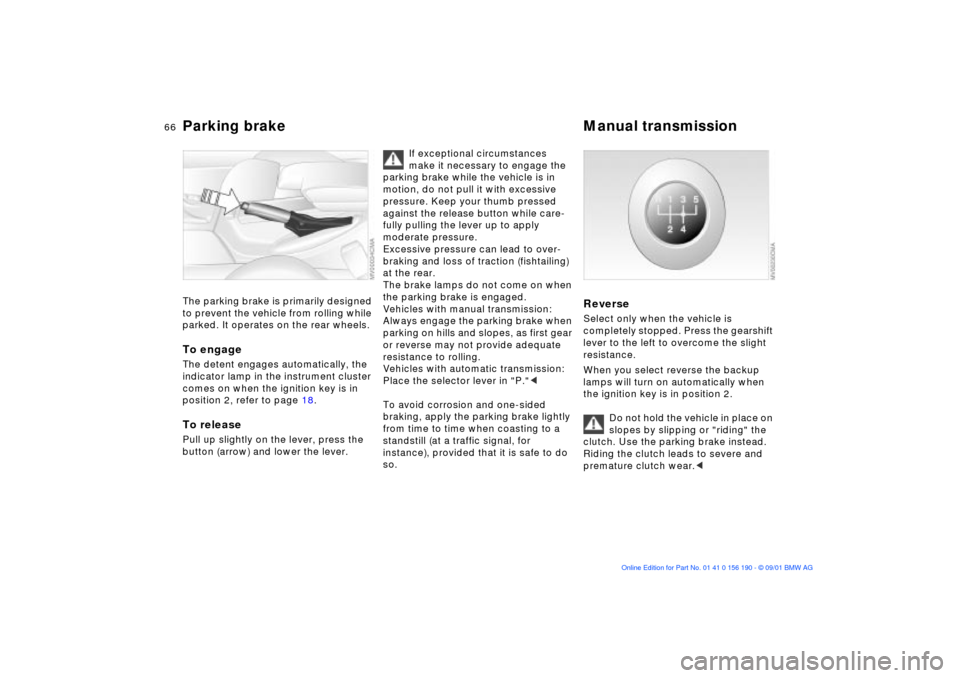
Parking brake Manual transmission The parking brake is primarily designed
to prevent the vehicle from rolling while
parked. It operates on the rear wheels.To engageThe detent engages automatically, the
indicator lamp in the instrument cluster
comes on when the ignition key is in
position 2, refer to page 18.To releasePull up slightly on the lever, press the
button (arrow) and lower the lever.
If exceptional circumstances
make it necessary to engage the
parking brake while the vehicle is in
motion, do not pull it with excessive
pressure. Keep your thumb pressed
against the release button while care-
fully pulling the lever up to apply
moderate pressure.
Excessive pressure can lead to over-
braking and loss of traction (fishtailing)
at the rear.
The brake lamps do not come on when
the parking brake is engaged.
Vehicles with manual transmission:
Always engage the parking brake when
parking on hills and slopes, as first gear
or reverse may not provide adequate
resistance to rolling.
Vehicles with automatic transmission:
Place the selector lever in "P."<
To avoid corrosion and one-sided
braking, apply the parking brake lightly
from time to time when coasting to a
standstill (at a traffic signal, for
instance), provided that it is safe to do
so.
Reverse Select only when the vehicle is
completely stopped. Press the gearshift
lever to the left to overcome the slight
resistance.
When you select reverse the backup
lamps will turn on automatically when
the ignition key is in position 2.
Do not hold the vehicle in place on
slopes by slipping or "riding" the
clutch. Use the parking brake instead.
Riding the clutch leads to severe and
premature clutch wear.<
Page 69 of 159

69n
OverviewControlsMaintenanceRepairsDataIndex
Automatic transmission with Steptronic
*
Indicator/Headlamp ßasher
Available displays
P R N D SD M1 M2 M3 M4 M5
Electronic transmission control
module
If the indicator lamp comes on,
there is a malfunction in the
transmission system.
Bring the vehicle to a stop. Move the
transmission selector lever to "P."
Engage the parking brake and turn the
engine off (ignition key to position 0).
Wait a few seconds, then start the
engine.
If the indicator lamp goes out after a
few seconds, normal transmission
performance has been restored. You
may continue to drive as usual.
If the indicator lamp does not go out,
you can place the selector lever in all
positions. However, the vehicle will now
only operate in 3rd and 4th gear.
If this happens, avoid extreme engine
loads and consult the nearest BMW
center.
Do not work in the engine
compartment when a drive gear
(forward or reverse) is engaged. If you
do this, the vehicle could move.<
For towing or jump-starting, refer to the
information beginning on page 140.
1 High beams (blue indicator lamp)
2 Headlamp flasher (blue indicator
lamp)
3 Turn signal indicator (green indicator
lamps accompanied by a periodic
clicking sound from the relay)To signal brieflyPress the lever up to but not beyond
the detent. It then returns to the center
position when released.
If the flashing of the turn signal
indicators and the clicking from
the relay are both faster than normal,
one of the turn signal indicators has
failed.<