Page 76 of 159

76n
Check Control ComputerWhen you turn the ignition key to posi-
tion 2, any of the following symbols may
appear to call your attention to problem
areas; the symbols remain in the
display panel until the problem is
corrected:
1 Check the low and high beams as
well as the parking lamps
2 Door open
3 Luggage compartment lid open
4 Check tail or brake lamps
When you open the driver's door after
completing a journey, an acoustic
warning signal will sound if the head-
lamps are still on.
Mode selectionFrom ignition key position 1, you can
call up information from the computer
using the button in the turn signal lever.
The information is displayed in the
instrument cluster. By pressing the
button briefly toward the steering
column, you can call up a new function
for display.
The displays appear in the following
order:
Time of day, outside temperature,
average fuel consumption, cruising
range, average vehicle speed.
When the ignition key is turned to posi-
tion 1 or higher the last active setting is
displayed.
ClockIf you wish to have a permanent time
display, you can make this setting in the
radio display (refer to the Radio
Owner's Manual).
You can set the clock and the time
display in the car radio as follows.
Page 77 of 159

77n
OverviewControlsMaintenanceRepairsDataIndex
ComputerSettingsFrom ignition key position 1 and time
displayed in the instrument cluster:
To set ahead: turn the button to the
right.
To set back: turn the button to the left.
The setting speed will increase the
longer you continue to hold the button.
To change the display mode: press the
button briefly.
Every time you press the button, the
clock display alternates between the
12-hour or 24-hour mode.
In ignition key position 0: the time is
displayed for a few seconds after you
press the left button, refer to
Odometer on page 74.
Outside temperatureYou can change the units of measure
(6/7) for the outside temperature
display by pressing the right-hand reset
button in the instrument cluster while
the temperature display is active.
Ice warningIf the outside temperature drops to
about 37.5 7 (+3 6), then the
computer will automatically switch to a
display of the outside temperature. In
addition, a signal sounds as a warning
and the display flashes for a brief
period.
The ice warning does not alter the
fact that surface ice can form at
temperatures above 37.5 7 (+3 6), on
bridges or shaded road surfaces, for
instance.<
Page 85 of 159

85n
OverviewControlsMaintenanceRepairsDataIndex
Flat Tire Monitor
*
The conceptAs you drive, the Flat Tire Monitor
keeps track of pressure levels in all four
tires in order to detect and warn of any
substantial pressure loss.
The system actually detects pressure
loss by monitoring differences in the
relative speeds of the four wheels. It
interprets variations outside specified
limits as severe pressure loss, and then
responds by generating a warning.
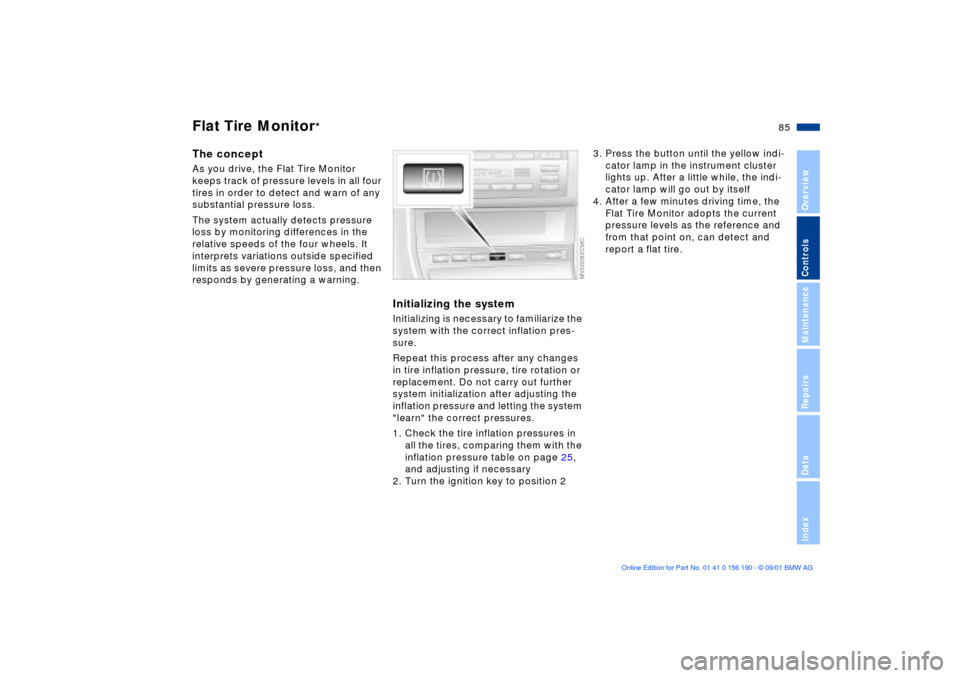
Initializing the systemInitializing is necessary to familiarize the
system with the correct inflation pres-
sure.
Repeat this process after any changes
in tire inflation pressure, tire rotation or
replacement. Do not carry out further
system initialization after adjusting the
inflation pressure and letting the system
"learn" the correct pressures.
1. Check the tire inflation pressures in
all the tires, comparing them with the
inflation pressure table on page 25,
and adjusting if necessary
2. Turn the ignition key to position 2
3. Press the button until the yellow indi-
cator lamp in the instrument cluster
lights up. After a little while, the indi-
cator lamp will go out by itself
4. After a few minutes driving time, the
Flat Tire Monitor adopts the current
pressure levels as the reference and
from that point on, can detect and
report a flat tire.
Page 86 of 159

86n
Flat Tire Monitor
*
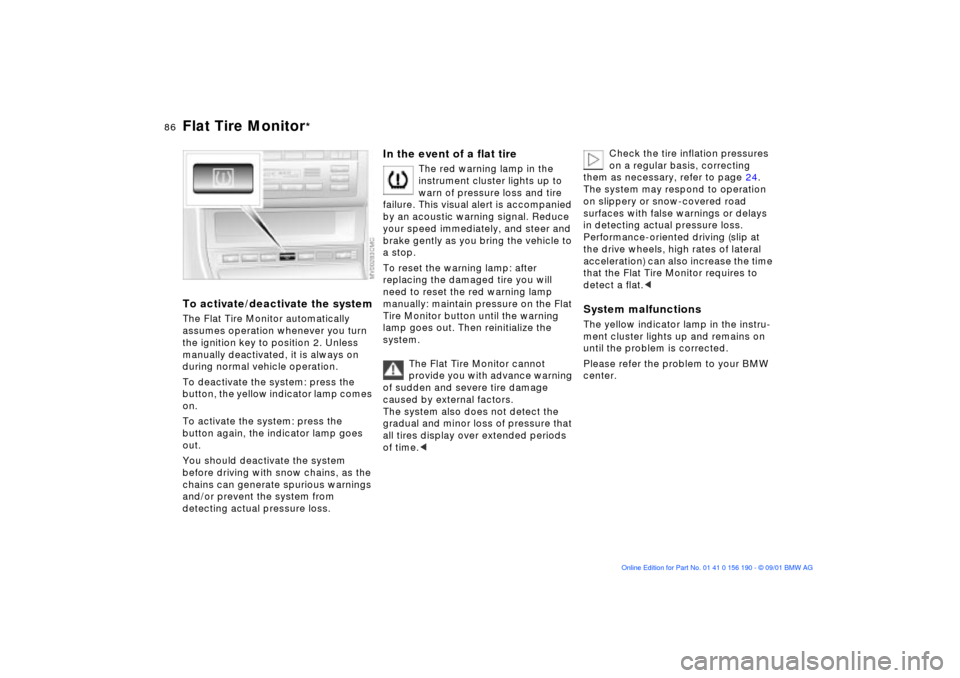
To activate/deactivate the systemThe Flat Tire Monitor automatically
assumes operation whenever you turn
the ignition key to position 2. Unless
manually deactivated, it is always on
during normal vehicle operation.
To deactivate the system: press the
button, the yellow indicator lamp comes
on.
To activate the system: press the
button again, the indicator lamp goes
out.
You should deactivate the system
before driving with snow chains, as the
chains can generate spurious warnings
and/or prevent the system from
detecting actual pressure loss.
In the event of a flat tire
The red warning lamp in the
instrument cluster lights up to
warn of pressure loss and tire
failure. This visual alert is accompanied
by an acoustic warning signal. Reduce
your speed immediately, and steer and
brake gently as you bring the vehicle to
a stop.
To reset the warning lamp: after
replacing the damaged tire you will
need to reset the red warning lamp
manually: maintain pressure on the Flat
Tire Monitor button until the warning
lamp goes out. Then reinitialize the
system.
The Flat Tire Monitor cannot
provide you with advance warning
of sudden and severe tire damage
caused by external factors.
The system also does not detect the
gradual and minor loss of pressure that
all tires display over extended periods
of time.<
Check the tire inflation pressures
on a regular basis, correcting
them as necessary, refer to page 24.
The system may respond to operation
on slippery or snow-covered road
surfaces with false warnings or delays
in detecting actual pressure loss.
Performance-oriented driving (slip at
the drive wheels, high rates of lateral
acceleration) can also increase the time
that the Flat Tire Monitor requires to
detect a flat.<
System malfunctionsThe yellow indicator lamp in the instru-
ment cluster lights up and remains on
until the problem is corrected.
Please refer the problem to your BMW
center.
Page 88 of 159
88n
Instrument lighting
High beams/Standing lamps
Fog lamps
Turn the rotary dial to adjust the illumi-
nation intensity.
1 High beams (blue indicator lamp)
2 Headlamp flasher (blue indicator
lamp)
3 Standing lampsStanding lamps, left or rightAs an additional feature, you can
illuminate your vehicle on either side for
parking:
With the ignition key in position 0,
engage the lever in the appropriate
turn-signal position.
Fog lamps
The green indicator lamp in the
instrument cluster comes on to
indicate that the front fog lamps
are on.
If the automatic headlight control
is on, the low beams will come on
automatically whenever you switch on
the front fog lamps.<
Page 153 of 159

Everything from A to Z
153n
OverviewControlsMaintenanceRepairsDataIndex
G
Garage-door opener97
Gasoline gauge75
Glove compartment97
Gross vehicle weight146 H
Handbrake66
Hands-free system100
microphone100
Hardtop110
Hazard warning triangle22
Head restraints50
Headlamp cover, care131
Headlamp flasher88
Headlamp washer
system120
capacity147
Headlight control87
Heated seats54
Heavy cargo103
Height145
High beams20, 69, 88
bulb replacement131
High Performance Synthetic
Oil122
Holder for canned
beverages100
Hood118
Horn14
I
Ice warning77
Icy roads77
Ignition keys28
Ignition lock64
Imprint4
Indicator lamps17
Inflation pressures,
tires24, 113
INSPECTION75
Instrument cluster15
Instrument lighting88
Instrument panel15
Interface socket for onboard
diagnostics (OBD)127
Interior lamps30, 89
remote control30
Interior motion sensor36
operating via remote
control30
switching off37
Interior rearview mirror55
with automatic
dimming56
Interlock64
J
Jack135
Jump-starting140 K
Key Memory63
Key set28
Keys28 L
Lamps and bulbs,
replacement131
Lashing eyes104
LATCH child-restraint
system59
Length145
License plate lamps, bulb
replacement134
LIGHTS ON warning87
Load-securing devices104
Lock buttons32
Low beams87
bulb replacement131
Lug wrench135
Luggage compartment35
capacity146
enlarging35
floor panel35
secure separately33 Luggage compartment lid
electrical malfunction33
manual operation33
operate via remote
control30
Luggage compartment
lighting33
Luggage compartment's
interior, emergency
release34
Luggage rack105
Lumbar support50
M
M+S tires117
Maintenance125
Malfunction displays76
Manual closing
fully-automatic convertible
top44
Manual convertible top39
close41
open39
Manual operation
doors31
fuel filler door22
luggage compartment
lid33