Page 83 of 155
83n
OverviewControlsMaintenanceRepairsDataIndex
Instrument lighting High beams/Standing lampsFog lampsTurn the rotary dial to adjust the illumi-
nation intensity.
1 High beams (blue indicator lamp)
2 Headlamp flasher (blue indicator
lamp)
3 Parking lampsStanding lamps, left or rightAs an additional feature, you can illumi-
nate your vehicle on either side for
parking:
With the ignition key in position 0,
engage the lever in the appropriate
turn-signal position.
Fog lamps
The green indicator lamp in the
instrument cluster lights up to
indicate that the front fog lamps
are on.
If the automatic headlight control
is on, the low beams will come on
automatically whenever you activate
the front fog lamps.<
Page 85 of 155
85n
OverviewControlsMaintenanceRepairsDataIndex
Air conditioning 1 Air onto the windshield and onto the
side windows
2 Air for the upper body area87
3 Air for the footwell 4 Air supply86
5 Temperature86
6 Air distribution867 Rear window defroster86
8 Air conditioning86
9 Recirculated-air mode86
Page 87 of 155

87n
OverviewControlsMaintenanceRepairsDataIndex
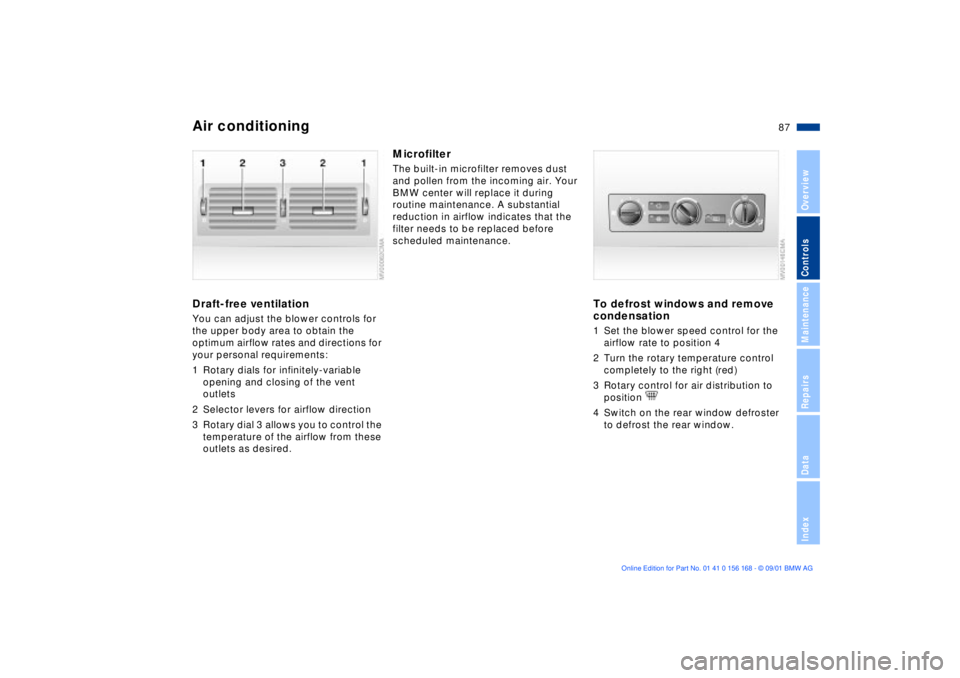
Air conditioningDraft-free ventilationYou can adjust the blower controls for
the upper body area to obtain the
optimum airflow rates and directions for
your personal requirements:
1 Rotary dials for infinitely-variable
opening and closing of the vent
outlets
2 Selector levers for airflow direction
3 Rotary dial 3 allows you to control the
temperature of the airflow from these
outlets as desired.
MicrofilterThe built-in microfilter removes dust
and pollen from the incoming air. Your
BMW center will replace it during
routine maintenance. A substantial
reduction in airflow indicates that the
filter needs to be replaced before
scheduled maintenance.
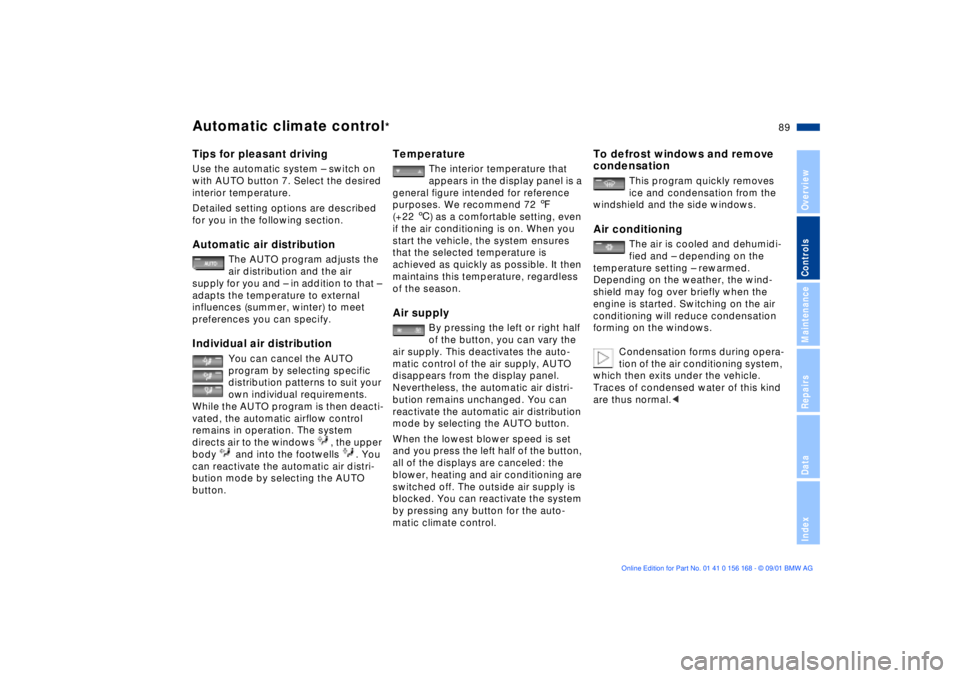
To defrost windows and remove
condensation1 Set the blower speed control for the
airflow rate to position 4
2 Turn the rotary temperature control
completely to the right (red)
3 Rotary control for air distribution to
position
4 Switch on the rear window defroster
to defrost the rear window.
Page 89 of 155

89n
OverviewControlsMaintenanceRepairsDataIndex
Automatic climate control
*
Tips for pleasant drivingUse the automatic system Ð switch on
with AUTO button 7. Select the desired
interior temperature.
Detailed setting options are described
for you in the following section.Automatic air distribution
The AUTO program adjusts the
air distribution and the air
supply for you and Ð in addition to that Ð
adapts the temperature to external
influences (summer, winter) to meet
preferences you can specify.
Individual air distribution
You can cancel the AUTO
program by selecting specific
distribution patterns to suit your
own individual requirements.
While the AUTO program is then deacti-
vated, the automatic airflow control
remains in operation. The system
directs air to the windows , the upper
body and into the footwells . You
can reactivate the automatic air distri-
bution mode by selecting the AUTO
button.
Temperature
The interior temperature that
appears in the display panel is a
general figure intended for reference
purposes. We recommend 72 7
(+22 6) as a comfortable setting, even
if the air conditioning is on. When you
start the vehicle, the system ensures
that the selected temperature is
achieved as quickly as possible. It then
maintains this temperature, regardless
of the season.
Air supply
By pressing the left or right half
of the button, you can vary the
air supply. This deactivates the auto-
matic control of the air supply, AUTO
disappears from the display panel.
Nevertheless, the automatic air distri-
bution remains unchanged. You can
reactivate the automatic air distribution
mode by selecting the AUTO button.
When the lowest blower speed is set
and you press the left half of the button,
all of the displays are canceled: the
blower, heating and air conditioning are
switched off. The outside air supply is
blocked. You can reactivate the system
by pressing any button for the auto-
matic climate control.
To defrost windows and remove
condensation
This program quickly removes
ice and condensation from the
windshield and the side windows.
Air conditioning
The air is cooled and dehumidi-
fied and Ð depending on the
temperature setting Ð rewarmed.
Depending on the weather, the wind-
shield may fog over briefly when the
engine is started. Switching on the air
conditioning will reduce condensation
forming on the windows.
Condensation forms during opera-
tion of the air conditioning system,
which then exits under the vehicle.
Traces of condensed water of this kind
are thus normal.<
Page 91 of 155

91n
OverviewControlsMaintenanceRepairsDataIndex
Automatic climate control
*Roller sun blind
*
Premium sound system
*
Microfilter/activated-charcoal
filterThe built-in microfilter removes dust
and pollen from the incoming air. The
activated-charcoal filter provides addi-
tional protection by filtering gaseous
pollutants from the outside air. Your
BMW center replaces this combined
filter as a standard part of your sched-
uled maintenance. A substantial reduc-
tion in airflow indicates that the filter
needs to be replaced before scheduled
maintenance.
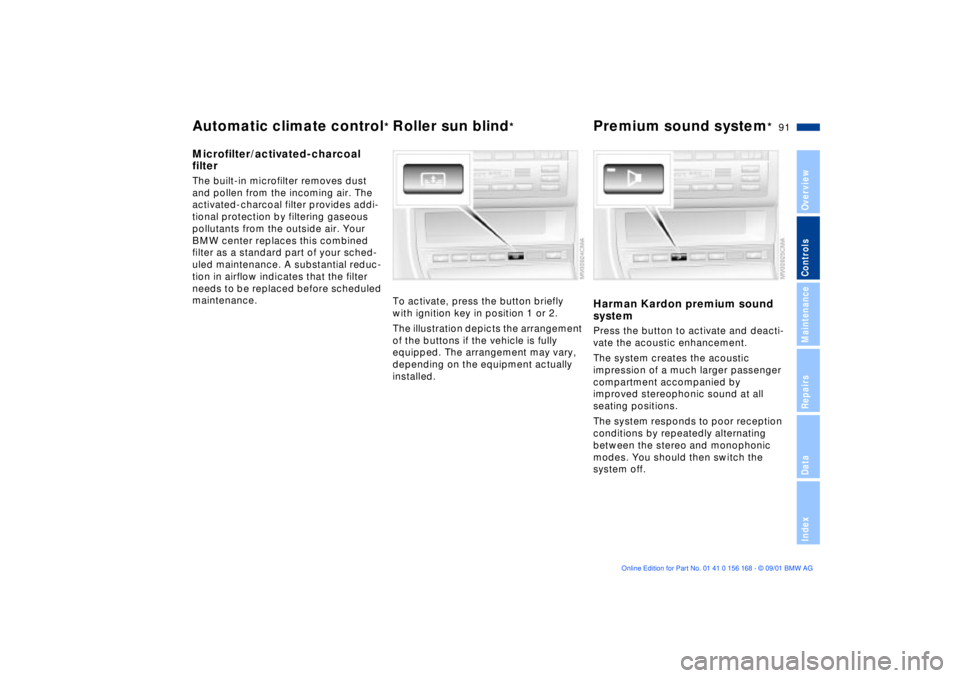
To activate, press the button briefly
with ignition key in position 1 or 2.
The illustration depicts the arrangement
of the buttons if the vehicle is fully
equipped. The arrangement may vary,
depending on the equipment actually
installed.
Harman Kardon premium sound
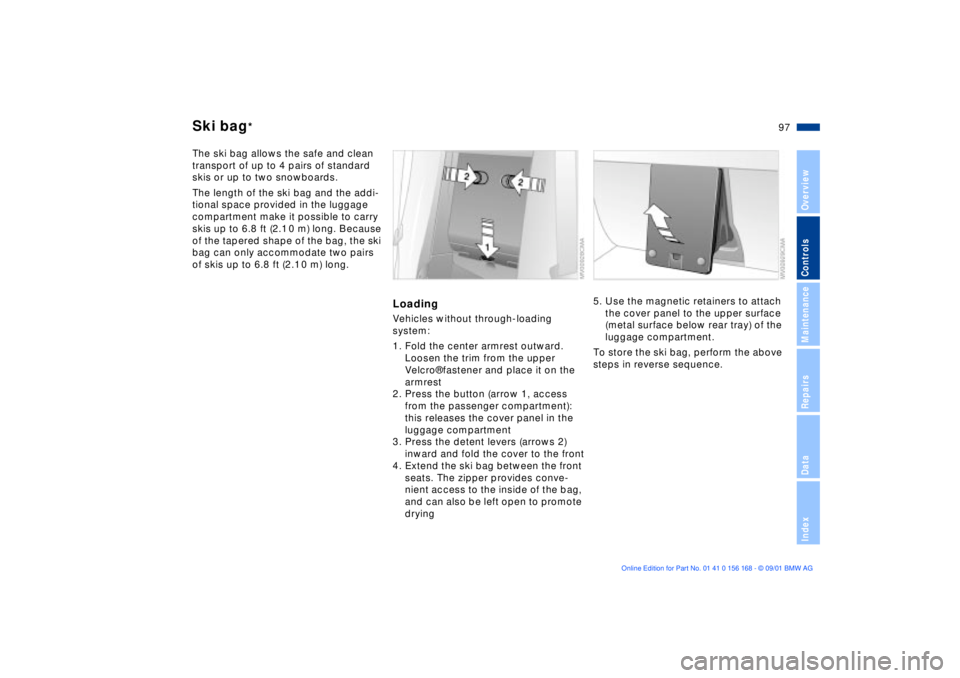
systemPress the button to activate and deacti-
vate the acoustic enhancement.
The system creates the acoustic
impression of a much larger passenger
compartment accompanied by
improved stereophonic sound at all
seating positions.
The system responds to poor reception
conditions by repeatedly alternating
between the stereo and monophonic
modes. You should then switch the
system off.
Page 93 of 155
93n
OverviewControlsMaintenanceRepairsDataIndex
Storage compartmentsBeverage holder, coin boxA coin box and two beverage holders
are provided in the center console.
Center armrest, rear
*
Without through-loading system:
The rear center armrest includes a
storage compartment, a beverage
holder (for two beverage containers)
and a litter bag holder.
1 Storage compartment: pull up
2 Beverage holder: press.
Center armrest, rear
*
With through-loading system:
The rear center armrest includes a
beverage holder (suitable for holding
two beverage cans) and a litter bag
holder.
>Beverage holder: press.
Page 95 of 155
95n
OverviewControlsMaintenanceRepairsDataIndex
Ashtray, front
*
Ashtray, rear
*
To emptyPress on the edge of the open cover
(arrow): the ashtray moves up and can
be removed.
Cigarette lighterPress the lighter 1 in. You can remove
the lighter from its socket for use as
soon as it springs back out.
Hold or touch the hot cigarette
lighter by the knob only. Holding
or touching it in other areas could result
in burns.
The cigarette lighter remains opera-
tional when the ignition key has been
removed. For this reason, children
should never be left in the vehicle unat-
tended.
for flashlights, car vacuum cleaners,
etc., up to a rating of approx. 200 watts
at 12 volts. Avoid damage to the socket
caused by inserting plugs of different
shapes or sizes.
To emptyPress on the edge of the raised cover to
open (arrow): the ashtray moves up and
can be removed.
Page 97 of 155

97n
OverviewControlsMaintenanceRepairsDataIndex
Ski bag
*
The ski bag allows the safe and clean
transport of up to 4 pairs of standard
skis or up to two snowboards.
The length of the ski bag and the addi-
tional space provided in the luggage
compartment make it possible to carry
skis up to 6.8 ft (2.1 0 m) long. Because
of the tapered shape of the bag, the ski
bag can only accommodate two pairs
of skis up to 6.8 ft (2.1 0 m) long.
LoadingVehicles without through-loading
system:
1. Fold the center armrest outward.
Loosen the trim from the upper
Velcro¨ fastener and place it on the
armrest
2. Press the button (arrow 1, access
from the passenger compartment):
this releases the cover panel in the
luggage compartment
3. Press the detent levers (arrows 2)
inward and fold the cover to the front
4. Extend the ski bag between the front
seats. The zipper provides conve-
nient access to the inside of the bag,
and can also be left open to promote
drying
5. Use the magnetic retainers to attach
the cover panel to the upper surface
(metal surface below rear tray) of the
luggage compartment.
To store the ski bag, perform the above
steps in reverse sequence.