2001 VOLVO C70 parking brake
[x] Cancel search: parking brakePage 3 of 88

when parking near curbs.
© 1998 Volvo Cars of North America Inc.
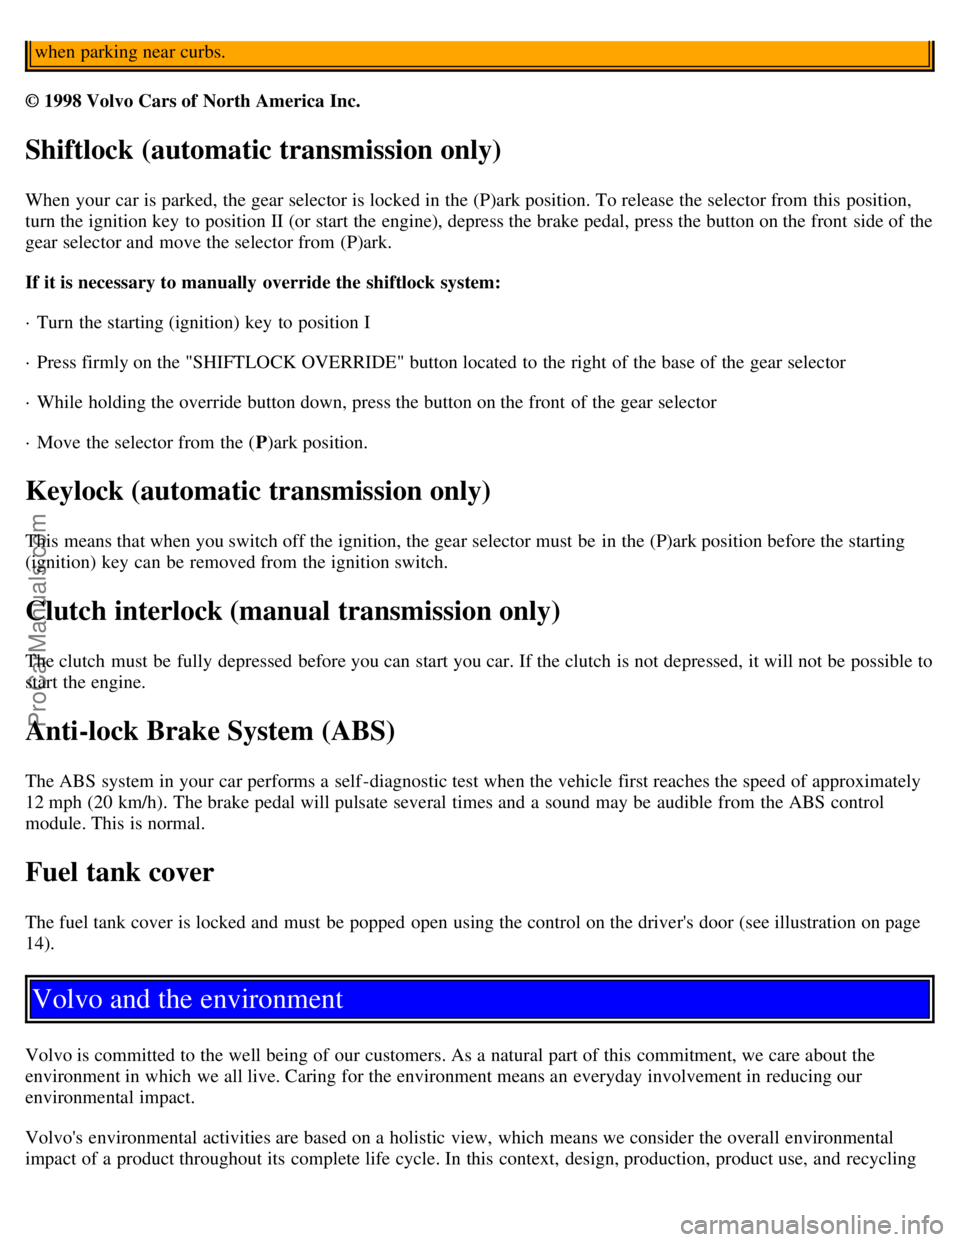
Shiftlock (automatic transmission only)
When your car is parked, the gear selector is locked in the (P)ark position. To release the selector from this position,
turn the ignition key to position II (or start the engine), depress the brake pedal, press the button on the front side of the
gear selector and move the selector from (P)ark.
If it is necessary to manually override the shiftlock system:
· Turn the starting (ignition) key to position I
· Press firmly on the "SHIFTLOCK OVERRIDE" button located to the right of the base of the gear selector
· While holding the override button down, press the button on the front of the gear selector
· Move the selector from the (P)ark position.
Keylock (automatic transmission only)
This means that when you switch off the ignition, the gear selector must be in the (P)ark position before the starting
(ignition) key can be removed from the ignition switch.
Clutch interlock (manual transmission only)
The clutch must be fully depressed before you can start you car. If the clutch is not depressed, it will not be possible to
start the engine.
Anti-lock Brake System (ABS)
The ABS system in your car performs a self -diagnostic test when the vehicle first reaches the speed of approximately
12 mph (20 km/h). The brake pedal will pulsate several times and a sound may be audible from the ABS control
module. This is normal.
Fuel tank cover
The fuel tank cover is locked and must be popped open using the control on the driver's door (see illustration on page
14).
Volvo and the environment
Volvo is committed to the well being of our customers. As a natural part of this commitment, we care about the
environment in which we all live. Caring for the environment means an everyday involvement in reducing our
environmental impact.
Volvo's environmental activities are based on a holistic view, which means we consider the overall environmental
impact of a product throughout its complete life cycle. In this context, design, production, product use, and recycling
ProCarManuals.com
Page 15 of 88

6 Space for additional equipment
7 Space for additional equipment
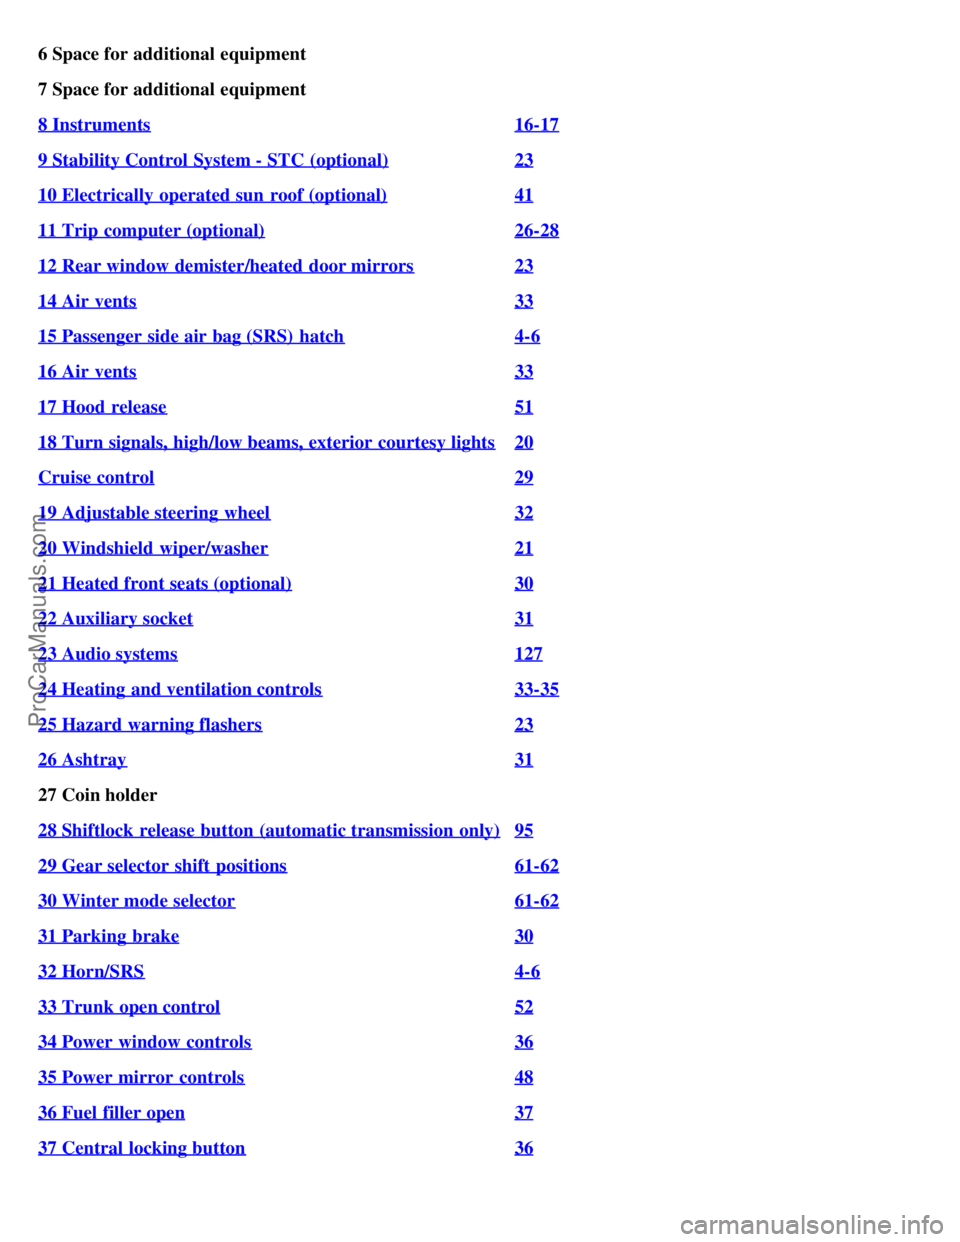
8 Instruments
16-17
9 Stability Control System - STC (optional)23
10 Electrically operated sun roof (optional)41
11 Trip computer (optional)26-28
12 Rear window demister/heated door mirrors23
14 Air vents33
15 Passenger side air bag (SRS) hatch4-6
16 Air vents33
17 Hood release51
18 Turn signals, high/low beams, exterior courtesy lights20
Cruise control29
19 Adjustable steering wheel32
20 Windshield wiper/washer21
21 Heated front seats (optional)30
22 Auxiliary socket31
23 Audio systems127
24 Heating and ventilation controls33-35
25 Hazard warning flashers23
26 Ashtray31
27 Coin holder
28 Shiftlock release button (automatic transmission only)
95
29 Gear selector shift positions61-62
30 Winter mode selector61-62
31 Parking brake30
32 Horn/SRS4-6
33 Trunk open control52
34 Power window controls36
35 Power mirror controls48
36 Fuel filler open37
37 Central locking button36
ProCarManuals.com
Page 18 of 88

16 Parking brake applied
17 ABS -system
18 Transmission mode: Indicates "W" if winter/wet driving mode is active, or indicates currently selected low gear.
19 Low coolant level
20 Stability and Traction Control (STC) System (option)
21 Malfunction indicator lamp
(See page 18 for more information)
22 Service reminder indicator
pg. 18 Warning lights
The warning lights described on pages 18 and 19 should never stay on when driving
When the ignition key is turned on and before the engine starts, all of the warning lights should go on to test the
function of the bulbs. Should a light not go off after the engine has started, the system indicated should be inspected.
However, the parking brake reminder light will not go off until the parking brake has been fully released.
Generator warning light
If the light comes on while the engine is running, have the charging system checked.
Malfunction indicator lamp
If the lamp comes on (or stays on after the vehicle has started), the engine diagnostic system has detected a possible
fault in the emission control system. Although driveability may not be affected, see an authorized Volvo retailer as
soon as possible for inspection.
NOTE : If the fuel filler cap is not closed tightly or if the engine is running when the car is refueled, the Malfunction
Indicator Lamp may indicate a fault. However, your vehicle's performance will not be affected. Use only Volvo
original or approved fuel filler caps.
Oil pressure warning light
If the light comes on while driving, stop the car and then stop the engine immediately and check the engine oil
level . See page 112
. If the light stays on after restart, have the car towed to the nearest authorized Volvo retailer. After
hard driving, the light may come on occasionally when the engine is idling. This is normal, provided it goes off when
the engine speed is increased.
Fault in ETC (Electronic Throttle Control system)
If this lamp comes on, there is a fault in the engine control system and driveability will be affected. Switch the ignition
off and then on again. If the light remains on, the system should be inspected by an authorized Volvo retailer.
Cruise Control
This light will be on when cruise control is engaged. Cruise control will automatically disengage when the ignition is
switched off.
ProCarManuals.com
Page 19 of 88

Brake failure warning light
If the light comes on while driving or braking, stop immediately, open the hood and check the brake fluid level
in the reservoir. See page 117
for reservoir position.
Canadian models are equipped with this warning light:
WARNING!
If the fluid level is below the MIN mark in either section of the reservoir: DO NOT DRIVE. Tow the car to a Volvo
retailer and have the brake system checked and any leakage repaired.
Parking brake reminder light
This light will be on when the parking brake (hand brake) is applied. The parking brake lever is situated between the
front seats.
Canadian models are equipped with this warning light:
pg. 19 Warning lights
STC disengaged (option)
The indicator light in the instrument panel will be ON when you have switched the Stability and Traction Control
system (STC) OFF using the button on the dashboard (see page 23).
The light will also come on if there is a fault in the
STC system or to indicate that the brakes have overheated. The light will go out when the brake temperature returns to
normal.
The symbol will flash when STC is actively regulating power to the drive wheels. Normal power may be reduced at
this time. This is normal as power is momentarily reduced to help keep the drive wheels from losing traction and
spinning.
Anti-lock Brake system (ABS)
If the warning lamp lights up there is a malfunction of the ABS system (the standard braking system will however
function). The vehicle should be driven to a Volvo retailer for inspection.
See page 69 for additional information.
Canadian models are equipped with this warning light:
Coolant level sensor
If this light comes on while driving, the coolant level is low. The coolant level in the expansion tank should be
checked immediately and topped up if necessary. The cooling system should be inspected by an authorized Volvo
retailer.
Mode "W" engaged
ProCarManuals.com
Page 30 of 88

1. Fasten the seat belt.
WARNING!
Before starting, check that the seat, steering wheel and mirrors are adjusted properly. Make sure the brake pedal can
be depressed completely. Move the seat closer if necessary. Refer to section "front seats".
2. Apply the parking brake, if not already set. The gear selector (automatic transmission) is locked in the (P)ark
position (SHIFT LOCK).
Manual transmission: the clutch must be fully depressed.
3. Without touching the accelerator pedal, turn the ignition key to the starting position*. Allow the starter to operate
for up to 10 seconds. Release the key as soon as the engine starts. If the engine fails to start, repeat step 3.
For cold starts at altitudes above 6000 ft (1800 meters), depress the accelerator pedal halfway and turn the key to the
starting position. Release the pedal slowly when the engine starts.
* If the key is left in the Drive position (position II) for more than 30 seconds, it must be turned to position 0 and then
turned to the Start position (position III) again in order to start the car. See page 21
for ignition key positions.
4. To release the gear selector from the (P)ark position (automatic transmission), the ignition key must be in position II
and the brake pedal must be depressed. See page 95
for instructions on manually releasing the SHIFTLOCK
system.
Do not race a cold engine immediately after starting. Oil flow may not reach some lubrication points fast enough to
prevent engine damage.
NOTE: (Automatic transmission only)
Your car is equipped with a KEYLOCK system. When the engine is switched off, the gear selector must be in the
( P )ark position before the starting key can be removed from the ignition switch.
5. Select the desired gear. The gear engages after a slight delay (automatic transmission) which is especially noticeable
when selecting R.
CAUTION : (Automatic transmission only)
The engine should be idling; never accelerate until after you feel the gear engage! Toorapid acceleration immediately
after selecting a gear will cause harsh engagement and premature transmission wear.
NOTE : Selecting P or N (automatic transmission) when idling at a standstill for prolonged periods of time will help
prevent overheating of transmission oil.
WARNING!
Always place the gear selector (automatic transmission) in Park and apply the parking brake before leaving the
vehicle. Never leave the car unattended with the engine running.
Always open the garage doors fully before starting the engine inside a garage to ensure adequate ventilation. The
exhaust gases contain carbon monoxide, which is invisible and odorless but very poisonous.
ProCarManuals.com
Page 32 of 88

CAUTION: Be careful that you do not inadvertently engage reverse while moving forward.
* Clutch interlock (manual transmission only)
The clutch must be fully depressed before you can start your car. If the clutch is not depressed, it will not be possible
to start the engine.
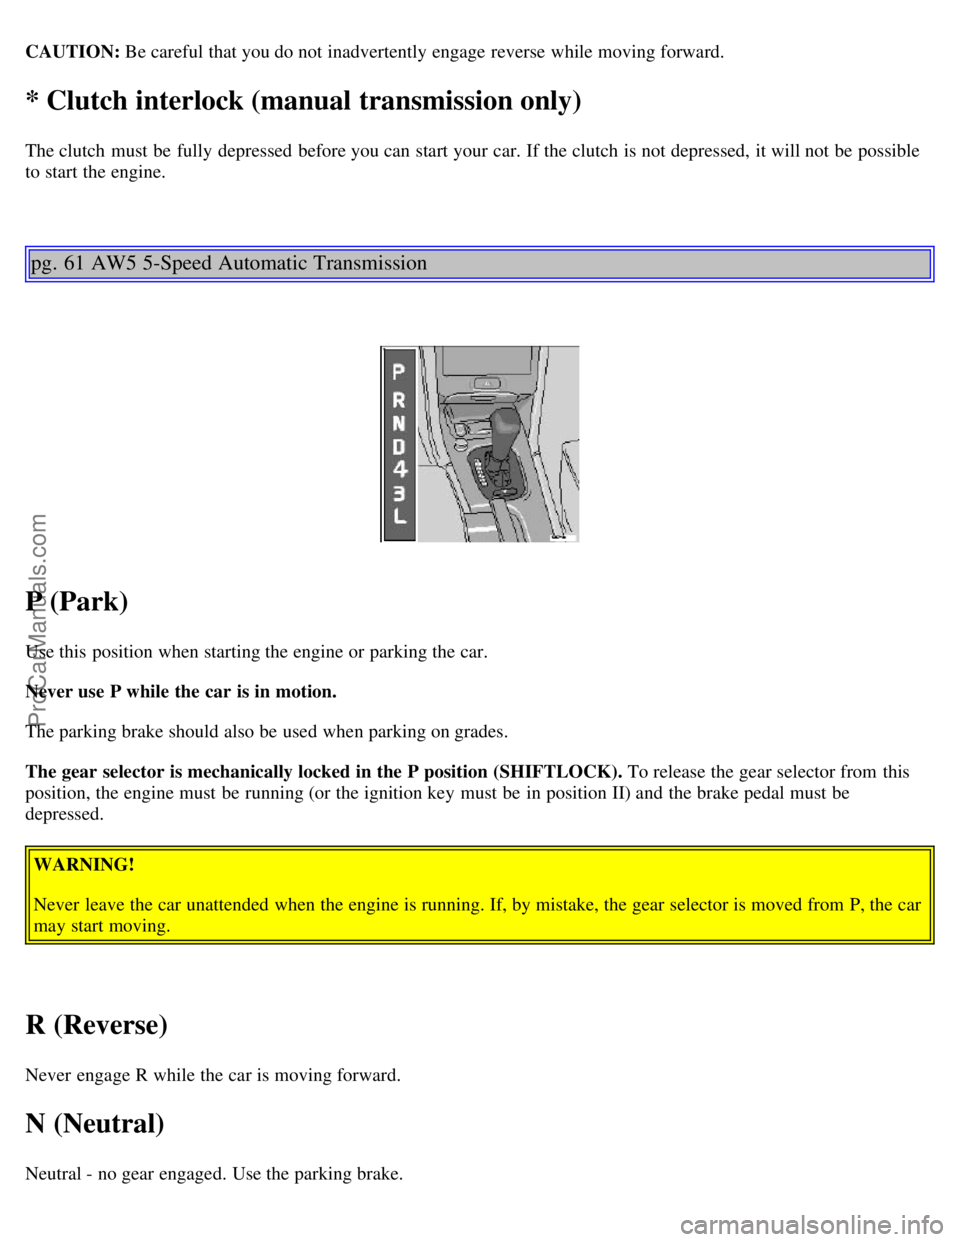
pg. 61 AW5 5-Speed Automatic Transmission
P (Park)
Use this position when starting the engine or parking the car.
Never use P while the car is in motion.
The parking brake should also be used when parking on grades.
The gear selector is mechanically locked in the P position (SHIFTLOCK). To release the gear selector from this
position, the engine must be running (or the ignition key must be in position II) and the brake pedal must be
depressed.
WARNING!
Never leave the car unattended when the engine is running. If, by mistake, the gear selector is moved from P, the car
may start moving.
R (Reverse)
Never engage R while the car is moving forward.
N (Neutral)
Neutral - no gear engaged. Use the parking brake.
ProCarManuals.com
Page 41 of 88

The spare wheel is located under the carpet on the trunk floor. The jack and crank are secured in the wheel recess.
· Engage the parking brake.
· Put the gear selector in (P)ark (automatic) or in Reverse (manual).
· With the car still on the ground, use the lug wrench to loosen the wheel bolts 1/2 -1 turn. Turn the bolts
counterclockwise to loosen.
· Fold out the crank handle on the jack by pressing the knob on the handle downward. To attach the jack, refer to the
illustration on the following page.
CAUTION: The car must not be driven with wheels of different dimensions or with a spare tire other than the one that
came with the car. The use of different size wheels can seriously damage your car's transmission.
NOTE: To avoid excessive wear and the necessity of rebalancing, mark and reinstall wheels in the same location and
position as before removal. To lessen the chance of imbalance, each wheel hub is equipped with a guide stud to ensure
that a removed wheel can be reinstalled in its original position (as when changing over to winter tires/wheels).
pg. 81 Wheel changing
There is a jack attachment located in the center on each side of the car. Position the jack on the bar in the attachment
as shown in illustration above and crank while simultaneously guiding the base of the jack to the ground. The base of
the jack must be flat on a level, firm, non-slippery surface. Before raising the car, check that the jack is still
correctly positioned in the attachment. Raise the vehicle until both wheels on the side of the car where the jack is
attached are lifted off the ground. Unscrew the wheel bolts completely and carefully remove the wheel so as not to
damage the thread on the studs.
Installing the wheel
Clean the contact surfaces on the wheel and hub. Lift the wheel and place it on the hub. Make sure that you align the
wheel with the guide stud on the wheel hub prior to installation. Install the wheel bolts crosswise (see illustration) and
tighten by turning lightly clockwise. Lower the vehicle to the ground and alternately tighten the bolts to 100 ft. lbs.
(136 Nm). Install the wheel cap (where applicable).
ProCarManuals.com
Page 42 of 88

WARNING!
· The jack's attachment must engage the bar in the jack attachment (A). The car's weight must not rest on the jack
attachment (B).
· Be sure the jack is on a firm, level, non-slippery surface.
· Never allow any part of your body to be extended under a car supported by a jack.
· Use the jack intended for the car when replacing a wheel. For any other job, use stands to support the side of the
car being worked on. -
· Apply the parking brake, select position P (automatic transmission) or Reverse gear (manual transmission).
· Block the wheels standing on the ground, use rigid wooden blocks or large stones.
· The jack should be kept well-greased.
CAUTION : Correct tightening torque on wheel bolts must be observed. The wheel bolts should never be greased or
lubricated. The extended, chromed wheel bolts must not be used with steel rims, as they make it impossible to fit the
hub caps.
Correct tightening order for wheel bolts
pg. 82 Spare tire
Temporary Spare (certain models)
The spare tire in your car is called a "Temporary Spare". It has the following designation: T125/90R15.
Recommended tire pressure (see decal on fuel filler flap) should be maintained irrespective of which position on the
car the Temporary Spare tire is used on.
In the event of damage to this tire, a new one can be purchased from your Volvo retailer.
CAUTION: The car must not be driven with wheels of different dimensions or with a spare tire other than the one that
ProCarManuals.com