Page 606 of 2572

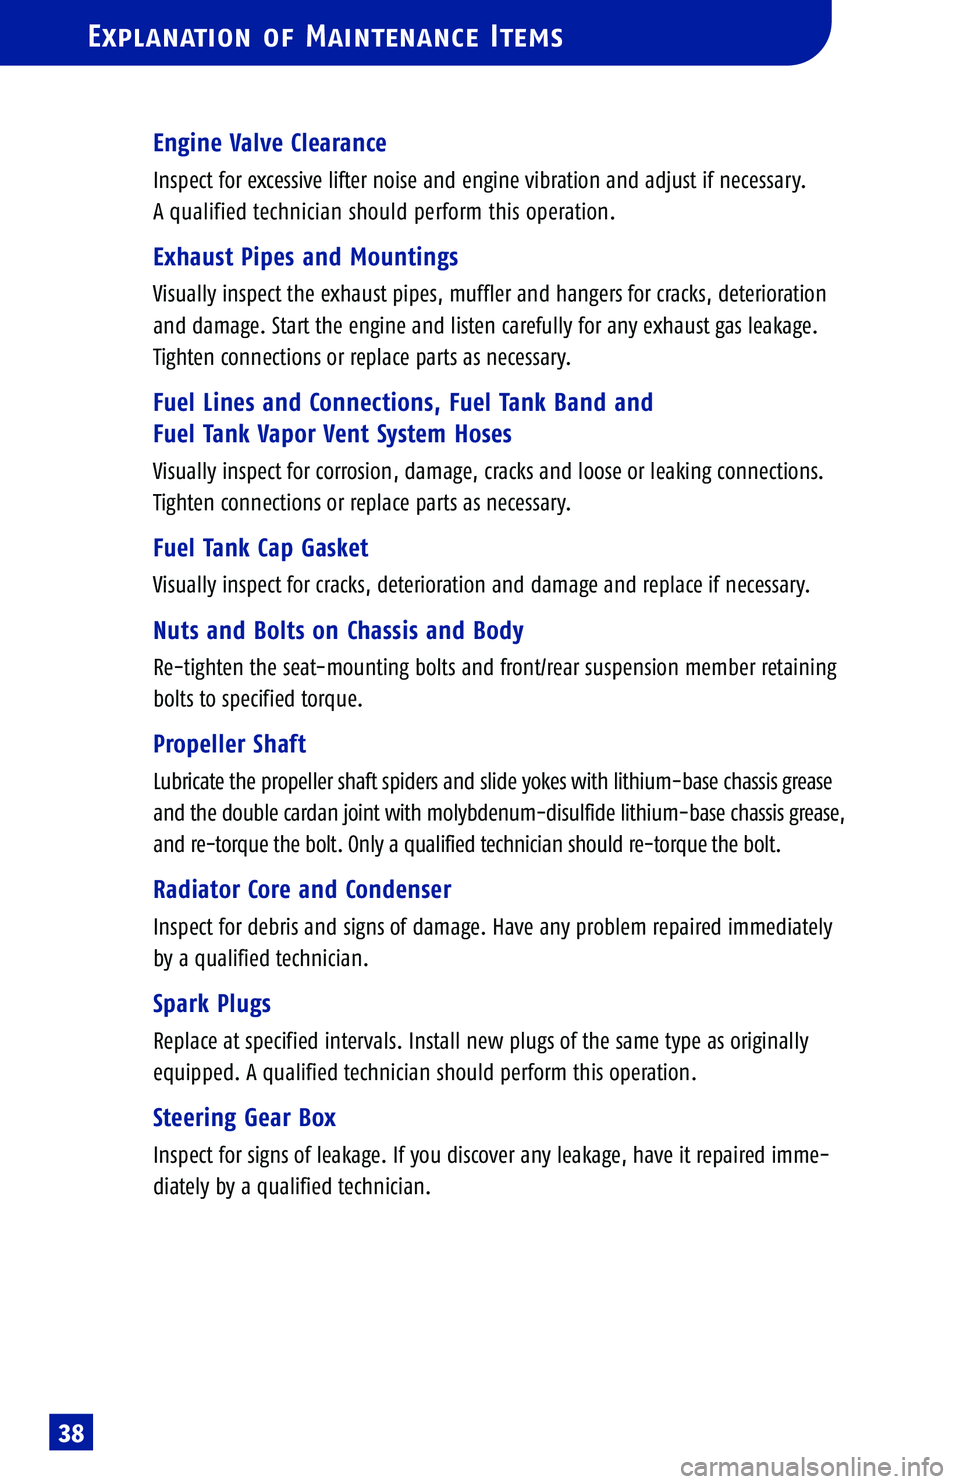
Explanation of Maintenance Items
38
Engine Valve Clearance
Inspect for excessive lifter noise and engine vibration and adjust if necessary.
A qualified technician should perform this operation.
Exhaust Pipes and Mountings
Visually inspect the exhaust pipes, muffler and hangers for cracks, deterioration
and damage. Start the engine and listen carefully for any exhaust gas leakage.
Tighten connections or replace parts as necessary.
Fuel Lines and Connections, Fuel Tank Band and
Fuel Tank Vapor Vent System Hoses
Visually inspect for corrosion, damage, cracks and loose or leaking connections.
Tighten connections or replace parts as necessary.
Fuel Tank Cap Gasket
Visually inspect for cracks, deterioration and damage and replace if necessary.
Nuts and Bolts on Chassis and Body
Re�tighten the seat�mounting bolts and front/rear suspension member retaining
bolts to specified torque.
Propeller Shaft
Lubricate the propeller shaft spiders and slide yokes with lithium�base chassis grease
and the double cardan joint with molybdenum�disulfide lithium�base chassis grease,
and re�torque the bolt. Only a qualified technician should re�torque the bolt.
Radiator Core and Condenser
Inspect for debris and signs of damage. Have any problem repaired immediately
by a qualified technician.
Spark Plugs
Replace at specified intervals. Install new plugs of the same type as originally
equipped. A qualified technician should perform this operation.
Steering Gear Box
Inspect for signs of leakage. If you discover any leakage, have it repaired imme�
diately by a qualified technician.
Page 2256 of 2572

18091-05
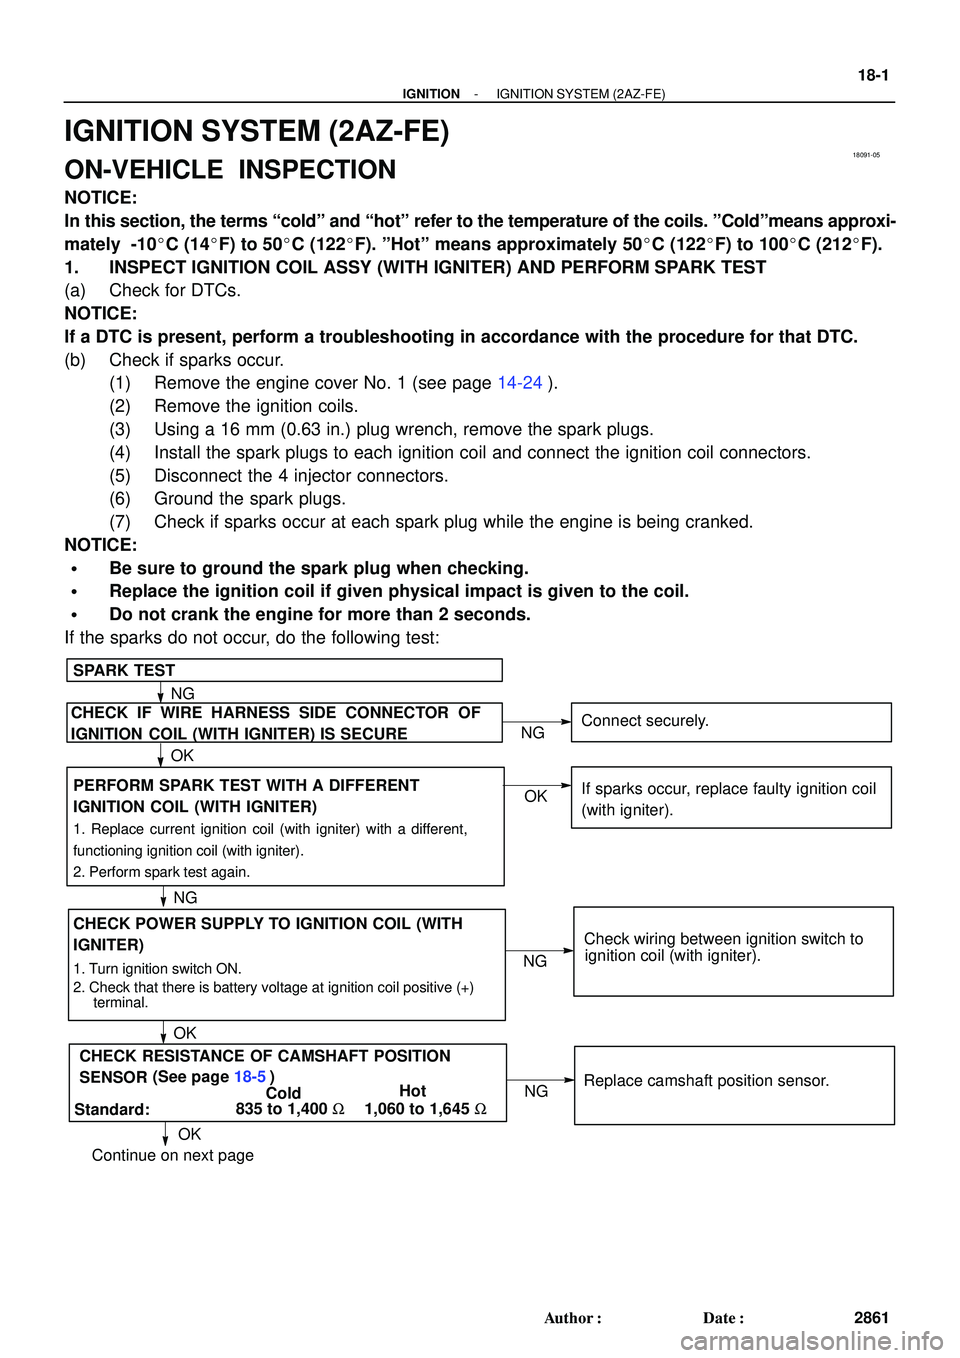
CHECK POWER SUPPLY TO IGNITION COIL (WITH
IGNITER)
SPARK TEST
1. Turn ignition switch ON.
2. Check that there is battery voltage at ignition coil positive (+)
terminal.
CHECK IF WIRE HARNESS SIDE CONNECTOR OF
IGNITION COIL (WITH IGNITER) IS SECUREConnect securely.
Check wiring between ignition switch to
ignition coil (with igniter).
NG
OK
OKNG
NG PERFORM SPARK TEST WITH A DIFFERENT
IGNITION COIL (WITH IGNITER)
1. Replace current ignition coil (with igniter) with a different,
functioning ignition coil (with igniter).
2. Perform spark test again.
OKIf sparks occur, replace faulty ignition coil
(with igniter).
NG
Continue on next page
Standard:ColdHot
1,060 to 1,645 W
OKNG
835 to 1,400 WReplace camshaft position sensor. CHECK RESISTANCE OF CAMSHAFT POSITION
SENSOR (See page 18-5)
- IGNITIONIGNITION SYSTEM (2AZ-FE)
18-1
2861 Author�: Date�:
IGNITION SYSTEM (2AZ-FE)
ON-VEHICLE INSPECTION
NOTICE:
In this section, the terms coldº and hotº refer to the temperature of the coils. ºColdºmeans approxi-
mately -10�C (14�F) to 50�C (122�F). ºHotº means approximately 50�C (122�F) to 100�C (212�F).
1. INSPECT IGNITION COIL ASSY (WITH IGNITER) AND PERFORM SPARK TEST
(a) Check for DTCs.
NOTICE:
If a DTC is present, perform a troubleshooting in accordance with the procedure for that DTC.
(b) Check if sparks occur.
(1) Remove the engine cover No. 1 (see page 14-24).
(2) Remove the ignition coils.
(3) Using a 16 mm (0.63 in.) plug wrench, remove the spark plugs.
(4) Install the spark plugs to each ignition coil and connect the ignition coil connectors.
(5) Disconnect the 4 injector connectors.
(6) Ground the spark plugs.
(7) Check if sparks occur at each spark plug while the engine is being cranked.
NOTICE:
�Be sure to ground the spark plug when checking.
�Replace the ignition coil if given physical impact is given to the coil.
�Do not crank the engine for more than 2 seconds.
If the sparks do not occur, do the following test:
Page 2257 of 2572
Replace crankshaft position sensor. CHECK RESISTANCE OF CRANKSHAFT POSITION
Standard:Cold Hot
985 to 1,600 W1,265 to 1,890 W
CHECK IGT SIGNAL FROM ECM
REPAIR WIRING BETWEEN IGNITION COIL AND ECM
OKNG
NG SENSOR (See page 18-6)
OK (See page 05-174)Check ECM (see page 05-32).
OK Continued from previous page 18-2
- IGNITIONIGNITION SYSTEM (2AZ-FE)
2862 Author�: Date�:
(8) Using a 16 mm (0.63 in.) plug wrench, install the spark plugs.
Torque: 19 NVm (194 kgfVcm, 14 ftVlbf)
(9) Install the ignition coils.
Torque: 9.0 NVm (92 kgfVcm, 80 in.Vlbf)
(10) Install the engine cover No. 1.
Torque: 9.0 NVm (92 kgfVcm, 80 in.Vlbf)