Page 142 of 357

5-6Choose desired volume level for each mode by turning the volume
control dial. The control function returns to volume control mode after
about 5 seconds.
To change control modes:
Each brief press of the “AUDIO” button
2 changes control modes in the following sequence starting from vol-
ume control mode. (When the radio is first turned on, the control mode
is in the volume control.)
Volume Bass Treble Fader Balance
The “AUDIO” button 2 is used for selecting the following control
modes:
Display
Control mode
HB5036BA
Turn counterclockwiseTurn clockwise
BASBass controlFor less bassFor more bass
TRETreble controlFor less trebleFor more treble
FA dFader controlTo increase rear speaker
volume and decrease front
speaker volumeTo increase front speaker
volume and decrease rear
speaker volume
BALBalance controlTo increase left speaker
volume and decrease right
speaker volumeTo increase right speakervolume and decrease left
speaker volume
VOLVolume controlFor less volumeFor more volume
�Waveband selection
Push the “BAND” button 3 to select FM1, FM2 or AM reception. The
display indicates which one is currently selected.
Page 153 of 357

Audio5-17
–
CONTINUED –
trols when the
“BAL/FAD” button 6 is in the depressed position.
Display
Control mode
HB5036BA
Turn counterclockwiseTurn clockwise
BASBass controlFor less bassFor more bass
TRETreble controlFor less trebleFor more treble
BALBalance controlTo increase left speaker
volume and decrease right
speaker volumeTo increase right speakervolume and decrease left
speaker volume
FA dFader controlTo increase rear speaker
volume and decrease front
speaker volumeTo increase front speaker
volume and decrease rear
speaker volume
VOLVolume controlFor less volumeFor more volume
nTone control
The volume control dial 7 normally function as volume control. The
dial become a control for Bass or Treble when you select the ap-
propriate tone control mode.
Choose desired level for each mode by turning the volume control
dial. The control function returns to volume control mode after about 5seconds.
To change control modes: Each brief press of the “BAS/TRE” button
8 changes control modes in the following sequence starting from
bass control mode. (When the radio is first turned on, the control
mode is in the volume control.)
Bass Treble Volume(BAS) (TRE) (VOL)
Page 167 of 357

Audio5-31
–
CONTINUED –
n
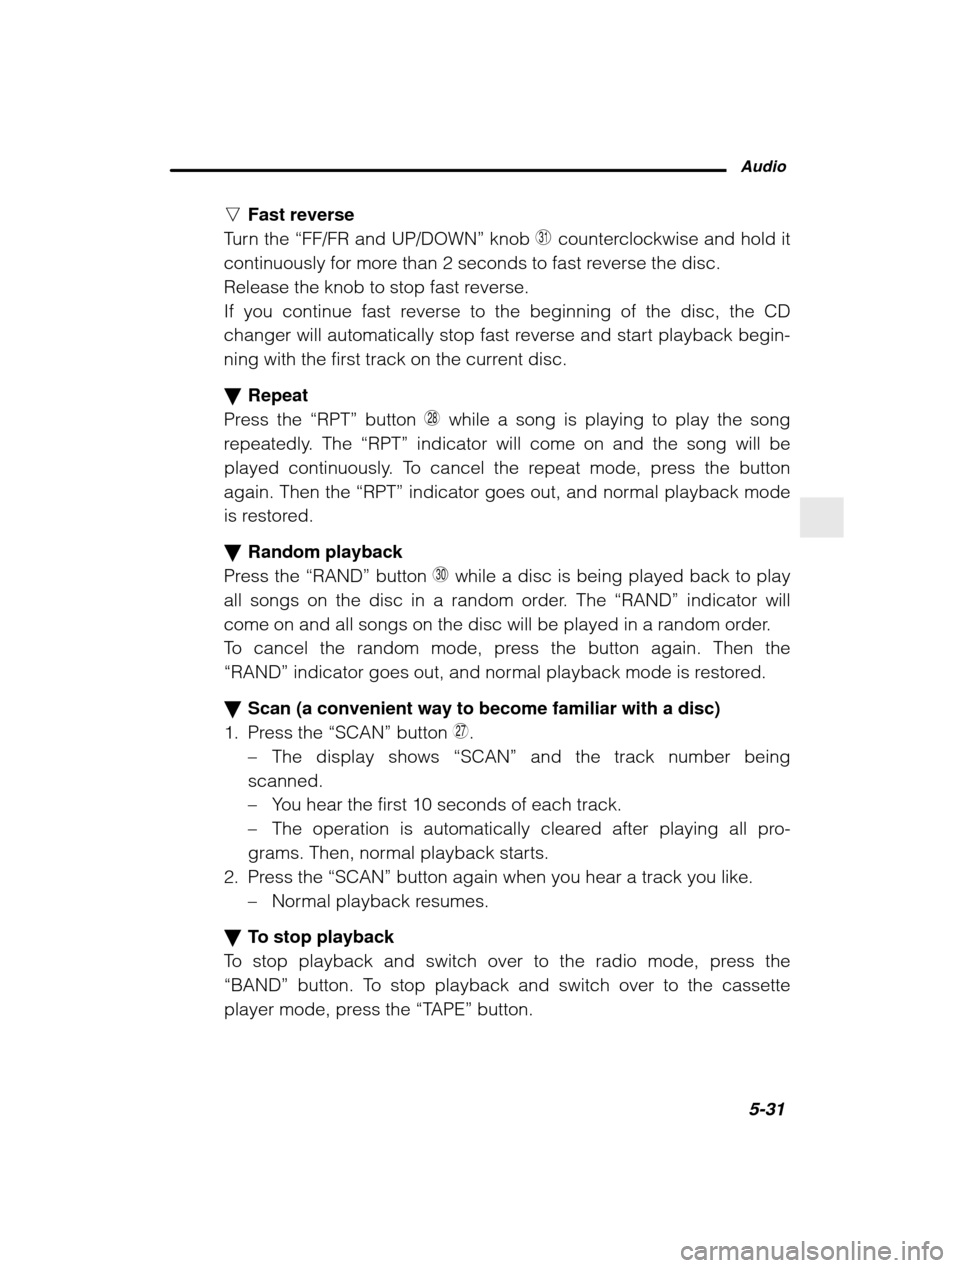
Fast reverse
Turn the “FF/FR and UP/DOWN ” knob C counterclockwise and hold it
continuously for more than 2 seconds to fast reverse the disc.
Release the knob to stop fast reverse.
If you continue fast reverse to the beginning of the disc, the CD
changer will automatically stop fast reverse and start playback begin-
ning with the first track on the current disc. � Repeat
Press the “RPT” button
L while a song is playing to play the song
repeatedly. The “RPT” indicator will come on and the song will be
played continuously. To cancel the repeat mode, press the button
again. Then the “RPT” indicator goes out, and normal playback mode
is restored. � Random playback
Press the “RAND” button
X while a disc is being played back to play
all songs on the disc in a random order. The “RAND” indicator will
come on and all songs on the disc will be played in a random order.
To cancel the random mode, press the button again. Then the
“RAND” indicator goes out, and normal playback mode is restored.
� Scan (a convenient way to become familiar with a disc)
1. Press the “SCAN” button
K.
– The display shows “SCAN” and the track number being
scanned.– You hear the first 10 seconds of each track.
– The operation is automatically cleared after playing all pro-
grams. Then, normal playback starts.
2. Press the “SCAN” button again when you hear a track you like.
– Normal playback resumes.
� To stop playback
To stop playback and switch over to the radio mode, press the
“BAND” button. To stop playback and switch over to the cassette
player mode, press the “TAPE” button.
Page 181 of 357
6-8c onsole. To use the c up hold er, op en the lid b y p ul
ling its up p er ed g e.
Clock
HS0103
The c loc k d isp lays the time when the ig nition switc h is in the “ACC ” or
“ ON ” p ositions.
� Setting the clock
To set the hour, p ress the “H ” b utton. To set the minutes, p ress the “M ”
b utton. To reset the minutes to “00 ” with a rad io time sig nal, p ush the
“ S ” b utton.
Accessory power socket �Electrical power socket located on the left-lower part of the instrument panel CAUTION
The electrical power socket located on the lower part of the instrument panel is designed to use only a SUBARU genuine cig-arette lighter plug. Do not use non-genuine cigarette lighter plugsor any “plug-in” type electrical accessories in the socket. Doing
so many cause a short-circuit and overheating, resulting in a fire.Refer to the “Cigarette lighter ” section in this chapter.