Page 4 of 373
Table of Contents
Windows
Keys and Door Locks
Remote Keyless Entry System (If Equipped)
Remote Trunk Release (If Equipped)
Automatic Transaxle
Parking Brake
Tilt Wheel
Turn Signal/Multifunction Lever
Windshield Wipers
Cruise Control (If Equipped)
Exterior and Interior Lamps
Mirrors
Storage Compartments
Convenience Net (If Equipped)
Accessory Power Outlet/Auxiliary Power Connection
OnStar® System (If Equipped)
Sunroof (Option)
Instrument Panel, Warning Lights and Gages
Driver Information Center
Head-Up Display (Option) Seats and Seat Controls
Safety BeltsSupplemental Restraint System (SRS)
Restraint Systems for Children
Section
1
Section
2
Seats and Restraint Systems
Features and Controls
ii
Page 70 of 373

2-
2-1
Section 2 Features and Controls
Here you can learn about the many standard and optional features on your vehicle, and information on starting,
shifting and braking. Also explained are the instrument panel and the warning systems that tell you if everything
is working properly
-- and what to do if you have a problem.
2
-2 Windows
2
-4 Keys
2
-6 Door Locks
2
-9 Remote Keyless Entry System (If Equipped)
2
-13 Multifunction Alarm Locks and
Lighting Choices
2
-24 Trunk
2
-26 Theft
2
-27 Content Theft-Deterrent (If Equipped)
2
-28 PASS-Key� III
2
-30 New Vehicle ªBreak-Inº
2
-31 Ignition Positions
2
-32 Starting Your Engine
2
-35 Engine Coolant Heater (Option)
2
-37 Automatic Transaxle Operation
2
-41 Parking Brake
2
-42 Shifting Into PARK (P)2
-44 Shifting Out of PARK (P)
2
-44 Parking Over Things That Burn
2
-45 Engine Exhaust
2
-45 Running Your Engine While You're Parked
2
-47 Turn Signal/Multifunction Lever
2
-52 Exterior Lamps
2
-54 Interior Lamps
2
-56 Mirrors
2
-61 Storage Compartments
2
-66 OnStar� System (If Equipped)
2
-69 Sunroof (Option)
2
-70 The Instrument Panel -- Your
Information System
2
-74 Warning Lights, Gages and Indicators
2
-87 Driver Information Center (DIC)
2
-89 Trip Computer (If Equipped)
2
-92 Head-Up Display (Option)
Page 100 of 373

2-31
Ignition Positions
The ignition switch is located on the right side of the
steering column. With the key in the ignition switch,
you can turn the switch to five positions.
ACCESSORY (A): This position lets you use things
like the radio and windshield wipers when the engine is
off. To use ACCESSORY, push in the key and turn it
toward you. The steering wheel will stay locked.LOCK (B): This position locks the ignition, steering
wheel and transaxle. It's a theft
-deterrent feature.
It's also the only position from which you can remove
the key.
NOTICE:
If your key seems stuck in LOCK and you can't
turn it, be sure you are using the correct key;
if so, is it all the way in? If it is, then turn the
steering wheel left and right while you turn the
key hard. But turn the key only with your hand.
Using a tool to force it could break the key or the
ignition switch. If none of this works, then your
vehicle needs service.
OFF (C): This position lets you turn off the engine but
still turn the steering wheel. It doesn't lock the steering
wheel like LOCK. Use OFF if you must have the
vehicle pushed or towed.
RUN (D): This position is where the key returns to
after you start the vehicle. With the engine off, you
can use RUN to display some of the warning and
indicator lights.
Page 106 of 373

2-37
Automatic Transaxle Operation
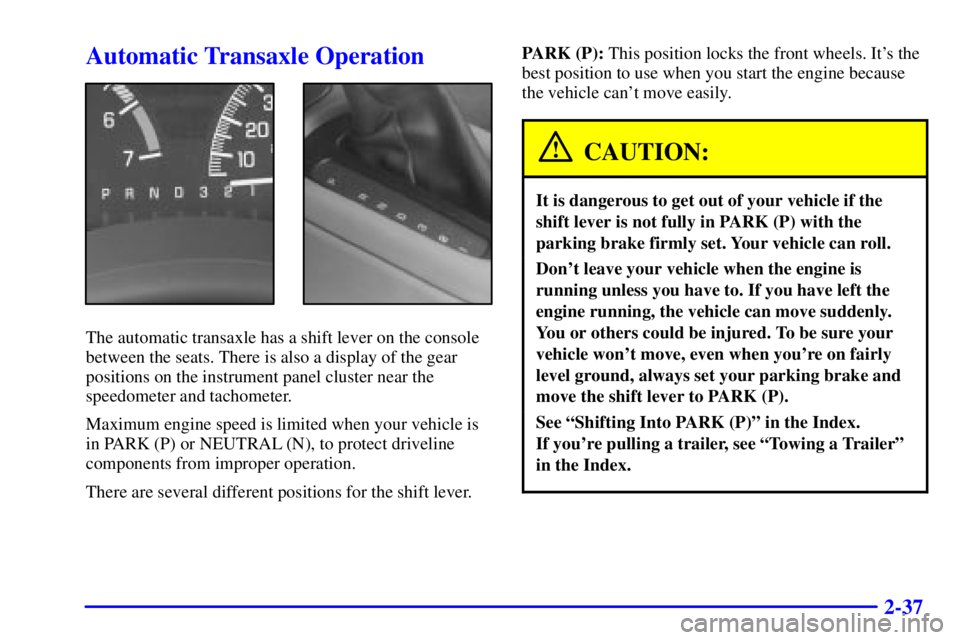
The automatic transaxle has a shift lever on the console
between the seats. There is also a display of the gear
positions on the instrument panel cluster near the
speedometer and tachometer.
Maximum engine speed is limited when your vehicle is
in PARK (P) or NEUTRAL (N), to protect driveline
components from improper operation.
There are several different positions for the shift lever.PARK (P): This position locks the front wheels. It's the
best position to use when you start the engine because
the vehicle can't move easily.
CAUTION:
It is dangerous to get out of your vehicle if the
shift lever is not fully in PARK (P) with the
parking brake firmly set. Your vehicle can roll.
Don't leave your vehicle when the engine is
running unless you have to. If you have left the
engine running, the vehicle can move suddenly.
You or others could be injured. To be sure your
vehicle won't move, even when you're on fairly
level ground, always set your parking brake and
move the shift lever to PARK (P).
See ªShifting Into PARK (P)º in the Index.
If you're pulling a trailer, see ªTowing a Trailerº
in the Index.
Page 126 of 373

2-57 Inside Day/Night Rearview Mirror with
OnStar
� (If Equipped)
This mirror has a lever located at the bottom of the
mirror. This lever is used to change the mirror from
day to night position. To reduce glare from headlamps
behind you while driving at night, turn the lever
90 degrees. To return to the mirror back to the day
position, return the lever to its original position.
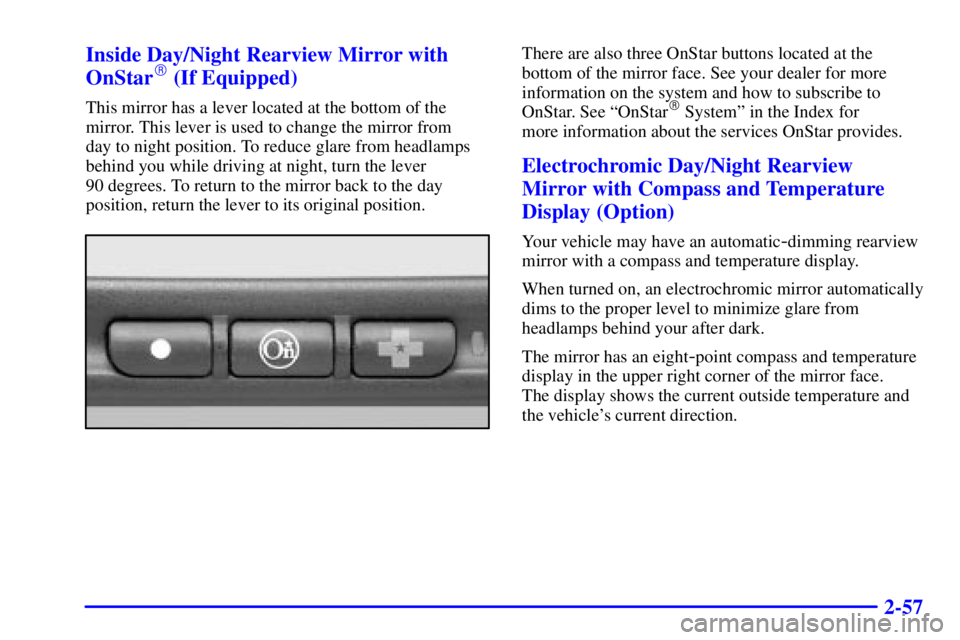
There are also three OnStar buttons located at the
bottom of the mirror face. See your dealer for more
information on the system and how to subscribe to
OnStar. See ªOnStar
� Systemº in the Index for
more information about the services OnStar provides.
Electrochromic Day/Night Rearview
Mirror with Compass and Temperature
Display (Option)
Your vehicle may have an automatic-dimming rearview
mirror with a compass and temperature display.
When turned on, an electrochromic mirror automatically
dims to the proper level to minimize glare from
headlamps behind your after dark.
The mirror has an eight
-point compass and temperature
display in the upper right corner of the mirror face.
The display shows the current outside temperature and
the vehicle's current direction.
Page 127 of 373

2-58
Automatic Dimming Feature
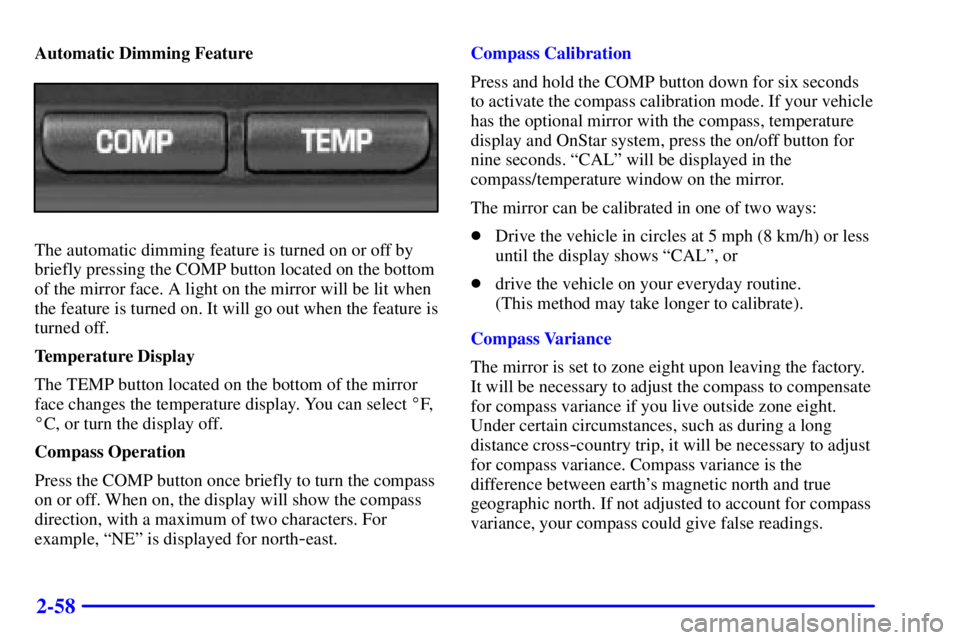
The automatic dimming feature is turned on or off by
briefly pressing the COMP button located on the bottom
of the mirror face. A light on the mirror will be lit when
the feature is turned on. It will go out when the feature is
turned off.
Temperature Display
The TEMP button located on the bottom of the mirror
face changes the temperature display. You can select �F,
�C, or turn the display off.
Compass Operation
Press the COMP button once briefly to turn the compass
on or off. When on, the display will show the compass
direction, with a maximum of two characters. For
example, ªNEº is displayed for north
-east.Compass Calibration
Press and hold the COMP button down for six seconds
to activate the compass calibration mode. If your vehicle
has the optional mirror with the compass, temperature
display and OnStar system, press the on/off button for
nine seconds. ªCALº will be displayed in the
compass/temperature window on the mirror.
The mirror can be calibrated in one of two ways:
�Drive the vehicle in circles at 5 mph (8 km/h) or less
until the display shows ªCALº, or
�drive the vehicle on your everyday routine.
(This method may take longer to calibrate).
Compass Variance
The mirror is set to zone eight upon leaving the factory.
It will be necessary to adjust the compass to compensate
for compass variance if you live outside zone eight.
Under certain circumstances, such as during a long
distance cross
-country trip, it will be necessary to adjust
for compass variance. Compass variance is the
difference between earth's magnetic north and true
geographic north. If not adjusted to account for compass
variance, your compass could give false readings.
Page 128 of 373
2-59
To adjust for compass variance, do the following:
1. Find your current location and variance zone number
on the map.2. Press and hold the COMP button for three seconds.
If your vehicle has the optional mirror with the
compass, temperature display and OnStar system,
press the on/off button for six seconds. Release the
button when ªZONEº is displayed. The number
shown is the current zone number.
3. Scroll through the zone numbers that appear in the
compass/temperature window on the mirror by
pressing the COMP button or the on/off button.
Once you find your zone number, release the button.
After about four seconds, the mirror will return to
the compass and temperature display, and the new
zone number will be set.
Page 129 of 373

2-60 Electrochromic Day/Night Rearview Mirror
with Compass, Temperature Display, and
OnStar
� (Option)
Your vehicle may have an automatic-dimming rearview
mirror with a compass and temperature display and the
OnStar system.
When turned on, this mirror functions exactly
like the electrochromic mirror described previously.
See ªMirrors, Electrochromic Rearviewº in the
Index for more information.
The mirror also has an eight
-point compass and
temperature display in the upper right corner on the
mirror face and a three
-button OnStar system.
Automatic Dimming Feature
The automatic dimming feature is turned on and off by
pressing the far left button, located on the lower part of
the mirror face, for up to three seconds. A light on the
mirror will be lit when the feature is turned on. It will go
out when the feature is turned off.Temperature Display
The on/off button located on far left on the bottom
of the mirror face changes the temperature display.
You can select �F, �C, or turn the display off.
Compass Operation
There is a compass display in the window in the upper
right corner of the mirror face. The compass displays a
maximum of two characters. For example, ªNEº is
displayed for north
-east.
The compass may need to be calibrated. See ªCompass
Calibrationº in the Index for more information.
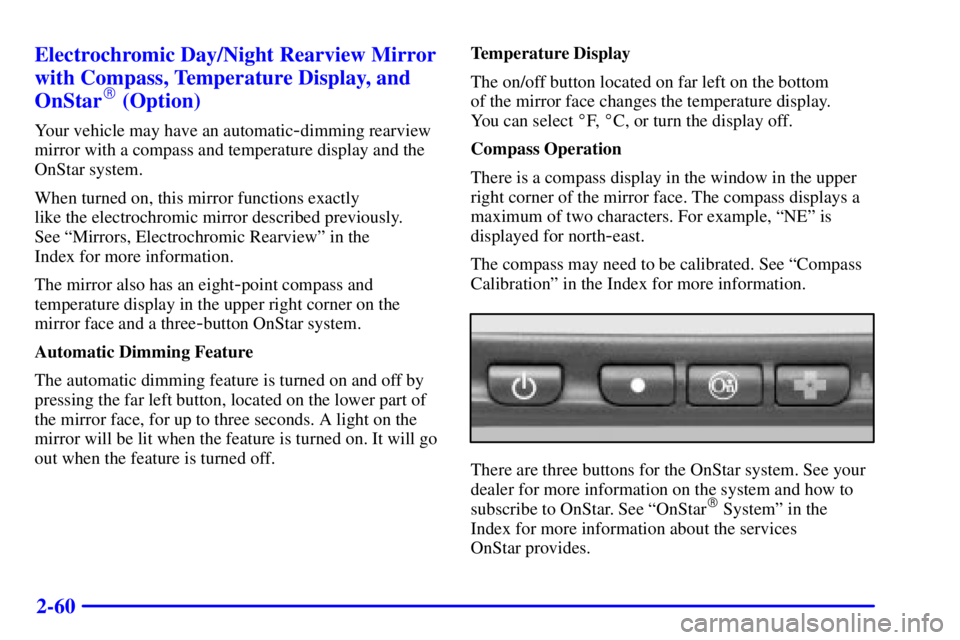
There are three buttons for the OnStar system. See your
dealer for more information on the system and how to
subscribe to OnStar. See ªOnStar
� Systemº in the
Index for more information about the services
OnStar provides.