Page 94 of 123
PRACTICAL ASPECTS OF YOUR VEHICLE
92
1 -
Power steering reservoir.
2 - Windscreen wash reservoir.
3 - Coolant reservoir. 4 -
Brake fluid reservoir.
5 - Battery.
6 - Air filter. 7 -
Dipstick.
8 - Engine oil filler cap.
2 litre 16 V ENGINE
Page 95 of 123
. The check mu")
PRACTICAL ASPECTS OF YOUR VEHICLE93
Checking levels Engine oil Carry out this check regularly and top up between oil changes
; the
maximum consumption is 0.5 litre per600 miles (1000 km). The check must be carried out with the vehicle level and the engine cold.
There are two levelmarks on the dips-tick: A= maxi.
B = mini. Viscosity grade selectionThe oil selected must always meet the manufacturer's requirements. Oil filter Change the cartridge regularly in accordance with the recommenda-tions of the servicing schedule. Used oil
Avoid any prolonged contact of used oil with the skin. Do not discard used oil down drains or onto the ground.
To maintain the reliability of the engines and emission control sys-tems, the use of additives in the oil isprohibited. Brake fluid reservoir
- The level must always be above the
DANGER mark on the tank.
- In the event of a significant drop in the level, contact a PEUGEOT dea-
ler immediately. Fluid change
- Always to be carried out at the inter-
vals given in the manufacturer's ser- vicing schedule.
- Use fluids approved by the manu- facturer which comply with DOT4.
Coolant reservoir Use a coolant approved by the manu-
facturer. When the engine is warm, the coolant temperature is controlled by the fan.This may operate with the ignition key
removed. Therefore, as the coolingcircuit is pressurised, wait at least an
hour after switching off the enginebefore carrying out any work. In the event of a breakdown and to avoid any risk of burns, unscrew thecap two turns to let the pressure drop.When the pressure has dropped,remove the cap and top up the level.
Oil change: in accordance with the
manufacturer's servicing schedule.
- Dipstick: never exceed the maxi- mum mark A.
- Instrument dial gauge.
Page 96 of 123

PRACTICAL ASPECTS OF YOUR VEHICLE
94
Power steering reservoir
Open the reservoir, with the engine
cold. The level should always beabove the MINI mark, close to theMAXI mark.
Windscreen wash reservoir For best quality cleaning and for your
safety, we recommend that you use pro-
ducts approved by PEUGEOT (capacity2.8 litres). Battery
At the start of winter, have your batte-
ry checked by a PEUGEOT dealer. Air filter Regular replacement of the filter element is essential. If you drive in very dustyconditions, change it twice as often. Brake pads Brake pad wear depends on the style of driving, in particular for vehicleswhich are used in town, for short jour-neys. It may be necessary to checkthe thickness of the pads even bet-ween services. Manual gearbox This does not need an oil change. Check the level according to the manufacturer'sservicing schedule. Autoadaptive automatic gearbox This does not need an oil change: have
the level checked by a PEUGEOT dea-ler according to the manufacturer's ser-vicing schedule.Only use products approved
by PEUGEOT.
To ensure best performance from components as impor-
tant as the power steering and the bra-king system, PEUGEOT selects andoffers quite specific products.
Page 98 of 123

PRACTICAL ASPECTS OF YOUR VEHICLE
96
Changing a wheel �
Park the vehicle on level, stable
ground which is not slippery.
� Apply the handbrake, engage first
gear or reverse (position Pon the
automatic gearbox) and switch offthe ignition.
� Chock the rear of the wheel withshim 2diagonally opposite the
wheel to be changed.
Tools for changing a wheel 1 - Wheelbrace fitted to the lining of the boot on the rear right side.
2 - Shim stored in the jack bag.
3 - Jack (in a bag).
4 - Tool for removing wheel bolt trims Removing the wheel �
Remove the wheel trim* using the wheelbrace 1by pulling next to the valve.
� Loosen the wheel bolts (for vehicles fitted with alloy wheels, remove the chrome wheel bolts first; see ÔFeatures of alloy wheelsÕ, following page).
� Position the jack 3at one of the four locations Aunderneath the vehicle, as
close as possible to the wheel to be changed. Ensure that the entire surface ofthe jack base plate is in contact with the ground.
� Extend the jack 3.
� Remove the bolts and release the wheel.
* According to specification.
Page 99 of 123
PRACTICAL ASPECTS OF YOUR VEHICLE97
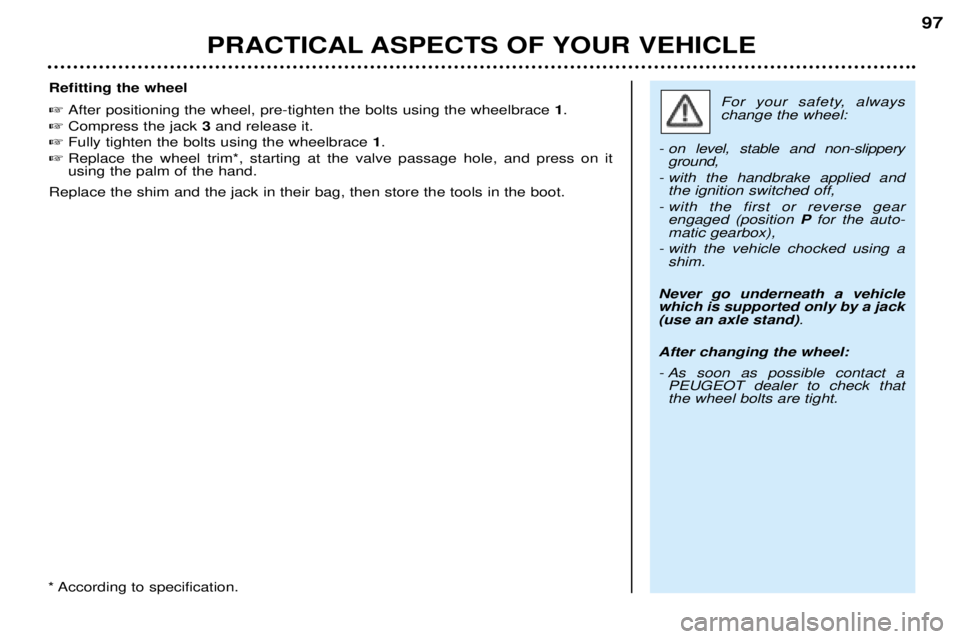
Refitting the wheel �
After positioning the wheel, pre-tighten the bolts using the wheelbrace 1.
� Compress the jack 3and release it.
� Fully tighten the bolts using the wheelbrace 1.
� Replace the wheel trim*, starting at the valve passage hole, and press on it using the palm of the hand.
Replace the shim and the jack in their bag, then store the tools in the boot.For your safety, always change the wheel:
- on level, stable and non-slippery ground,
- with the handbrake applied and the ignition switched off,
- with the first or reverse gear engaged (position Pfor the auto-
matic gearbox),
- with the vehicle chocked using a shim.
Never go underneath a vehiclewhich is supported only by a jack(use an axle stand) .
After changing the wheel:
- As soon as possible contact a PEUGEOT dealer to check that the wheel bolts are tight.
* According to specification.
Page 103 of 123
PRACTICAL ASPECTS OF YOUR VEHICLE101
Rear lights Release the top of the boot side trim. Unscrew the wing bolt inside the boot
using the wheelbrace if necessary. Disconnect the connector
A.
Release the light unit.Release spanner B from the bulb hol-
der.Unscrew nut Cusing spanner B and
removet the bulb holder.Change the faulty bulb.When refitting, stow spanner B on
support D and refit the light .
1. Amber direction indicators
PY21W.
2. Reversing lights P21W.
3. Brake lights/side lights P21/5W.Front fog lamps H1 55W Press underneath the access flap to release it. Open the flap.
Turn the cover to remove it.Disconnect the bulb.Press both ends of the securing clip to release the bulb.
The ÒamberÓ bulbs must be replaced by bulbs of identi-
cal specification and colour.
Page 104 of 123
PRACTICAL ASPECTS OF YOUR VEHICLE101
Rear lights Release the top of the boot side trim. Unscrew the wing bolt inside the boot
using the wheelbrace if necessary. Disconnect the connector
A.
Release the light unit.Release spanner B from the bulb hol-
der.Unscrew nut Cusing spanner B and
removet the bulb holder.Change the faulty bulb.When refitting, stow spanner B on
support D and refit the light .
1. Amber direction indicators
PY21W.
2. Reversing lights P21W.
3. Brake lights/side lights P21/5W.Front fog lamps H1 55W Press underneath the access flap to release it. Open the flap.
Turn the cover to remove it.Disconnect the bulb.Press both ends of the securing clip to release the bulb.
The ÒamberÓ bulbs must be replaced by bulbs of identi-
cal specification and colour.
Page 108 of 123
PRACTICAL ASPECTS OF YOUR VEHICLE
104
Fuse no. Rating*
Functions*
7 15A Driving school accessories - Retro-fit alarm - Rain sensor
9 30A Hydraulic pump
10 40A Exterior mirror demisting 11 15A Wiper
12 30A Front windows
14 10A Engine fuse box - Air bags - Steering wheel stalks
15 15A Instrument panel - Multi-function display - Navigation control unit - Air conditioning - Radio
16 30A Door locking / unlocking controls - Deadlocking controls
20 10A Right brake light
21 15A Left brake light - 3rd brake light
22 30A Front courtesy light - Glove box lighting - Cigarette lighter
S1 Shunt PARC shunt
* According to specification