Page 29 of 123
INSTRUMENTS AND CONTROLS31
Hazard warning lights
Press the button, the direction indica- tors flash.
They can operate with the ignition off.
Total distance recorder Briefly pressing button 1alternates
between the total distance and trip distance displays.
To reset the trip recorder to zero, when it is displayed press and hold the resetbutton for just over 3 seconds.Lighting rheostat With the lights on, press the button to vary the intensity of the lighting on theinstrument panel and the multifunction
display. When the lighting reaches the minimum (or maximum) setting,release the button then press it againto increase (or reduce) the brightness. As soon as the lighting is of the requi- red brightness, release the button.
Page 63 of 123
YOUR 206 CC IN DETAIL
64
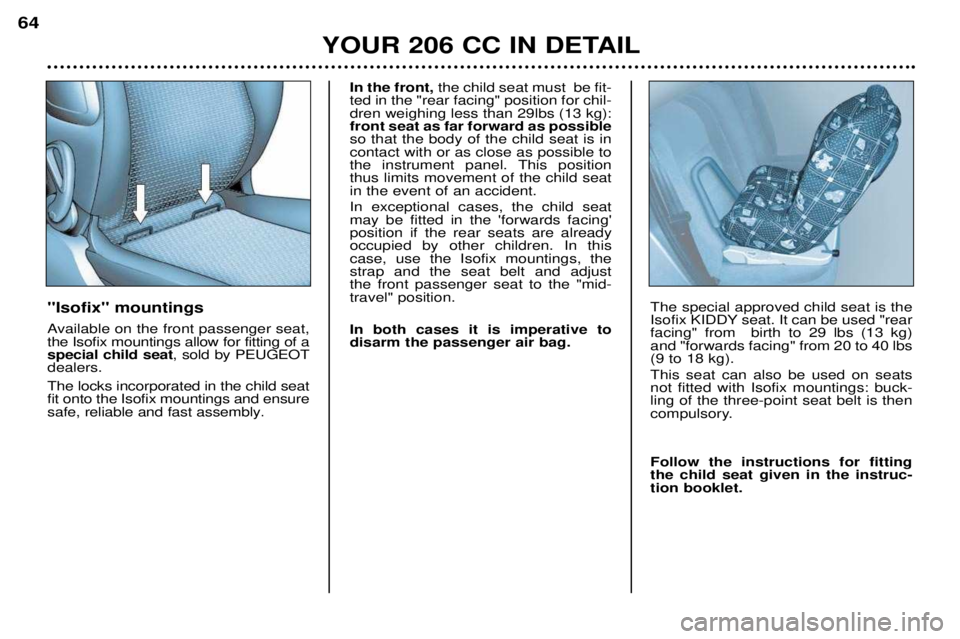
''Isofix'' mountings
Available on the front passenger seat, the Isofix mountings allow for fitting of aspecial child seat
, sold by PEUGEOT
dealers. The locks incorporated in the child seat fit onto the Isofix mountings and ensuresafe, reliable and fast assembly
.
In the front, the child seat must be fit-
ted in the "rear facing" position for chil-dren weighing less than 29lbs (13 kg):front seat as far forward as possibleso that the body of the child seat is incontact with or as close as possible to
the instrument panel. This positionthus limits movement of the child seatin the event of an accident. In exceptional cases, the child seat may be fitted in the 'forwards facing'position if the rear seats are alreadyoccupied by other children. In thiscase, use the Isofix mountings, thestrap and the seat belt and adjust the front passenger seat to the "mid-travel" position. In both cases it is imperative to disarm the passenger air bag. The special approved child seat is the
Isofix KIDDY seat. It can be used "rearfacing" from birth to 29 lbs (13 kg)and "forwards facing" from 20 to 40 lbs(9 to 18 kg). This seat can also be used on seats not fitted with Isofix mountings: buck-ling of the three-point seat belt is then
compulsory. Follow the instructions for fitting the child seat given in the instruc-tion booklet.
Page 66 of 123
YOUR 206 CC IN DETAIL67
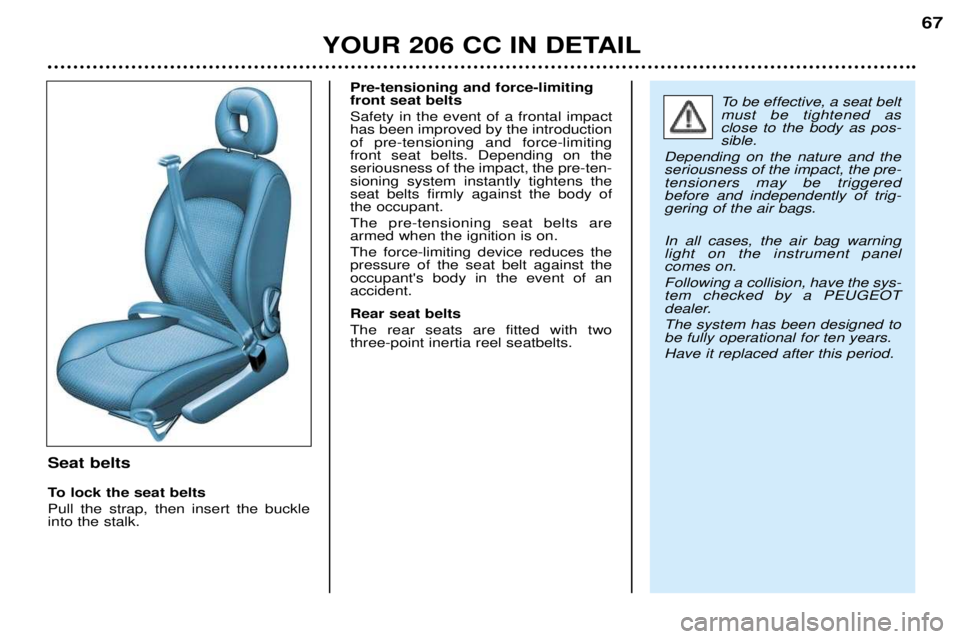
Seat belts
To lock the seat belts Pull the strap, then insert the buckle into the stalk.Pre-tensioning and force-limitingfront seat belts Safety in the event of a frontal impact has been improved by the introductionof pre-tensioning and force-limitingfront seat belts. Depending on theseriousness of the impact, the pre-ten-sioning system instantly tightens theseat belts firmly against the body ofthe occupant. The pre-tensioning seat belts are armed when the ignition is on. The force-limiting device reduces the pressure of the seat belt against theoccupant's body in the event of anaccident. Rear seat belts The rear seats are fitted with two three-point inertia reel seatbelts.
To be effective, a seat belt must be tightened asclose to the body as pos-sible.
Depending on the nature and theseriousness of the impact, the pre-tensioners may be triggeredbefore and independently of trig-gering of the air bags. In all cases, the air bag warning light on the instrument panelcomes on. Following a collision, have the sys- tem checked by a PEUGEOT
dealer. The system has been designed to be fully operational for ten years. Have it replaced after this period.
Page 72 of 123
YOUR 206 CC IN DETAIL
72
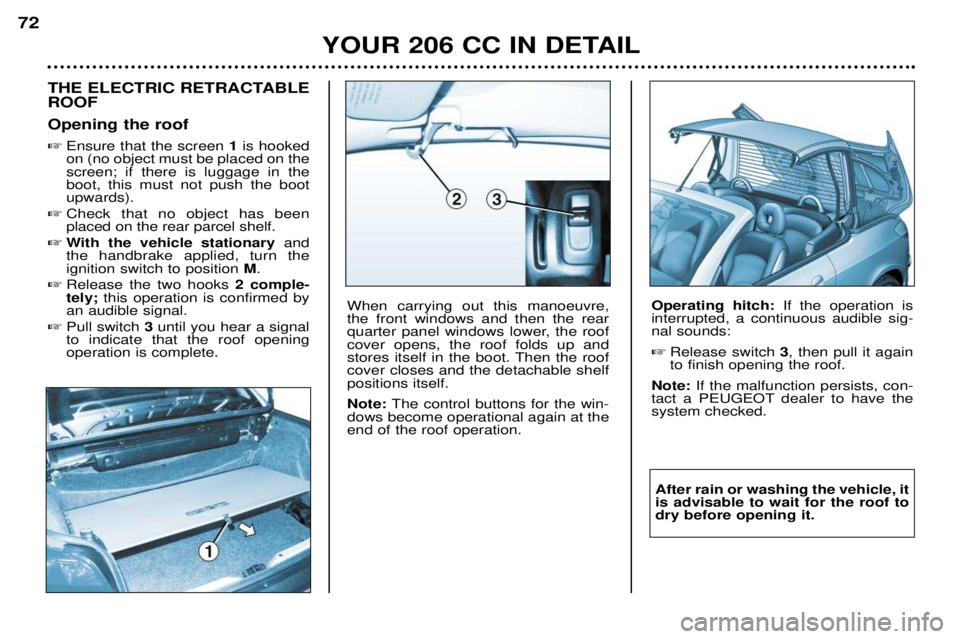
THE ELECTRIC RETRACTABLE ROOF Opening the roof �
Ensure that the screen 1is hooked
on (no object must be placed on the screen; if there is luggage in theboot, this must not push the bootupwards).
� Check that no object has been placed on the rear parcel shelf.
� With the vehicle stationary and
the handbrake applied, turn theignition switch to position M.
� Release the two hooks 2 comple-
tely; this operation is confirmed by
an audible signal.
� Pull switch 3 until you hear a signal
to indicate that the roof openingoperation is complete.
When carrying out this manoeuvre, the front windows and then the rear
quarter panel windows lower, the roofcover opens, the roof folds up and
stores itself in the boot. Then the roofcover closes and the detachable shelfpositions itself. Note: The control buttons for the win-
dows become operational again at the end of the roof operation.Operating hitch: If the operation is
interrupted, a continuous audible sig- nal sounds: � Release switch 3, then pull it again
to finish opening the roof.
Note: If the malfunction persists, con-
tact a PEUGEOT dealer to have the system checked.
After rain or washing the vehicle, it is advisable to wait for the roof todry before opening it.
Page 73 of 123
YOUR 206 CC IN DETAIL73
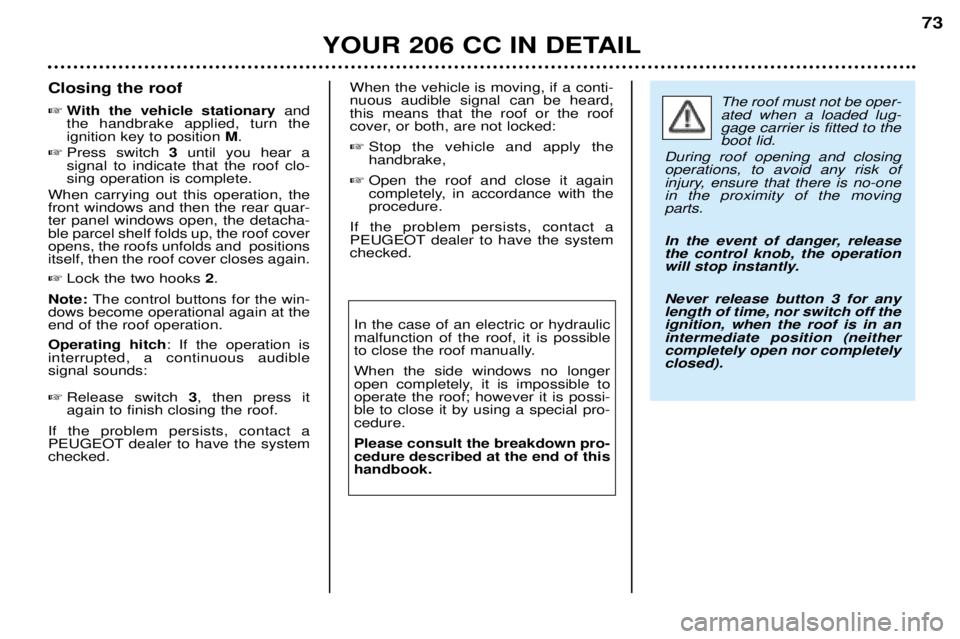
Closing the roof �
With the vehicle stationary and
the handbrake applied, turn the ignition key to position M.
� Press switch 3 until you hear a
signal to indicate that the roof clo-sing operation is complete.
When carrying out this operation, thefront windows and then the rear quar-ter panel windows open, the detacha-ble parcel shelf folds up, the roof coveropens, the roofs unfolds and positionsitself, then the roof cover closes again. � Lock the two hooks 2.
Note: The control buttons for the win-
dows become operational again at the end of the roof operation. Operating hitch : If the operation is
interrupted, a continuous audible signal sounds: � Release switch 3, then press it
again to finish closing the roof.
If the problem persists, contact a
PEUGEOT dealer to have the systemchecked. When the vehicle is moving, if a conti-nuous audible signal can be heard,this means that the roof or the roof
cover, or both, are not locked: �
Stop the vehicle and apply the handbrake,
� Open the roof and close it again
completely, in accordance with theprocedure.
If the problem persists, contact a
PEUGEOT dealer to have the systemchecked.The roof must not be oper- ated when a loaded lug-gage carrier is fitted to theboot lid.
During roof opening and closingoperations, to avoid any risk of
injury, ensure that there is no-onein the proximity of the movingparts.
In the event of danger, release the control knob, the operation
will stop instantly. Never release button 3 for any
length of time, nor switch off theignition, when the roof is in anintermediate position (neithercompletely open nor completelyclosed).
In the case of an electric or hydraulic malfunction of the roof, it is possible
to close the roof manually. When the side windows no longer
open completely, it is impossible tooperate the roof; however it is possi-ble to close it by using a special pro-cedure. Please consult the breakdown pro- cedure described at the end of thishandbook.
Page 74 of 123

YOUR 206 CC IN DETAIL
74
Dipped beam/main beam change Pull the stalk fully towards you. Note:
with the ignition off, if the driver's
door or the front passenger door* is open, a buzzer sounds if you have leftyour lights on. Front fog lamps and rear fog lamp Rotate the ring Bforwards to switch on
and backwards to switch off. The sta- tus is confirmed by the light on theinstrument panel.
Front fog lamps (1st forwardsturn of the ring)
These operate with the dipped/mainbeam headlamps.
Front fog lamps and rear fog lamp (2nd forwardsturn of the ring)
THE LIGHTS STALK Front lights Selection is by turning ring
A.
Lights off Side lights on Dipped / main beam headlamps
Automatic switching onof lights* When the side lights are switched off,the front fog lamps position is resu-med. Note:
to switch off the rear fog lamp
and the front fog lamps, turn the ring twice backwards.
In good or rainy weather, both day and night, the rear fog lamp is dazzling andis prohibited. Do not forget to switch the fog lamp off when it is no longer needed. Direction indicators (flashers)
Left: downwards.
Right: upwards.
* According to specification
Page 80 of 123
YOUR 206 CC IN DETAIL
80
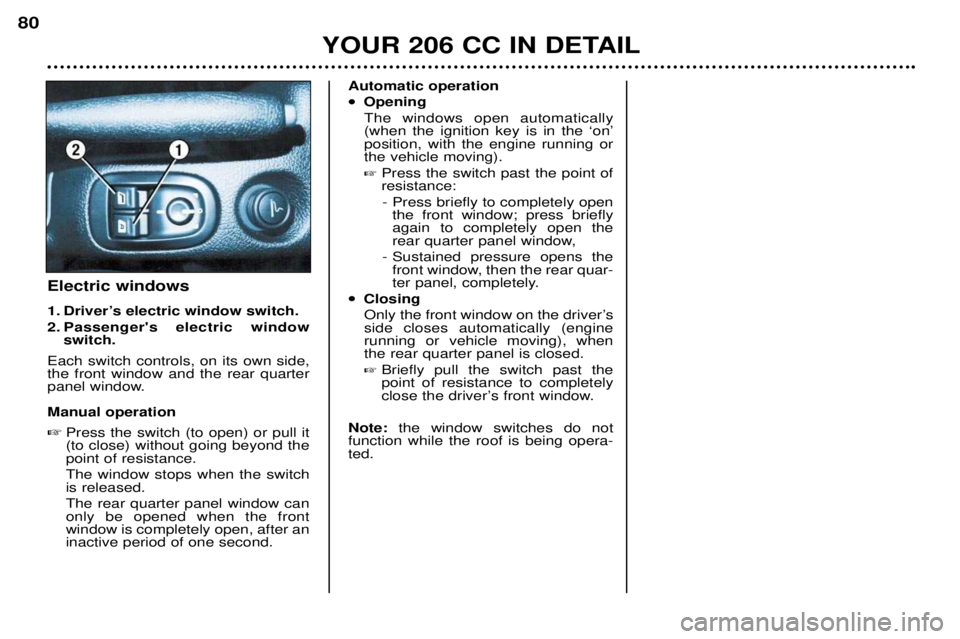
Electric windows
1. DriverÕs electric window switch.
2. Passenger's electric window
switch.
Each switch controls, on its own side, the front window and the rear quarter
panel window. Manual operation � Press the switch (to open) or pull it (to close) without going beyond thepoint of resistance. The window stops when the switch is released. The rear quarter panel window can only be opened when the frontwindow is completely open, after aninactive period of one second. Automatic operation
�
Opening
The windows open automatically (when the ignition key is in the ÔonÕposition, with the engine running orthe vehicle moving).
� Press the switch past the point ofresistance:
- Press briefly to completely open the front window; press brieflyagain to completely open the
rear quarter panel window,
- Sustained pressure opens the front window, then the rear quar-
ter panel, completely.
�
Closing
Only the front window on the driverÕs side closes automatically (enginerunning or vehicle moving), whenthe rear quarter panel is closed. � Briefly pull the switch past the point of resistance to completely
close the driverÕs front window.
Note: the window switches do not
function while the roof is being opera-ted.
Page 85 of 123

YOUR 206 CC IN DETAIL85
Automatic autoadaptive gearbox* Moving Off
To move off, move the selector lever to position
Nor P. Press the brake to exit
position P. Stopped or parked Always leave the lever in position Pwhen you get out of your vehicle.
If not, a buzzer will sound when you open the driver's door.
Positions of the selector lever These positions are displayed on the instrument panel.P �
�Park: use with the handbrake when parking
R �
�Reverse: this must only be engaged when the vehicle is stationary, engine at idle.
N �
�Neutral: if
Nis engaged by mistake while the car is moving, allow the
engine to return to idle before engaging a new forward gear.
D �
�Drive: in this position, the four gears change automatically. The gear change points vary depending on the programme selected.
3 �
��
Automatic changes of the first three gears only. Select this position when you notice frequent changes between third and fourth gear (town driving oron winding roads).
2 �
��
Automatic changes of the first two gears only. This position is particularly suitable for mountain roads, when going uphill (to make the best use of theengine's power) and downhill (engine braking).
* According to specification .