Page 153 of 436

2-61
To wash and wipe the rear window, push in the washer
symbol on the top of the switch. Washer fluid will spray
as long as the switch is held in. When the top of the
switch is released, the wiper will continue to cycle three
more times. There is only one washer fluid reservoir for
the front and rear windshield wipers. See ªWindshield
Washer Fluidº in the Index.
To wash the rear window when the rear wiper is already on,
push the top of the switch with the wash symbol on it.
Push in the bottom of the switch to continue the intermittent
wiper cycle after the washing cycle is completed.
Cruise Control
With cruise control, you can maintain a speed of about
25 mph (40 km/h) or more without keeping your foot
on the accelerator. This can really help on long trips.
Cruise control does not work at speeds below about
25 mph (40 km/h).
When you apply your brakes, the cruise control disengages.
CAUTION:
�Cruise control can be dangerous where
you can't drive safely at a steady speed.
So, don't use your cruise control on
winding roads or in heavy traffic.
�Cruise control can be dangerous on
slippery roads. On such roads, fast changes
in tire traction can cause needless wheel
spinning, and you could lose control.
Don't use cruise control on slippery roads.
If your vehicle is in cruise control when the optional
traction control system begins to limit wheel spin,
the cruise control will automatically disengage.
See ªTraction Control Systemº in the Index.
When road conditions allow you to safely use it
again, you may turn the cruise control back on.
Page 159 of 436

2-67
Interior Lamps
Instrument Panel Intensity Control
Turn the thumbwheel, located below the headlamps
control, clockwise to increase the brightness of the
instrument panel lights, and counterclockwise to
decrease the brightness. Turn the thumbwheel all the
way counterclockwise to turn them off.
Interior Lamps Control
Turn the thumbwheel all the way clockwise to turn on
the interior lamps, if the interior lamps override switch
is off. Turn the thumbwheel counterclockwise to turn
the lamps off.
Interior Lamps Override Switch
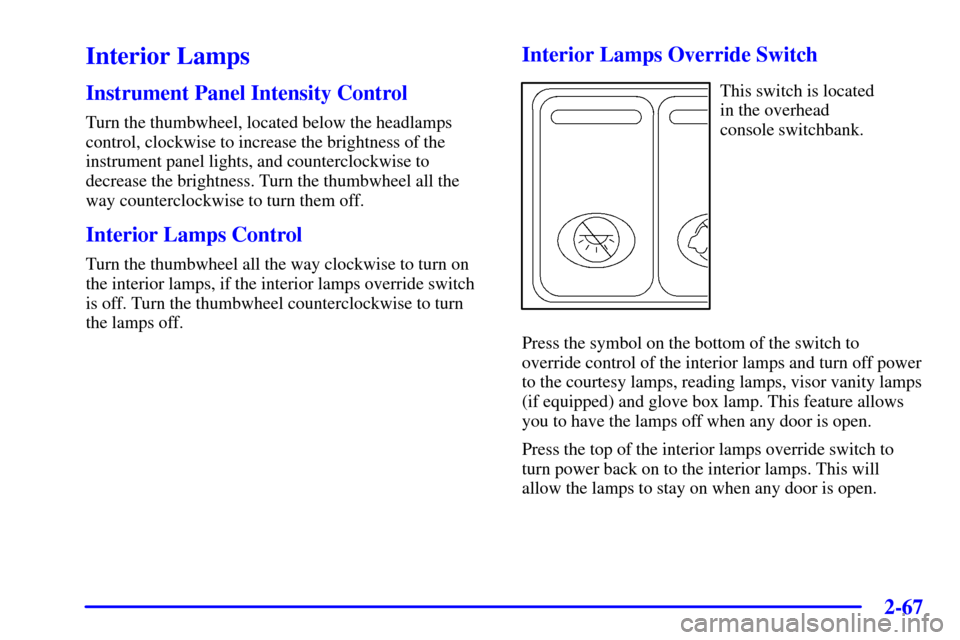
This switch is located
in the overhead
console switchbank.
Press the symbol on the bottom of the switch to
override control of the interior lamps and turn off power
to the courtesy lamps, reading lamps, visor vanity lamps
(if equipped) and glove box lamp. This feature allows
you to have the lamps off when any door is open.
Press the top of the interior lamps override switch to
turn power back on to the interior lamps. This will
allow the lamps to stay on when any door is open.
Page 162 of 436

2-70 Rear Reading Lamps
There are two reading lamps in the third row headliner,
above the outboard seating positions.
To turn on or off either reading lamp, press the lens
of the lamp.
There is also a reading lamp in the second row,
integrated with the dome lamp. To turn on or off either
reading lamp, press the button next to the lamp lens.
These lamps will not turn on if the interior lamps
override switch is on. See ªInterior Lamps Override
Switchº in the Index.
Dome Lamp
The dome lamp is located in the center of your vehicle
and has two buttons to manually turn on and off the
lamp. The dome lamp will come on each time you
open a door, unless you turn on the interior lamps
override feature. See ªInterior Lamps Override Switchº
in the Index.
Cargo Lamp
The cargo lamp is located in the rear of your vehicle,
above the liftgate opening, and does not have a switch.
The cargo lamp will come on each time you open a
door, unless you turn on the interior lamps override.
See ªInterior Lamps Override Switchº in the Index.
Battery Saver
Your vehicle has a feature to help prevent you from
draining the battery, in case you accidentally leave the
interior lamps on. If you leave any interior lamps on
while the ignition is in LOCK or OFF, they will
automatically turn off after 10 minutes. The lamps won't
come back on again until you do one of the following:
�Turn the ignition to RUN or ACCESSORY,
�turn the interior lamps thumbwheel all the way
clockwise, then slightly back counterclockwise, or
�open (or close and reopen) a door that is closed.
If your vehicle has less than 15 miles (25 km) on the
odometer, the battery saver will turn off the lamps after
only three minutes.
Page 180 of 436

2-88
OnStar� System (If Equipped)
OnStar is a vehicle communications system that
offers a variety of services and provides a hands
-free
communication link between you and the OnStar Center.
A service subscription agreement and fee are required
in order to receive OnStar service. Services are available
24 hours a day, 7 days a week. For more information,
call 1
-888-ONSTAR-7 (1-888-667-8277).
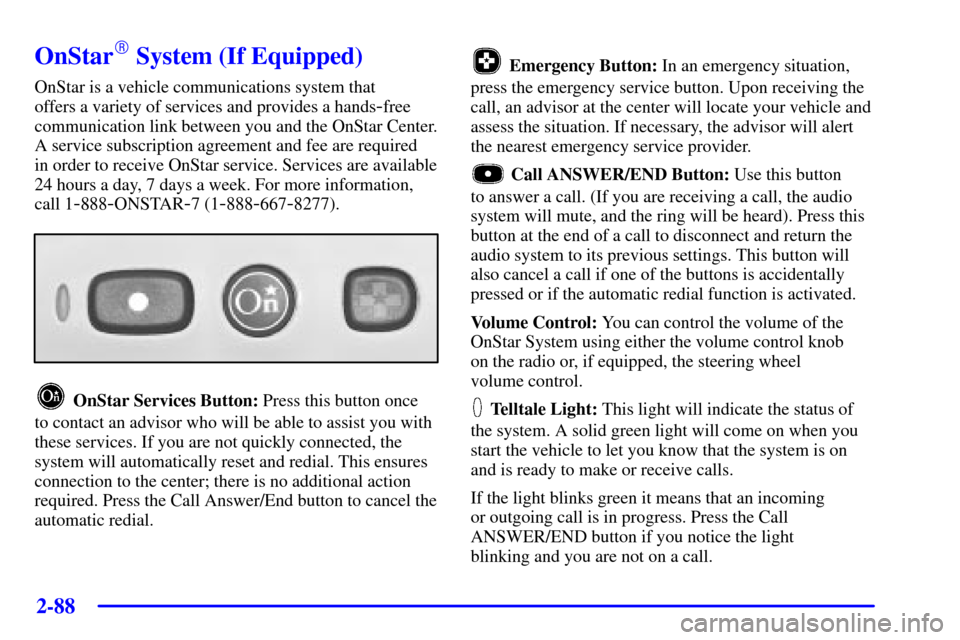
OnStar Services Button: Press this button once
to contact an advisor who will be able to assist you with
these services. If you are not quickly connected, the
system will automatically reset and redial. This ensures
connection to the center; there is no additional action
required. Press the Call Answer/End button to cancel the
automatic redial.
Emergency Button: In an emergency situation,
press the emergency service button. Upon receiving the
call, an advisor at the center will locate your vehicle and
assess the situation. If necessary, the advisor will alert
the nearest emergency service provider.
Call ANSWER/END Button: Use this button
to answer a call. (If you are receiving a call, the audio
system will mute, and the ring will be heard). Press this
button at the end of a call to disconnect and return the
audio system to its previous settings. This button will
also cancel a call if one of the buttons is accidentally
pressed or if the automatic redial function is activated.
Volume Control: You can control the volume of the
OnStar System using either the volume control knob
on the radio or, if equipped, the steering wheel
volume control.
Telltale Light: This light will indicate the status of
the system. A solid green light will come on when you
start the vehicle to let you know that the system is on
and is ready to make or receive calls.
If the light blinks green it means that an incoming
or outgoing call is in progress. Press the Call
ANSWER/END button if you notice the light
blinking and you are not on a call.
Page 187 of 436
2-95
The main components of the instrument panel are the following:
A. Side Vents
B. Front Vents
C. Turn Signal/Multifunction Lever
D. Hazard Warning Flasher Switch
E. Instrument Panel Cluster
F. Center Vents
G. Audio System
H. Side Vents
I. Exterior Lamp Control
J. Hood Release
K. Audio Steering Wheel Controls (Option)
L. HornM. Ignition Switch
N. Audio Steering Wheel Controls (Option)
O. Climate Controls
P. Rear Fan Controls (Option)
Q. Cupholder Tray
R. Accessory Power Outlet
S. Storage Bin
T. Instrument Panel Switchbank
U. Glove Box
V. Front Vents
W. Instrument Panel Fuse Block
Page 201 of 436

2-109
When this message is displayed, the traction control
system will not limit wheel spin. Adjust your
driving accordingly.
The message may appear for the following reasons:
�If there's a brake system problem that is specifically
related to traction control, the traction control system
will turn off and the warning message will come on.
If your brakes begin to overheat, the traction control
system will turn off and the warning message will
come on until your brakes cool down.
�If the traction control system is affected by an
engine
-related problem, the system will turn off
and the warning message will come on.
If the traction control system warning message comes on
and stays on for an extended period of time when the
system is turned on, your vehicle needs service.
Traction Active Message (Option)
United States Canada
If your vehicle has the traction control system, the
TRACTION ACTIVE message will appear when the
traction control system is limiting wheel spin. You may
feel or hear the system working, but this is normal.
Slippery road conditions may exist if this message
appears, so adjust your driving accordingly.
The message will stay on for a few seconds after
the traction control system stops limiting wheel spin.
Page 212 of 436

3-
3-1
Section 3 Comfort Controls and Audio Systems
In this section, you'll find out how to operate the comfort control and audio systems offered with your vehicle.
Be sure to read about the particular systems supplied with your vehicle.
3
-2 Comfort Controls
3
-2 Air Conditioning with Temperature Control
3
-5 Air Conditioning with Dual Temperature
Control (Option)
3
-9 Rear Window Defogger
3
-9 Rear Climate Control (Option)
3
-11 Ventilation System
3
-12 Audio Systems
3
-12 Setting the Clock
3
-13 AM-FM Stereo with Compact Disc Player
with Radio Data Systems (RDS) and
Automatic Tone Control
3
-20 AM-FM Stereo with Cassette Tape and
Compact Disc Player with Radio Data
Systems (RDS) and Automatic Tone
Control (If Equipped)3
-30 AM-FM Stereo with 6-Disc Compact Disc
Player with Programmable Equalization and
Radio Data Systems (RDS) (Option)
3
-41 Rear Seat Audio (Option)
3
-42 Theft-Deterrent Feature
3
-43 Audio Steering Wheel Controls (If Equipped)
3
-44 Understanding Radio Reception
3
-44 Tips About Your Audio System
3
-45 Care of Your Cassette Tape Player
3
-46 Care of Your Compact Discs
3
-46 Care of Your Compact Disc Player
3
-46 Integrated Windshield Antenna
Page 222 of 436

3-11
Rear Air Vents
To maximize airflow through the rear heater outlet, place
the left bucket seat in the second row in the forward
position (see ªAdjusting Rear Seatsº in the Index).
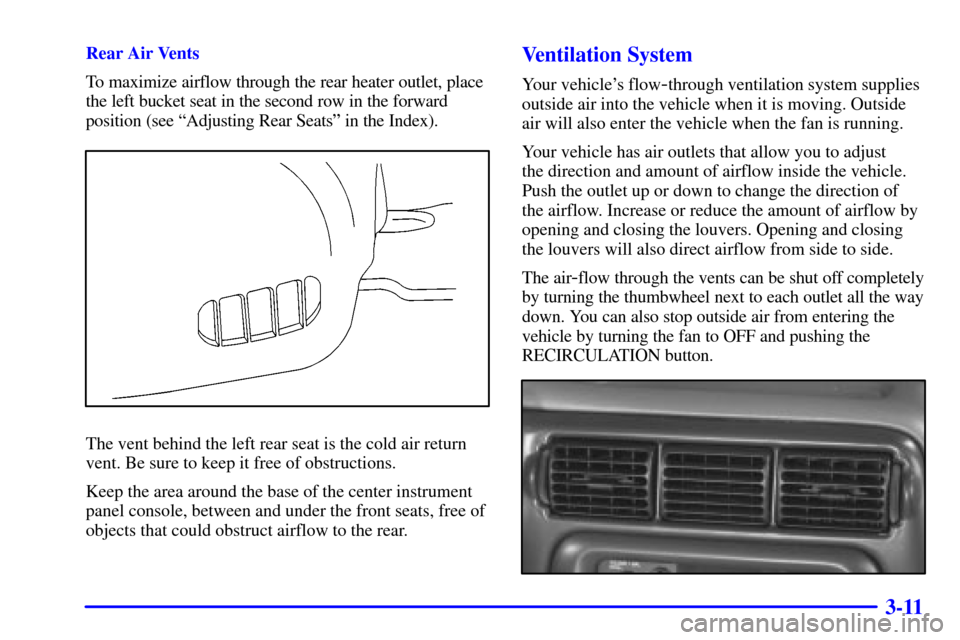
The vent behind the left rear seat is the cold air return
vent. Be sure to keep it free of obstructions.
Keep the area around the base of the center instrument
panel console, between and under the front seats, free of
objects that could obstruct airflow to the rear.
Ventilation System
Your vehicle's flow-through ventilation system supplies
outside air into the vehicle when it is moving. Outside
air will also enter the vehicle when the fan is running.
Your vehicle has air outlets that allow you to adjust
the direction and amount of airflow inside the vehicle.
Push the outlet up or down to change the direction of
the airflow. Increase or reduce the amount of airflow by
opening and closing the louvers. Opening and closing
the louvers will also direct airflow from side to side.
The air
-flow through the vents can be shut off completely
by turning the thumbwheel next to each outlet all the way
down. You can also stop outside air from entering the
vehicle by turning the fan to OFF and pushing the
RECIRCULATION button.