2001 NISSAN QUEST mirror
[x] Cancel search: mirrorPage 11 of 304

FRONT POWER SEAT
ADJUSTMENT (if so equipped)
WARNING
cDo not adjust the driver's seat while
driving so full attention may be given
to vehicle operation.
c
Do not leave children unattended in-
side the vehicle. They could unknow-
ingly activate switches or controls.
Unattended children could become
involved in serious accidents.
For memory seat and mirror information
see ``Memory driver seat and mirrors'' in the
``Pre-driving checks and adjustments'' sec-
tion.
Operating tips
cThe motor has an auto-reset overload
protection circuit. If the motor stops dur-
ing operation, wait 30 seconds, then re-
activate the switch.cDo not operate the power support seat
for a long period of time when the engine
is off. This discharges the battery.
1-4Seats, restraints and supplemental air bag systems
ZX
Page 89 of 304

2 Instruments and controls
Meters and gauges ................................................2-3
Speedometer and odometer .............................2-4
Tachometer........................................................2-4
Engine coolant temperature gauge ...................2-5
Fuel gauge ........................................................2-5
Message center (if so equipped) ...........................2-6
Warning/indicator lights and chimes ......................2-7
Checking bulbs ..................................................2-7
Warning lights ....................................................2-7
Indicator lights ...................................................2-9
Audible reminders............................................2-11
Vehicle security system (if so equipped) .............2-11
Windshield wiper and washer switch ...................2-14
Rear window wiper and washer switches ............2-15
Rear window defogger switch ..............................2-15
Headlight and turn signal switch ..........................2-15
Headlight control switch ..................................2-15
Autolamp switch (if so equipped) ....................2-17
Turn signal switch ........................................2-18
Cornering light .................................................2-18
Hazard warning flasher switch .............................2-18
Horn ......................................................................2-19Heated seats (if so equipped) ..............................2-19
Rear power socket ...............................................2-21
Cigarette lighter and ashtray (accessory) ............2-22
Storage .................................................................2-23
Map pockets ....................................................2-23
Conversation mirror .........................................2-23
Cup holders .....................................................2-24
Glove box ........................................................2-25
Cargo net .........................................................2-26
Parcel shelf (if so equipped) ...........................2-27
Luggage rack ...................................................2-29
Windows ...............................................................2-29
Power windows................................................2-29
Power vent windows (if so equipped) .............2-31
Manual vent windows ......................................2-31
Sunroof (if so equipped).......................................2-32
Interior lights .........................................................2-33
Luggage ...........................................................2-33
Personal reading light ..........................................2-33
Map lights .............................................................2-34
Illuminated entry system ......................................2-34
ZX
Page 104 of 304

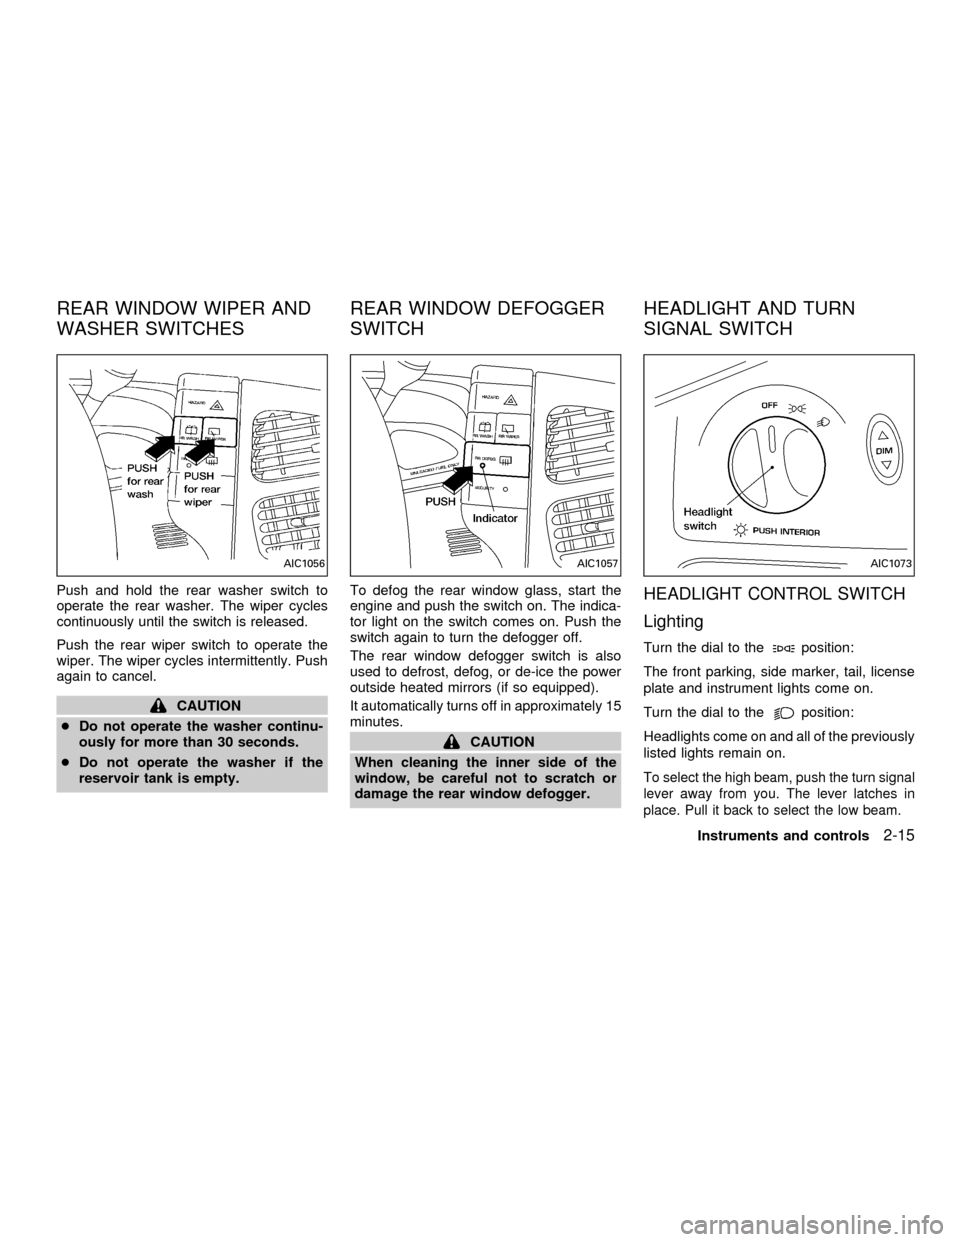
Push and hold the rear washer switch to
operate the rear washer. The wiper cycles
continuously until the switch is released.
Push the rear wiper switch to operate the
wiper. The wiper cycles intermittently. Push
again to cancel.
CAUTION
cDo not operate the washer continu-
ously for more than 30 seconds.
cDo not operate the washer if the
reservoir tank is empty.To defog the rear window glass, start the
engine and push the switch on. The indica-
tor light on the switch comes on. Push the
switch again to turn the defogger off.
The rear window defogger switch is also
used to defrost, defog, or de-ice the power
outside heated mirrors (if so equipped).
It automatically turns off in approximately 15
minutes.
CAUTION
When cleaning the inner side of the
window, be careful not to scratch or
damage the rear window defogger.
HEADLIGHT CONTROL SWITCH
Lighting
Turn the dial to theposition:
The front parking, side marker, tail, license
plate and instrument lights come on.
Turn the dial to the
position:
Headlights come on and all of the previously
listed lights remain on.
To select the high beam, push the turn signal
lever away from you. The lever latches in
place. Pull it back to select the low beam.
AIC1056AIC1057AIC1073
REAR WINDOW WIPER AND
WASHER SWITCHESREAR WINDOW DEFOGGER
SWITCHHEADLIGHT AND TURN
SIGNAL SWITCH
Instruments and controls2-15
ZX
Page 112 of 304

MAP POCKETS
A map pocket is located on the right hand
side of the instrument panel and on the back
of the passenger seat. The map pocket can
be used to store maps.
CONVERSATION MIRROR
Some vehicles are equipped with a conver-
sation mirror. Push to open the conversa-
tion mirror. Pull down to lock mirror into
place. Adjust mirror to desired position.
Push again to close the conversation mirror.
AIC1078ARS1249LIC0020
STORAGE
Instruments and controls2-23
ZX
Page 123 of 304

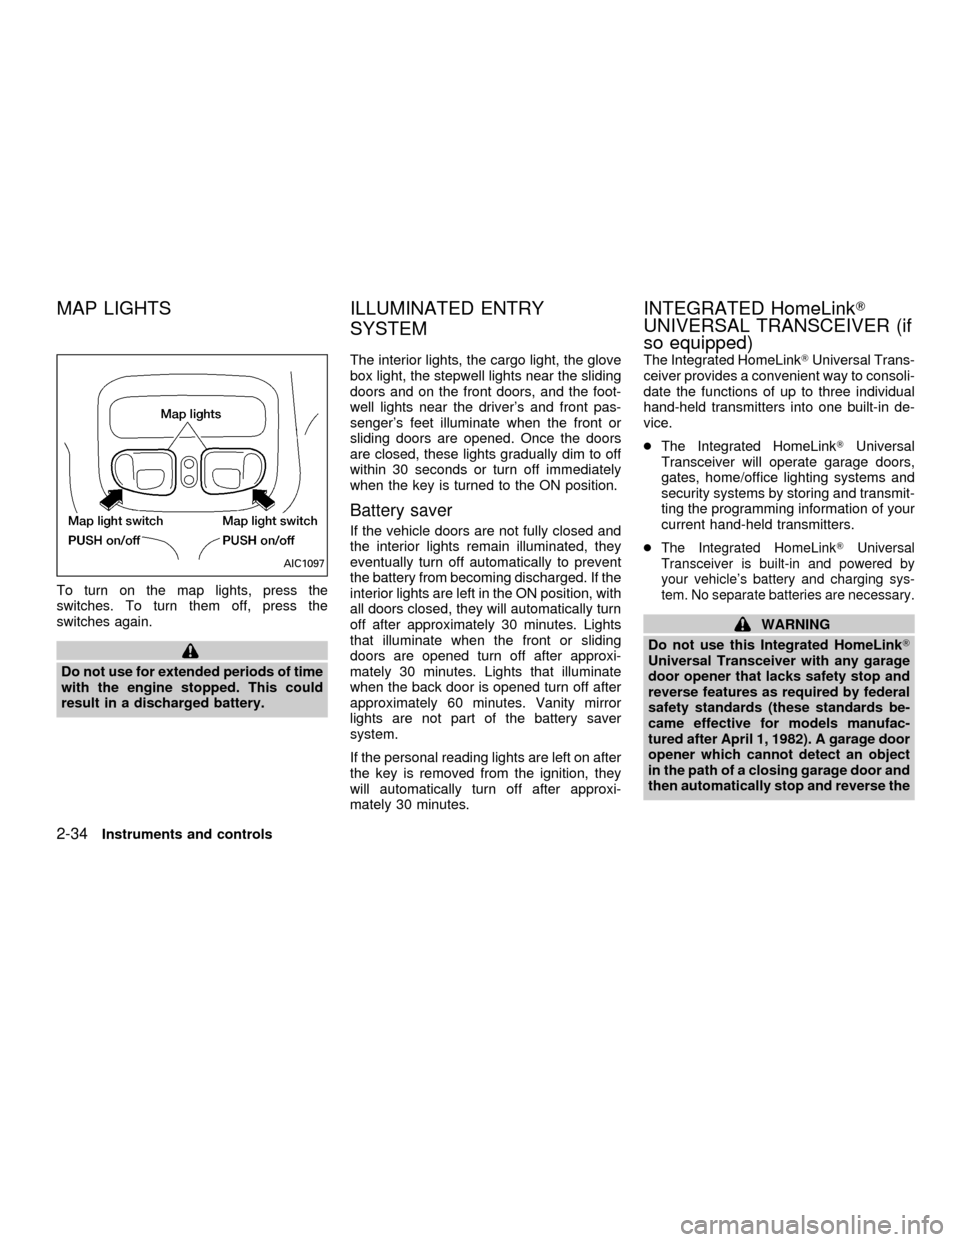
To turn on the map lights, press the
switches. To turn them off, press the
switches again.
Do not use for extended periods of time
with the engine stopped. This could
result in a discharged battery.The interior lights, the cargo light, the glove
box light, the stepwell lights near the sliding
doors and on the front doors, and the foot-
well lights near the driver's and front pas-
senger's feet illuminate when the front or
sliding doors are opened. Once the doors
are closed, these lights gradually dim to off
within 30 seconds or turn off immediately
when the key is turned to the ON position.
Battery saver
If the vehicle doors are not fully closed and
the interior lights remain illuminated, they
eventually turn off automatically to prevent
the battery from becoming discharged. If the
interior lights are left in the ON position, with
all doors closed, they will automatically turn
off after approximately 30 minutes. Lights
that illuminate when the front or sliding
doors are opened turn off after approxi-
mately 30 minutes. Lights that illuminate
when the back door is opened turn off after
approximately 60 minutes. Vanity mirror
lights are not part of the battery saver
system.
If the personal reading lights are left on after
the key is removed from the ignition, they
will automatically turn off after approxi-
mately 30 minutes.The Integrated HomeLinkTUniversal Trans-
ceiver provides a convenient way to consoli-
date the functions of up to three individual
hand-held transmitters into one built-in de-
vice.
cThe Integrated HomeLinkTUniversal
Transceiver will operate garage doors,
gates, home/office lighting systems and
security systems by storing and transmit-
ting the programming information of your
current hand-held transmitters.
c
The Integrated HomeLinkTUniversal
Transceiver is built-in and powered by
your vehicle's battery and charging sys-
tem. No separate batteries are necessary.
WARNING
Do not use this Integrated HomeLinkT
Universal Transceiver with any garage
door opener that lacks safety stop and
reverse features as required by federal
safety standards (these standards be-
came effective for models manufac-
tured after April 1, 1982). A garage door
opener which cannot detect an object
in the path of a closing garage door and
then automatically stop and reverse the
AIC1097
MAP LIGHTS ILLUMINATED ENTRY
SYSTEMINTEGRATED HomeLinkT
UNIVERSAL TRANSCEIVER (if
so equipped)
2-34Instruments and controls
ZX
Page 128 of 304

3 Pre-driving checks and adjustments
Keys .......................................................................3-2
Doors ......................................................................3-2
Locking with key ................................................3-3
Locking with inside lock knob............................3-3
Locking with power door lock switch.................3-4
Child safety sliding door locks...........................3-5
Multi-remote control system ...................................3-6
How to use multi-remote control system...........3-6
Battery replacement ..........................................3-8
Hood .......................................................................3-9
Rear door .............................................................3-10
Fuel filler lid ..........................................................3-10Opener operation ............................................3-10
Fuel filler cap ...................................................3-10
Steering wheel .....................................................3-11
Tilt operation ....................................................3-11
Sun visors.............................................................3-12
Vanity mirror ....................................................3-12
Mirrors ..................................................................3-12
Memory driver seat and mirrors
(if so equipped)................................................3-12
Inside mirror.....................................................3-14
Outside mirrors ................................................3-14
ZX
Page 133 of 304

It is possible to lock/unlock all doors, turn
the interior lights on or off, and activate the
panic alarm by using the remote controller
from outside the vehicle.
Be sure to remove the key from the
vehicle before locking the doors and
leaving it.
The remote controller can operate at a
distance of approximately 30 ft (10 m) from
the vehicle. The effective distance depends
on the conditions around the vehicle.
As many as four remote controllers can be
used with one vehicle. For more information
concerning the purchase and use of addi-
tional remote controllers, contact an autho-
rized NISSAN dealer.
CAUTION
Listed below are conditions or occur-
rences which will damage the remote
controller:
cDo not allow the remote controller to
become wet.
cDo not drop the remote controller.
cDo not strike the remote controller
sharply against another object.cDo not place the remote controller
for an extended period in an area
where temperatures exceed 140ÉF
(60ÉC).
HOW TO USE MULTI-REMOTE
CONTROL SYSTEM
Locking doors
1. Close all doors.
2. Push the
button on the multi-remote
controller.
3. All doors lock.
4. The parking lights flash twice and the
horn chirps once to verify all doors are
locked.
Unlocking doors
For memory seat and mirror information
see ``Memory driver seat and mirrors'' later
in this section.
1. Push the
button on the multi-remote
controller. Only the driver door unlocks.
Parking lights flash once.2. The interior lights come on and stay on
for 30 seconds.
3. Push the
button on the multi-remote
controller again within five seconds. The
passenger door, sliding doors, and the
rear door unlock.
The interior lights can be turned off without
waiting 30 seconds by either turning the
ignition to ON or locking the doors with the
multi-remote controller.
Using the panic alarm
If you are near your vehicle and feel threat-
ened, you may activate the panic alarm to
call attention as follows:
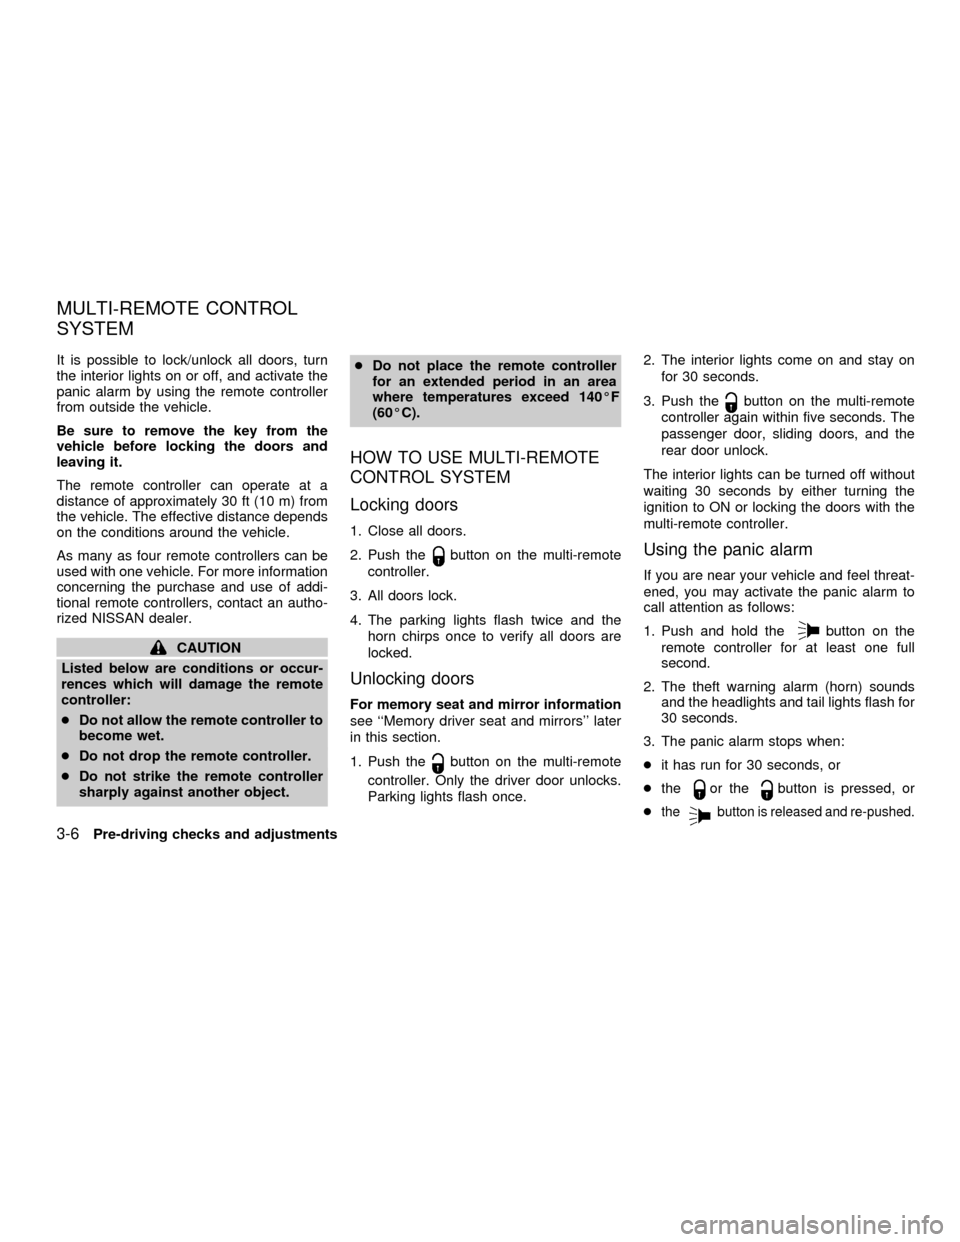
1. Push and hold the
button on the
remote controller for at least one full
second.
2. The theft warning alarm (horn) sounds
and the headlights and tail lights flash for
30 seconds.
3. The panic alarm stops when:
cit has run for 30 seconds, or
cthe
or thebutton is pressed, or
c
thebutton is released and re-pushed.
MULTI-REMOTE CONTROL
SYSTEM
3-6Pre-driving checks and adjustments
ZX
Page 139 of 304

VANITY MIRROR
Access the mirror by pulling the sun visor
down and lifting the cover up. The vanity
mirror will illuminate when the mirror cover
is opened.
MEMORY DRIVER SEAT AND
MIRRORS (if so equipped)
The memory driver seat and mirror function
provides a convenient way to recall a driv-
er's seat and outside mirror positions. Un-
locking the doors using the multi-remote
controller, or by pressing the memory seat
position 1 or position 2 button activates the
memory driver seat and mirrors.
Multi-remote controller system entry
Pressing thebutton on the multi-
remote controller unlocks the driver's door,
and recalls the memory settings for both
outside mirrors and driver's seat for that
memory position. Two multi-remote control-
lers are delivered with the vehicle. They can
be programmed with the same memory
driver's seat and mirror positions, or each
one can be programmed separately. One
multi-remote controller can be programmed
for memory driver's seat and mirror position
1, and the other for memory driver's seat
and mirror position 2.
WPD0012APD1062APD1063
SUN VISORS MIRRORS
3-12Pre-driving checks and adjustments
ZX