2001 NISSAN ALTIMA change time
[x] Cancel search: change timePage 1 of 258
Foreword
Welcome to the growing family of new
NISSAN owners. This vehicle is delivered
to you with confidence. It was produced
using the latest techniques and strict quality
control.
This manual was prepared to help you
understand the operation and maintenance
of your vehicle so that you may enjoy many
miles of driving pleasure. Please read
through this manual before operating your
vehicle.
In the U.S., a separate Warranty Informa-
tion and Maintenance Log Booklet and
in Canada, a Warranty and Roadside
Assistance Information Booklet ex-
plains details about the warranties cov-
ering your vehicle and vehicle mainte-
nance schedules. Additionally, a
separate Customer Care/Lemon Law
Booklet (U.S. only) will explain how to
resolve any concerns you may have with
your vehicle, as well as clarify your
rights under your state's lemon law.
Your NISSAN dealership knows your ve-
hicle best. When you require any service or
have any questions, they will be glad to
assist you with the extensive resources
available to them.READ FIRST Ð THEN DRIVE SAFELY
Before driving your vehicle please read this
Owner's Manual carefully. This will ensure
familiarity with controls and maintenance
requirements, assisting you in the safe op-
eration of your vehicle.
WARNING
IMPORTANT SAFETY INFORMATION
REMINDERS FOR SAFETY!
Follow these important rules to help
ensure a safe and comfortable trip for
you and your passengers!
cNEVER drive under the influence of
alcohol or drugs.
cALWAYS observe posted speed lim-
its and never drive too fast for con-
ditions.
c
ALWAYS use your seat belts and
appropriate child restraint systems.
Pre-teen children should be seated
in the rear seat.
cALWAYS provide information about
the proper use of vehicle safety fea-
tures to all occupants of the vehicle.
c
ALWAYS review this owner's manual
for important safety information.
MODIFICATION OF YOUR VEHICLE
This vehicle should not be modified.
Modification could affect its perfor-
mance, safety or durability, and may
even violate governmental regulations.
In addition, damage or performance
problems resulting from modifications
may not be covered under NISSAN
warranties.
WHEN READING THE MANUAL
This manual includes information for all
options available on this model. Therefore,
you may find some information that does
not apply to your vehicle.
All information, specifications and illustra-
tions in this manual are those in effect at the
time of printing. NISSAN reserves the right
to change specifications or design without
notice and without obligation.
The inside pages of this manual contain
a minimum of 50% recycled fibers,
including 10% post-consumer fibers.
ZX
Page 62 of 258
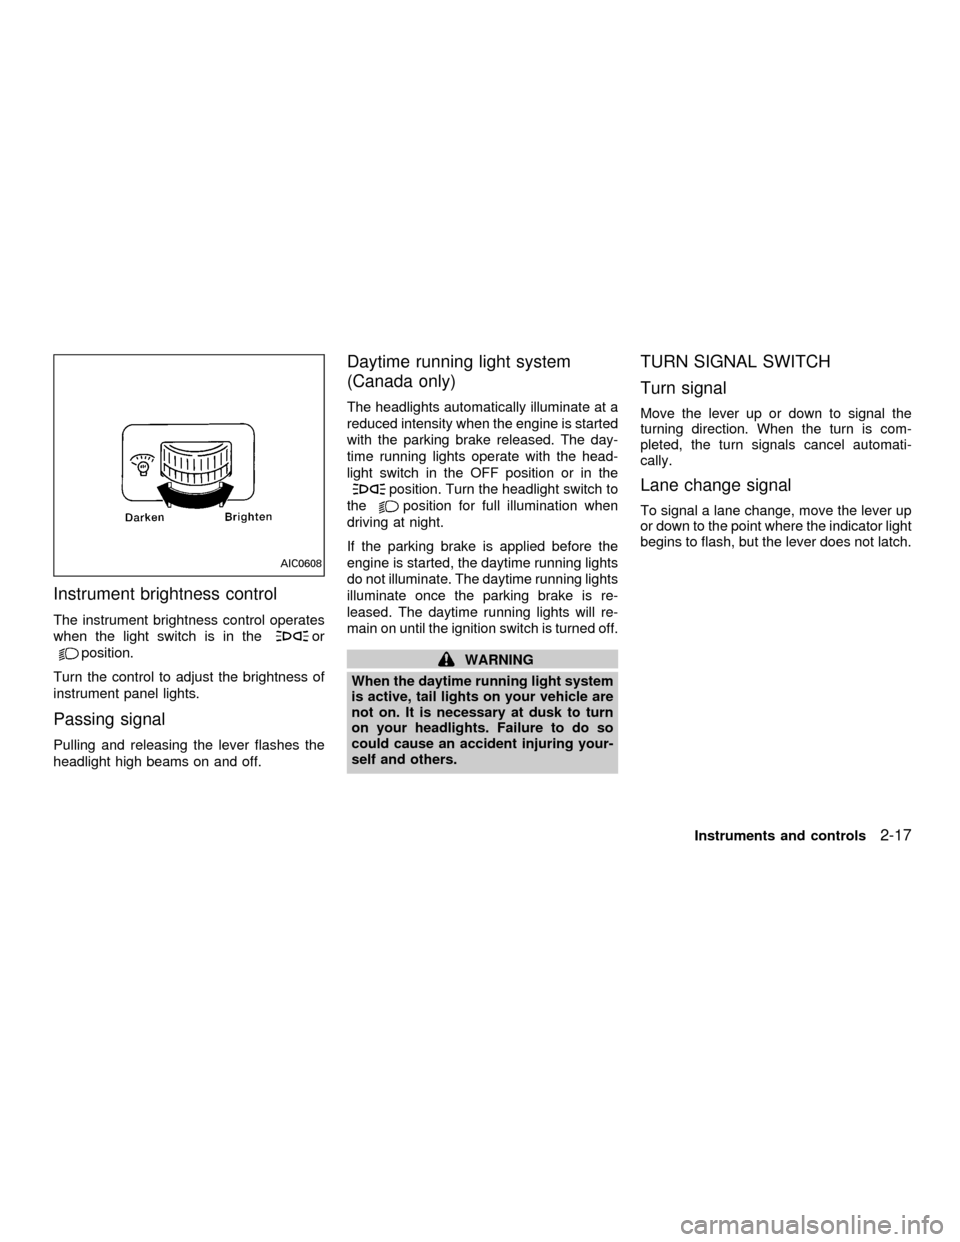
Instrument brightness control
The instrument brightness control operates
when the light switch is in the
or
position.
Turn the control to adjust the brightness of
instrument panel lights.
Passing signal
Pulling and releasing the lever flashes the
headlight high beams on and off.
Daytime running light system
(Canada only)
The headlights automatically illuminate at a
reduced intensity when the engine is started
with the parking brake released. The day-
time running lights operate with the head-
light switch in the OFF position or in the
position. Turn the headlight switch to
the
position for full illumination when
driving at night.
If the parking brake is applied before the
engine is started, the daytime running lights
do not illuminate. The daytime running lights
illuminate once the parking brake is re-
leased. The daytime running lights will re-
main on until the ignition switch is turned off.
WARNING
When the daytime running light system
is active, tail lights on your vehicle are
not on. It is necessary at dusk to turn
on your headlights. Failure to do so
could cause an accident injuring your-
self and others.
TURN SIGNAL SWITCH
Turn signal
Move the lever up or down to signal the
turning direction. When the turn is com-
pleted, the turn signals cancel automati-
cally.
Lane change signal
To signal a lane change, move the lever up
or down to the point where the indicator light
begins to flash, but the lever does not latch.
AIC0608
Instruments and controls2-17
ZX
Page 77 of 258

To program the Integrated HomeLinkTUni-
versal Transceiver to a garage door opener
with the rolling code feature, follow these
instructions after completing the ``Program-
ming HomeLinkT'' (the aid of a second
person may make the following procedures
quicker and easier).
1. Locate the training button on the garage
door opener motor unit. Exact location
and color of the button may vary by
garage door opener brand. If there is
difficulty locating the training button, ref-
erence the garage door opener Owner's
Manual.
2. Press the training button on the garage
door opener motor unit (which may acti-
vate a training light).
NOTE:
Following step 2, there are 30 seconds in
which to initiate step 3.
3. Firmly press and release the pro-
grammed HomeLinkTbutton. Press and
release the HomeLinkTbutton a second
time to complete the training process.
(Some garage door openers may require
you to do this procedure a third time to
complete the training.)The garage door opener should now recog-
nize the Integrated HomeLinkTUniversal
Transceiver and activate when the
HomeLinkTbutton is pressed. The remain-
ing two buttons may now be programmed (if
not yet programmed, follow steps 2 through
4 in the ``Programming HomeLinkT'' proce-
dures earlier in this section).
REPROGRAMMING A SINGLE
HomeLinkTBUTTON
To reprogram an Integrated HomeLinkT
Universal Transceiver button, complete the
following.
1. Press and hold the desired HomeLinkT
button.Do notrelease the button until
step 4 has been completed.
2. When the indicator light begins to flash
slowly (after 20 seconds), position the
hand-held transmitter 2 to 5 inches (50 to
127 mm) away from the HomeLinkTsur-
face.
3. Press and hold the hand-held transmitter
button.
4. The HomeLinkTindicator light will flash,
first slowly and then rapidly. When the
indicator light begins to flash rapidly,release both buttons.
The Integrated HomeLinkTUniversal Trans-
ceiver button has now been reprogrammed.
The new device can be activated by push-
ing the HomeLinkTbutton that was just
programmed. This procedure will not affect
any other programmed HomeLinkTbuttons.
IF YOUR VEHICLE IS STOLEN
If your vehicle is stolen, you should change
the codes of any non-rolling code device
that has been programmed into HomeLinkT.
Consult the Owner's Manual of each device
or call the manufacturer or dealer of those
devices for additional information.
When your vehicle is recovered, you will
need to reprogram the Integrated
HomeLinkTUniversal Transceiver with
your new transmitter information.
FCC Notice:
This device complies with FCC rules part
15. Operation is subject to the following
two conditions: (1) This device may not
cause harmful interference and (2) This
device must accept any interference that
may be received, including interference
that may cause undesired operation.
2-32Instruments and controls
ZX
Page 87 of 258

BATTERY REPLACEMENT
Replace the battery in the multi-remote con-
troller as follows:
1. Open the lid using a coin.
2. Replace the battery with a new one.Recommended battery: Sanyo CR2025
or equivalent.
3. Close the lid securely.
4. Press the
button, then thebut-
ton two or three times to check themulti-remote controller operation.
Each time the
button is pressed, the
hazard lights flash once.
If the battery is removed for any reason
other than replacement, perform step 4.
cAn improperly disposed battery can
hurt the environment. Always confirm
local regulations for battery disposal.
cThe multi-remote controller is water-
resistant; however, if it does get wet,
immediately wipe completely dry.
cThe operational range of the multi-
remote controller extends to approxi-
mately 33 ft (10 m) from the vehicle.
This range may vary with conditions.
FCC Notice:
Changes or modifications not expressly
approved by the manufacturer for com-
pliance could void the user's authority to
operate the equipment.
This device complies with part 15 of the
FCC Rules and RSS-210 of Industry
Canada.
Operation is subject to the following two
conditions: (1) This device may not
APD1026
3-8Pre-driving checks and adjustments
ZX
Page 110 of 258
time the button is pushed, the CD moves
back one selection.
RPT (Repeat)
When the
repeat button is pushed
while the compact disc is playing, the play
pattern changes as follows.
1: The current selection is repeated.
MIX: Selections are played at random, not
following the sequence on the compact
disc. The same program may be repeated
twice.
Normal(no symbol): All selections are
played in sequence, and the compact disc
stops when the last selection is finished.
When a new compact disc is inserted,
the play pattern automatically changes
to the ``Normal'' play pattern.
CD EJECT
When the
button is pushed with a com-
pact disc loaded, the compact disc ejects.
When the
button is pushed while the
compact disc is playing, the compact disc
ejects and the system turns off.
If the compact disc ejects and is notremoved within 10 seconds, it is pulled
back into the slot.
DISC indicator light
CD IN appears on the display when a CD is
loaded with the system ON.
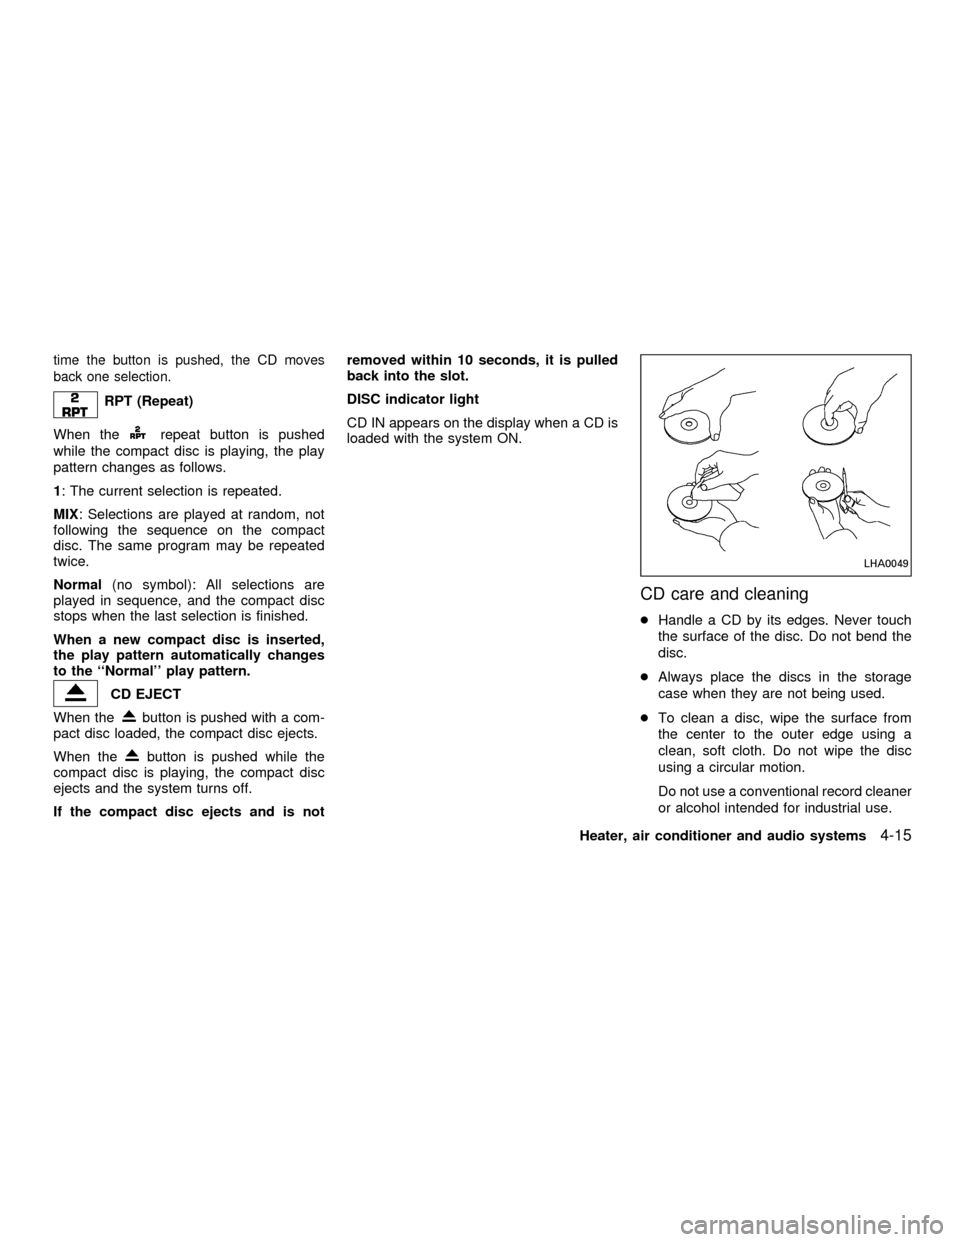
CD care and cleaning
cHandle a CD by its edges. Never touch
the surface of the disc. Do not bend the
disc.
cAlways place the discs in the storage
case when they are not being used.
cTo clean a disc, wipe the surface from
the center to the outer edge using a
clean, soft cloth. Do not wipe the disc
using a circular motion.
Do not use a conventional record cleaner
or alcohol intended for industrial use.
LHA0049
Heater, air conditioner and audio systems4-15
ZX
Page 116 of 258
PLAY/STOP
When the
button is pushed with the
system turned off and a tape loaded, the
system comes on and the tape plays. The
word TAPE illuminates in the display.
When the
button is pushed with either
the radio or compact disc turned on and a
tape loaded, the compact disc or the radio
turns off and the tape plays.
FF (Fast Forward), REW
(Rewind)
Push the
button to fast forward the
tape. Push thebutton to rewind the
tape. Either REW or FF illuminates in the
display. To stop the FF or REW function,
press the
,,orbuttons.
APS (Automatic Program
Search) FF, APS REW
When thebutton is pushed while the
tape is being played, the tape runs quickly,
stops, then plays the next selection from the
beginning. Push the
button several
times to skip several selections. Each time
the button is pushed, the tape fast forwards
one additional selection. This number ap-
pears in the display window. The tape canbe fast forwarded through up to nine selec-
tions. (for example: 7 in the display indi-
cates that the
button has been pushed
seven times to skip forward through seven
selections).
When the
button is pushed, the selec-
tion being played starts again from the
beginning. Push the
button several
times to rewind several selections. Each
time the
button is pushed, the tape
rewinds back one additional selection. The
number of selections skipped appears in the
display window as a negative number (for
example:27 in the display indicates that
the
button has been pushed seven
times to rewind back through seven selec-
tions).
Either the FF or REW blinks in the display
when the
orbutton is pushed.
The system searches for the blank intervals
between selections. If there is a blank inter-
val within one selection or there is no inter-
val between selections, the system may not
stop in the desired or expected location.
PROG (Program)
Push the
button to change the tape
side while the tape is being played.The cassette tape automatically changes
directions to play the other side when the
first side is complete.
Dolby NR (Noise Reduction)
Push the
button for Dolby NR encoded
tapes to reduce high frequency tape noise.
The
indicator illuminates in the display.
Dolby NR is manufactured under license
from Dolby Laboratories Licensing Corpora-
tion. DOLBY NR and the double-D symbol
are trademarks of Dolby Laboratories Li-
censing Corporation.
Metal or chrome tape usage
The cassette player is automatically set to
high performance play when playing a metal
or chrome cassette tape.
TAPE EJECT
Push the
button to eject the cassette
tape.
Heater, air conditioner and audio systems
4-21
ZX
Page 117 of 258
COMPACT DISC (CD) player
operation
Turn the ignition key to the ACC or ON
position, and carefully insert the compact
disc into the slot with the label side up. The
compact disc is automatically pulled into the
slot and starts to play.
If the radio or cassette tape is already
operating, it automatically turns off and the
compact disc begins to play.
CAUTION
Do not force the compact disc into the
slot. This could damage the player.
CD/CHG button
When the CD/CHG button is pushed with
the compact disc loaded and the tape or the
radio playing, the tape or radio turns off and
compact disc starts to play.
FF (Fast Forward),
REW (Rewind)
When the
orbutton is pushed
while the compact disc is playing, the com-
pact disc plays at an increased speed whilefast forwarding or rewinding. When the but-
ton is released, the compact disc returns to
normal play speed.
APS (Automatic Program
Search) FF, APS REW
When thebutton is pushed while the
compact disc is playing, the selection fol-
lowing the present one starts to play from
the beginning. Push the
button several
times to skip several selections. Each time
the button is pushed, the CD advances one
additional selection. The number appears in
the display window. (When the last selec-
tion on the compact disc is skipped, the first
selection is played.)
When the
button is pushed, the selec-
tion being played returns to the beginning.
Push the
button several times to skip
back several selections. Each time the but-
ton is pushed, the CD moves back one
selection.
PROG (Program)
When the
button is pushed while the
compact disc is playing, the play pattern
changes as follows.RPT (Repeat)
1.The current selection is repeated.
RANDOM:Selections are played at ran-
dom, not following the sequence on the
compact disc. The same program may be
repeated twice.
Normal(no symbol): All selections are
played repeatedly in sequence.
When a new compact disc is inserted,
the play pattern automatically changes
to the ``Normal'' play pattern.
CD EJECT
When the
button is pushed with a com-
pact disc loaded, the compact disc ejects.
When the
button is pushed while the
compact disc is playing, the compact disc
ejects and the system turns off.
If the compact disc ejects and is not
removed within 10 seconds, it is pulled
back into the slot.
DISC indicator light
CD IN appears in the display when a com-
pact disc is loaded with the system on.
4-22Heater, air conditioner and audio systems
ZX
Page 127 of 258

3. During the 15 second interval, insert the
disc. The display changes toªLoading
Discº.
4. The CD will play after the disc is set to a
play position.
5. The indicator changes fromblinking
greentosolid greenand the display
changes to show the Disc number icon,
Disc number, Track number and Elapsed
time.
All disc loading
1. Press and hold the LOAD button until the
radio beeps (>1.5 seconds).
2. Thegreenindicator on the lowest avail-
able disc select button will start blinking.
(Same as preset memory button). The
display showsªPlease Waitº.
3. The display changes toªInsert Discºfor
a maximum of 15 seconds.
4. During the 15 second interval, insert the
disc. The display changes toªLoading
Discº.
5. The indicator changes fromblinking
greentosolid green.
6. The disc number icon is turned on.7. Steps 2-5 are repeated until all discs are
loaded, then the last loaded disc will
begin to play. The display shows the Disc
number, Track number and Elapsed
Time.
Selected disc loading
1. Press a disc select button whose indica-
tor is off. The display showsªPlease
Waitº.
2. Thegreenindicator starts blinking and
the display showsªInsert Discºfor 15
seconds.
3. Insert the CD. The display showsªLoad-
ing Discº.
4. The CD will play after the disc is set to a
play position.
5. The indicator color changes fromblink-
ing greentosolid greenand the display
shows the Disc icon, Disc number, Track
number and Elapsed Time.
If a disc is not inserted within 15 seconds or
if the load button is pressed during load
sequence, the entire disc load sequence will
be canceled.Disc Play
Press the CD button. If a CD is loaded and
the radio is playing, the radio turns off and
the last loaded disc starts to play.
4-32Heater, air conditioner and audio systems
ZX