Page 28 of 341

25 Central locking system
Technical
data Instruments
and controlsOperationDrivingInstrument
cluster displayPractical hints Car care Index Electronic main key
The electronic main key has an integrated radio
frequency and infrared remote control, plus removable
mechanical key.
The remote control (1) operates all locks on the vehicle.
The mechanical key (2) works only in the driver’s door,
trunk, and storage compartment locks.When using the mechanical key (2) for lock operations,
it can be removed by sliding it out of the remote control.
To do so, move locking tab (3) to the right and slide the
mechanical key (2) in direction of arrow (4).
The remote control transmitter is located in the
electronic main key.
The infrared receivers are located in the front door
handles.
Note:
Remove the mechanical key from the electronic main
key w hen u sing vale t pa rk ing service. To prevent ac cess
to trunk or storage compartments lock them separately
and retain the mechanical key.
See page 39 for separate locking of trunk and page 163
for locking of glove box.
P80.35-2031-26
1
3
4
2
Page 29 of 341
26 Central locking system
Technical
data Instruments
and controlsOperationDrivingInstrument
cluster displayPractical hints Car care Index
Electronic reserve key
The electronic reserve key is without remote control
functions, but with removable mechanical key.The electronic reserve key (1) works only in the steering
lock. There are no batteries inside the electronic reserve
ke y.
The mechanical key (2) works only in the driver’s door,
trunk (tailgate), and storage compartment locks.
To use the mechanical key (2), remove it from its
electronic reserve key (1).
Note:
We recommend that you carry the electronic reserve
key plus mechanical key with you and keep it in a safe
place (e.g. your wallet) so that it is always handy. Never
leave the electronic reserve key in the vehicle.
P80.35-2036-26
1
Page 37 of 341

34 Central locking system
Technical
data Instruments
and controlsOperationDrivingInstrument
cluster displayPractical hints Car care Index
Panic button
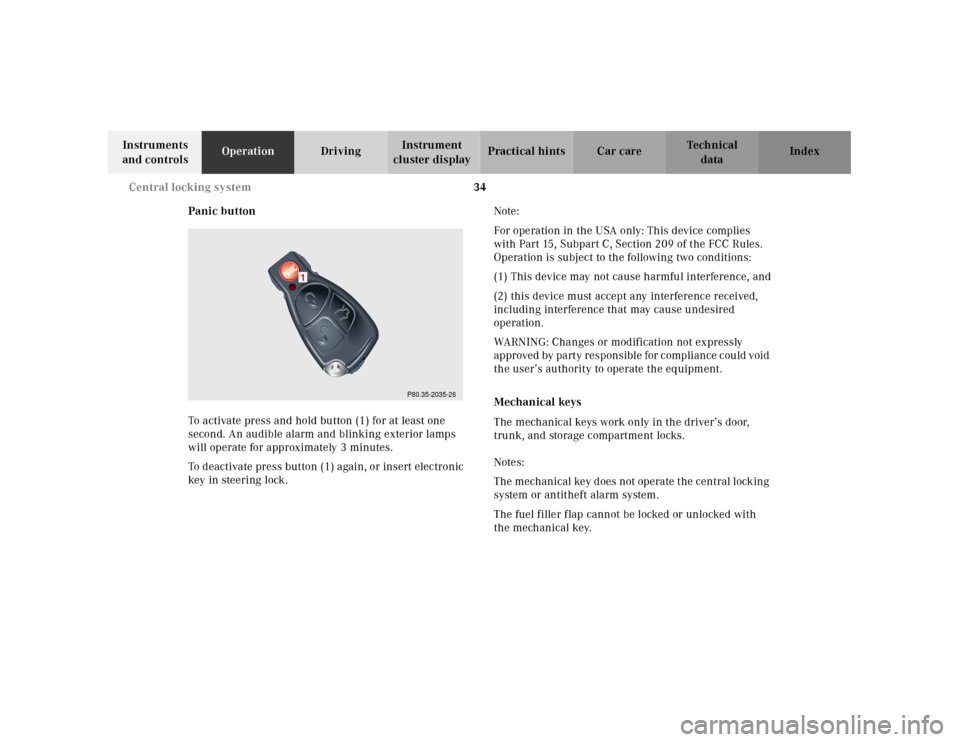
To activate press and hold button (1) for at least one
second. An audible alarm and blinking exterior lamps
will operate for approximately 3 minutes.
To deactivate press button (1) again, or insert electronic
key in steering lock.Note:
For operation in the USA only: This device complies
with Part 15, Subpart C, Section 209 of the FCC Rules.
Operation is subject to the following two conditions:
(1) This device may not cause harmful interference, and
(2) this device must accept any interference received,
including interference that may cause undesired
operation.
WARNING: Changes or modification not expressly
approved by party responsible for compliance could void
the user’s authority to operate the equipment.
Mechanical keys
The mechanical keys work only in the driver’s door,
trunk, and storage compartment locks.
Notes:
The mechanical key does not operate the central locking
system or antitheft alarm system.
The fuel filler flap cannot be locked or unlocked with
the mechanical key.
P80.35-2035-26
1
Page 41 of 341

38 Central locking system
Technical
data Instruments
and controlsOperationDrivingInstrument
cluster displayPractical hints Car care Index
Automatic central locking
The central locking switch also operates the automatic
central locking.
Wit h th e automa tic central locking system activated, t he
doors and trunk are locked at vehicle speeds of
approximately 9 mph (15 km / h) or more. The fuel filler
flap remains unlocked.
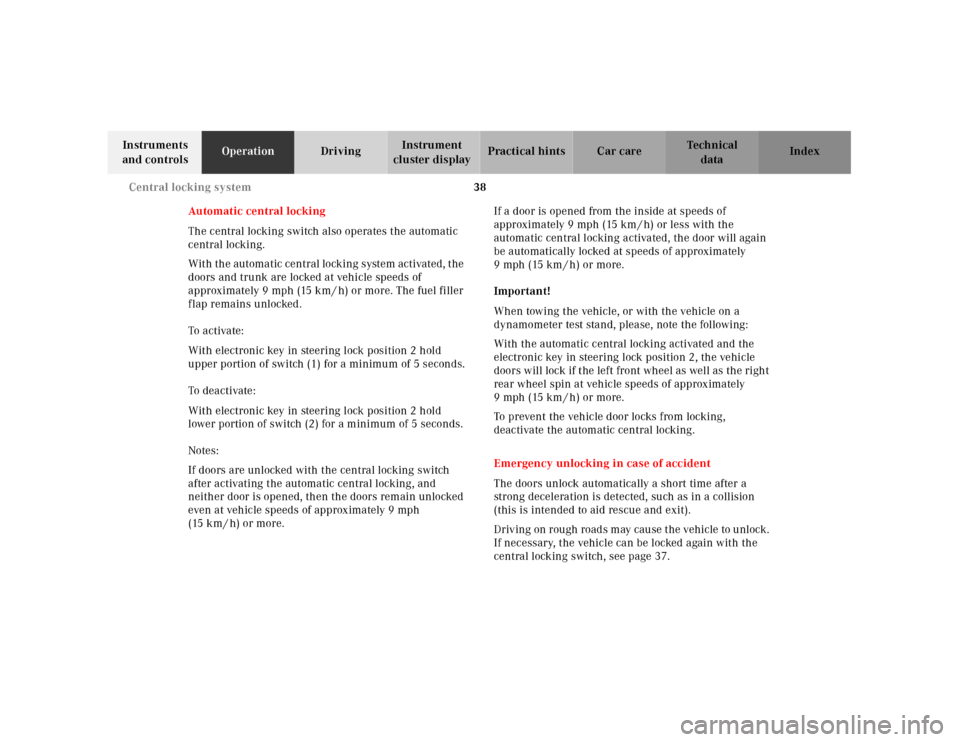
To a ctiva te:
With electronic key in steering lock position 2 hold
upper portion of switch (1) for a minimum of 5 seconds.
To dea cti vate :
With electronic key in steering lock position 2 hold
lower portion of switch (2) for a minimum of 5 seconds.
Notes:
If doors are unlocked with the central locking switch
after activating the automatic central locking, and
neither door is opened, then the doors remain unlocked
even at vehicle speeds of approximately 9 mph
(15 km / h) or more.If a door is opened from the inside at speeds of
approximately 9 mph (15 km / h) or less with the
automatic central locking activated, the door will again
be automatically locked at speeds of approximately
9 mph (15 km / h) or more.
Important!
When towing the vehicle, or with the vehicle on a
dynamometer test stand, please, note the following:
With the automatic central locking activated and the
electronic key in steering lock position 2, the vehicle
doors will lock if the left front wheel as well as the right
rear wheel spin at vehicle speeds of approximately
9 mph (15 km / h) or more.
To prevent the vehicle door locks from locking,
deactivate the automatic central locking.
Emergency unlocking in case of accident
The doors unlock automatically a short time after a
strong deceleration is detected, such as in a collision
(this is intended to aid rescue and exit).
Driv ing on rou gh road s m ay cau se t he vehicle to u nl ock.
If necessary, the vehicle can be locked again with the
central locking switch, see page 37.
Page 45 of 341
42 Central locking system
Technical
data Instruments
and controlsOperationDrivingInstrument
cluster displayPractical hints Car care Index
Trunk lid emergency release
The emergency release button (1) is located in the trunk
lid.
Briefly press emergency release button (1).
All doors, the fuel filler flap, and the trunk unlock; and
the trunk lid opens.Note:
The emergency release button (1) only unlocks and
opens the trunk while the vehicle is standing.
Important!
The emergency trunk lid release button (1) does not
open the trunk lid, if:
•the vehicle battery is discharged or disconnected,
•the trunk lid was previously locked separately with
the mechanical key, see page 39.
Illumination of the emergency release button (1):
The button will blink for 30 minutes after opening the
trunk.
The button will blink for 60 minutes after closing the
trunk.
Page 56 of 341
53 Seats
Technical
data Instruments
and controlsOperationDrivingInstrument
cluster displayPractical hints Car care Index Rear seat head restraints
Folding head restraints backward (with engine
running):
Press symbol-side of rocker switch to release the head
restraints. The head restraints will then fold backward
for increased visibility.
Placing head restraints upright:
Pull head restraint forward until it locks in position.Angle of head restraints:
The head restraint angle can be adjusted manually.
Important!
For safety reasons, always drive with the rear head
restraints in the upright position when the rear seats
are occupied. Keep area around head restraints clear of
articles (e.g. clothing) to not obstruct the folding
operation of the head restraints.
P91.16-2018-26
Page 285 of 341

282 Towing the vehicle
Technical
data Instruments
and controlsOperation DrivingInstrument
cluster displayPractical hintsCar care Index
Tow in g th e vehic le
Important!
When towing the vehicle, please, note the following:
With the automatic central locking activated and the
electronic key in steering lock position 2, the vehicle
d oors l ock if th e l ef t front w heel as well as t he righ t rear
wheel are turning at vehicle speeds of approximately
9 mph (15 km / h) or more.
To prevent the vehicle door locks from locking,
deactivate the automatic central locking.
The rear towing eye is located at the right, below the
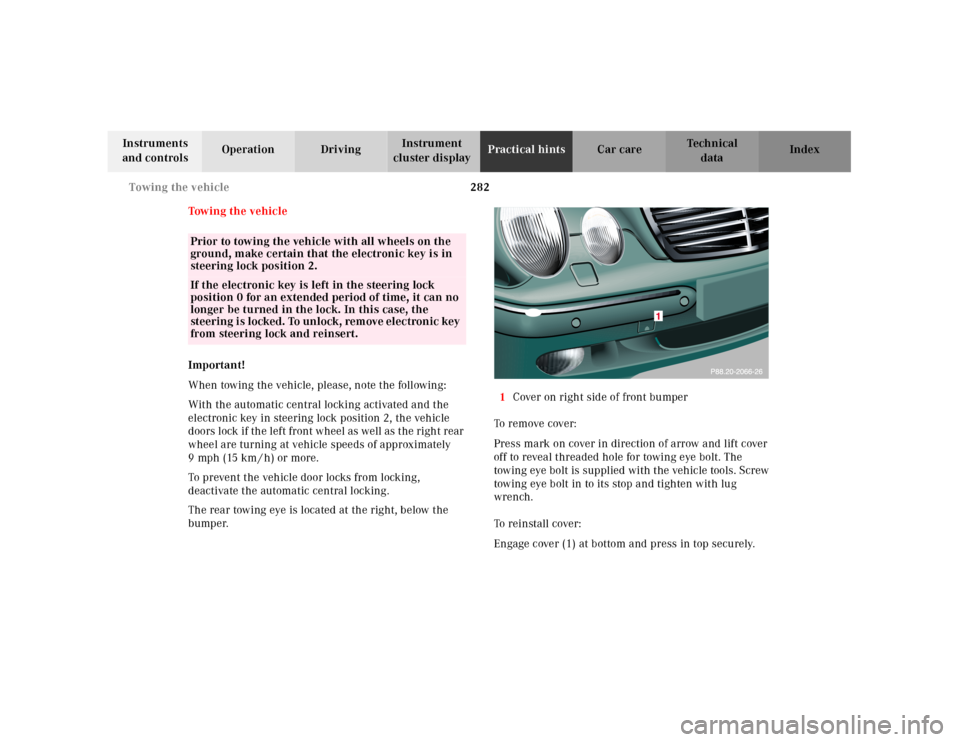
bumper.1Cover on right side of front bumper
To remove cover:
Press mark on cover in direction of arrow and lift cover
off to reveal threaded hole for towing eye bolt. The
towing eye bolt is supplied with the vehicle tools. Screw
towing eye bolt in to its stop and tighten with lug
wrench.
To reinstall cover:
Engage cover (1) at bottom and press in top securely.
Prior to towing the vehicle with all wheels on the
ground, make certain that the electronic key is in
steering lock position 2.If the electronic key is left in the steering lock
position 0 for an extended period of time, it can no
longer be turned in the lock. In this case, the
steering i s locked. To unlock, rem ove elec tronic key
from steering lock and reinsert.
Page 297 of 341
294 Rear seat cushion
Technical
data Instruments
and controlsOperation DrivingInstrument
cluster displayPractical hintsCar care Index
Rear seat cushionRemoval:
Pull locking tabs up (on left and right side of seat) and
lift seat at the front.
Installation:
Guide seat belt buckles through openings in seat
cushion. Slide rear edge of cushion under the backrest
as far as it will go, and push front of cushion down until
it locks in place.
Caution!
Watch out for sharp edges when removing or installing
the rear seat cushion, and make sure that it is securely
locked in place again, to prevent personal injury.
P91.12-2193-26