Page 251 of 341
248 Malfunction and warning messages
Technical
data Instruments
and controlsOperation DrivingInstrument
cluster displayPractical hints Car care Index
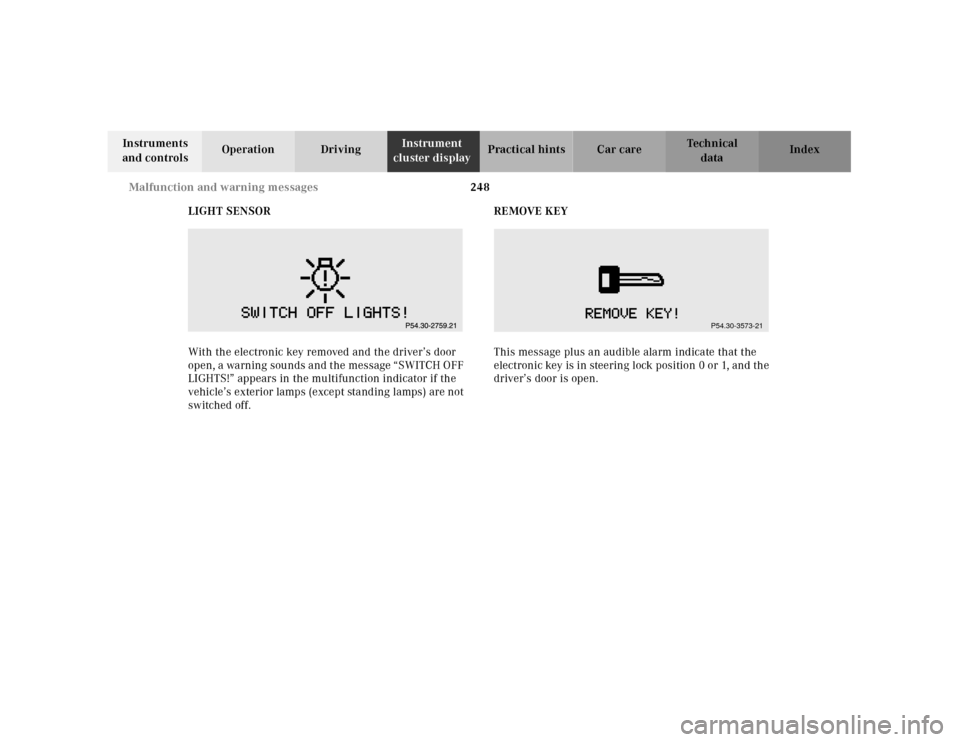
LIGHT SENSOR
With the electronic key removed and the driver’s door
open, a wa rning sou nds a nd t he message “ SWITCH O FF
LIGHTS!” appears in the multifunction indicator if the
vehicle’s exterior lamps (except standing lamps) are not
switched off.REMOVE KEY
This message plus an audible alarm indicate that the
electronic key is in steering lock position 0 or 1, and the
driver’s door is open.
P54.30-3573-21
Page 256 of 341
253 Contents - Practical hints
Technical
data Instruments
and controlsOperation DrivingInstrument
cluster displayPractical hintsCar care Index
Practical hintsFirst aid kit .....................................254
Stowing things in the vehicle ......254
Fuses ................................................255
Hood .................................................257
Checking engine oil level .............260
Automatic transmission
fluid level ................................... 261
Coolant level ................................... 261
Adding coolant ...........................262
Windshield and headlamp
washer system ...........................263
Windshield and headlamp
washer fluid mixing ratio .........263Spare wheel, vehicle tools,
storage compartment ............... 264
Vehicle jack .................................... 265
Wheels ............................................ 266
Tire replacement ....................... 266
Rotating wheels ......................... 267
Spare wheel .................................... 268
Spare wheel bolts ...................... 268
Spare wheel .................................... 269
Changing wheels ............................271
Tire inflation pressure ..................276
Battery ............................................. 277
Jump starting ................................. 279
Towing the vehicle ........................ 282
Transmission selector lever,
manually unlocking ................. 284Exterior lamps ................................285
Headlamp assembly ...................286
Taillamp assemblies ..................289
Changing batteries in the
electronic main key .................. 291
Synchronizing
remote control ............................293
Emergency engine
shut-down ..................................293
Rear seat cushion ..........................294
Emergency operation of
sliding / pop-up roof .................295
Manual release for
fuel filler flap .............................296
Replacing wiper blade insert .......296
Trunk lamp .....................................298
Roof rack .........................................298
Page 288 of 341
285 Exterior lamps
Technical
data Instruments
and controlsOperation DrivingInstrument
cluster displayPractical hintsCar care Index Exterior lamps
Replacing bulbsNotes:
To prevent a possible electrical short circuit, switch off
lamp prior to replacing a bulb.
When replacing bulbs, install only 12 volt bulbs with
the specified watt rating.
When replacing halogen bulbs do not touch glass
portion of bulb with bare hands. Use plain paper or a
clean cloth.
Wa r n i n g !
Bulbs and bulb holder can be very hot. Allow the
lamp to cool down before changing a bulb.
Halogen lamps contain pressurized gas. A bulb can
explode if you:
• touch or move it when hot,
•drop the bulb,
• scratch the bulb.Wear eye and hand protection.
Wa r n i n g !
Because of high voltage in Xenon lamps, it is
dangerous to replace the bulb or repair the lamp
and its components. We recommend that you have
such work done by a qualified technician.
Page 289 of 341
286 Exterior lamps
Technical
data Instruments
and controlsOperation DrivingInstrument
cluster displayPractical hintsCar care Index
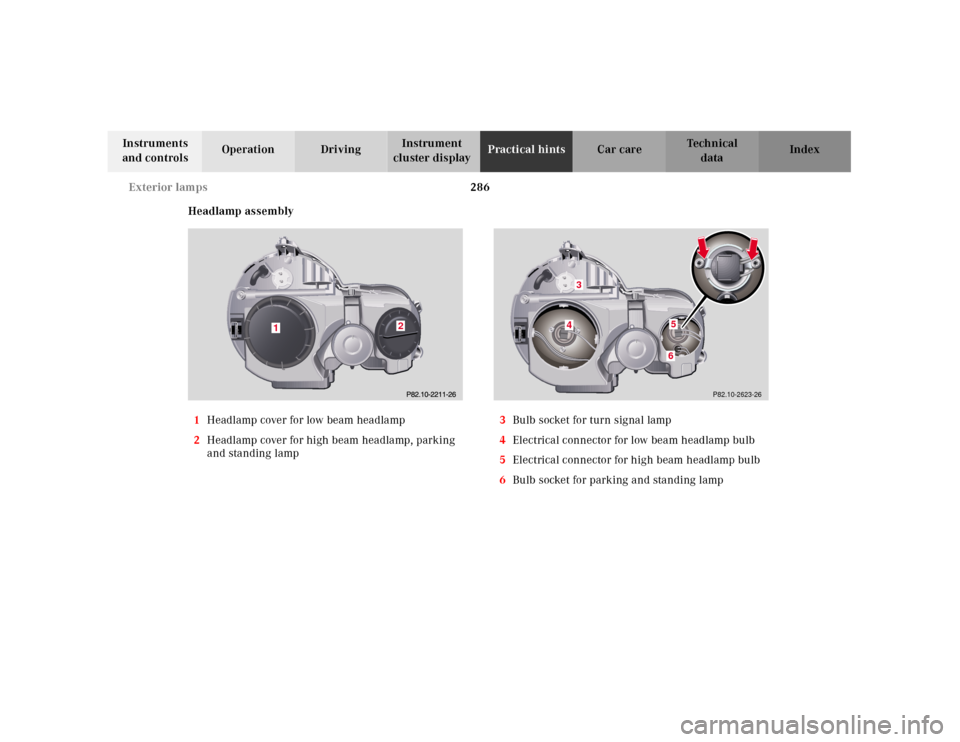
Headlamp assembly
1Headlamp cover for low beam headlamp
2Headlamp cover for high beam headlamp, parking
and standing lamp3Bulb socket for turn signal lamp
4Electrical connector for low beam headlamp bulb
5Electrical connector for high beam headlamp bulb
6Bulb socket for parking and standing lamp
1
2
P82.10-2623-26
143
1156
Page 290 of 341
287 Exterior lamps
Technical
data Instruments
and controlsOperation DrivingInstrument
cluster displayPractical hintsCar care Index Bulbs for high and low beam
H7 (55 W)
Open hood.
Twist cover (1 or 2) counterclockwise and remove.
Pull off electrical connector (4) or (5).
Twist bulb holder counterclockwise and remove bulb
from it.
Insert the new bulb so that its base fits in recess of the
holder.
Install bulb holder and twist clockwise to its stop, and
reinstall electrical connector.
Reinstall cover (1 or 2), twist it clockwise until seated
securely.
Xenon (optional)
Bulb for low beamBulbs for high beam
H7 (55 W)
Open hood.
Twist cover (2) counterclockwise and remove.
Pull off electrical connector.
Twist bulb holder counterclockwise and remove bulb
from it.
Insert the new bulb so that its base fits in recess of the
holder.
Install bulb holder and twist clockwise to its stop, and
reinstall electrical connector.Ensure that base is
secured on both sides (arrows)
Reinstall cover (2), twist it clockwise until seated
securely.
Wa r n i n g !
Because of high voltage in Xenon lamps, it is
dangerous to replace the bulb or repair the lamp
and its components. We recommend that you have
such work done by a qualified technician.
Page 291 of 341
288 Exterior lamps
Technical
data Instruments
and controlsOperation DrivingInstrument
cluster displayPractical hintsCar care Index
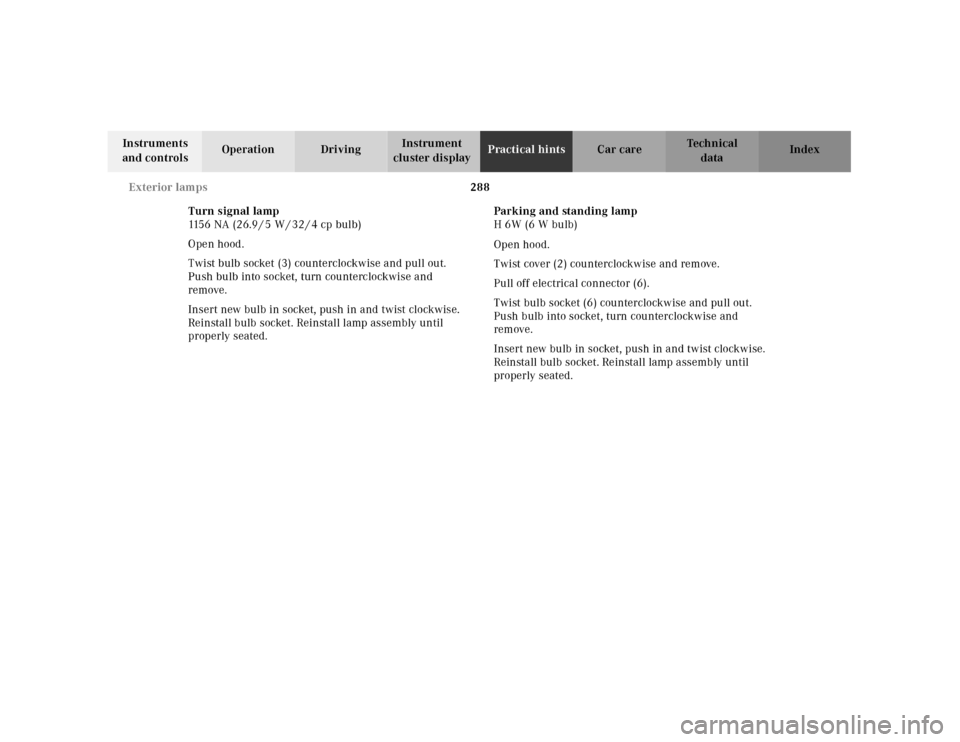
Turn signal lamp
1156 NA (26.9 / 5 W / 32 / 4 cp bulb)
Open hood.
Twist bulb socket (3) counterclockwise and pull out.
Push bulb into socket, turn counterclockwise and
remove.
Insert new bulb in socket, push in and twist clockwise.
Reinstall bulb socket. Reinstall lamp assembly until
properly seated.Parking and standing lamp
H 6W (6 W bulb)
Open hood.
Twist cover (2) counterclockwise and remove.
Pull off electrical connector (6).
Twist bulb socket (6) counterclockwise and pull out.
Push bulb into socket, turn counterclockwise and
remove.
Insert new bulb in socket, push in and twist clockwise.
Reinstall bulb socket. Reinstall lamp assembly until
properly seated.
Page 292 of 341
289 Exterior lamps
Technical
data Instruments
and controlsOperation DrivingInstrument
cluster displayPractical hintsCar care Index Taillamp assemblies
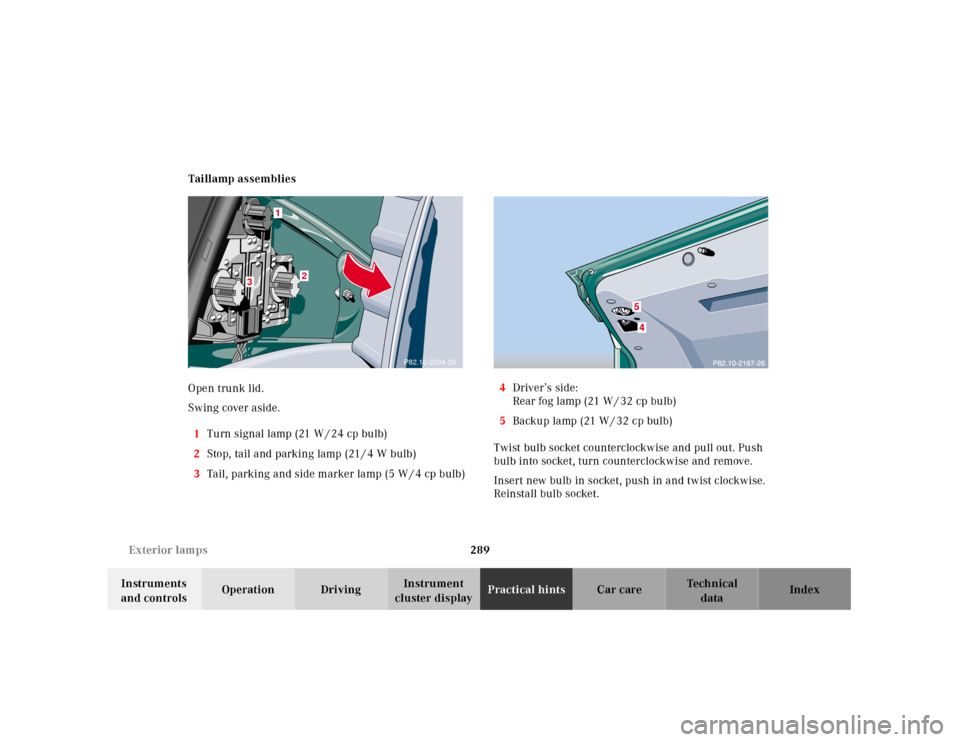
Open trunk lid.
Swing cover aside.
1Turn signal lamp (21 W / 24 cp bulb)
2Stop, tail and parking lamp (21 / 4 W bulb)
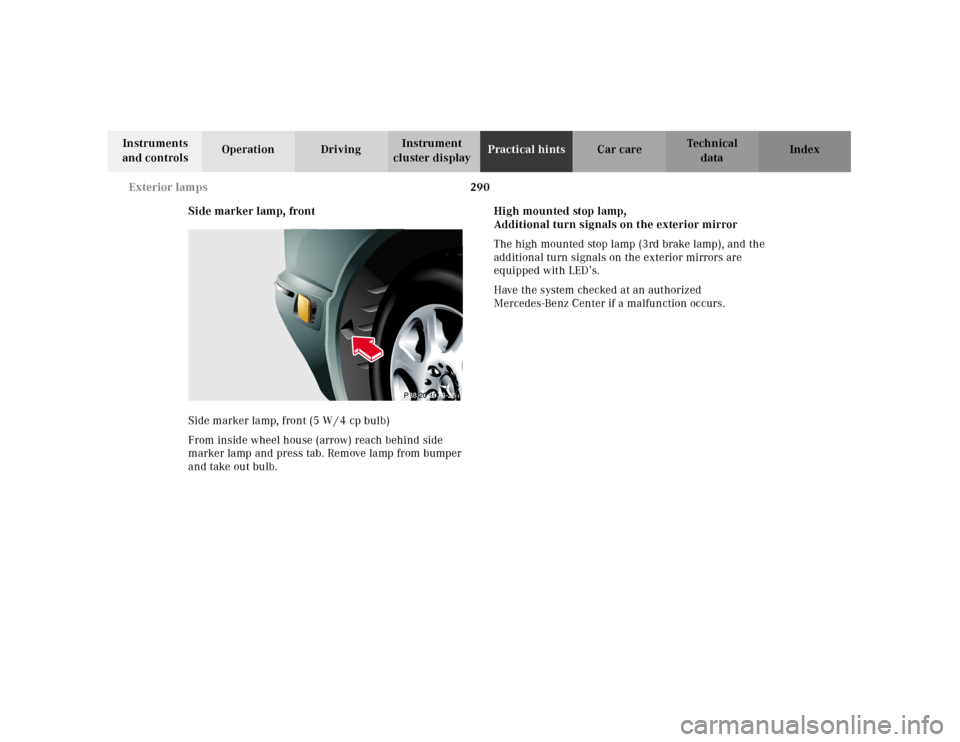
3Tail, parking and side marker lamp (5 W / 4 cp bulb)4Driver’s side:
Rear fog lamp (21 W / 32 cp bulb)
5Backup lamp (21 W / 32 cp bulb)
Twist bulb socket counterclockwise and pull out. Push
bulb into socket, turn counterclockwise and remove.
Insert new bulb in socket, push in and twist clockwise.
Reinstall bulb socket.
P82.10-2204-26
1
2
3
Page 293 of 341
290 Exterior lamps
Technical
data Instruments
and controlsOperation DrivingInstrument
cluster displayPractical hintsCar care Index
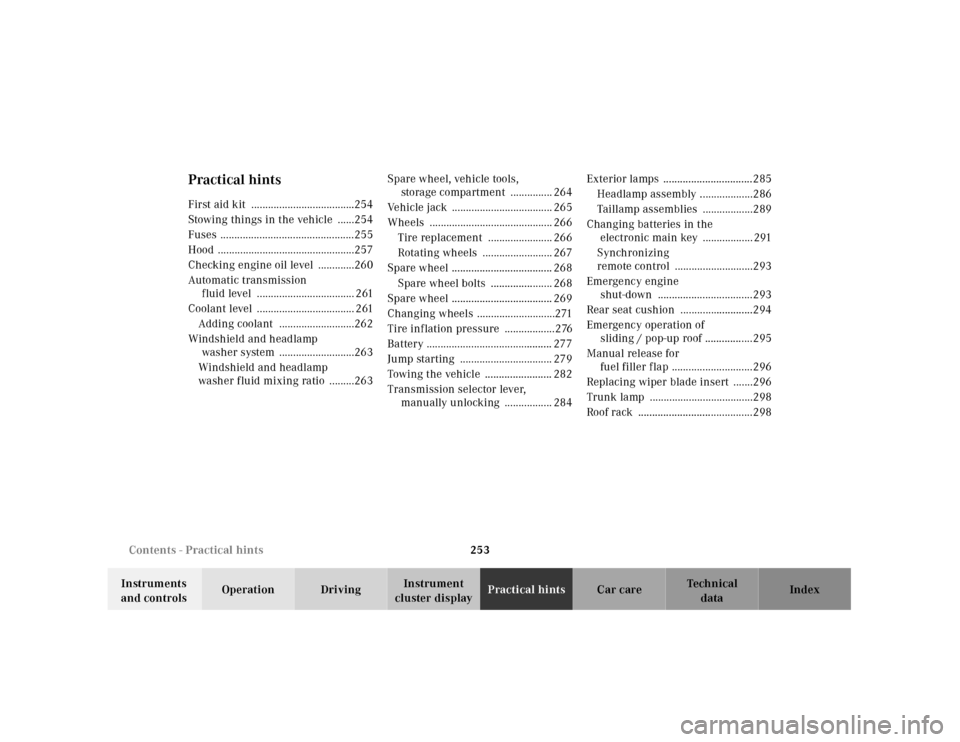
Side marker lamp, front
Side marker lamp, front (5 W / 4 cp bulb)
From inside wheel house (arrow) reach behind side
marker lamp and press tab. Remove lamp from bumper
and take out bulb.High mounted stop lamp,
Additional turn signals on the exterior mirror
The high mounted stop lamp (3rd brake lamp), and the
additional turn signals on the exterior mirrors are
equipped with LED’s.
Have the system checked at an authorized
Mercedes-Benz Center if a malfunction occurs.