Page 112 of 345

109 Multifunction steering wheel, multifunction display
Te ch n ica l
data Instruments
and controlsOperationDrivingInstrument
cluster displayPractical hints Car care Index Should any malfunctions be stored while driving, they
will reappear in the display (2) when the electronic key
is in steering lock position 0 or removed from the
steering lock.
Specific malfunctions can be recalled by pressing
buttonJ. Each malfunction or warning message must
be acknowledged by pressing buttonJ. Once all
messages are cancelled the odometer display should
reappear.
Pressing theJbutton in the instrument cluster
immediately switches to the next malfunction message.
The malfunction message memory will be cleared when
the electronic key is turned in the steering lock to
position 1 or 2. Should subsequent malfunctions occur,
they will be displayed in the malfunction message
memory.
Pressing the è or ÿ button displays the next or
previous system.Important!
Malfunctions and warning messages are only indicated
for certain systems and displayed to a low level of detail.
The malfunction and warning messages are simply a
reminder with respect to the operation of certain
systems and do not replace the driver’s responsibility to
maintain the vehicle’s operating safety by having all
required maintenance and safety checks performed on
the vehicle and by bringing the vehicle to an authorized
Mercedes-Benz Center to address the malfunction and
warning messages. See page 247.
Page 128 of 345
125 Hazard warning flasher
Te ch n ica l
data Instruments
and controlsOperationDrivingInstrument
cluster displayPractical hints Car care Index Hazard warning flasher switchThe hazard warning flasher can be activated with the
switch located in the dashboard.
To activate hazard warning flasher, press switch once.
To deactivate, press switch again.
Note:
With the hazard warning flasher activated, the
combination switch in position for either left or right
turn, and the electronic main key in steering lock
position 2, only the respective left or right side turn
signals will operate.
Page 132 of 345

129 Automatic climate control
Te ch n ica l
data Instruments
and controlsOperationDrivingInstrument
cluster displayPractical hints Car care Index Basic setting - Automatic mode
Press left and right U button for automatic mode.
Simultaneously press both f and g buttons for
temperature setting of 72°F.
QAir volume and distribution are controlled
automatically.
This setting can be used all year around.
Economy
The function of this setting corresponds to the
automatic mode. However, because the air conditioning
compressor will not engage (fuel savings), it is not
possible to air condition in this setting.
Press S button to activate.
Press S button once again to return to previous
setting.Special settings
(use only for short duration)
Defogging windows
Switch off O button.
Press left and right U buttons.
Press b button repeatedly until air is directed
upward.
STurn wheels (2) to position to open left and right
defroster outlets (5).
Defrosting
Turn wheels (2) to position l to open left and right
defroster outlets (5).
Press P button. Maximum heated and automatically
controlled amount of air is directed to the windshield
and side windows.PPress P button once again to return to previous
setting.
Page 145 of 345

142 Audio system
Te ch n ica l
data Instruments
and controlsOperationDrivingInstrument
cluster displayPractical hints Car care Index
Scan tuning
Press the SC key. Each strong
receivable station on the band
selected will be tuned in for
8 seconds. The first scan will
tune only the stations with a
high signal strength. The second scan will tune every
receivable station. By pressing either the , ,
or buttons, or the “SC” key the scan mode
can be cancelled.
Station memory
Ten stations can be stored in
the AM and FM bands via the
alpha-numeric keypad. The
“0” button corresponds to
location 10. Weatherband
(WB) channels 1 to 7 can be retrieved via the alpha-
numeric keypad and are preset at the factory.Storing stations
Hold the number button down for approximately
2 seconds. The currently displayed frequency is stored
on the selected station button. The storage procedure is
confirmed by a short signal tone.
Retrieving a station from memory
Press the desired station button.
Direct frequency input (AM and FM only)
Select the band. Press the
“ button and enter the
desired frequency using the
alpha-numeric keypad.
Frequencies outside of the
frequency ranges (frequencies specified on page 141)
will not be accepted. The frequency input mode is
cancelled if no button is pressed within 4 seconds.
Page 146 of 345

143 Audio system
Te ch n ica l
data Instruments
and controlsOperationDrivingInstrument
cluster displayPractical hints Car care Index Cassette mode
Note:
Vehicles equipped with the COMAND system do not
come with a factory installed cassette mechanism.
A standard 1/8” stereo phono plug for auxiliary audio
input (located in glove box) is provided for connection of
a portable battery operated cassette player or any other
portable device which uses a headphone output. Please
refer to the COMAND operating manual for information
concerning the activation of the audio input.Playing cassettes
Press the “TAPE” button. When the eject (EJ) key is
pressed, the display folds down and the cassette slot
becomes visible. Push the cassette into the slot until it
engages. The cassette will be pulled in automatically.
Notes:
Do not press directly on the radio display face.
Return the display panel to its normal position by
folding it back up and pressing gently on the display
frame to lock in place.
When playing mono recorded tapes (e.g. books) through
a stereo system the sound from one track might bleed to
the other track, despite setting the balance to the full
left or full right speakers.
Page 152 of 345

149 Audio system
Te ch n ica l
data Instruments
and controlsOperationDrivingInstrument
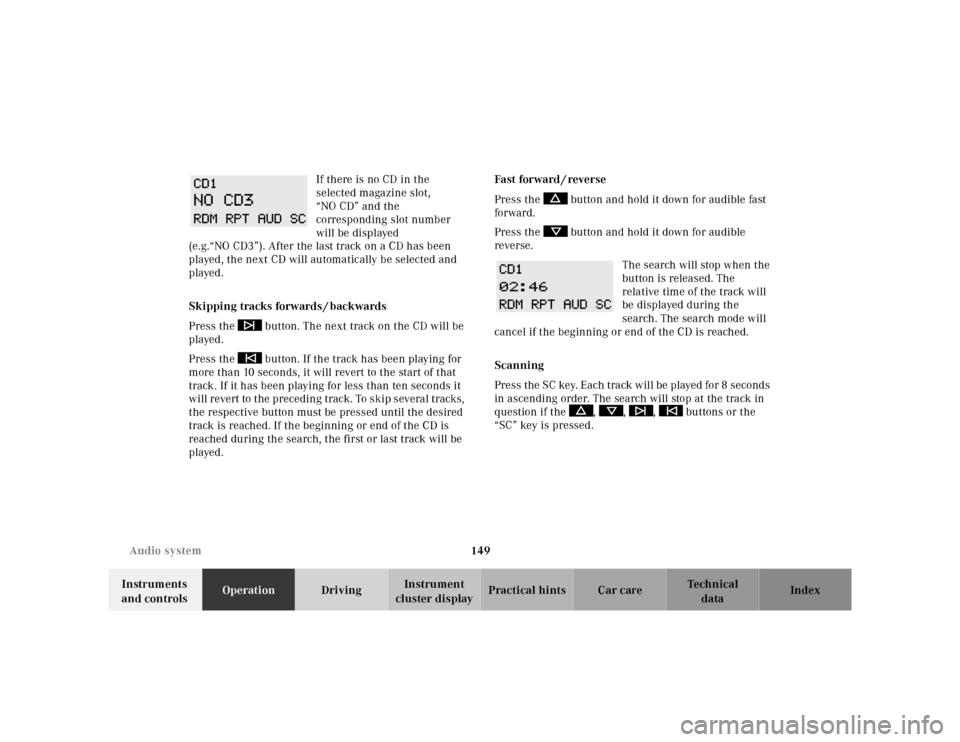
cluster displayPractical hints Car care Index If there is no CD in the
selected magazine slot,
“NO CD” and the
corresponding slot number
will be displayed
(e.g.“NO CD3”). After the last track on a CD has been
played, the next CD will automatically be selected and
played.
Skipping tracks forwards / backwards
Press the button. The next track on the CD will be
played.
Press the button. If the track has been playing for
more than 10 seconds, it will revert to the start of that
track. If it has been playing for less than ten seconds it
will revert to the preceding track. To skip several tracks,
the respective button must be pressed until the desired
track is reached. If the beginning or end of the CD is
reached during the search, the first or last track will be
played.Fast forward / reverse
Press the button and hold it down for audible fast
forward.
Press the button and hold it down for audible
reverse.
The search will stop when the
button is released. The
relative time of the track will
be displayed during the
search. The search mode will
cancel if the beginning or end of the CD is reached.
Scanning
Press the SC key. Each tra ck w il l be played for 8 second s
in ascending order. The search will stop at the track in
question if the , , , buttons or the
“SC” key is pressed.
Page 164 of 345
161 Interior equipment
Te ch n ica l
data Instruments
and controlsOperationDrivingInstrument
cluster displayPractical hints Car care Index Interior
Armrest, rear bench
Pull down the armrest by its top.Cup holder in rear bench armrest
Press button (1) and pull out drawer to its detent.
Caution!
Keep cup holder closed while traveling. Place only
containers that fit into the cup holder to prevent spills.
Do not fill containers to a height where the contents
could spill during vehicle maneuvers, especially hot
liquids.
Wa r n i n g
To help avoid personal injury during a collision or
sudden maneuver, exercise care when stowing
things. Put luggage or cargo in the trunk if
possible. Do not pile luggage or cargo higher than
the seat backs. Do not place anything on the shelf
below the rear window.Luggage nets cannot secure hard or heavy objects.
P91.27-2005-26
Page 167 of 345

164 Interior equipment
Te ch n ica l
data Instruments
and controlsOperationDrivingInstrument
cluster displayPractical hints Car care Index
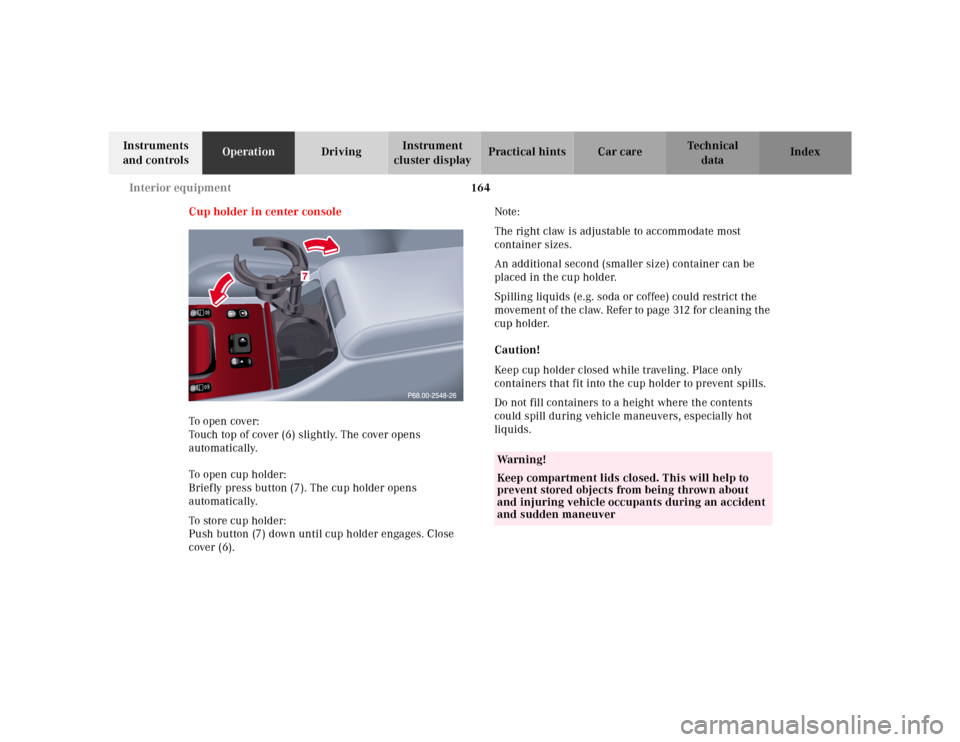
Cup holder in center console
To o pen cover:
Touch top of cover (6) slightly. The cover opens
automatically.
To open cup holder:
Briefly press button (7). The cup holder opens
automatically.
To store cup holder:
Push button (7) down until cup holder engages. Close
cover (6).Note:
The right claw is adjustable to accommodate most
container sizes.
An additional second (smaller size) container can be
placed in the cup holder.
Spilling liquids (e.g. soda or coffee) could restrict the
movement of the claw. Refer to page 312 for cleaning the
cup holder.
Caution!
Keep cup holder closed while traveling. Place only
containers that fit into the cup holder to prevent spills.
Do not fill containers to a height where the contents
could spill during vehicle maneuvers, especially hot
liquids.
Wa r n i n g !
Keep compartment lids closed. This will help to
prevent stored objects from being thrown about
and injuring vehicle occupants during an accident
and sudden maneuver