2001 MERCEDES-BENZ C320 check engine
[x] Cancel search: check enginePage 290 of 381
281 Malfunction and warning messages
Te ch n i c a l
data Instruments
and controlsOperation DrivingInstrument
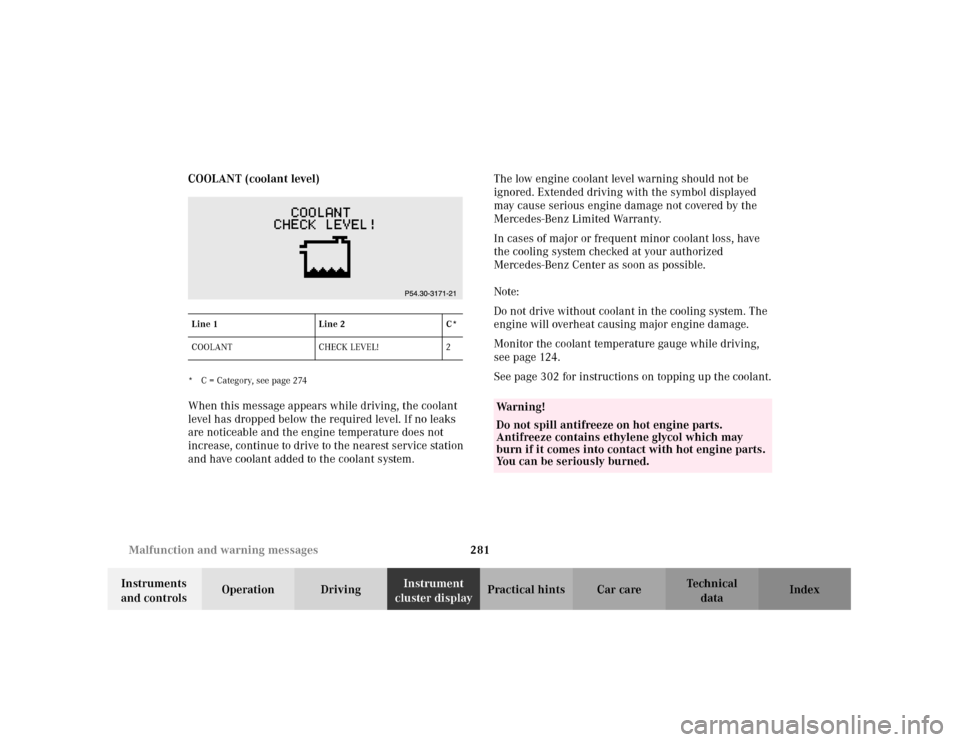
cluster displayPractical hints Car care Index COOLANT (coolant level)
* C = Category, see page 274When this message appears while driving, the coolant
level has dropped below the required level. If no leaks
are noticeable and the engine temperature does not
increase, continue to drive to the nearest service station
and have coolant added to the coolant system.The low engine coolant level warning should not be
ignored. Extended driving with the symbol displayed
may cause serious engine damage not covered by the
Mercedes-Benz Limited Warranty.
In cases of major or frequent minor coolant loss, have
the cooling system checked at your authorized
Mercedes-Benz Center as soon as possible.
Note:
Do not drive without coolant in the cooling system. The
engine will overheat causing major engine damage.
Monitor the coolant temperature gauge while driving,
see page 124.
See page 302 for instructions on topping up the coolant.Line 1 Line 2 C*
COOLANT CHECK LEVEL! 2
Wa r n i n g !
Do not spill antifreeze on hot engine parts.
Antifreeze contains ethylene glycol which may
burn if it comes into contact with hot engine parts.
You can be seriously burned.
Page 292 of 381
283 Malfunction and warning messages
Te ch n i c a l
data Instruments
and controlsOperation DrivingInstrument
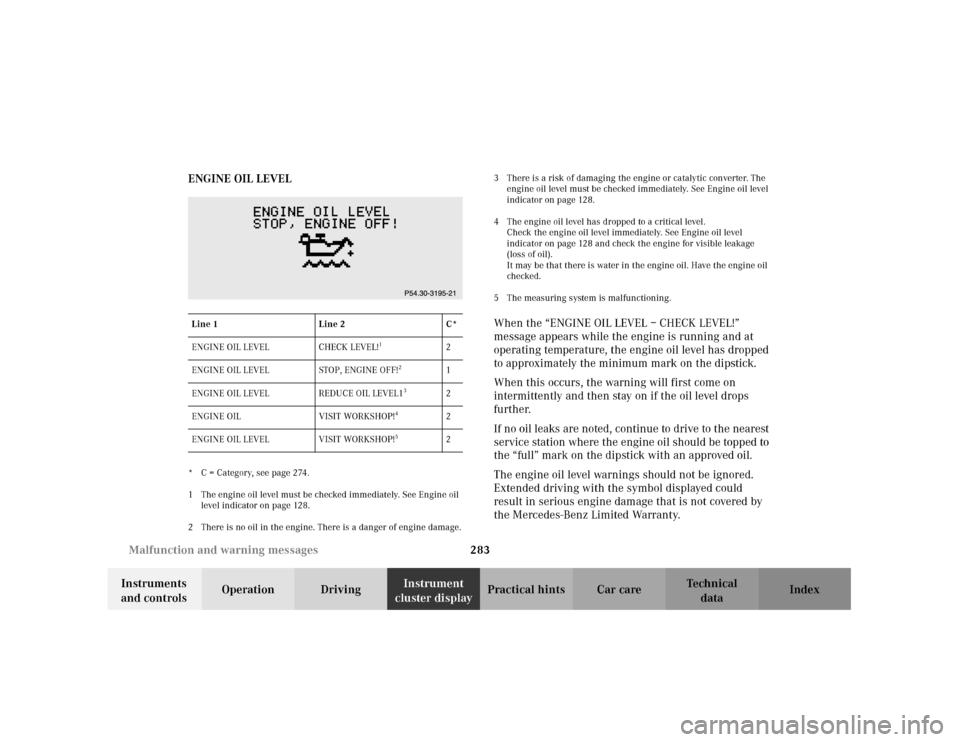
cluster displayPractical hints Car care Index ENGINE OIL LEVEL
* C = Category, see page 274.
1 The engine oil level must be checked immediately. See Engine oil
level indicator on page 128.
2 There is no oil in the engine. There is a danger of engine damage.3 There is a risk of damaging the engine or catalytic converter. The
engine oil level must be checked immediately. See Engine oil level
indicator on page 128.
4 The engine oil level has dropped to a critical level.
Check the engine oil level immediately. See Engine oil level
indicator on page 128 and check the engine for visible leakage
(loss of oil).
It may be that there is water in the engine oil. Have the engine oil
checked.
5 The measuring system is malfunctioning.
When the “ENGINE OIL LEVEL – CHECK LEVEL!”
message appears while the engine is running and at
operating temperature, the engine oil level has dropped
to approximately the minimum mark on the dipstick.
When this occurs, the warning will first come on
intermittently and then stay on if the oil level drops
further.
If no oil leaks are noted, continue to drive to the nearest
service station where the engine oil should be topped to
the “full” mark on the dipstick with an approved oil.
The engine oil level warnings should not be ignored.
Extended driving with the symbol displayed could
result in serious engine damage that is not covered by
the Mercedes-Benz Limited Warranty.
Line 1 Line 2 C*
ENGINE OIL LEVEL CHECK LEVEL!
1
2
ENGINE OIL LEVEL STOP, ENGINE OFF!
2
1
ENGINE OIL LEVEL REDUCE OIL LEVEL1
3
2
ENGINE OIL VISIT WORKSHOP!
4
2
ENGINE OIL LEVEL VISIT WORKSHOP!
5
2
Page 298 of 381
289 Malfunction and warning messages
Te ch n i c a l
data Instruments
and controlsOperation DrivingInstrument
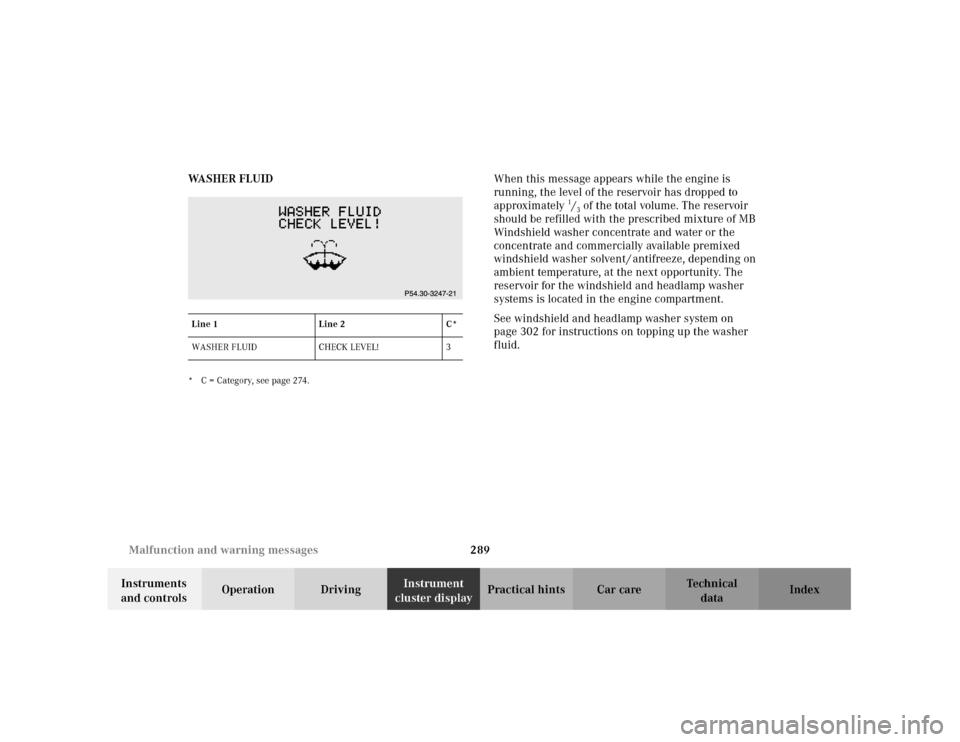
cluster displayPractical hints Car care Index WA S H E R F L U I D
* C = Category, see page 274.
When this message appears while the engine is
running, the level of the reservoir has dropped to
approximately
1/3 of the total volume. The reservoir
should be refilled with the prescribed mixture of MB
Windshield washer concentrate and water or the
concentrate and commercially available premixed
windshield washer solvent / antifreeze, depending on
ambient temperature, at the next opportunity. The
reservoir for the windshield and headlamp washer
systems is located in the engine compartment.
See windshield and headlamp washer system on
page 302 for instructions on topping up the washer
fluid.
Line 1 Line 2 C*
WASHER FLUID CHECK LEVEL! 3
Page 302 of 381
293 Contents - Practical hints
Te ch n i c a l
data Instruments
and controlsOperation DrivingInstrument
cluster displayPractical hintsCar care Index
Practical hintsFirst aid kit .....................................294
Stowing things in the vehicle ......294
Fuses ................................................295
Hood .................................................297
Checking engine oil level .............300
Automatic transmission fluid
level ............................................. 301
Coolant level ................................... 301
Adding coolant ...........................302
Windshield and headlamp washer
system .........................................302Spare wheel, vehicle tools, storage
compartment ............................. 304
Vehicle jack .................................... 305
Wheels ............................................ 306
Tire replacement ....................... 306
Rotating wheels ......................... 307
Spare wheel .................................... 308
Changing wheels ........................... 309
Tire inflation pressure .................. 315
Battery .............................................. 316
Jump starting .................................. 318
Towing the vehicle ........................ 321
Transmission selector lever,
manually unlocking .................. 325Exterior lamps ................................326
Replacing bulbs ..........................326
Trunk lamp ..................................... 331
Changing batteries in the electronic
main key .....................................332
Synchronizing remote
control ..........................................334
Emergency engine shut-down .....334
Fuel filler flap, manual release ...335
Replacing wiper blade insert .......337
Roof rack .........................................338
Page 309 of 381
300 Engine compartment
Te ch n i c a l
data Instruments
and controlsOperation DrivingInstrument
cluster displayPractical hintsCar care Index
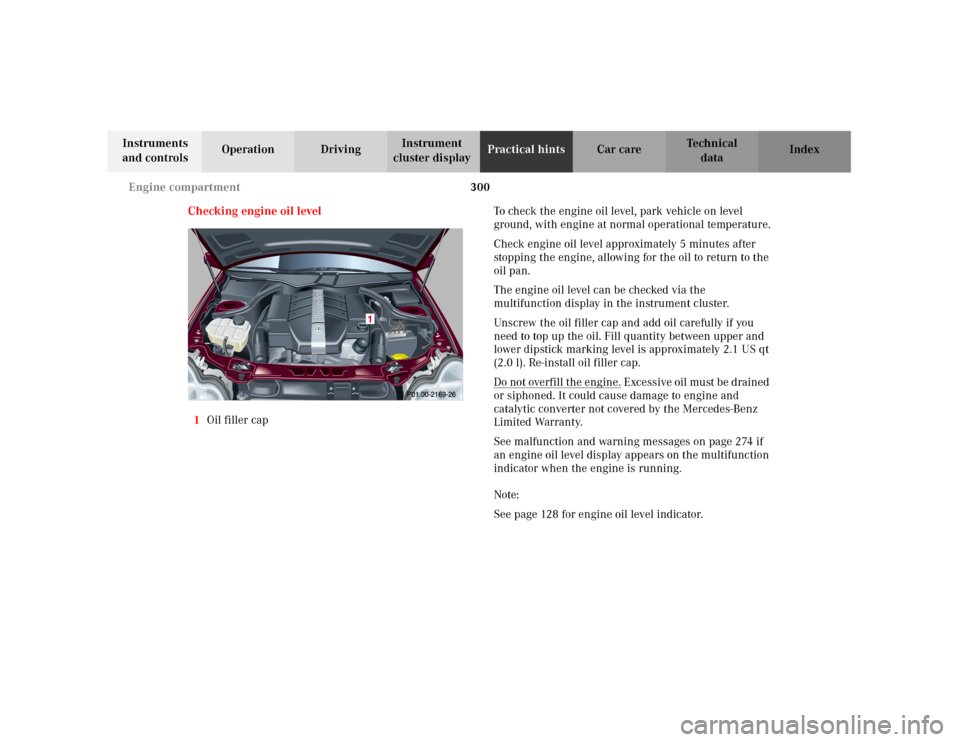
Checking engine oil level
1Oil filler capTo check the engine oil level, park vehicle on level
ground, with engine at normal operational temperature.
Check engine oil level approximately 5 minutes after
stopping the engine, allowing for the oil to return to the
oil pan.
The engine oil level can be checked via the
multifunction display in the instrument cluster.
Unscrew the oil filler cap and add oil carefully if you
need to top up the oil. Fill quantity between upper and
lower dipstick marking level is approximately 2.1 US qt
(2.0 l). Re-install oil filler cap.
Do not overfill the engine.
Excessive oil must be drained
or siphoned. It could cause damage to engine and
catalytic converter not covered by the Mercedes-Benz
Limited Warranty.
See malfunction and warning messages on page 274 if
an engine oil level display appears on the multifunction
indicator when the engine is running.
Note:
See page 128 for engine oil level indicator.
Page 310 of 381
301 Engine compartment
Te ch n i c a l
data Instruments
and controlsOperation DrivingInstrument
cluster displayPractical hintsCar care Index Automatic transmission fluid level
The transmission has a permanent fill of automatic
transmission fluid.
Regular automatic transmission fluid level checks and
changes are not required. For this reason the dipstick is
omitted.
If you notice fluid leaks or gear shifting malfunctions,
have your authorized Mercedes-Benz Center check the
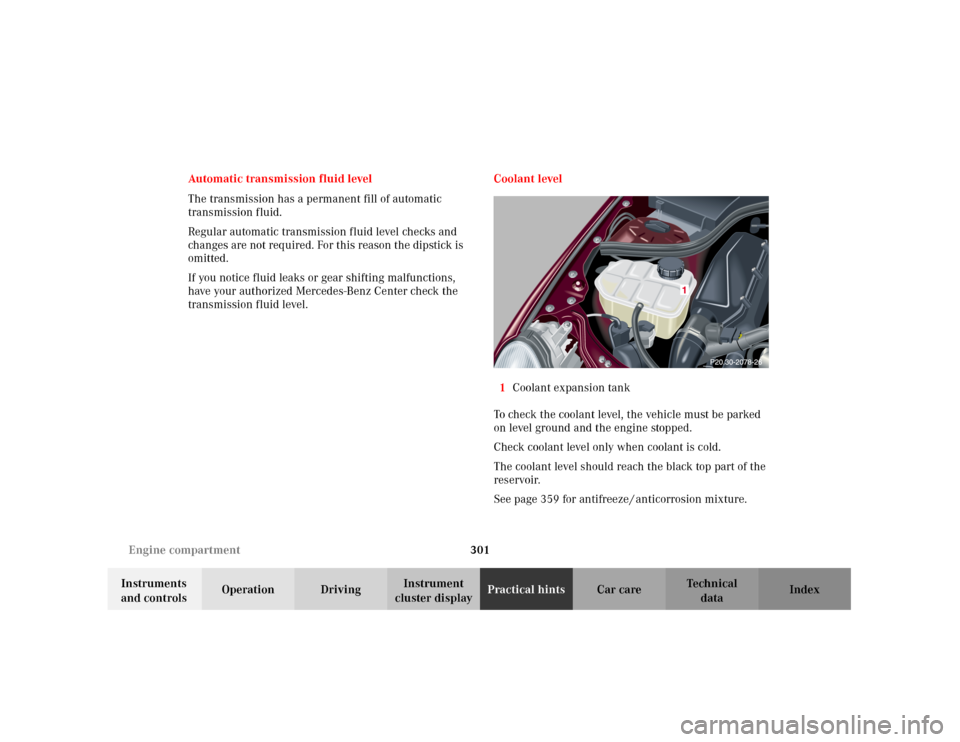
transmission fluid level.Coolant level
1Coolant expansion tank
To check the coolant level, the vehicle must be parked
on level ground and the engine stopped.
Check coolant level only when coolant is cold.
The coolant level should reach the black top part of the
reservoir.
See page 359 for antifreeze / anticorrosion mixture.
Page 325 of 381
316 Battery
Te ch n i c a l
data Instruments
and controlsOperation DrivingInstrument
cluster displayPractical hintsCar care Index
warm tires only if pressure has dropped below the
pressure listed in the table and the respective operating
conditions are taken into consideration.
An underinflated tire due to a slow leak (e.g. due to a
nail in the tire) may cause damage such as tread
separation, bulging etc. Regular tire pressure checks
(including the spare tire) at intervals of no more than
14 days are therefore essential.
If a tire constantly loses air, it should be inspected for
damage.
The spare tire should be checked periodically for
condition and inflation. Spare tire will age and become
worn over time even if never used, and thus should be
inspected and replaced when necessary.Battery
Important!
Battery replacement information:
The maintenance-free battery is located in the engine
compartment on the right hand side.
The service life of the battery is dependent on its
condition of charge. The battery should always be kept
sufficiently charged, in order to last an optimum length
of time.
Wa r n i n g !
Do not overinflate tires. Overinflating tires can
result in sudden deflation (blowout) because they
are more likely to become punctured or damaged
by road debris, potholes etc. Follow recommended
inflation pressures.Do not overload the tires by exceeding the specified
vehicle capacity weight as indicated by the label on
the driver’s door latch post). Overloading the tires
can overheat them, possibly causing a blowout.
Wa r n i n g !
Failure to follow these instructions can result in
severe injury or death.Never lean over batteries while connecting, you
might get injured.Battery fluid contains sulfuric acid. Do not allow
this fluid to come in contact with eyes, skin or
clot hin g. In cas e i t d oes , i mm ed ia tely f lus h a f fected
area with water and seek medical help if necessary.A battery will also produce hydrogen gas, which is
flammable and explosive. Keep flames or sparks
away from battery, avoid improper connection of
jumper cables, smoking etc.
Page 326 of 381
317 Battery
Te ch n i c a l
data Instruments
and controlsOperation DrivingInstrument
cluster displayPractical hintsCar care Index Therefore, we strongly recommend that you have the
battery charge checked frequently, and corrected if
necessary, especially if you use the vehicle less than
approximately 200 miles (300 km) per month,
mostly for short distance trips, or if it is not used for
long periods of time.
Only charge a battery with a battery charger after the
battery has been disconnected from the vehicle’s
electrical circuit.
Always disconnect the battery negative lead first and
connect last.
When removing and connecting the battery, always
make sure that all electrical consumers are off and the
electronic key is in starter switch position 0. The
battery, its filler caps, the vent tube and the opposite
plug must always be securely installed when the vehicle
is in operation.
While the engine is running the battery terminal clamps
must not be loosened or detached, otherwise the
generator and other electronic components would be
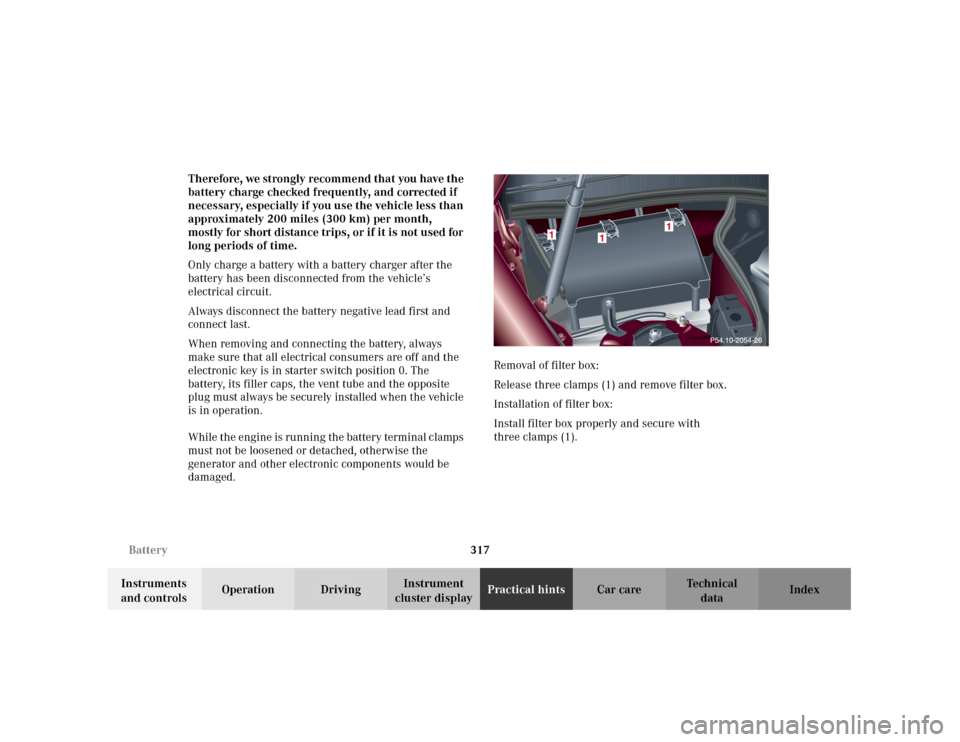
damaged.Removal of filter box:
Release three clamps (1) and remove filter box.
Installation of filter box:
Install filter box properly and secure with
three clamps (1).