2001 MERCEDES-BENZ C320 ECO mode
[x] Cancel search: ECO modePage 185 of 381
176 Audio system
Te ch n i c a l
data Instruments
and controlsOperationDrivingInstrument
cluster displayPractical hints Car care Index
Fast forward/reverse
Press and hold the button for audible fast forward.
Press and hold the button for audible reverse.
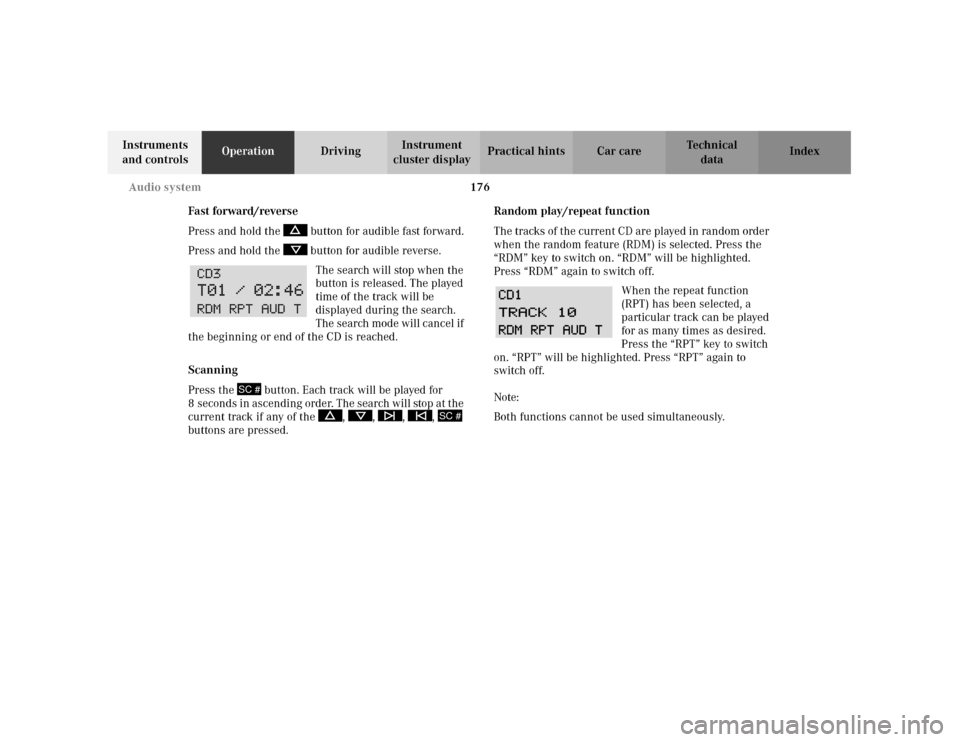
The search will stop when the
button is released. The played
time of the track will be
displayed during the search.
The search mode will cancel if
the beginning or end of the CD is reached.
Scanning
Press the button. Each track will be played for
8 s econ d s i n as cen di ng or de r. The s earch will stop at t he
current track if any of the , , , ,
buttons are pressed.Random play/repeat function
The tracks of the current CD are played in random order
when the random feature (RDM) is selected. Press the
“RDM” key to switch on. “RDM” will be highlighted.
Press “RDM” again to switch off.
When the repeat function
(RPT) has been selected, a
particular track can be played
for as many times as desired.
Press the “RPT” key to switch
on. “RPT” will be highlighted. Press “RPT” again to
switch off.
Note:
Both functions cannot be used simultaneously.
SC #
SC #
Page 190 of 381
181 Audio system
Te ch n i c a l
data Instruments
and controlsOperationDrivingInstrument
cluster displayPractical hints Car care Index Express-dialing
Press one of the number buttons - for more
than 1 second.
The phone number or the name stored at this memory
location will appear on the screen.
When the call is initiated, the call time will appear on
the display.
Note:
Please be aware that button might already be
reserved for an emergency call number, see page 183.
Call hold feature
While on the telephone, a second call can be accepted
by pressing the “SND” key. The first call will be put on
hold. Press “SND” to toggle between the calls.
An additional call can be accepted after ending one of
the previous calls.Accepting incoming call in telephone mode
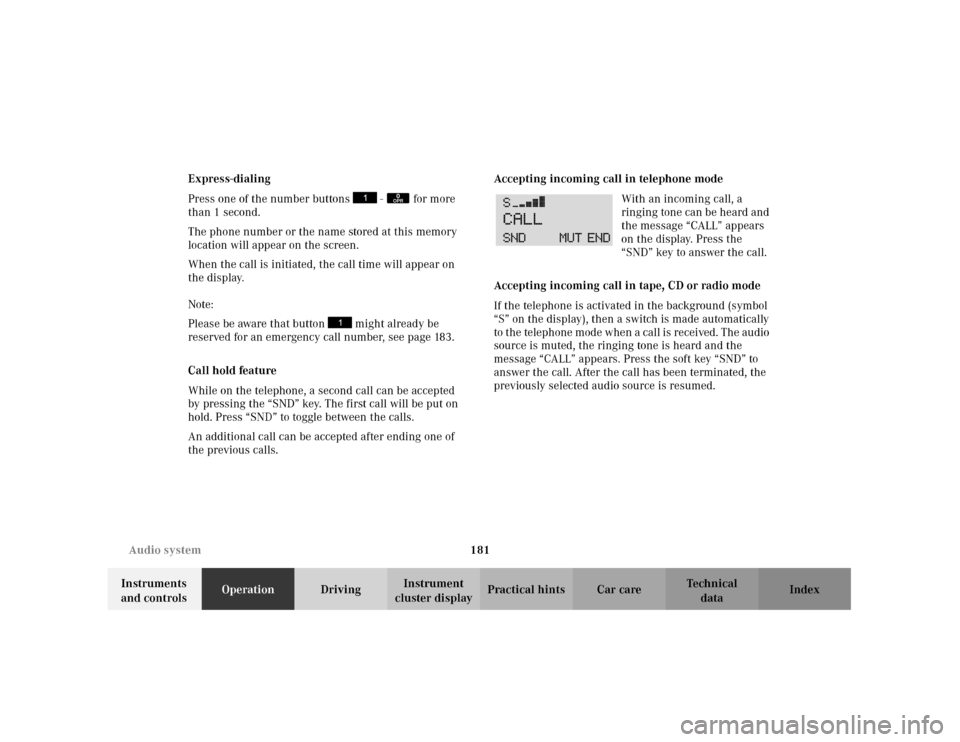
With an incoming call, a
ringing tone can be heard and
the message “CALL” appears
on the display. Press the
“SND” key to answer the call.
Accepting incoming call in tape, CD or radio mode
If the telephone is activated in the background (symbol
“S” on the display), then a switch is made automatically
to the telephone mode when a call is received. The audio
source is muted, the ringing tone is heard and the
message “CALL” appears. Press the soft key “SND” to
answer the call. After the call has been terminated, the
previously selected audio source is resumed.
0OPR
Page 228 of 381
219 The first 1 000 miles (1 500 km)
Te ch n i c a l
data Instruments
and controlsOperationDrivingInstrument
cluster displayPractical hints Car care Index The first 1 000 miles (1 500 km)
The more cautiously you treat your vehicle during the
break-in period, the more satisfied you will be with its
performance later on. Therefore, drive your vehicle
during the first 1 000 miles (1 500 km) at moderate
vehicle and engine speeds.
During this period, avoid heavy loads (full throttle
driving) and excessive engine speeds.
Avoid accelerating by kickdown. It is not recommended
to brake t he vehicle by man ually shif tin g to a lower gear.
We recommend that you select positions “3”, “2” or “1”
only at moderate speeds (for hill driving).
After 1 000 miles (1 500 km) speeds may be gradually
increased to the permissible maximum.Maintenance
Approximately 30 days or 2000 miles (2000 km) prior
to the next recommended service, the remaining
distance or days are displayed in the multifunction
indicator. See Flexible service system (FSS) on
page 125.
We strongly recommend that you have your vehicle
serviced by your authorized Mercedes-Benz Center, in
accordance with the Service Booklet at the times called
for by the FSS.
Failure to have the vehicle maintained in accordance
with the Service Booklet at the designated times /
mileage may result in vehicle damage not covered by
the Mercedes-Benz Limited Warranty.
Page 230 of 381
221 Tele Aid
Te ch n i c a l
data Instruments
and controlsOperationDrivingInstrument
cluster displayPractical hints Car care Index pressing the button (for longer than 2 seconds) located
under the cover. See below for instructions on initiating
an emergency call manually.
Once the emergency call is in progress, the indicator
lamp in the “SOS” button will begin to flash. The
message “EMERGENCY CALL – ESTABLISHING CALL”
appears in the multifunction display. When the
connection is established, the message “EMERGENCY
CALL – CALL CONNECTED” appears in the
multifunction display. All information relevant to the
emergency, such as the location of the vehicle
(determined by the GPS satellite location system),
vehicle model, identification number and color are
generated.
A voice connection between the Response Center and
the occupants of the vehicle will be established
automatically soon after the emergency call has been
initiated. The Response Center will attempt to determine
more precisely the nature of the accident provided they
can speak to an occupant of the vehicle.The Tele Aid system is available if:
•it has been activated and is operational. Activation
requires a subscription for monitoring services and
cellular air time,
•the relevant cellular phone network and GPS signals
are available.
Note:
Location of the vehicle on a map is possible if the
vehicle is able to receive signals from the GPS satellite
network.
Wa r n i n g !
If the indicator lamp in the “SOS” button is
illuminated continuously and there was no voice
connection to the Response Center established,
then the Tele Aid system could not initiate an
emergency call (e.g. the relevant cellular phone
network is not available). The message
“EMERGENCY CALL – CALL FAILED” appears in
the multifunction display.Should this occur, assistance must be summoned
by other means.
Page 232 of 381
223 Tele Aid
Te ch n i c a l
data Instruments
and controlsOperationDrivingInstrument
cluster displayPractical hints Car care Index Roadside Assistance button
Located below the center armrest cover is the Roadside
Assistance button. Pressing and holding the
button (for longer than 2 seconds) will initiate a call to a
Mercedes-Benz Roadside Assistance dispatcher. The
button will flash while the call is in progress. The
Tele Aid system will transmit data generating the
vehicle identification number, model, color and location
(subject to availability of cellular and GPS signals).A voice connection between the Roadside Assistance
dispatcher and the occupants of the vehicle will be
established. The nature of the need for assistance can
then be described. Sign and Drive services (jump start, a
few gallons of fuel or the replacement of a flat tire with
the vehicle spare tire) are available.
If the vehicle requires more than Sign and Drive
services, the Mercedes-Benz Roadside assistance
dispatcher will either dispatch a qualified
Mercedes-Benz technician or arrange to tow your
vehicle to the nearest Mercedes-Benz Center.
For other than Sign and Drive services, labor and / or
towing charges may apply. Refer to the Roadside
Assistance manual for more information.
Notes:
The indicator lamp in the Roadside Assistance
button remains illuminated in red for
approximately 5 seconds during the system self-check
after turning electronic key in starter switch to
position 2 (together with the “SOS” button and the
Information button¡).
See system self-check on page 220 when the indicator
lamp does not light up in red or stays on longer than
approximately 5 seconds.
Wa r n i n g !
If you feel at any way in jeopardy when in the
vehicle (e.g. smoke or fire in the vehicle, vehicle in
a dangerous road location), please do not wait for
voice contact after you have pressed the emergency
button. Carefully leave the vehicle and move to a
safe location. The Response Center will
automatically contact local emergency officials
with the vehicle’s approximate location if they
receive an “SOS” signal and cannot make voice
contact with the vehicle occupants.
Page 233 of 381
224 Tele Aid
Te ch n i c a l
data Instruments
and controlsOperationDrivingInstrument
cluster displayPractical hints Car care Index
Information button ¡
Located below the center armrest cover is the
Information button¡. Pressing and holding the
button (for longer than 2 seconds) will initiate a call to
the Client Assistance Center. The button will flash while
the call is in progress. The Tele Aid system will transmit
data generating the vehicle identification number,
model, color and location (subject to availability of
cellular and GPS signals).
A voice connection between the Client Assistance
Center representative and the occupants of the vehicle
will be established. Information regarding the operation
of your vehicle, the nearest Mercedes-Benz Center or
Mercedes-Benz USA products and services is available
to you.
If you have chosen the Route Guidance Service (an
optional service available at additional cost in the USA
only), your communication will be transferred to our
Response Center, who will provide the appropriate
information.
For more details concerning this optional service,
please contact the Response Center at 1-800-756-9018.Notes:
The indicator lamp in the Information button¡
remains illuminated in red for approximately 5 seconds
during the system self-check after turning electronic
key in starter switch to position 2 (together with the
“SOS” button and the Roadside Assistance button).
See system self-check on page 220 when the indicator
lamp does not light up in red or stays on longer than
approximately 5 seconds.
Important!
If the indicator lamps do not illuminate or remain
illuminated (in red) at any time, the Tele Aid system has
detected a fault or the service is not currently active,
and may not initiate a call. Visit your Mercedes-Benz
Center and have the system checked or contact the
Response Center at 1-800-756-9018 (in the USA) or
1-888-923-8367 (in Canada) as soon as possible.
Page 251 of 381
242 Automatic transmission
Te ch n i c a l
data Instruments
and controlsOperationDrivingInstrument
cluster displayPractical hints Car care Index
WWinter / Wet (snow and ice) mode
Press switch. “W” is displayed in the gear range
indicator display, see page 237. The vehicle starts
out in 2nd gear, except with selector lever in 1st
gear, or with accelerator pedal in kick-down
position.
The “W” mode helps to improve traction and
driving stability of the vehicle.
The gear shifting process occurs at lower vehicle
and engine speeds than in the “S” program mode.
Caution!
Never change the pr ogram mod e when t he se lec tor lever
is out of position “P”. It could result in a change of
driving characteristics for which you may not be
prepared.
Important!
Always be certain of the program mode selected since
the vehicle driving characteristics change with the
selection of the program mode.
Dependent on the program mode selector switch
position “S” or “W” and the gear selector lever in
position “R”, the ratio of power transmission changes.Emergency operation
(Limp home mode)
If vehicle acceleration worsens or the transmission no
longer shifts, the transmission is most likely operating
in Limp Home Mode which engages when there is a
malfunction of the transmission. This condition may be
accompanied by the “CHECK ENGINE” malfunction
indicator lamp in the instrument cluster coming on.
In this mode only the 2nd gear or reverse gear can be
activated.
To engage 2nd gear or reverse:
1. S to p t h e ve h i c l e .
2. Move selector lever to position “P”.
3. Turn off the engine.
4. Wait approximately 10 seconds.
5. Restart the engine.
6. Move selector lever to position “D” (for 2nd gear), or
move selector lever to position “R” (for reverse gear).
Have the transmission checked at your authorized
Mercedes-Benz Center as soon as possible.
Page 315 of 381

306 Tires, Wheels
Te ch n i c a l
data Instruments
and controlsOperation DrivingInstrument
cluster displayPractical hintsCar care Index
Wheels
Replace rims or tires with the same designation,
manufacturer and type as shown on the original part.
See your authorized Mercedes-Benz Center for further
information.
See your authorized Mercedes-Benz Center for
information on tested and recommended rims and tires
for summer and winter operation. They can also offer
advice concerning tire service and purchase.
Tire replacement
Front and rear tires should be replaced in sets. Rims
and tires must be of the correct size and type. For
dimensions, see “Technical Data”.
We recommend that you break in new tires for
approximately 60 miles (100 km) at moderate speed.
Wa r n i n g !
The jack is designed exclusively for jacking up the
vehi c le a t the j ack take-up b ra ckets b ui lt i nto eit her
side of the vehicle. To help avoid personal injury,
use the jack only to lift the vehicle during a wheel
change. Never get beneath the vehicle while it is
supported by the jack. Keep hands and feet away
from the area under the lifted vehicle. Always
firmly set parking brake and block wheels before
raising vehicle with jack.Do n ot d is engage parki n g brake w hil e t he vehi c le i s
raised. Be certain that the jack is always vertical
when in use, especially on hills. Always try to use
the jack on level surface. Be sure that the jack arm
is fully seated in the jack take-up bracket. Always
lower the vehicle onto sufficient capacity
jackstands before working under the vehicle.