2001 MERCEDES-BENZ C240 rear seats
[x] Cancel search: rear seatsPage 95 of 381
86 Memory function
Te ch n i c a l
data Instruments
and controlsOperationDrivingInstrument
cluster displayPractical hints Car care Index
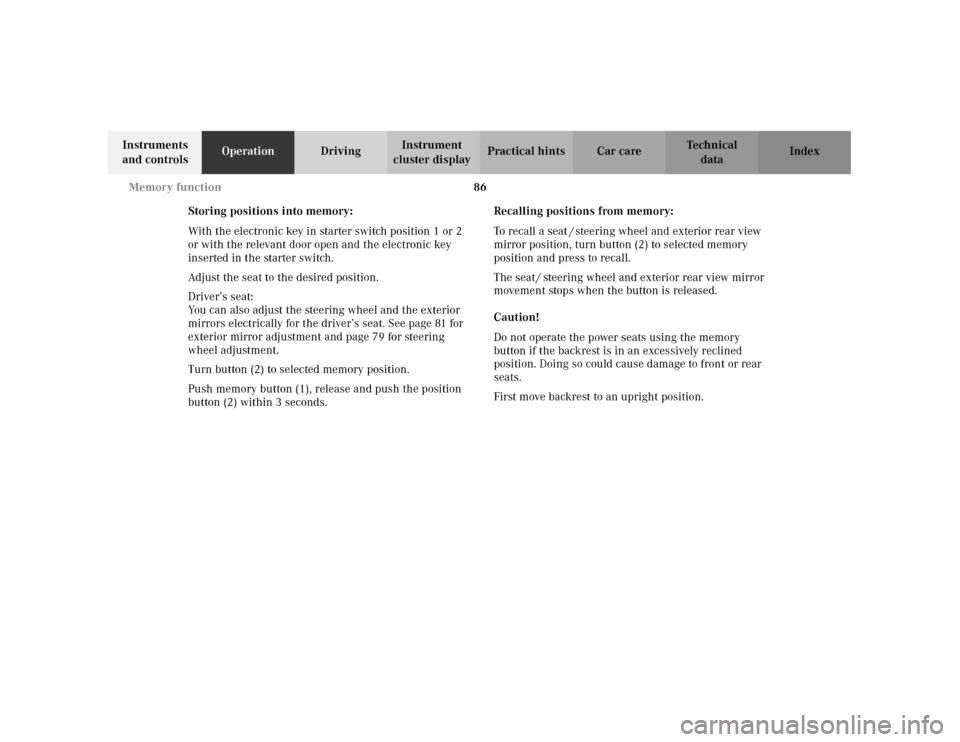
Storing positions into memory:
With the electronic key in starter switch position 1 or 2
or with the relevant door open and the electronic key
inserted in the starter switch.
Adjust the seat to the desired position.
Driver’s seat:
You can also adjust the steering wheel and the exterior
mirrors electrically for the driver’s seat. See page 81 for
exterior mirror adjustment and page 79 for steering
wheel adjustment.
Turn button (2) to selected memory position.
Push memory button (1), release and push the position
button (2) within 3 seconds.Recalling positions from memory:
To recall a seat / steering wheel and exterior rear view
mirror position, turn button (2) to selected memory
position and press to recall.
The seat / steering wheel and exterior rear view mirror
movement stops when the button is released.
Caution!
Do not operate the power seats using the memory
button if the backrest is in an excessively reclined
position. Doing so could cause damage to front or rear
seats.
First move backrest to an upright position.
Page 96 of 381
87 Memory function
Te ch n i c a l
data Instruments
and controlsOperationDrivingInstrument
cluster displayPractical hints Car care Index Important!
Prior to operating the vehicle, the driver should check
and adjust if necessary the seat height, seat position
fore and aft, and backrest angle to insure adequate
control, reach and comfort. The head restraint should
also be adjusted for proper height. See also airbag
section for proper seat positioning.
In addition, also adjust the steering wheel to ensure
ad eq uate con tr ol, r each, operation and com fort. B ot h the
inside and outside rear view mirrors should be adjusted
for adequate rearward vision.
Fasten seat belts. Infants and small children should be
seated in a properly secured restraint system that
complies with U.S. Federal Motor Vehicle Safety
Standard 213 and Canadian Motor Vehicle Safety
Standard 213.
All seat, head restraint, steering wheel, and rear view
mirror adjustments as well as fastening of seat belts
should be done before the vehicle is put into motion.
Wa r n i n g !
Children 12 years old and under must never ride in
the front seat, except in a Mercedes-Benz
authorized BabySmart
TM compatible child seat,
which operates with the BabySmart
TM system
installed in the vehicle to deactivate the passenger
side front airbag when it is properly installed.
Otherwise they will be struck by the airbag when it
inflates in a crash. If this happens, serious or fatal
injury can result.
According to accident statistics, children are safer
when properly restrained in the rear seating
positions than in the front seating positions.
Infants and small children must ride in back seats
and be seated in an appropriate infant or child
restraint system, which is properly secured with
the vehicle’s seat belt, fully in accordance with the
child seat manufacturer’s instructions.A child’s risk of serious or fatal injuries is
significantly increased if the child restraints are
not properly secured in the vehicle and the child is
not properly secured in the child restraint.
Page 150 of 381

141 Climate control
Te ch n i c a l
data Instruments
and controlsOperationDrivingInstrument
cluster displayPractical hints Car care Index Climate control
The system is always at operational readiness, except
when manually switched off.
The climate control only operates with the engine
running.
The temperature selector should be left at the desired
temperature setting. The temperature selected is
reached as quickly as possible.
The system will not heat or cool any quicker by setting a
higher or lower temperature.
The desired interior temperature can be selected
separately for the left and right side of the passenger
compartment.
The climate control removes considerable moisture from
the air during operation in the cooling mode. It is
normal for water to drip on the ground through ducts in
the underbody.
The air conditioning will not engage (no cooling) if the
economy mode S is selected, see page 145. Notes:
Do not obstruct the air flow by placing objects on the air
flow-through exhaust slots below the rear window.
Also keep the air intake grill in front of the windshield
free of snow and debris.
The storage compartment between the front seats can be
ventilated. See page 158 for notes on ventilating the
storage space under the armrest in the center console.
The air conditioner switches itself off for its own
protection if refrigerant is lost. No cooling will then take
pl ac e. Ec on omy mod e S cann ot be switched of f . Have
the air conditioner checked by a Mercedes-Benz Center
should this happen.
Dust filter
Nearly all dust particles and pollen are filtered out
before outside air enters the passenger compartment
through the air distribution system.
Page 159 of 381
150 Automatic climate control
Te ch n i c a l
data Instruments
and controlsOperationDrivingInstrument
cluster displayPractical hints Car care Index
Notes:
Do not obstruct the air f low by placing objects on the air
flow-through exhaust slots below the rear window.
Also keep the air intake grill in front of the windshield
free of snow and debris.
The storage compartment between the front seats can be
ventilated. See page 158 for notes on ventilating the
storage space under the armrest in the center console.
The air conditioner switches itself off for its own
protection if refrigerant is lost. No cooling will then take
place. Economy mode S can n ot be s witched of f. Have
the air conditioner checked by a Mercedes-Benz Center
should this happen.
Dust filter
Nearly all dust particles and pollen are filtered out
before outside air enters the passenger compartment
through the air distribution system.Basic setting – automatic mode
Briefly press left or right U button. The h, j
and k symbols will no longer be visible.
The economy mode and air recirculation functions will
be switched off. The automatic blower will be activated
at the same time.
Set the temperature switches on the left and right
to 72
°F (22
°C). This provides for comfortable conditions
in the vehicle.
Heating mode:
To lower headroom temperature, use thumbwheel
(4, page 146).
Air conditioning mode:
Open air outlets at dashboard top center (7, page 146)
for an even air distribution.
Page 209 of 381
200 Interior equipment
Te ch n i c a l
data Instruments
and controlsOperationDrivingInstrument
cluster displayPractical hints Car care Index
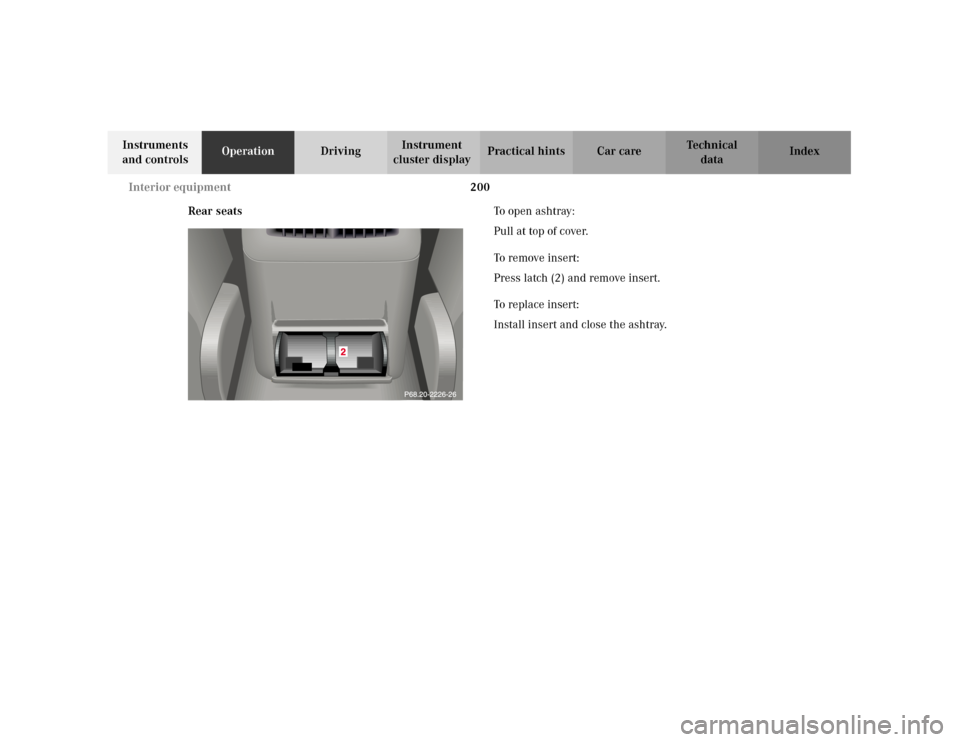
Rear seatsTo o p e n a s h t r ay :
Pull at top of cover.
To r e m ove i n s e r t :
Press latch (2) and remove insert.
To replace insert:
Install insert and close the ashtray.
Page 240 of 381
231 Starter switch
Te ch n i c a l
data Instruments
and controlsOperationDrivingInstrument
cluster displayPractical hints Car care Index Important!
If the electronic key is left in the starter switch
position 0 for a extended period of time, it can no longer
be turn ed in t he lock . In t his cas e, rem ove electron ic key
from starter switch and reinsert.
Caution!
To prevent accelerated battery discharge and a possible
dead battery, always remove the electronic key from the
starter switch. Do not leave the electronic key in starter
switch position 0.Notes:
A warning sounds when the driver’s door is opened
with the electronic key is in starter switch position 1
or 0.
With the engine at idle speed, the charging rate of the
alternator (output) is limited.
It is therefore recommended that you turn off
unnecessary electrical consumers while driving in stop-
and-go traffic. This precaution helps to avoid draining of
the battery.
Unnecessary strain on the battery and charging system
may be minimized by turning off the following power
consumers, for example:
Heated seats, rear window defroster. In addition, the
automatic climate air volume control should be set to
the lowest position.
Page 354 of 381
345 Cleaning and care of the vehicle
Te ch n i c a l
data Instruments
and controlsOperation DrivingInstrument
cluster displayPractical hintsCar careIndex Seat belts
The webbing must not be treated with chemical
cleaning agents. Use only clear, lukewarm water and
soap. Do not dry the webbing at temperatures above
176
°F (80
°C) or in direct sunlight.
Headliner and shelf below rear window
Clean with soft bristle brush, or use a dry-shampoo
cleaner in case of excessive dirt.Leather upholstery
Using aftermarket seat covers or wearing clothing that
have the tendency to give off coloring (e.g. when wet
etc.) may cause the upholstery to become permanently
discolored. By lining the seats with a proper
intermediate cover, contact-discoloration will be
prevented.
Leather Upholstery
Wipe leather upholstery with a damp cloth and dry
thoroughly or clean with Mercedes-Benz approved
Leather Care. Exercise particular care when cleaning
perforated leather as its underside should not become
wet.
MB Tex Upholstery
Pour Mercedes-Benz approved Interior Care onto soft
lint-free cloth and apply with light pressure.
Hard plastic trim items
Pour Mercedes-Benz approved Interior Care onto soft
lint-free cloth and apply with light pressure.
Plastic and rubber parts
Do not use oil or wax on these parts.
Wa r n i n g !
Do not bleach or dye seat belts as this may severely
weaken them. In a crash they may not be able to
provide adequate protection.
Page 376 of 381
367 Index
Te ch n i c a l
data Instruments
and controlsOperation DrivingInstrument
cluster displayPractical hints Car careIndex
GGarage door opener ....................................................... 212
Glove box ......................................................................... 194HHazard warning flasher switch ................................... 137
Head restraints
Rear seat ....................................................................... 52
Head restraints, front seats
Removal and installation ........................................... 47
Headlamp cleaning system .......................................... 133
Headlamp mode ............................................................. 131
Heated seats ..................................................................... 50IIdentification labels .......................................................349
Individual settings .......................................................... 111
"CONVENIENCE" ...................................................... 121
"INSTRUMENT CLUSTER" .......................................113
"LIGHTING" ................................................................117
"VEHICLE" ..................................................................119
Infant and child restraint systems ................................ 73Child seat mounts ....................................................... 76
Installation ...................................................................75
Instrument cluster ...........................................................88
Instruments and controls ............................................... 12
Center console ............................................................. 18
Dashboard .................................................................... 16
Door control panel ...................................................... 14
Overhead control panel .............................................. 15
Interior ............................................................................. 193
Interior lighting .............................................................. 189
JJack .................................................................................. 305
Jump starting .................................................................. 318LLighter .............................................................................201
Loading instructions
(Vehicle with enlarged cargo area) ....................... 209
Locator lighting .............................................................. 133
Locking the vehicle with remote control .....................27