Page 159 of 381
150 Automatic climate control
Te ch n i c a l
data Instruments
and controlsOperationDrivingInstrument
cluster displayPractical hints Car care Index
Notes:
Do not obstruct the air f low by placing objects on the air
flow-through exhaust slots below the rear window.
Also keep the air intake grill in front of the windshield
free of snow and debris.
The storage compartment between the front seats can be
ventilated. See page 158 for notes on ventilating the
storage space under the armrest in the center console.
The air conditioner switches itself off for its own
protection if refrigerant is lost. No cooling will then take
place. Economy mode S can n ot be s witched of f. Have
the air conditioner checked by a Mercedes-Benz Center
should this happen.
Dust filter
Nearly all dust particles and pollen are filtered out
before outside air enters the passenger compartment
through the air distribution system.Basic setting – automatic mode
Briefly press left or right U button. The h, j
and k symbols will no longer be visible.
The economy mode and air recirculation functions will
be switched off. The automatic blower will be activated
at the same time.
Set the temperature switches on the left and right
to 72
°F (22
°C). This provides for comfortable conditions
in the vehicle.
Heating mode:
To lower headroom temperature, use thumbwheel
(4, page 146).
Air conditioning mode:
Open air outlets at dashboard top center (7, page 146)
for an even air distribution.
Page 162 of 381
153 Automatic climate control
Te ch n i c a l
data Instruments
and controlsOperationDrivingInstrument
cluster displayPractical hints Car care Index Air recirculation
Select air recirculation:
Press button O briefly. The indicator lamp in the
button illuminates.
To switch off the air recirculation:
Press button O briefly. The indicator lamp in the
button will go out.
Switching on air recirculation and activating
convenience closing of power windows and sliding/
pop-up roof:
Press button O for more than 2 seconds, the side
windows and the sliding / pop-up roof will be closed. The
indicator lamp in the button lights up.
Switching off air recirculation and activating
convenience opening:
Press button O for more than 2 seconds, the side
windows and the sliding / pop-up roof return to the
position they were in before closing.
A window or the sliding / pop-up roof opened manually
after convenience closing will no longer be returned to
the position it was in before closing when convenience
opening is selected.The system automatically switches from air
recirculation to fresh air:
•after 30 minutes if the outside temperature is above
about 40
°F(5
°C),
•after 5 minutes if the outside temperature is below
about 40
°F(5
°C),
•after 5 minutes if economy mode S is selected.
The system switches automatically to air recirculation at
high outside temperatures. A quantity of outside air is
added after about 30 minutes.
If the windows should fog up from the inside, switch
from recirculated air back to fresh air.
Page 163 of 381
154 Automatic climate control
Te ch n i c a l
data Instruments
and controlsOperationDrivingInstrument
cluster displayPractical hints Car care Index
Activated charcoal filter
An activated charcoal filter markedly reduces bad odors
and removes pollutants from air entering the passenger
compartment.
To select, press e button. The indicator lamp in the
button illuminates.
To can cel, p res s b utton. The in di cator lamp i n t he button
goes out.
The system switches automatically to the air
recirculation mode, if the carbon monoxide (CO) or
nitrogen oxides (NO
X) concentration of the outside air
increases beyond a predetermined level.
The automatic air recirculation mode does not function
if economy mode S is selected or if the outside
temperature has fallen below 40
°F(5
°C).
The activated charcoal filter should be switched off
when windows fog up on the inside, or if the passenger
compartment needs to be quickly heated or cooled
down.Switching on the activated carbon filter and activating
convenience closing of power windows and sliding/
pop-up roof:
The indicator lamp in the e button is off.
Press button e for more than 2 seconds, the side
wi nd ows and t he slid in g / p op-up r oof will b e c los ed . The
indicator lamp in the button lights up.
Switching off activated carbon filter and activating
convenience opening:
The indicator lamp in the e button is on.
Press button e for more than 2 seconds, the side
windows and the sliding / pop-up roof return to the
position they were in before closing.
A window or the sliding / pop-up roof opened manually
after convenience closing will no longer be returned to
the position it was in before closing when convenience
opening is selected.
Page 164 of 381
155 Automatic climate control
Te ch n i c a l
data Instruments
and controlsOperationDrivingInstrument
cluster displayPractical hints Car care Index Economy mode
The function of this setting corresponds to the
automatic mode. However, because the air conditioning
compressor will not engage (fuel savings), it is not
possible to air condition in this setting.
Press S button to activate. The indicator lamp in the
button illuminates.
Press S button once again to return to the previous
setting.
Important!
In the S mode the windows could fog up on the
inside. Switch off S mode.Automatic climate control - OFF/ON
To switch the climate control off, set the air volume
control switch to position 0.
The fresh air supply to the vehicle interior is shut off.
While driving, use this setting only temporarily,
otherwise the windshield could fog up.
To switch the climate control on again, press the U
or Pbutton, or set air volume control switch to any
speed.
Page 173 of 381
164 Audio system
Te ch n i c a l
data Instruments
and controlsOperationDrivingInstrument
cluster displayPractical hints Car care Index
Adjusting the volume
Turning the control knob clockwise will increase the
volume, counterclockwise will decrease the volume.
Note:
The volume setting can be selected separately for the
telephone, audio system and voice recognition system.
Audio fu nctions
The “AUD” key is used to select the BASS, TREBLE,
FADER and BALANCE functions. Settings for bass and
treble are stored separately for the radio, cassette and
CD modes. Tone level settings are identified by the
vertical bars. The center (flat) setting is shown by one
longer bar in the center of the display.Bass
Press the “AUD” key
repeatedly until “BASS”
appears on the display.
Press the “+” key to increase
or the “-” key to decrease the level.
Pressing the “+” and “-” keys simultaneously resets the
Bass to its center (flat) level.
Treble
Press the “AUD” key
repeatedly until “TREBLE”
appears on the display.
Press the “+” key to increase
or the “-” key to decrease the level.
Pressing the “+” and “-” keys simultaneously resets the
Treble to its center (flat) level.
Page 176 of 381
167 Audio system
Te ch n i c a l
data Instruments
and controlsOperationDrivingInstrument
cluster displayPractical hints Car care Index Manual tuning
Press either the or
button. Step-by-step station
tuning in ascending or
descending order of
frequency will take place.
The first three tuning steps will take place without
muting. The radio will then be muted and high-speed
tuning will take place until the button is released.
The following tuning intervals will be shown on the
display:Seek tuning
Pre ss eit her t he or b utton. T he radi o will tun e
to the next receivable station.
Scan tuning
Press the button. Each
strongly receivable station on
the band selected will be
tuned in for 8 seconds. The
first scan will tune only the
stations with a high signal strength. The second scan
wi ll tune eve ry r ece ivable station . By pr ess in g e it her t he
, , , buttons or the button the
scan mode can be cancelled. FM 200 kHz
AM 10 kHz
WB Channels 1-7
SC #
SC #
Page 178 of 381
169 Audio system
Te ch n i c a l
data Instruments
and controlsOperationDrivingInstrument
cluster displayPractical hints Car care Index Storing stations
Hold the desired number button - down for
approximately 2 seconds. The currently displayed
frequency is stored on the selected station button. The
storage procedure is confirmed by a short signal tone.
Retrieving a station from memory
Press the desired station button - .
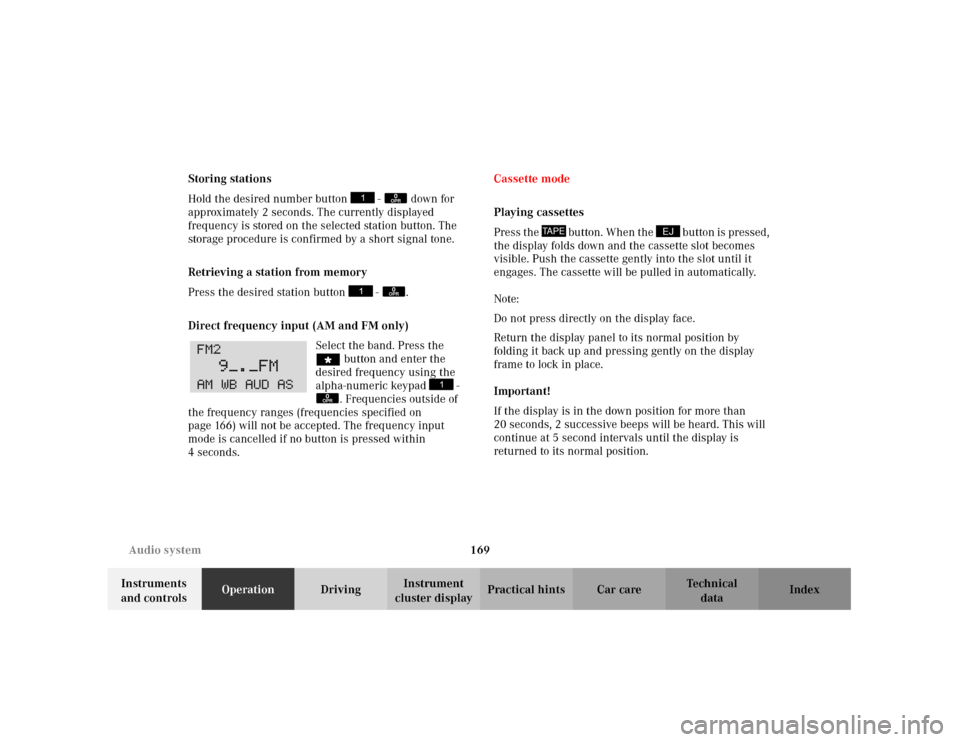
Direct frequency input (AM and FM only)
Select the band. Press the
“ button and enter the
desired frequency using the
alpha-numeric keypad -
. Frequencies outside of
the frequency ranges (frequencies specified on
page 166) will not be accepted. The frequency input
mode is cancelled if no button is pressed within
4seconds.Cassette mode
Playing cassettes
Pre ss t he button. When t he b utton is pr ess ed ,
the display folds down and the cassette slot becomes
visible. Push the cassette gently into the slot until it
engages. The cassette will be pulled in automatically.
Note:
Do not press directly on the display face.
Return the display panel to its normal position by
folding it back up and pressing gently on the display
frame to lock in place.
Important!
If the display is in the down position for more than
20 seconds, 2 successive beeps will be heard. This will
continue at 5 second intervals until the display is
returned to its normal position.
0OPR0OPR
0OPR
TAPE
EJ
Page 179 of 381
170 Audio system
Te ch n i c a l
data Instruments
and controlsOperationDrivingInstrument
cluster displayPractical hints Car care Index
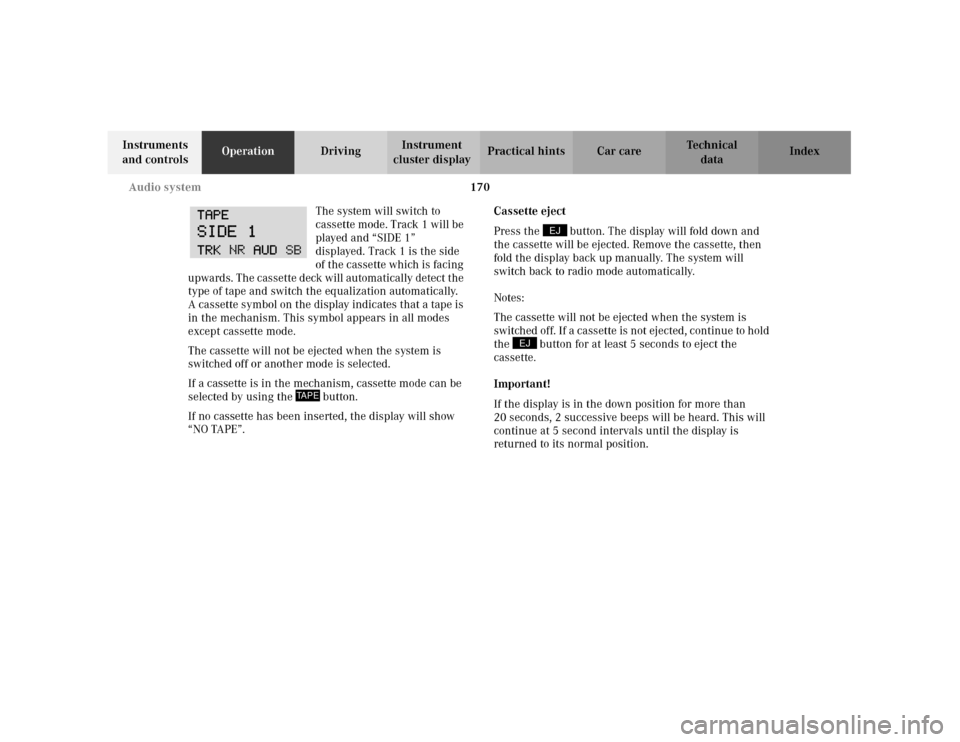
The system will switch to
cassette mode. Track 1 will be
played and “SIDE 1”
displayed. Track 1 is the side
of the cassette which is facing
upward s. The c as sette d eck will automatically detect t he
type of tape and switch the equalization automatically.
A cassette symbol on the display indicates that a tape is
in the mechanism. This symbol appears in all modes
except cassette mode.
The cassette will not be ejected when the system is
switched off or another mode is selected.
If a cassette is in the mechanism, cassette mode can be
selected by using the button.
If no cassette has been inserted, the display will show
“NO TAPE”.Cassette eject
Press the button. The display will fold down and
the cassette will be ejected. Remove the cassette, then
fold the display back up manually. The system will
switch back to radio mode automatically.
Notes:
The cassette will not be ejected when the system is
switched of f. If a cassette is not ejected, continue to hold
the button for at least 5 seconds to eject the
cassette.
Important!
If the display is in the down position for more than
20 seconds, 2 successive beeps will be heard. This will
continue at 5 second intervals until the display is
returned to its normal position.
TAPE
EJ
EJ