Page 47 of 232

Installing a garage door opener (if equipped)
The storage compartment can be converted to accommodate a variety of
aftermarket garage door openers:
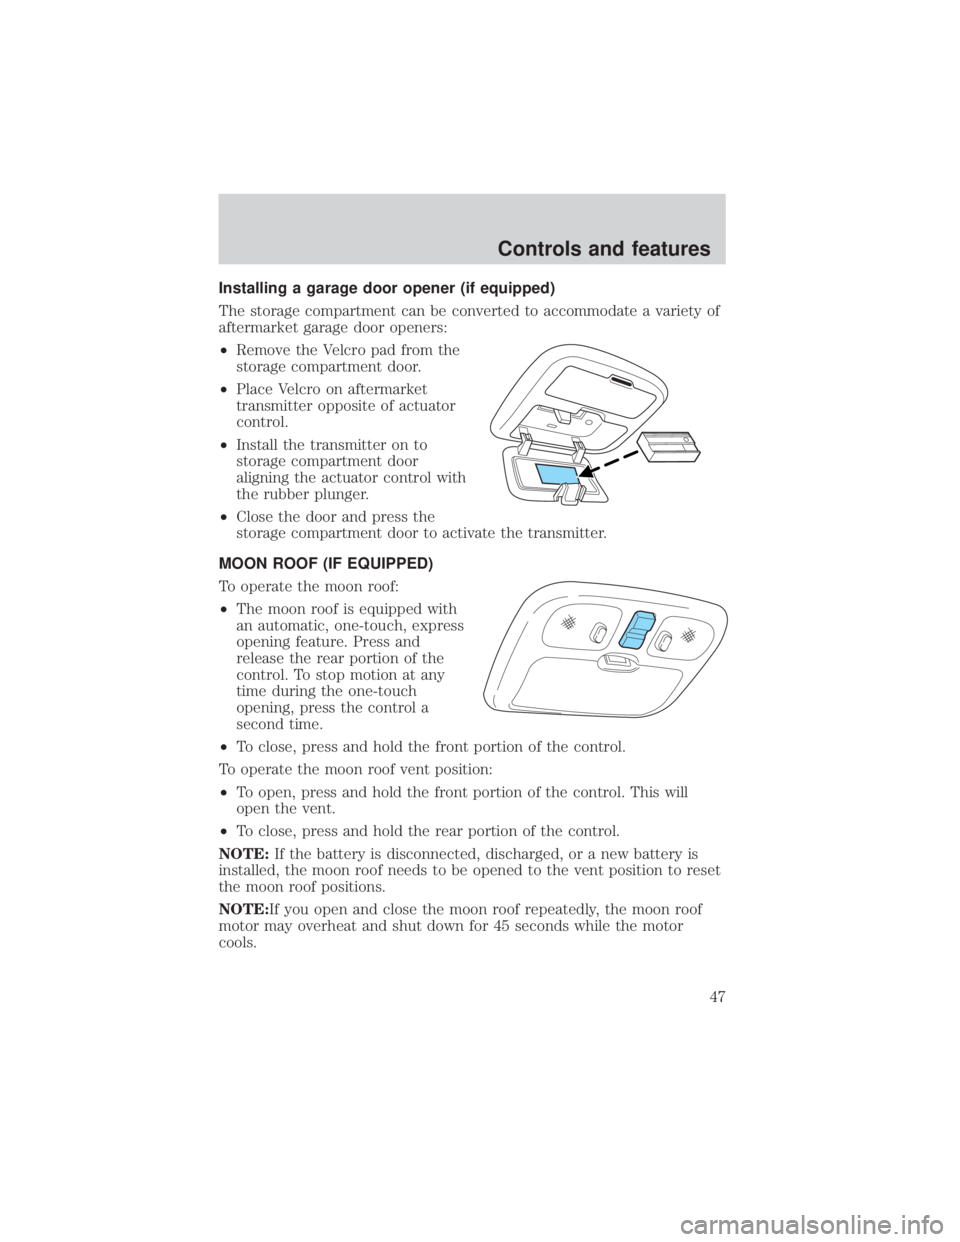
²Remove the Velcro pad from the
storage compartment door.
² Place Velcro on aftermarket
transmitter opposite of actuator
control.
² Install the transmitter on to
storage compartment door
aligning the actuator control with
the rubber plunger.
² Close the door and press the
storage compartment door to activate the transmitter.
MOON ROOF (IF EQUIPPED)
To operate the moon roof:
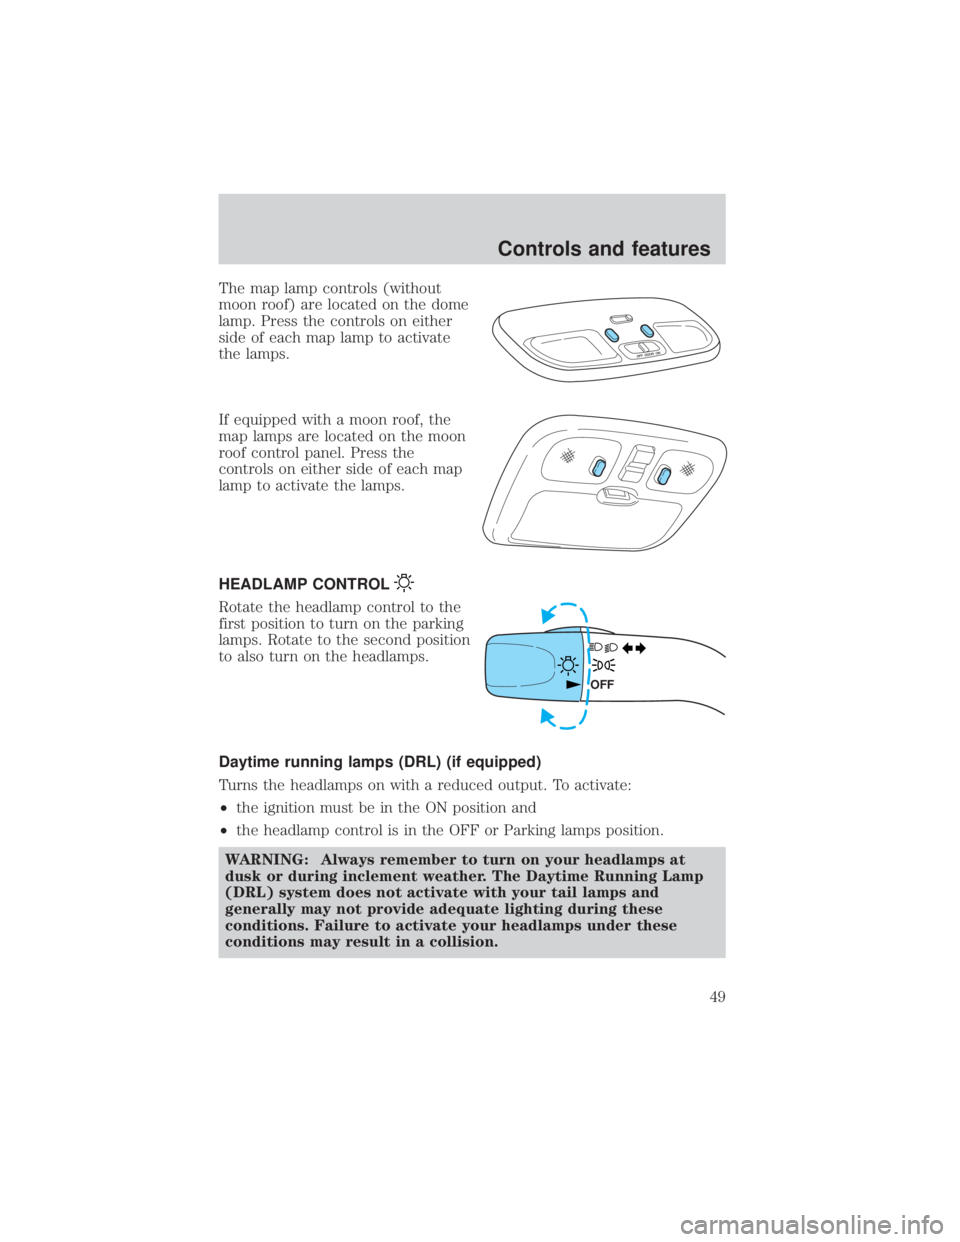
² The moon roof is equipped with
an automatic, one-touch, express
opening feature. Press and
release the rear portion of the
control. To stop motion at any
time during the one-touch
opening, press the control a
second time.
² To close, press and hold the front portion of the control.
To operate the moon roof vent position:
² To open, press and hold the front portion of the control. This will
open the vent.
² To close, press and hold the rear portion of the control.
NOTE: If the battery is disconnected, discharged, or a new battery is
installed, the moon roof needs to be opened to the vent position to reset
the moon roof positions.
NOTE:If you open and close the moon roof repeatedly, the moon roof
motor may overheat and shut down for 45 seconds while the motor
cools.
Controls and features
47
Page 48 of 232

WARNING: Do not let children play with the moon roof. They
may seriously injure themselves.
INTERIOR LAMPS
Cargo and dome lamp
Rear cargo lamp equipped with an
ON/OFF/DOOR control will light
when:
² the doors are closed and the
control is in the ON position.
² the control is in the DOOR
position and any door is open.
² the headlamp control is rotated
fully counterclockwise.
When the control is in the OFF
position, it will not illuminate when you open the doors or fully rotate
the headlamp control.
Dome lamps and map lamps
The front dome lamp is located overhead between the driver and
passenger seats.
The dome lamp will stay on if the
control is moved to the passenger
side position. When the control is in
the middle position, the lamp will
only come on when a door is
opened. If the control is moved to
the driver's side position, the lamp
will not come on at all.
With the control in the middle position, the dome lamp will illuminate
whenever any door is opened. If any door has been opened from the
outside, the lamp will remain on for 15 seconds after the door is shut.
DOOR OFF ON
Controls and features
48
Page 49 of 232

The map lamp controls (without
moon roof) are located on the dome
lamp. Press the controls on either
side of each map lamp to activate
the lamps.
If equipped with a moon roof, the
map lamps are located on the moon
roof control panel. Press the
controls on either side of each map
lamp to activate the lamps.
HEADLAMP CONTROL
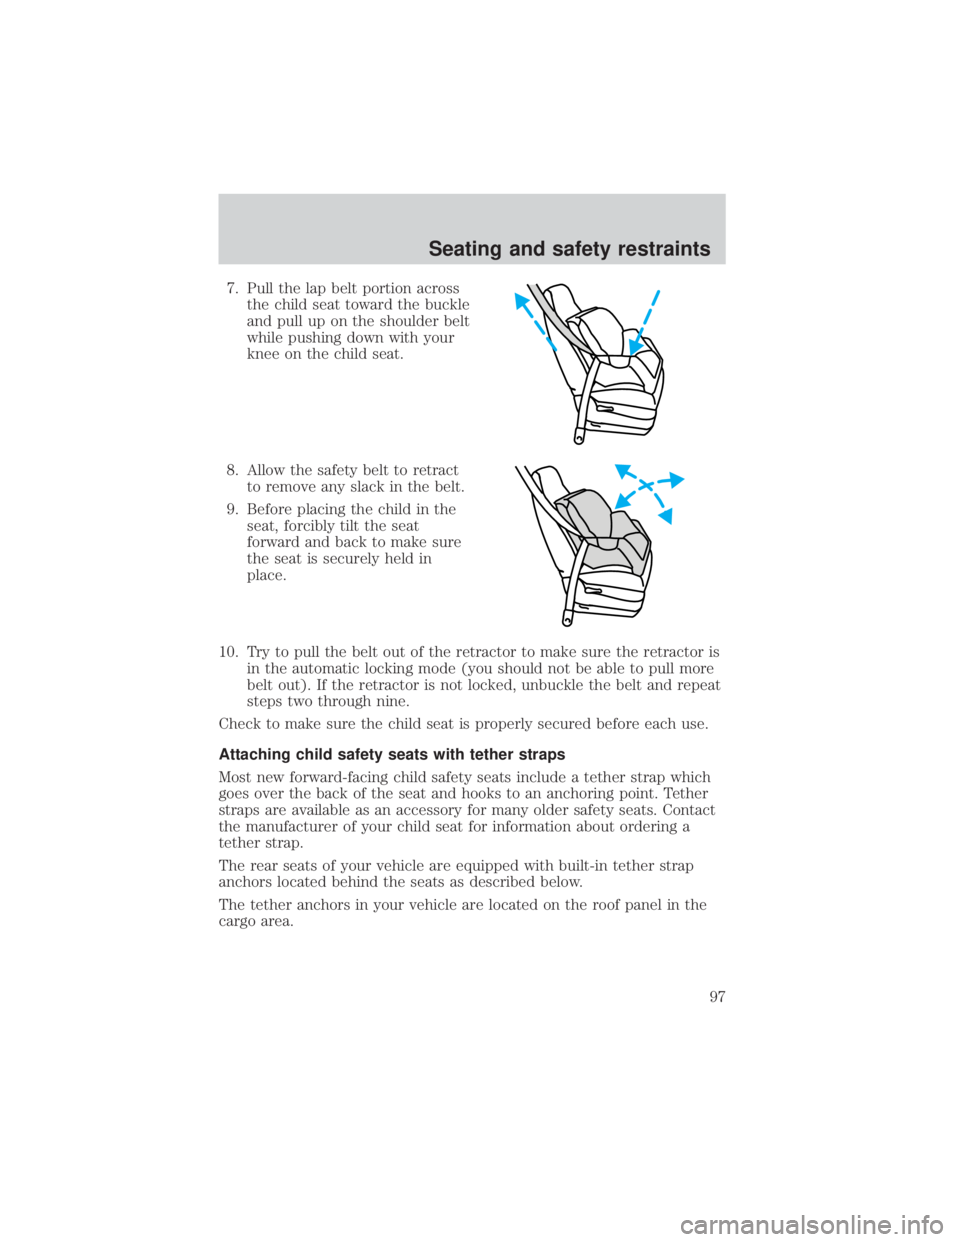
Rotate the headlamp control to the
first position to turn on the parking
lamps. Rotate to the second position
to also turn on the headlamps.
Daytime running lamps (DRL) (if equipped)
Turns the headlamps on with a reduced output. To activate:
²the ignition must be in the ON position and
² the headlamp control is in the OFF or Parking lamps position.
WARNING: Always remember to turn on your headlamps at
dusk or during inclement weather. The Daytime Running Lamp
(DRL) system does not activate with your tail lamps and
generally may not provide adequate lighting during these
conditions. Failure to activate your headlamps under these
conditions may result in a collision.
OFF
Controls and features
49
Page 53 of 232
CHILDPROOF DOOR LOCKS
When these locks are set, the rear
doors cannot be opened from the
inside. The rear doors can be
opened from the outside when the
doors are unlocked.
The childproof locks are located on
rear edge of each rear door and
must be set separately for each
door.
NOTE:Setting the lock for one door
will not automatically set the lock
for both doors.
Rotate lock control in the direction
of arrow to engage the lock. Rotate
control in the opposite direction to
disengage childproof locks.
CENTER CONSOLE
Your vehicle may be equipped with a variety of console features. These
include:
²Utility compartment
² Cupholders
² Ashcup
WARNING: Use only soft cups in the cupholder. Hard objects
can injure you in a collision.
Controls and features
53
Page 97 of 232

7. Pull the lap belt portion acrossthe child seat toward the buckle
and pull up on the shoulder belt
while pushing down with your
knee on the child seat.
8. Allow the safety belt to retract to remove any slack in the belt.
9. Before placing the child in the seat, forcibly tilt the seat
forward and back to make sure
the seat is securely held in
place.
10. Try to pull the belt out of the retractor to make sure the retractor is in the automatic locking mode (you should not be able to pull more
belt out). If the retractor is not locked, unbuckle the belt and repeat
steps two through nine.
Check to make sure the child seat is properly secured before each use.
Attaching child safety seats with tether straps
Most new forward-facing child safety seats include a tether strap which
goes over the back of the seat and hooks to an anchoring point. Tether
straps are available as an accessory for many older safety seats. Contact
the manufacturer of your child seat for information about ordering a
tether strap.
The rear seats of your vehicle are equipped with built-in tether strap
anchors located behind the seats as described below.
The tether anchors in your vehicle are located on the roof panel in the
cargo area.
Seating and safety restraints
97
Page 131 of 232

Recreational towing
An example of ªrecreational towingº is towing your vehicle behind a
motorhome.
If your vehicle is automatic transmission equipped, with a 4x2
(front-wheel drive only) configured powertrain, ªrecreational towingº is
permitted by trailering the vehicle with its front wheels on a dolly. This
protects the transmission's internal mechanical components from
potential lack of lubrication damage.
If your vehicle is automatic transmission equipped, with a 4x4 (all-wheel
drive) configured powertrain, ªrecreational towingº is permitted only if
the vehicle is trailered with all four (4) wheels off the ground. Otherwise,
no ªrecreational towingº is permitted.
If your vehicle is manual transmission equipped, shifting the transmission
into neutral permits ªflat-towingº (all wheels on the ground) for pulling
behind a motorhome. Your vehicle may be towed up to a speed of
120 km/h (75 mph) but you should always obey local speed limits.
For other towing requirements, refer toWrecker Towingin the
Roadside emergencies chapter.
LUGGAGE RACK
Your vehicle is equipped with a roof rack. The maximum load for the roof
rack is 44 kg (100 lbs), evenly distributed on the crossbars. If it is not
possible to evenly distribute the load, position it in the center or as far
forward on the crossbars as possible. Always use the adjustable tie down
loops to secure the load.
To adjust the cross-bar position: 1. Loosen the thumbwheel at both ends of the cross-bar (both
cross-bars are adjustable).
2. Slide the cross-bar to the desired location.
3. Tighten the thumbwheel at both ends of the cross-bar.
Driving
131
Page 132 of 232
To remove the cross-bar assembly from the roof rack side rails:1. Loosen the thumbwheel at both ends of the cross-bar (both
cross-bars are adjustable).
2. Slide the cross-bar to the end of the rail.
3. Use a long, flat object in order to depress the tongue in the
endcaps on both sides of the
cross-bar.
4. Slide the cross-bar assembly and the tie down loop off the end of
the rail.
Driving
132
Page 133 of 232
To reinstall the cross-bar assembly to the roof rack side rails:1. Ensure that both cross-bar assemblies are installed with the
F (front) arrow facing towards
the front of the vehicle.
2. Use a long, flat object to depress the tongue in the
endcaps on both sides of the
cross-bar.
3. Slide the tie down loops and the cross-bar assemblies over the end cap tongue and into the side rails.
4. Tighten thumbwheel at both ends of the cross-bar.
Driving
133