2001 MAZDA MODEL TRIBUTE 4WD four wheel drive
[x] Cancel search: four wheel drivePage 12 of 232

Charging system
Illuminates when the ignition is
turned to the ON position and the
engine is off. The light also
illuminates when the battery is not
charging properly, requiring
electrical system service.
Engine oil pressure
Momentarily illuminates when the
ignition is turned to the ON
position. Illuminates when the oil
pressure falls below the normal
range when the engine is running.
To avoid engine damage, stop the vehicle as soon as safely
possible and switch off the engine immediately. Check the oil
level and add oil if needed.
Refer toEngine oil in theMaintenance and care chapter.
Four wheel drive indicator (if equipped)
Illuminates when 4x4 switch control
is turn to the ON position.
NOTE: If the light continues to
flash have the system serviced.
Door ajar
Illuminates when any door, liftgate
or liftgate window is open.
Instrumentation
12
Page 19 of 232

Fold-away mirrors
Pull the side mirrors in carefully
when driving through a narrow
space, like an automatic car wash.
FOUR WHEEL DRIVE (4X4) CONTROL (IF EQUIPPED)
This control operates the four wheel
drive (4X4) system. Refer to the
Drivingchapter for more
information.
REAR WINDOW DEFROSTER CONTROL
The rear defroster control is located
on the instrument panel.
Press the rear defroster control to
clear the rear window of thin ice
and fog.
² The small LED will illuminate
when the rear defroster is
activated.
The ignition must be in the ON position to operate the rear window
defroster.
NOTE:The rear defroster does not shut off automatically. It will turn off
when the ignition is turned to the OFF position, but will turn back on
when the ignition is turned to the ON position. Push the rear window
defroster control to turn it off (small LED not illuminated).
HAZARD FLASHER
For information on the hazard flasher control, refer to Hazard flasherin
the Roadside emergencies chapter.
LOCK
Controls and features
19
Page 107 of 232

BRAKES
Your service brakes are self-adjusting. Refer to the service maintenance
section for scheduled maintenance.
Occasional brake noise is normal and often does not indicate a
performance concern with the vehicle's brake system. In normal
operation, automotive brake systems may emit occasional or intermittent
squeal or groan noises when the brakes are applied. Such noises are
usually heard during the first few brake applications in the morning;
however, they may be heard at any time while braking and can be
aggravated by environmental conditions such as cold, heat, moisture,
road dust, salt or mud. If a ªmetal-to-metal,º ªcontinuous grindingº or
ªcontinuous squealº sound is present while braking, the brake linings
may be worn-out and should be inspected by an authorized Mazda
dealership.
Four-wheel anti-lock brake system (ABS) (if equipped)
If the vehicle is equipped with an anti-lock braking system (ABS), a
noise from the hydraulic pump motor and pulsation in the pedal may be
observed during ABS braking events. Pedal pulsation coupled with noise
while braking under panic conditions or on loose gravel, bumps, wet or
snowy roads is normal and indicates proper functioning of the vehicle's
anti-lock brake system.
NOTE:The ABS performs a self-check after you start the engine and
begin to drive away.
A brief mechanical noise may be heard during this test. This is normal. If
a malfunction is found, the ABS warning light will come on. If the vehicle
has continuous vibration or shudder in the steering wheel while braking,
the vehicle should be inspected by an authorized Mazda dealership.
The ABS operates by detecting the
onset of wheel lockup during brake
applications and compensates for
this tendency. The wheels are
prevented from locking even when
the brakes are firmly applied. The
accompanying illustration depicts
the advantage of an ABS equipped
vehicle (on bottom) to a non-ABS
equipped vehicle (on top) during hard braking with loss of front braking
traction.
Driving
107
Page 111 of 232

WARNING: Vehicles with a higher center of gravity such as
utility and four-wheel drive vehicles handle differently than
vehicles with a lower center of gravity. Utility and four-wheel
drive vehicles are not designed for cornering at speeds as high
as passenger cars any more than low-slung sports cars are
designed to perform satisfactorily under off-road conditions.
Avoid sharp turns, excessive speed and abrupt maneuvers in
these vehicles. Failure to drive cautiously could result in an
increased risk of vehicle rollover, personal injury and death.
WARNING: Loaded vehicles, with a higher center of gravity,
may handle differently than unloaded vehicles. Extra
precautions, such as slower speeds and increased stopping
distance, should be taken when driving a heavily loaded vehicle.
Your vehicle has the capability to haul more cargo and people than most
passenger cars. Depending upon the type and placement of the load,
hauling people and cargo may raise the center of gravity of the vehicle.
Use extra caution while becoming familiar with your vehicle. Know the
capabilities and limitations of both you as a driver and your vehicle.
AUTOMATIC TRANSAXLE OPERATION (IF EQUIPPED)
Brake-shift interlock
This vehicle is equipped with a brake-shift interlock feature that prevents
the gearshift lever from being moved from P (Park) unless the brake
pedal is depressed.
NOTE:If the gearshift lever cannot be moved from P (Park) with the
brake pedal depressed, it is possible that a fuse has blown or the
vehicle's brakelamps are not operating properly. Refer to Fuses and
relays in theRoadside emergencies chapter.
WARNING: Do not drive your vehicle until you verify that the
brakelamps are working. A rear end colission may result after
you brake.
If your vehicle gets stuck in mud or snow it may be rocked out by
shifting between forward and reverse gears, stopping between shifts, in a
steady pattern. Press lightly on the accelerator in each gear.
Driving
111
Page 120 of 232

FOUR WHEEL DRIVE (4X4) SYSTEM (IF EQUIPPED)
4x4 system general informationWARNING: For important information regarding safe operation
of this type of vehicle, see Preparing to drive your vehicle in
this chapter.
Your vehicle is equipped with a 4x4 system. This 4x4 system can use all
four wheels to power the vehicle. This helps increase traction, enabling
you to drive your vehicle over terrain and road conditions not normally
traveled by two-wheel drive vehicles.
Power is always supplied to the front wheels and to the rear wheels
through the transaxle and Rotary Blade Coupling (RBC) unit that allows
you to select a four-wheel drive mode best suited for your current
driving conditions.
For the lubricant specification and refill capacity of the Power Take-Off
Unit and rear axle refer to the Capacities and specifications chapter.
Operating modes of the 4x4 system
The 4x4 system functions in two modes:
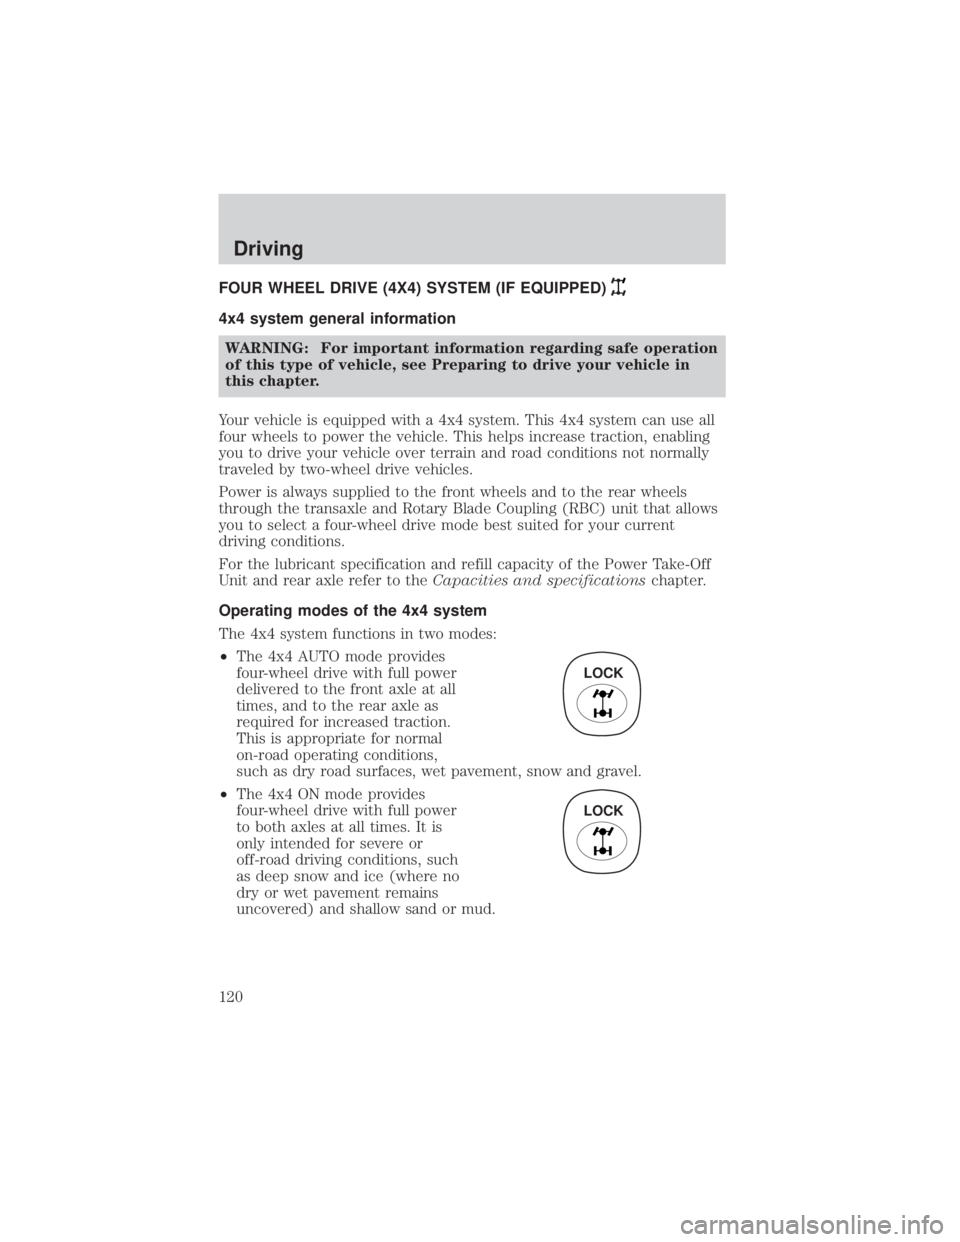
² The 4x4 AUTO mode provides
four-wheel drive with full power
delivered to the front axle at all
times, and to the rear axle as
required for increased traction.
This is appropriate for normal
on-road operating conditions,
such as dry road surfaces, wet pavement, snow and gravel.
² The 4x4 ON mode provides
four-wheel drive with full power
to both axles at all times. It is
only intended for severe or
off-road driving conditions, such
as deep snow and ice (where no
dry or wet pavement remains
uncovered) and shallow sand or mud.
LOCK
LOCK
Driving
120
Page 121 of 232

²The vehicle should not be operated in the 4x4 ON mode on dry
or merely wet pavement. Doing so will produce excessive noise,
increase tire wear and may damage driveline components. The
4x4 ON mode is intended for use only on consistently slippery
or loose surfaces.
² If your vehicle is equipped with this 4x4 system, a spare tire of
a different diameter than the road tires should never be used.
Such a tire could result in damage to driveline components and
make the vehicle difficult to control.
WARNING: Utility and four-wheel drive vehicles are not
designed for cornering at speeds as high as passenger cars any
more than low-slung sports cars are designed to perform
satisfactorily under off-road conditions. Avoid sharp turns or
abrupt maneuvers in these vehicles.
4x4 system indicator lights
The 4x4 mode indicator light illuminates only under the following
conditions. If the indicator light illuminates when driving in the 4x4
AUTO mode, contact your Mazda dealer as soon as possible.
The indicator light illuminates when the 4x4 ON mode is engaged.
Shifting between 4x4 Auto and ON modes
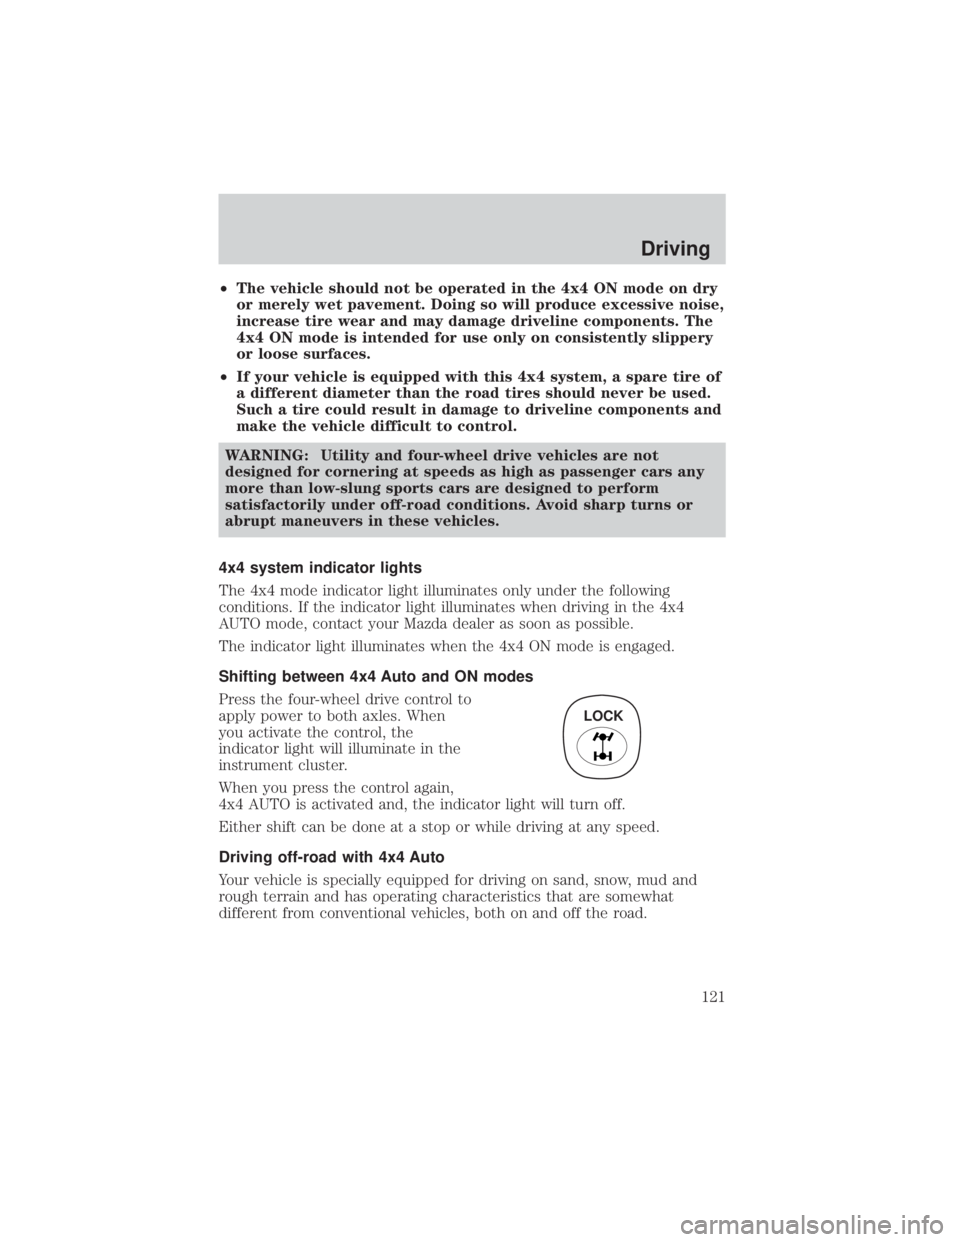
Press the four-wheel drive control to
apply power to both axles. When
you activate the control, the
indicator light will illuminate in the
instrument cluster.
When you press the control again,
4x4 AUTO is activated and, the indicator light will turn off.
Either shift can be done at a stop or while driving at any speed.
Driving off-road with 4x4 Auto
Your vehicle is specially equipped for driving on sand, snow, mud and
rough terrain and has operating characteristics that are somewhat
different from conventional vehicles, both on and off the road.
LOCK
Driving
121
Page 122 of 232

²Maintain steering wheel control at all times, especially in
rough terrain. Since sudden changes in terrain can result in
abrupt steering wheel motion, make sure you grip the steering
wheel from the outside. Do not grip the spokes.
² Drive cautiously to avoid vehicle damage from concealed
objects such as rocks and stumps.
You should either know the terrain or examine maps of the area before
driving. Map out your route before driving in the area.
If your vehicle gets stuck
If the vehicle is stuck in mud or snow select the 4x4 ON operating mode.
It may be rocked out by shifting from forward and reverse gears,
stopping between shifts, in a steady pattern. Press lightly on the
accelerator in each gear.
² Do not rock the vehicle if the engine is not at normal operating
temperature or damage to the transaxle may occur.
²
Do not rock the vehicle for more than a few minutes or damage
to the transaxle and tires may occur or the engine may overheat.
WARNING: Do not spin the wheels at over 56 km/h (35 mph).
The tires may fail and injure a passenger or bystander.
Sand
When driving over sand, try to keep all four wheels on the most solid
area of the trail. Do not reduce the tire pressures but shift to a lower
gear and drive steadily through the terrain. Apply the accelerator slowly
and avoid spinning the wheels.
Mud and water
NOTE:
² If you must drive through high water, drive slowly. Traction or brake
capability may be limited.
² When driving through water, determine the depth; avoid water higher
than the bottom of the hubs (if possible) and proceed slowly. If the
ignition system gets wet, the vehicle may stall.
² Once through water, always try the brakes. Wet brakes do not stop the
vehicle as effectively as dry brakes. Drying can be improved by moving
your vehicle slowly while applying light pressure on the brake pedal.
Driving
122
Page 131 of 232

Recreational towing
An example of ªrecreational towingº is towing your vehicle behind a
motorhome.
If your vehicle is automatic transmission equipped, with a 4x2
(front-wheel drive only) configured powertrain, ªrecreational towingº is
permitted by trailering the vehicle with its front wheels on a dolly. This
protects the transmission's internal mechanical components from
potential lack of lubrication damage.
If your vehicle is automatic transmission equipped, with a 4x4 (all-wheel
drive) configured powertrain, ªrecreational towingº is permitted only if
the vehicle is trailered with all four (4) wheels off the ground. Otherwise,
no ªrecreational towingº is permitted.
If your vehicle is manual transmission equipped, shifting the transmission
into neutral permits ªflat-towingº (all wheels on the ground) for pulling
behind a motorhome. Your vehicle may be towed up to a speed of
120 km/h (75 mph) but you should always obey local speed limits.
For other towing requirements, refer toWrecker Towingin the
Roadside emergencies chapter.
LUGGAGE RACK
Your vehicle is equipped with a roof rack. The maximum load for the roof
rack is 44 kg (100 lbs), evenly distributed on the crossbars. If it is not
possible to evenly distribute the load, position it in the center or as far
forward on the crossbars as possible. Always use the adjustable tie down
loops to secure the load.
To adjust the cross-bar position: 1. Loosen the thumbwheel at both ends of the cross-bar (both
cross-bars are adjustable).
2. Slide the cross-bar to the desired location.
3. Tighten the thumbwheel at both ends of the cross-bar.
Driving
131