Page 14 of 240
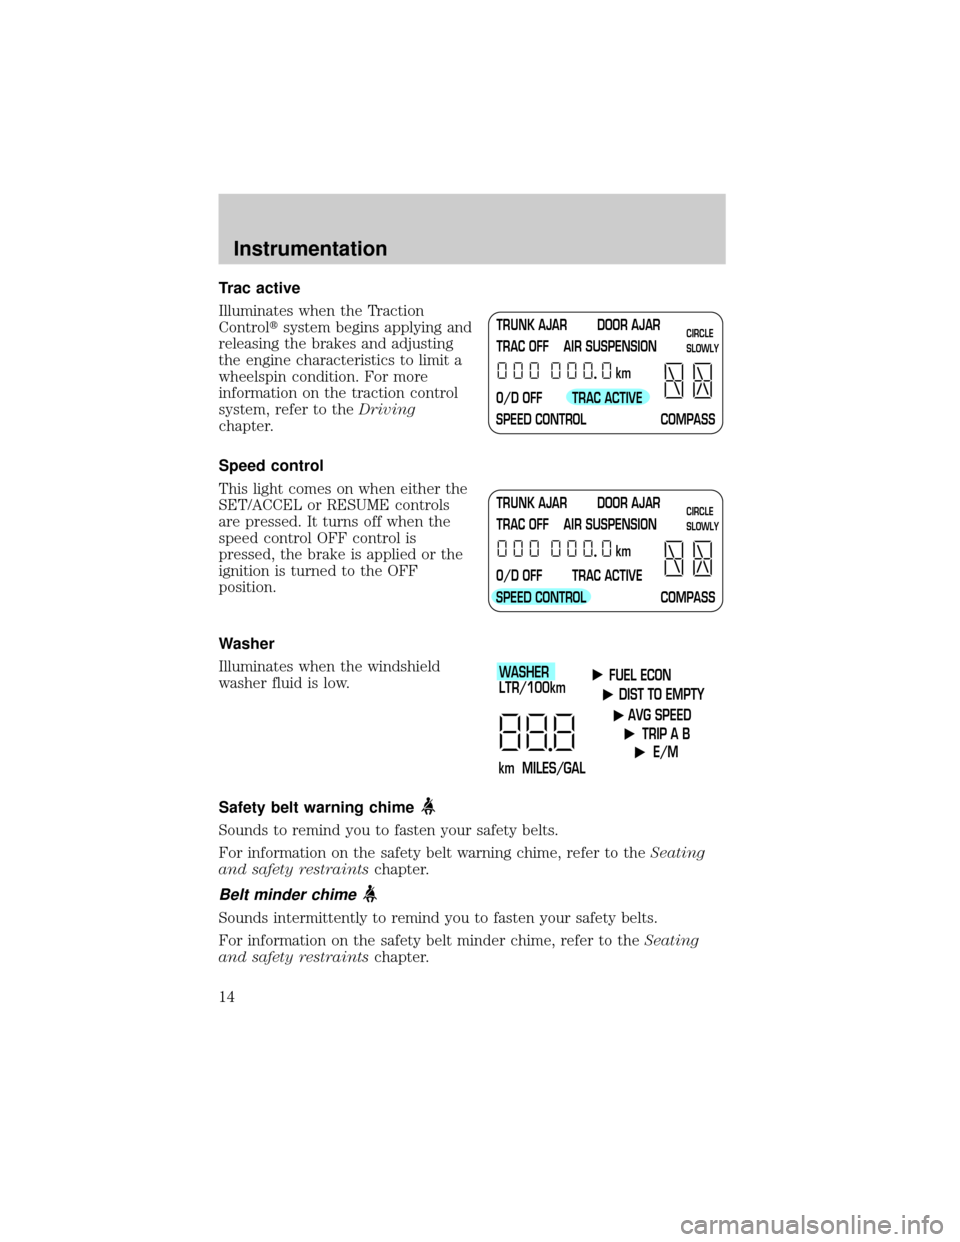
Trac active
Illuminates when the Traction
Controltsystem begins applying and
releasing the brakes and adjusting
the engine characteristics to limit a
wheelspin condition. For more
information on the traction control
system, refer to theDriving
chapter.
Speed control
This light comes on when either the
SET/ACCEL or RESUME controls
are pressed. It turns off when the
speed control OFF control is
pressed, the brake is applied or the
ignition is turned to the OFF
position.
Washer
Illuminates when the windshield
washer fluid is low.
Safety belt warning chime
Sounds to remind you to fasten your safety belts.
For information on the safety belt warning chime, refer to theSeating
and safety restraintschapter.
Belt minder chime
Sounds intermittently to remind you to fasten your safety belts.
For information on the safety belt minder chime, refer to theSeating
and safety restraintschapter.
TRUNK AJAR DOOR AJAR
TRAC OFF AIR SUSPENSION
O/D OFF TRAC ACTIVE
SPEED CONTROL COMPASSkmCIRCLE
SLOWLY
TRUNK AJAR DOOR AJAR
TRAC OFF AIR SUSPENSION
O/D OFF TRAC ACTIVE
SPEED CONTROL COMPASSkmCIRCLE
SLOWLY
FUEL ECON
DIST TO EMPTY
AVG SPEED
TRIP A B
E/M
km MILES/GALWASHER
LTR/100km
Instrumentation
14
Page 27 of 240
CLIMATE CONTROL SYSTEM
Electronic Automatic Temperature Control (EATC) system
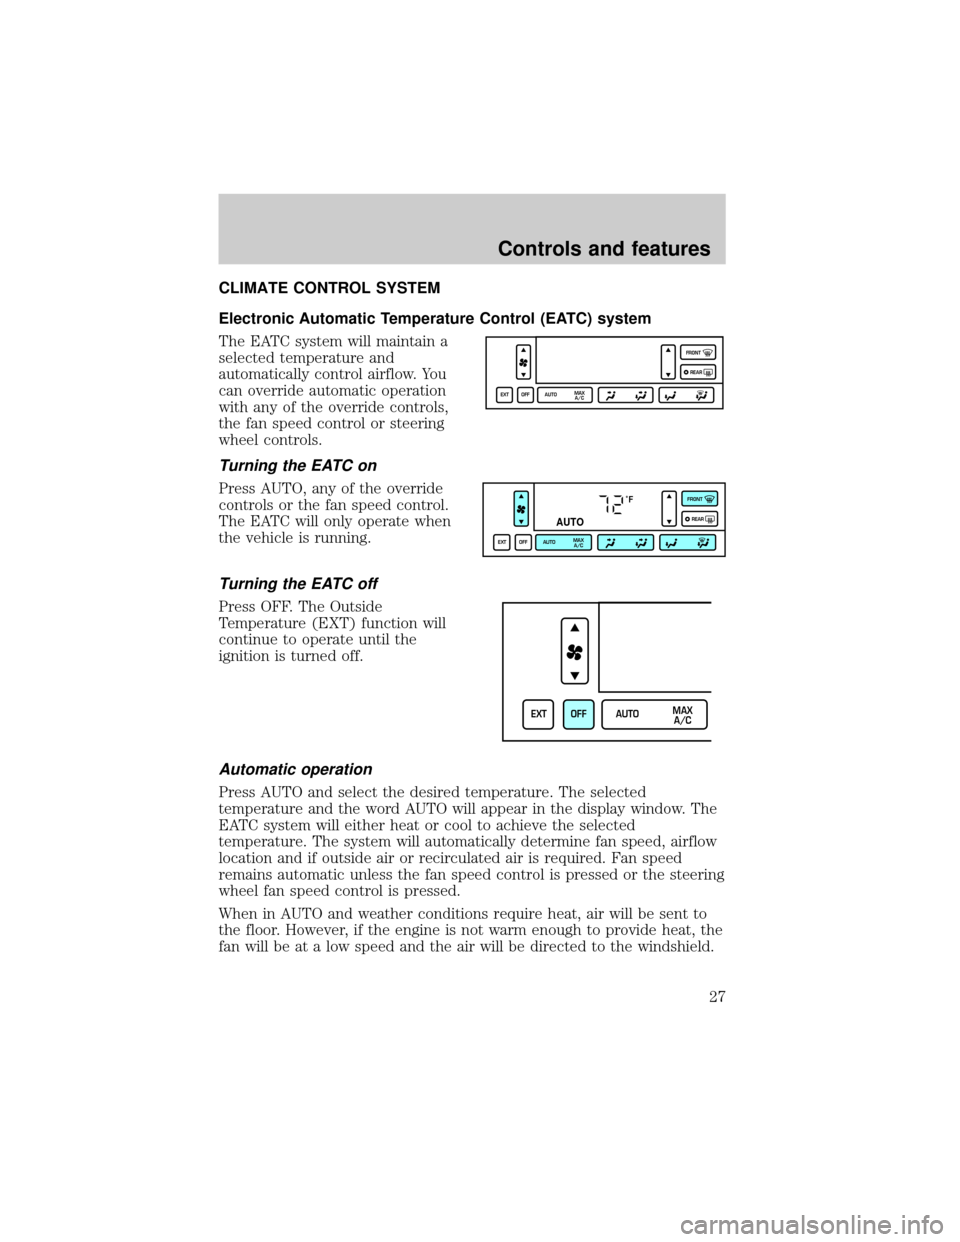
The EATC system will maintain a
selected temperature and
automatically control airflow. You
can override automatic operation
with any of the override controls,
the fan speed control or steering
wheel controls.
Turning the EATC on
Press AUTO, any of the override
controls or the fan speed control.
The EATC will only operate when
the vehicle is running.
Turning the EATC off
Press OFF. The Outside
Temperature (EXT) function will
continue to operate until the
ignition is turned off.
Automatic operation
Press AUTO and select the desired temperature. The selected
temperature and the word AUTO will appear in the display window. The
EATC system will either heat or cool to achieve the selected
temperature. The system will automatically determine fan speed, airflow
location and if outside air or recirculated air is required. Fan speed
remains automatic unless the fan speed control is pressed or the steering
wheel fan speed control is pressed.
When in AUTO and weather conditions require heat, air will be sent to
the floor. However, if the engine is not warm enough to provide heat, the
fan will be at a low speed and the air will be directed to the windshield.
EXT OFF AUTOMAX
A/CFRONT
REAR
˚F
AUTO
EXT OFF AUTOMAX
A/CFRONT
REAR
EXT OFF AUTOMAX
A/C
Controls and features
27
Page 29 of 240
Fan speed ()
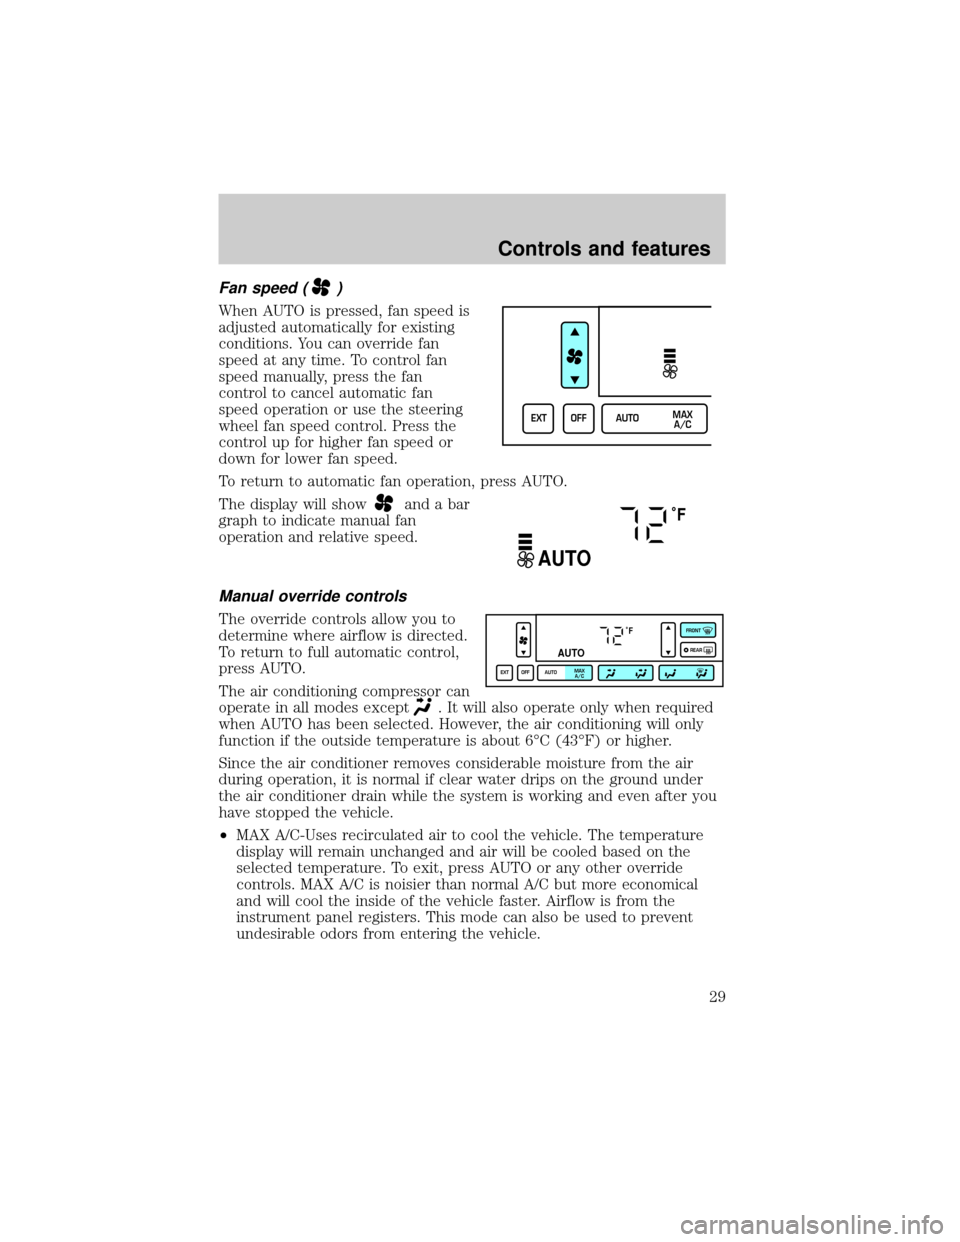
When AUTO is pressed, fan speed is
adjusted automatically for existing
conditions. You can override fan
speed at any time. To control fan
speed manually, press the fan
control to cancel automatic fan
speed operation or use the steering
wheel fan speed control. Press the
control up for higher fan speed or
down for lower fan speed.
To return to automatic fan operation, press AUTO.
The display will show
and a bar
graph to indicate manual fan
operation and relative speed.
Manual override controls
The override controls allow you to
determine where airflow is directed.
To return to full automatic control,
press AUTO.
The air conditioning compressor can
operate in all modes except
. It will also operate only when required
when AUTO has been selected. However, the air conditioning will only
function if the outside temperature is about 6ÉC (43ÉF) or higher.
Since the air conditioner removes considerable moisture from the air
during operation, it is normal if clear water drips on the ground under
the air conditioner drain while the system is working and even after you
have stopped the vehicle.
²MAX A/C-Uses recirculated air to cool the vehicle. The temperature
display will remain unchanged and air will be cooled based on the
selected temperature. To exit, press AUTO or any other override
controls. MAX A/C is noisier than normal A/C but more economical
and will cool the inside of the vehicle faster. Airflow is from the
instrument panel registers. This mode can also be used to prevent
undesirable odors from entering the vehicle.
EXT OFF AUTOMAX
A/C
˚F
AUTO
˚F
AUTO
EXT OFF AUTOMAX
A/CFRONT
REAR
Controls and features
29
Page 59 of 240
AUXILIARY POWER POINT
Power outlets are designed for
accessory plugs only. Do not
hang any type of accessory or
accessory bracket from the plug.
Improper use of the power
outlet can cause damage not
covered by your warranty.
The auxiliary power point is located
under the instrument panel. This
outlet should be used in place of the
cigarette lighter for optional
electrical accessories.
TRACTION CONTROLY
This control can be used to turn the
Traction Controlyon or off. Refer
to theTraction Controlysection of
theDrivingchapter for more
information.
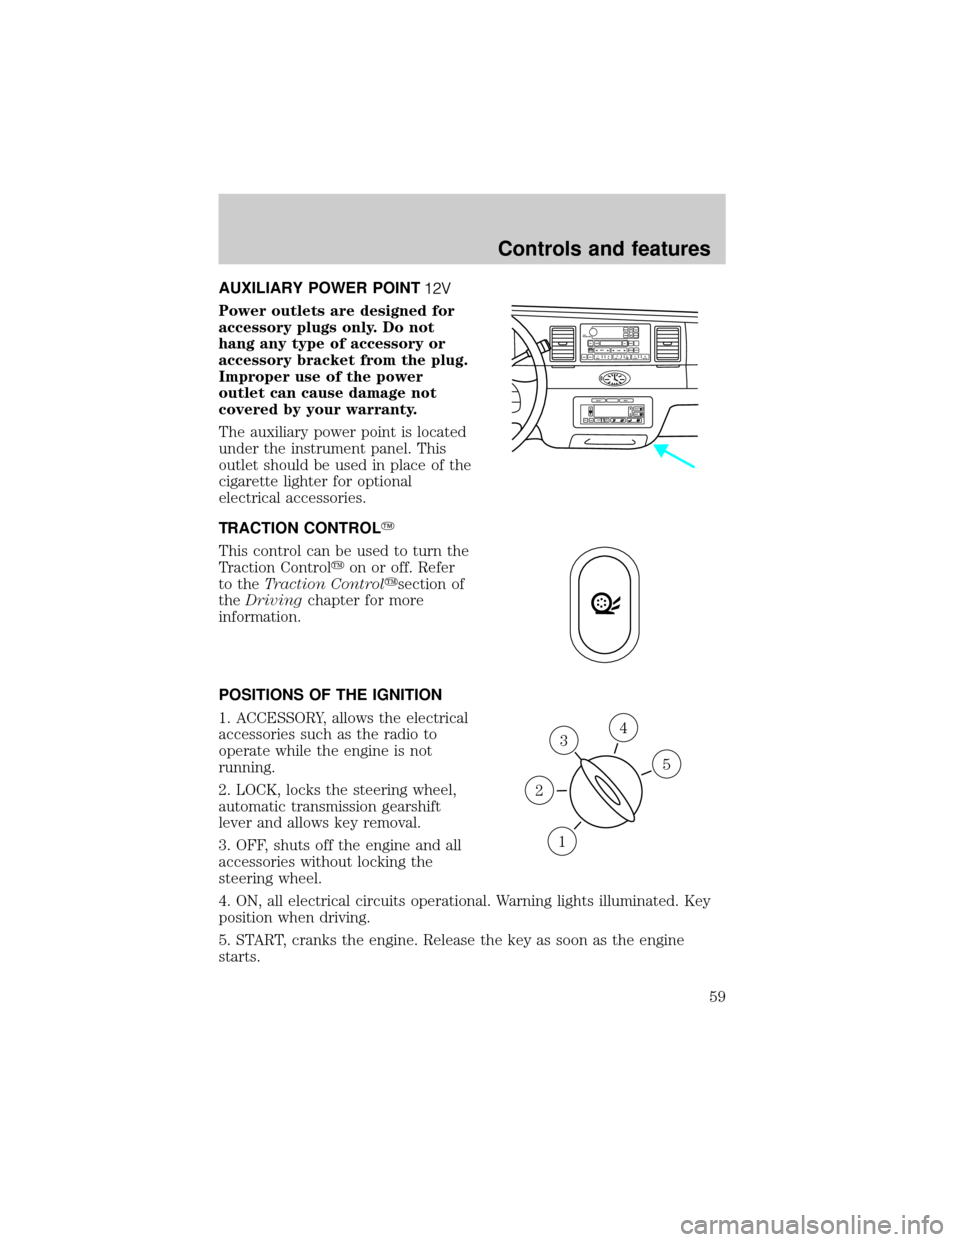
POSITIONS OF THE IGNITION
1. ACCESSORY, allows the electrical
accessories such as the radio to
operate while the engine is not
running.
2. LOCK, locks the steering wheel,
automatic transmission gearshift
lever and allows key removal.
3. OFF, shuts off the engine and all
accessories without locking the
steering wheel.
4. ON, all electrical circuits operational. Warning lights illuminated. Key
position when driving.
5. START, cranks the engine. Release the key as soon as the engine
starts.
VOL
PUSH ONTAPE
MUTESEEK
TUNE
AM
FM
REW
FFSIDE 1 2
COMP
SHUFFCDEJ
RDS
SCAN AUTO123
4
56
BASS
TREBSELBAL
FADE
EXT
OFFMAX
A/CAUTOFRONT
REARSELECTRESET
3
1
2
5
4
Controls and features
59
Page 60 of 240
KEYS
The vehicle is equipped with a master key and valet key lock system.
The master key will access doors, trunk, glove box, ignition and remote
trunk release. The valet key (marked ªvaletº) will access doors and
ignition only. Before using this key, lock the trunk remote control to
disable theTrunk remote controlon the drivers door, then lock the
glove compartment with your master key.
TILT STEERING
Pull the tilt steering control toward
you to move the steering wheel up
or down. Hold the control while
adjusting the wheel to the desired
position, then release the control.
Never adjust the steering wheel when the vehicle is moving.
TURN SIGNAL CONTROL
²Push down to activate the left
turn signal.
²Push up to activate the right turn
signal.
HI
LO
F
S
OFF
Controls and features
60
Page 65 of 240
To return to a previously set speed
²Press RES/RESUME. For
RES/RESUME to operate, the
vehicle speed must be faster than
48 km/h (30 mph).
Indicator light
Indicator message
This message is displayed in the
Message Center when either the
SET ACCEL or RES/RESUME
controls are pressed. It turns off when the speed control OFF is pressed,
the brake is applied or the ignition is turned to the OFF position.
STEERING WHEEL CONTROLS (IF EQUIPPED)
These controls allow you to operate some radio and climate control
features.
Radio control features
²Press BAND/MODE to select
AM, FM1, FM2, TAPE or CD
(if equipped).
In Radio mode:
²Press MEM/NEXT to select a
preset station from memory.
RES
SET
ACCEL
COAST
SPEED CONTROL
NEXT
MODE
Controls and features
65
Page 77 of 240
Radio/climate controls
Refer toSteering Wheel Controlsin
this chapter for operation
instructions.
Radio/climate controls lockout
The rear radio/climate control feature can be locked out by pressing the
3 and the 5 buttons on the radio simultaneously while the radio is on.
To enable the rear radio/climate controls, press the 3 and the 5
buttons again.
Remote seat adjustment
The rear passenger can move the front passenger seat forward or
backward using the control located in the rear center console.
NEXT
MODE
Controls and features
77
Page 94 of 240
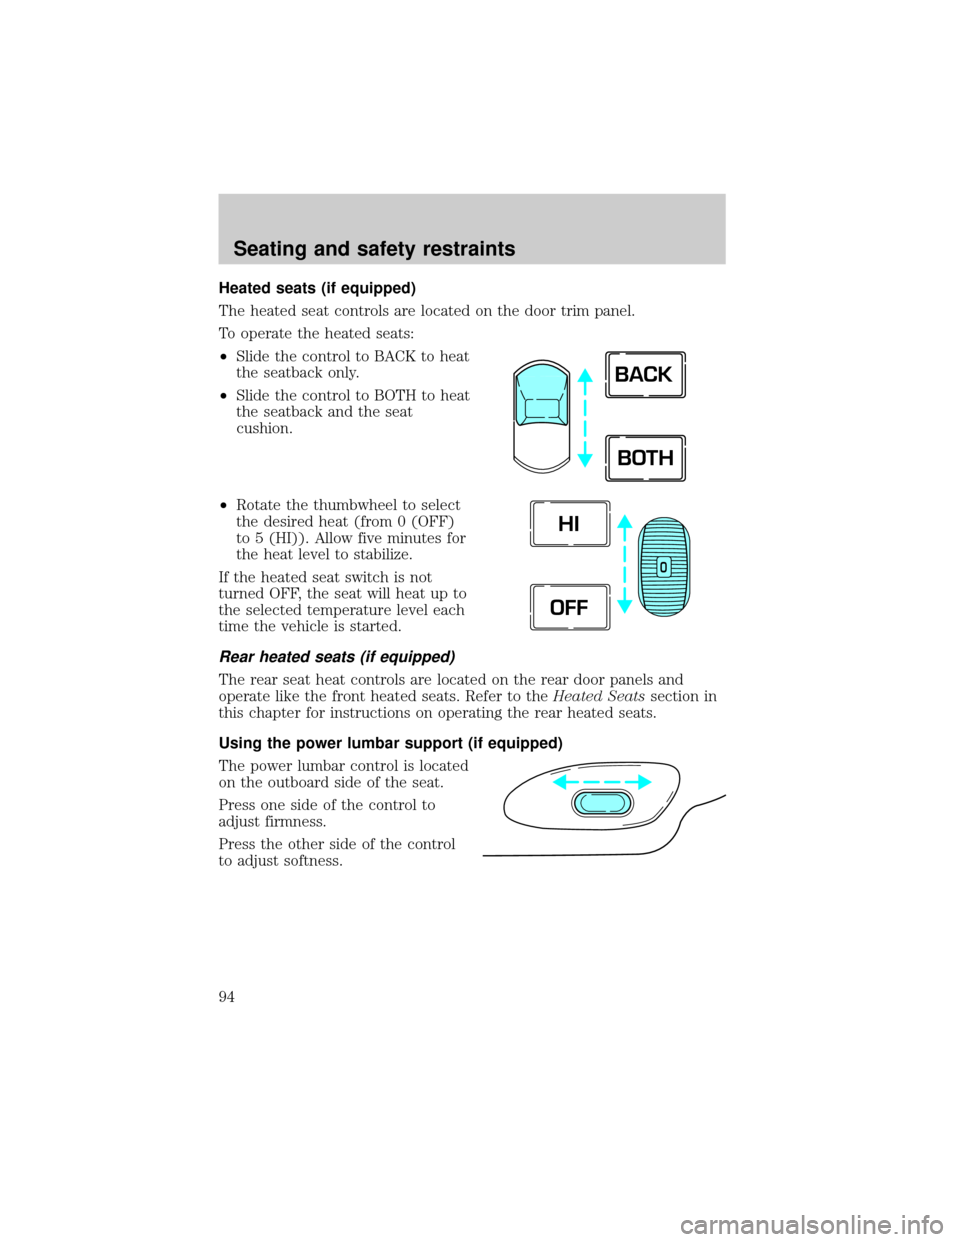
Heated seats (if equipped)
The heated seat controls are located on the door trim panel.
To operate the heated seats:
²Slide the control to BACK to heat
the seatback only.
²Slide the control to BOTH to heat
the seatback and the seat
cushion.
²Rotate the thumbwheel to select
the desired heat (from 0 (OFF)
to 5 (HI)). Allow five minutes for
the heat level to stabilize.
If the heated seat switch is not
turned OFF, the seat will heat up to
the selected temperature level each
time the vehicle is started.
Rear heated seats (if equipped)
The rear seat heat controls are located on the rear door panels and
operate like the front heated seats. Refer to theHeated Seatssection in
this chapter for instructions on operating the rear heated seats.
Using the power lumbar support (if equipped)
The power lumbar control is located
on the outboard side of the seat.
Press one side of the control to
adjust firmness.
Press the other side of the control
to adjust softness.
BACK
BOTH
O
HI
OFF
Seating and safety restraints
94