2001 LINCOLN TOWN CAR Compass
[x] Cancel search: CompassPage 19 of 240
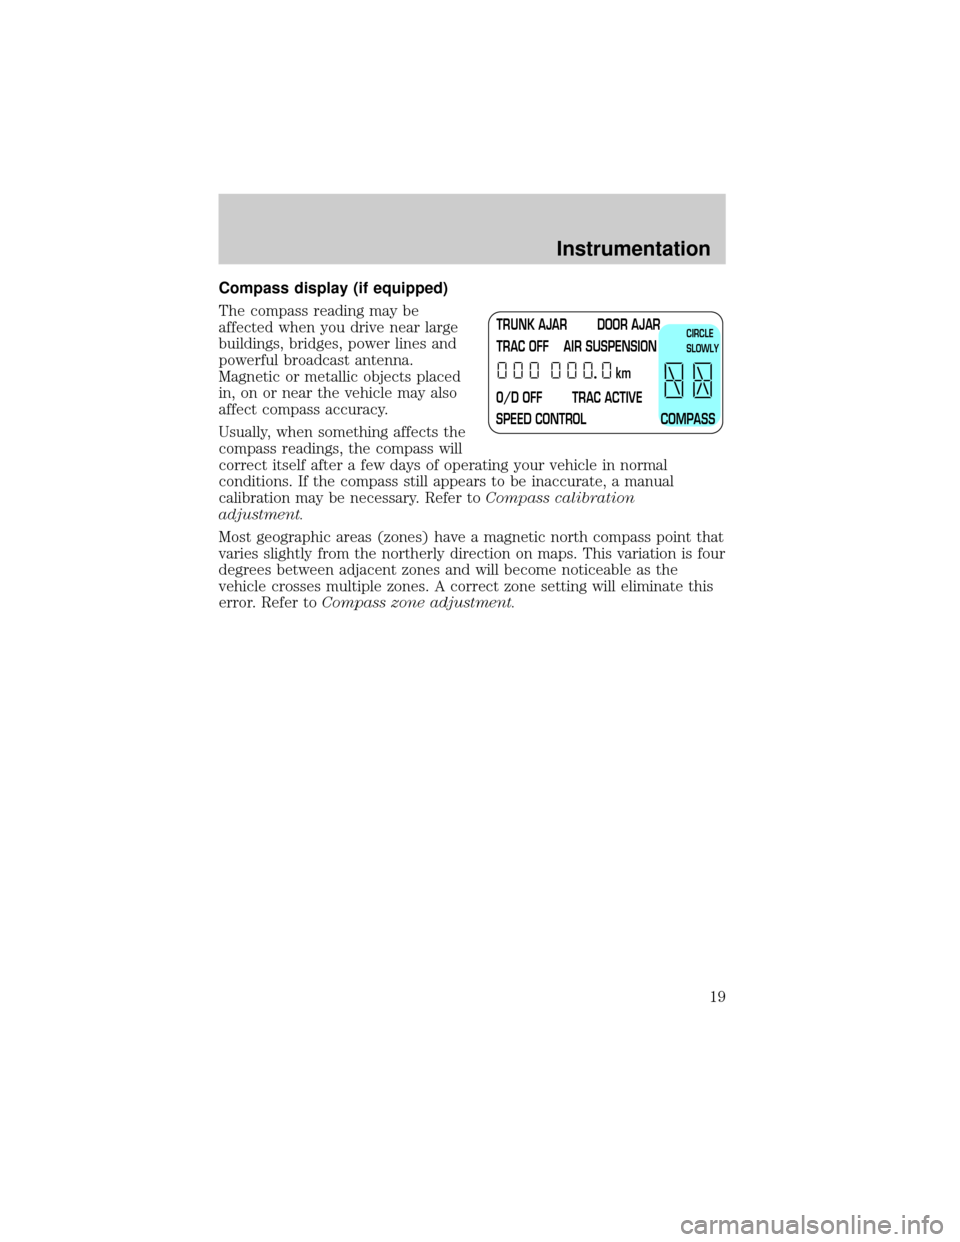
Compass display (if equipped)
The compass reading may be
affected when you drive near large
buildings, bridges, power lines and
powerful broadcast antenna.
Magnetic or metallic objects placed
in, on or near the vehicle may also
affect compass accuracy.
Usually, when something affects the
compass readings, the compass will
correct itself after a few days of operating your vehicle in normal
conditions. If the compass still appears to be inaccurate, a manual
calibration may be necessary. Refer toCompass calibration
adjustment.
Most geographic areas (zones) have a magnetic north compass point that
varies slightly from the northerly direction on maps. This variation is four
degrees between adjacent zones and will become noticeable as the
vehicle crosses multiple zones. A correct zone setting will eliminate this
error. Refer toCompass zone adjustment.
TRUNK AJAR DOOR AJAR
TRAC OFF AIR SUSPENSION
O/D OFF TRAC ACTIVE
SPEED CONTROL COMPASSkmCIRCLE
SLOWLY
Instrumentation
19
Page 20 of 240
Compass zone adjustment
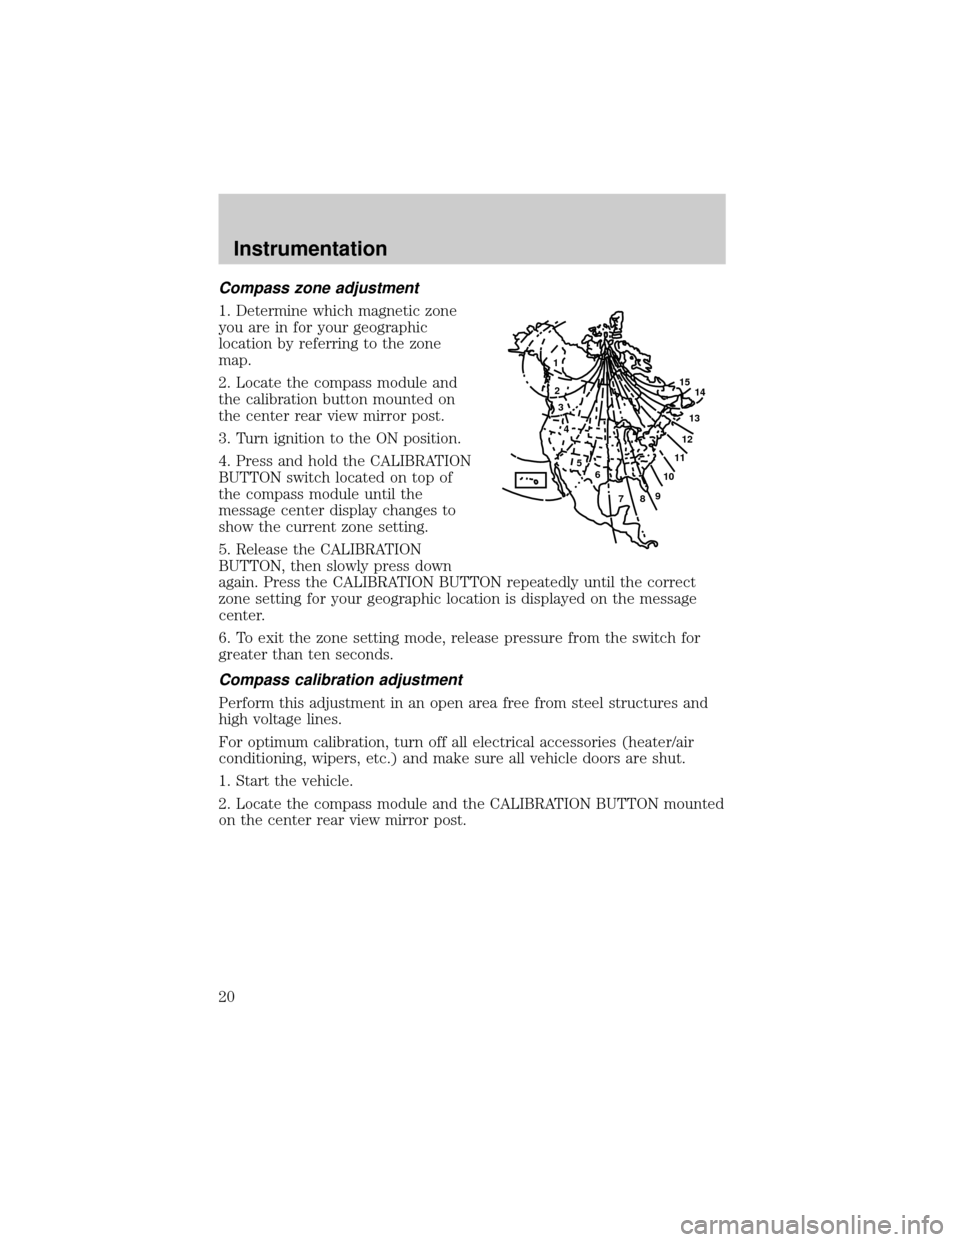
1. Determine which magnetic zone
you are in for your geographic
location by referring to the zone
map.
2. Locate the compass module and
the calibration button mounted on
the center rear view mirror post.
3. Turn ignition to the ON position.
4. Press and hold the CALIBRATION
BUTTON switch located on top of
the compass module until the
message center display changes to
show the current zone setting.
5. Release the CALIBRATION
BUTTON, then slowly press down
again. Press the CALIBRATION BUTTON repeatedly until the correct
zone setting for your geographic location is displayed on the message
center.
6. To exit the zone setting mode, release pressure from the switch for
greater than ten seconds.
Compass calibration adjustment
Perform this adjustment in an open area free from steel structures and
high voltage lines.
For optimum calibration, turn off all electrical accessories (heater/air
conditioning, wipers, etc.) and make sure all vehicle doors are shut.
1. Start the vehicle.
2. Locate the compass module and the CALIBRATION BUTTON mounted
on the center rear view mirror post.
1
2
3
4
5
6
7891011121314 15
Instrumentation
20
Page 21 of 240
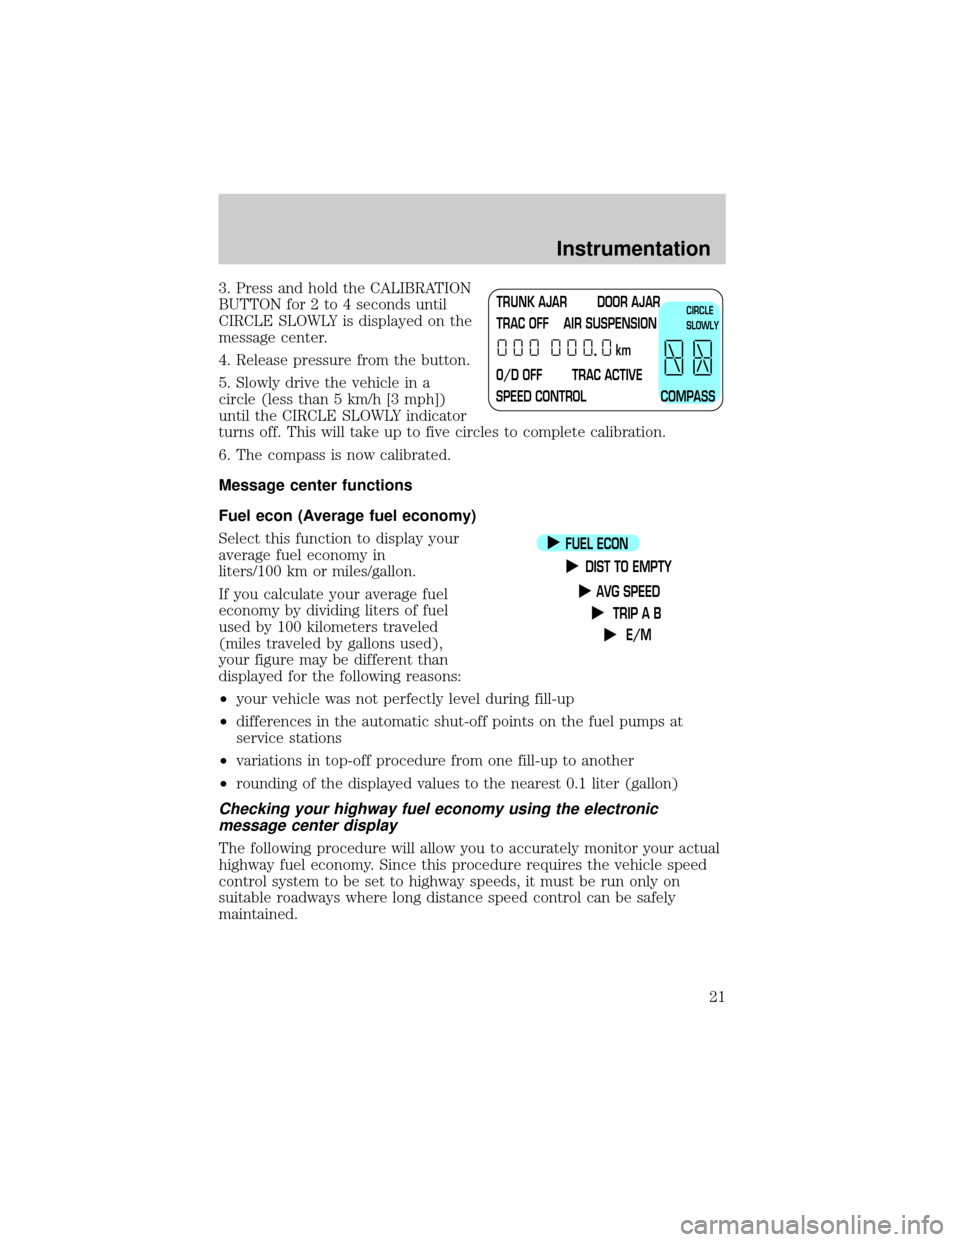
3. Press and hold the CALIBRATION
BUTTON for 2 to 4 seconds until
CIRCLE SLOWLY is displayed on the
message center.
4. Release pressure from the button.
5. Slowly drive the vehicle in a
circle (less than 5 km/h [3 mph])
until the CIRCLE SLOWLY indicator
turns off. This will take up to five circles to complete calibration.
6. The compass is now calibrated.
Message center functions
Fuel econ (Average fuel economy)
Select this function to display your
average fuel economy in
liters/100 km or miles/gallon.
If you calculate your average fuel
economy by dividing liters of fuel
used by 100 kilometers traveled
(miles traveled by gallons used),
your figure may be different than
displayed for the following reasons:
²your vehicle was not perfectly level during fill-up
²differences in the automatic shut-off points on the fuel pumps at
service stations
²variations in top-off procedure from one fill-up to another
²rounding of the displayed values to the nearest 0.1 liter (gallon)
Checking your highway fuel economy using the electronic
message center display
The following procedure will allow you to accurately monitor your actual
highway fuel economy. Since this procedure requires the vehicle speed
control system to be set to highway speeds, it must be run only on
suitable roadways where long distance speed control can be safely
maintained.
TRUNK AJAR DOOR AJAR
TRAC OFF AIR SUSPENSION
O/D OFF TRAC ACTIVE
SPEED CONTROL COMPASSkmCIRCLE
SLOWLY
FUEL ECON
DIST TO EMPTY
AVG SPEED
TRIP A B
E/M
Instrumentation
21
Page 127 of 240
2. Make sure the headlamps and vehicle accessories are off.
3. Make sure the gearshift is in P
(Park).
4. Make sure the parking brake is
set.
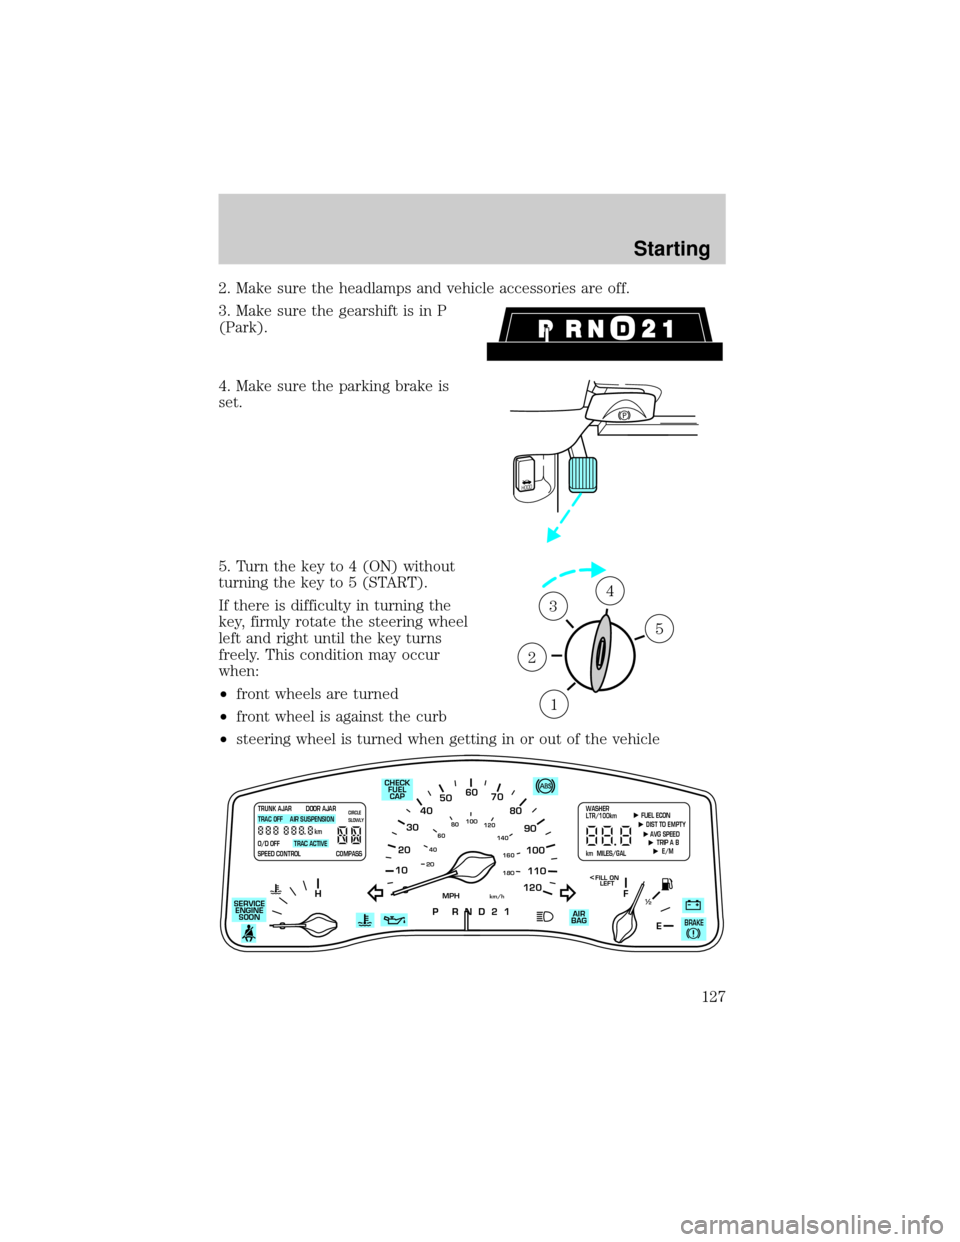
5. Turn the key to 4 (ON) without
turning the key to 5 (START).
If there is difficulty in turning the
key, firmly rotate the steering wheel
left and right until the key turns
freely. This condition may occur
when:
²front wheels are turned
²front wheel is against the curb
²steering wheel is turned when getting in or out of the vehicle
HOOD
1
2
34
5
10
2030405060
70
80
90
100
120206080
40100
120
160 140
180
P R N D 2 1
MPHkm/h
110
HF
E1
2
FILL ON
LEFT<
AIR
BAG SERVICE
ENGINE
SOON
TRUNK AJAR DOOR AJAR
TRAC OFF AIR SUSPENSION
O/D OFF TRAC ACTIVE
SPEED CONTROL COMPASSkmCIRCLE
SLOWLY FUEL ECON
DIST TO EMPTY
AVG SPEED
TRIP A B
E/M
km MILES/GALWASHER
LTR/100km
BRAKE
CHECK
FUEL
CAP
Starting
127
Page 138 of 240
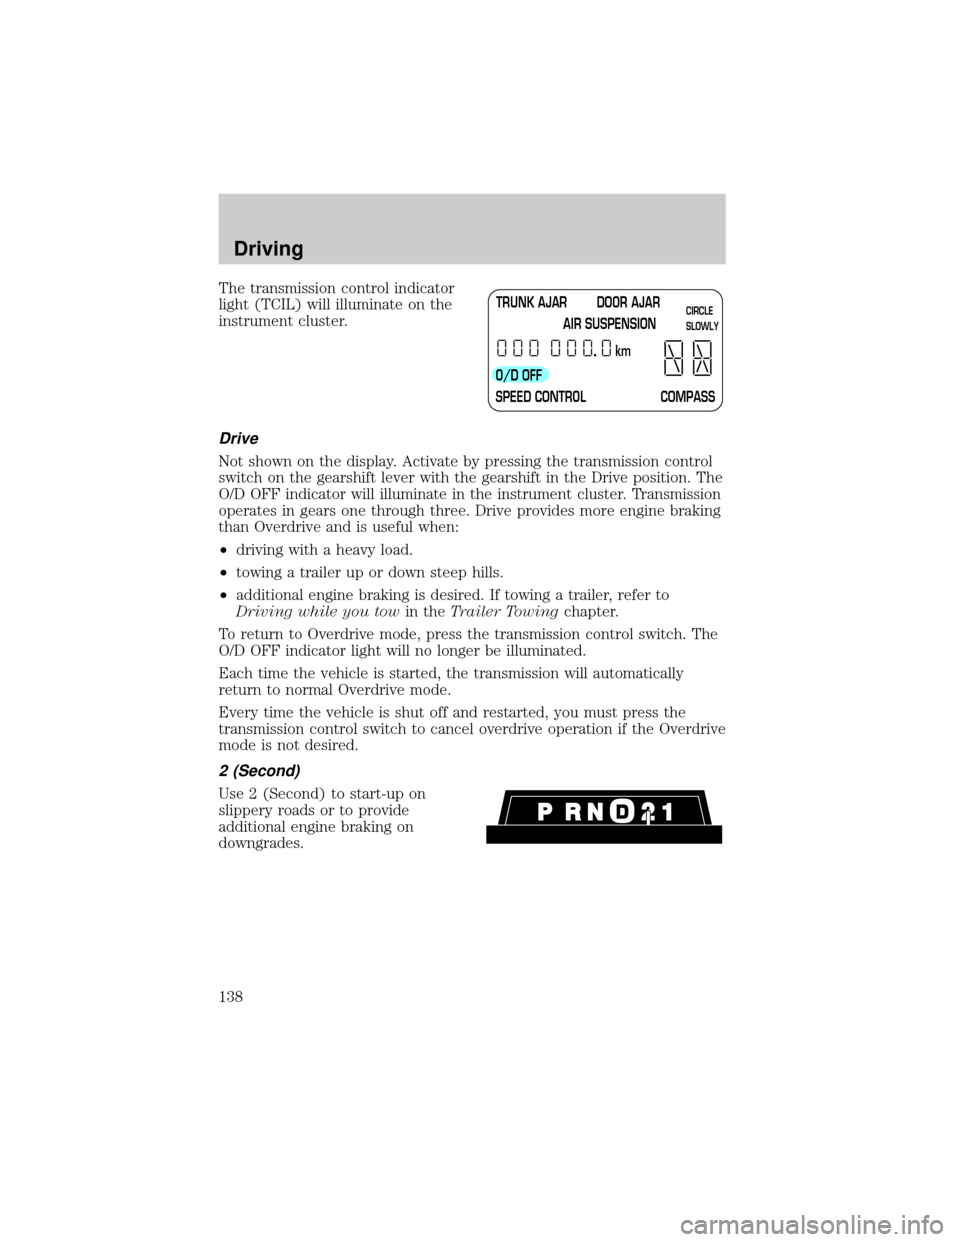
The transmission control indicator
light (TCIL) will illuminate on the
instrument cluster.
Drive
Not shown on the display. Activate by pressing the transmission control
switch on the gearshift lever with the gearshift in the Drive position. The
O/D OFF indicator will illuminate in the instrument cluster. Transmission
operates in gears one through three. Drive provides more engine braking
than Overdrive and is useful when:
²driving with a heavy load.
²towing a trailer up or down steep hills.
²additional engine braking is desired. If towing a trailer, refer to
Driving while you towin theTrailer Towingchapter.
To return to Overdrive mode, press the transmission control switch. The
O/D OFF indicator light will no longer be illuminated.
Each time the vehicle is started, the transmission will automatically
return to normal Overdrive mode.
Every time the vehicle is shut off and restarted, you must press the
transmission control switch to cancel overdrive operation if the Overdrive
mode is not desired.
2 (Second)
Use 2 (Second) to start-up on
slippery roads or to provide
additional engine braking on
downgrades.
TRUNK AJAR DOOR AJAR
AIR SUSPENSION
O/D OFF
SPEED CONTROL COMPASSkmCIRCLE
SLOWLY
Driving
138
Page 150 of 240
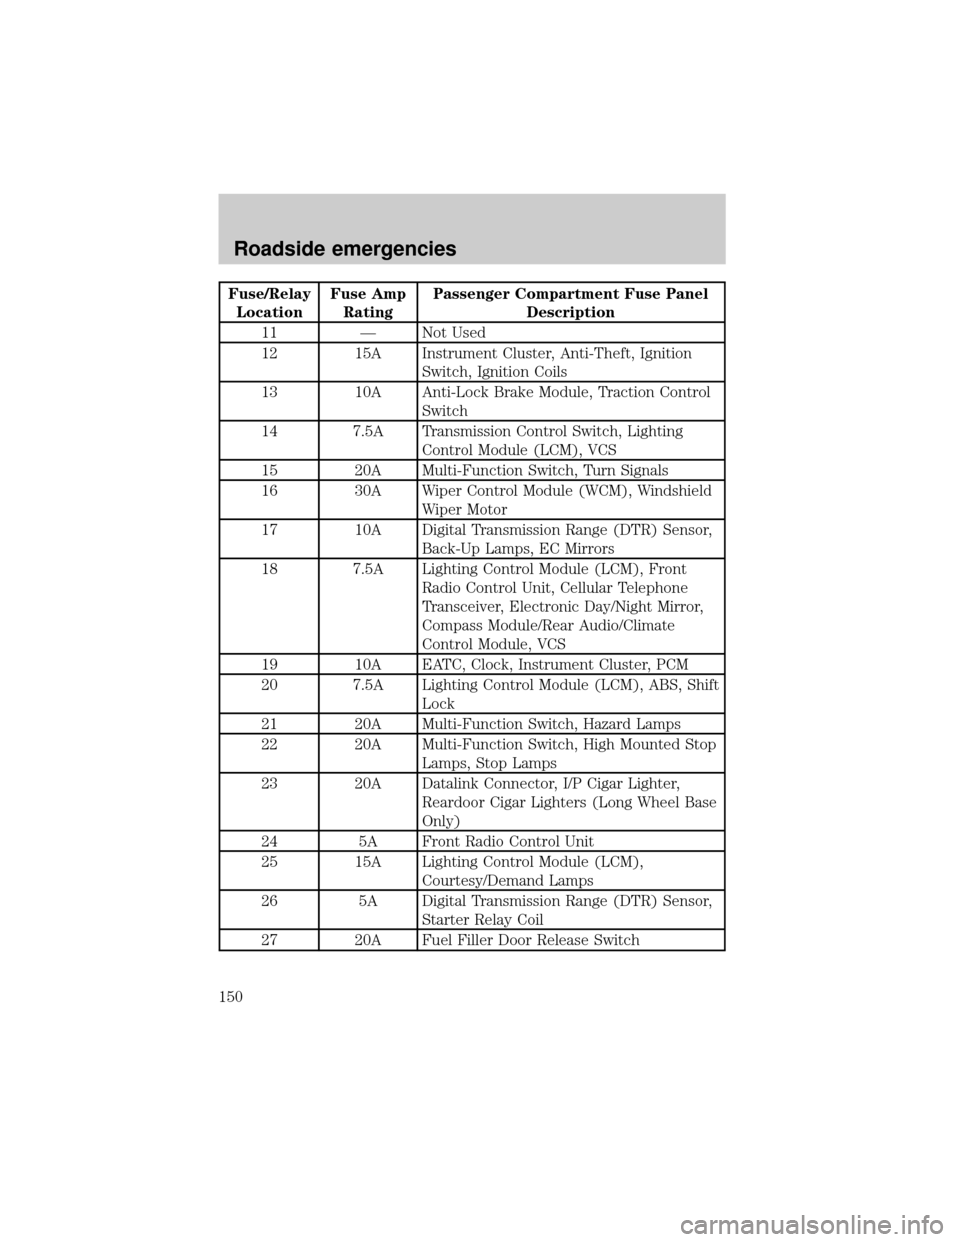
Fuse/Relay
LocationFuse Amp
RatingPassenger Compartment Fuse Panel
Description
11 Ð Not Used
12 15A Instrument Cluster, Anti-Theft, Ignition
Switch, Ignition Coils
13 10A Anti-Lock Brake Module, Traction Control
Switch
14 7.5A Transmission Control Switch, Lighting
Control Module (LCM), VCS
15 20A Multi-Function Switch, Turn Signals
16 30A Wiper Control Module (WCM), Windshield
Wiper Motor
17 10A Digital Transmission Range (DTR) Sensor,
Back-Up Lamps, EC Mirrors
18 7.5A Lighting Control Module (LCM), Front
Radio Control Unit, Cellular Telephone
Transceiver, Electronic Day/Night Mirror,
Compass Module/Rear Audio/Climate
Control Module, VCS
19 10A EATC, Clock, Instrument Cluster, PCM
20 7.5A Lighting Control Module (LCM), ABS, Shift
Lock
21 20A Multi-Function Switch, Hazard Lamps
22 20A Multi-Function Switch, High Mounted Stop
Lamps, Stop Lamps
23 20A Datalink Connector, I/P Cigar Lighter,
Reardoor Cigar Lighters (Long Wheel Base
Only)
24 5A Front Radio Control Unit
25 15A Lighting Control Module (LCM),
Courtesy/Demand Lamps
26 5A Digital Transmission Range (DTR) Sensor,
Starter Relay Coil
27 20A Fuel Filler Door Release Switch
Roadside emergencies
150
Page 227 of 240

Vehicle Security
Styled wheel locks
Vehicle security systems
Comfort and convenience
Cargo nets
Cargo organizers
Engine block heaters
Travel equipment
Cell phone holder
Floor mounted console organizer
Inside rear view mirror (Electrochromic with compass and temperature
display)
HomeLinkt
Protection and appearance equipment
Air bag anti-theft locks
Car covers
Carpet floor mats
Door edge guards
Emergency kit
First aid kit
Flat splash guards
Front end cover (full)
Molded splash guards
Styled hood deflector
Underbody lighting
Universal floor mats
For maximum vehicle performance, keep the following information in
mind when adding accessories or equipment to your vehicle:
²When adding accessories, equipment, passengers and luggage to your
vehicle, do not exceed the total weight capacity of the vehicle or of
Customer assistance
227
Page 232 of 240

engine compartment ..............209
exterior ....................................207
exterior lamps .........................208
instrument cluster lens ..........210
instrument panel ....................210
interior .............................210±211
mirrors .....................................208
plastic parts ............................208
safety belts ..............................211
washing ....................................206
waxing .....................................207
wheels ......................................208
windows ..................................210
wiper blades ............................208
woodtone trim ........................210
Climate control (see Air
conditioning or Heating) ............27
Clock ................................39, 53, 58
Compass, electronic
calibration .................................20
set zone adjustment ...........19±20
Console
rear ............................................76
Controls
power seat .................................92
steering column ........................65
Coolant
checking and adding ..............171
coolant temperature light ........12
refill capacities ................175, 212
specifications ..................214±215
Cruise control (see Speed
control) ........................................62
Customer Assistance ................145
Ford accessories for your
vehicle .....................................226
Ford Extended Service
Plan ..........................................219Getting assistance outside the
U.S. and Canada .....................225
Getting roadside assistance ...145
Getting the service
you need .................................219
Ordering additional owner's
literature .................................228
The Dispute Settlement
Board .......................................222
Utilizing the
Mediation/Arbitration
Program ...................................225
D
Daytime running lamps
(see Lamps) ................................26
Defrost
rear window ..............................33
Dipstick
automatic transmission
fluid ..........................................178
engine oil .................................167
Doors
door ajar warning .....................12
lubricant specifications ..........214
Driving under special
conditions
through water .........................144
E
Emergencies, roadside
jump-starting ..........................158
Emission control system ..........197
Engine ................................215±216
check engine/service engine
soon light ....................................8
cleaning ...................................209
Index
232