Page 72 of 240
Do not block the sensor on the
backside of the mirror since this
may impair proper mirror
performance.
Ensure the mirror is pulled down
low enough to prevent visibility
interference with the moon roof
controls. The mirror support arm
has two pivot points which lets you
adjust the mirror UP or DOWN and from SIDE to SIDE.
Press the control to turn the mirror on or off.
The mirror will automatically return to the normal state whenever the
vehicle is placed in R (Reverse)(when the mirror is on) to ensure a
bright clear view when backing up.
TRUNK REMOTE CONTROL
The remote trunk release control is
located on the driver's door trim
panel and can be operated at any
time.
You can render the switch
inoperable by locking the button
with your master key.
FUEL DOOR RELEASE
Your vehicle is equipped with a
locking fuel door. To open the door,
press the control located on the
door.
COMP MIRROR
TRUNK
Controls and features
72
Page 77 of 240
Radio/climate controls
Refer toSteering Wheel Controlsin
this chapter for operation
instructions.
Radio/climate controls lockout
The rear radio/climate control feature can be locked out by pressing the
3 and the 5 buttons on the radio simultaneously while the radio is on.
To enable the rear radio/climate controls, press the 3 and the 5
buttons again.
Remote seat adjustment
The rear passenger can move the front passenger seat forward or
backward using the control located in the rear center console.
NEXT
MODE
Controls and features
77
Page 83 of 240

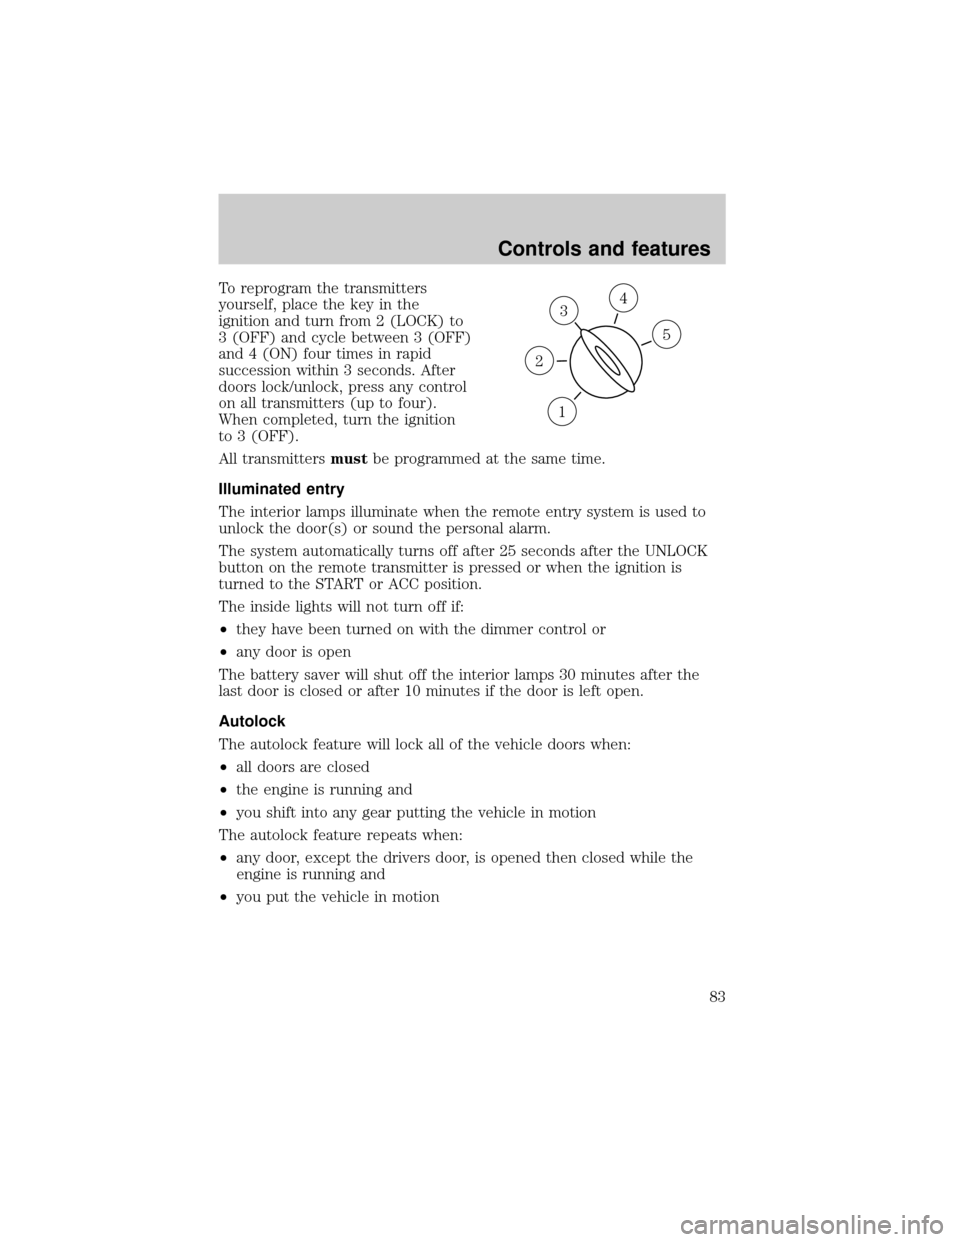
To reprogram the transmitters
yourself, place the key in the
ignition and turn from 2 (LOCK) to
3 (OFF) and cycle between 3 (OFF)
and 4 (ON) four times in rapid
succession within 3 seconds. After
doors lock/unlock, press any control
on all transmitters (up to four).
When completed, turn the ignition
to 3 (OFF).
All transmittersmustbe programmed at the same time.
Illuminated entry
The interior lamps illuminate when the remote entry system is used to
unlock the door(s) or sound the personal alarm.
The system automatically turns off after 25 seconds after the UNLOCK
button on the remote transmitter is pressed or when the ignition is
turned to the START or ACC position.
The inside lights will not turn off if:
²they have been turned on with the dimmer control or
²any door is open
The battery saver will shut off the interior lamps 30 minutes after the
last door is closed or after 10 minutes if the door is left open.
Autolock
The autolock feature will lock all of the vehicle doors when:
²all doors are closed
²the engine is running and
²you shift into any gear putting the vehicle in motion
The autolock feature repeats when:
²any door, except the drivers door, is opened then closed while the
engine is running and
²you put the vehicle in motion
3
1
2
5
4
Controls and features
83
Page 101 of 240
Each seating position in your vehicle has a specific safety belt
assembly which is made up of one buckle and one tongue that
are designed to be used as a pair. 1) Use the shoulder belt on the
outside shoulder only. Never wear the shoulder belt under the arm.
2) Never swing the safety belt around your neck over the inside
shoulder. 3) Never use a single belt for more than one person.
Always transport children 12 years old and under in the back
seat and always properly use appropriate child restraints.
Combination lap and shoulder belts
1. Insert the belt tongue into the
proper buckle (the buckle closest to
the direction the tongue is coming
from) until you hear a snap and feel
it latch. Make sure the tongue is
securely fastened in the buckle.
2. To unfasten, push the release
button and remove the tongue from
the buckle.
Seating and safety restraints
101
Page 104 of 240
Front safety belt height adjustment
Your vehicle has safety belt height
adjustments for the driver and front
passenger. Adjust the height of the
shoulder belt so the belt rests
across the middle of your shoulder.
To lower the shoulder belt height,
push the button and slide the height
adjuster down. To raise the height
of the shoulder belt, slide the height
adjuster up. Pull down on the height
adjuster to make sure it is locked in
place.
Position the shoulder belt
height adjusters so that the
belt rests across the middle of
your shoulder. Failure to adjust
the safety belt properly could
reduce the effectiveness of the
seat belt and increase the risk of
injury in a collision.
Lap belts
Adjusting the front center seat lap belt (if equipped)
The lap belt should fit snugly and as low as possible around the
hips, not across the waist.
Seating and safety restraints
104
Page 120 of 240

When installing a child safety seat:
²Review and follow the information
presented in theAir Bag
Supplemental Restraint System
section in this chapter.
²Use the correct safety belt buckle
for that seating position.
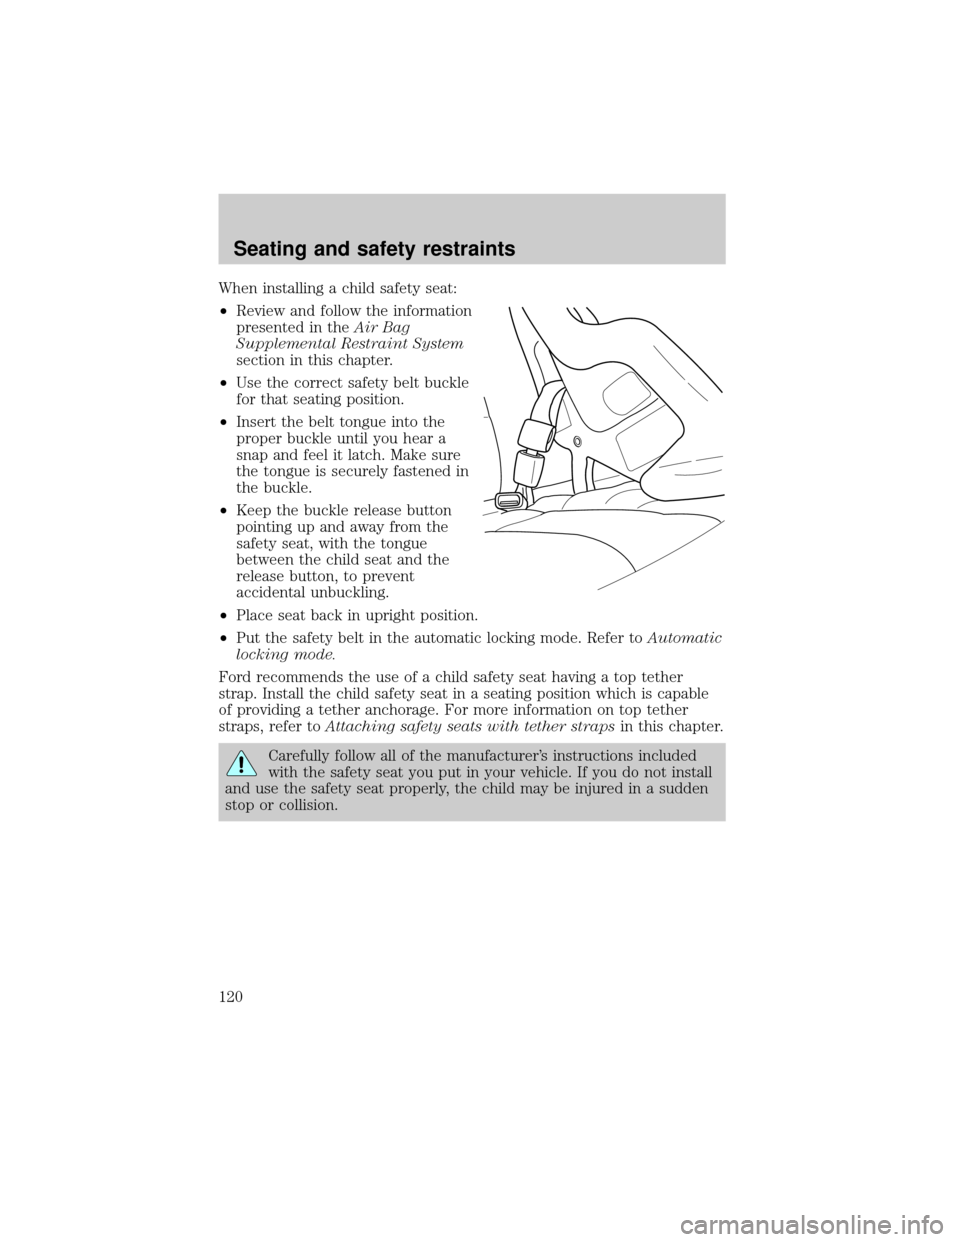
²Insert the belt tongue into the
proper buckle until you hear a
snap and feel it latch. Make sure
the tongue is securely fastened in
the buckle.
²Keep the buckle release button
pointing up and away from the
safety seat, with the tongue
between the child seat and the
release button, to prevent
accidental unbuckling.
²Place seat back in upright position.
²Put the safety belt in the automatic locking mode. Refer toAutomatic
locking mode.
Ford recommends the use of a child safety seat having a top tether
strap. Install the child safety seat in a seating position which is capable
of providing a tether anchorage. For more information on top tether
straps, refer toAttaching safety seats with tether strapsin this chapter.
Carefully follow all of the manufacturer's instructions included
with the safety seat you put in your vehicle. If you do not install
and use the safety seat properly, the child may be injured in a sudden
stop or collision.
Seating and safety restraints
120
Page 147 of 240
The fuel pump shut-off switch is
located on a bracket inside of the
luggage compartment.
Use the following procedure to reset the fuel pump shut-off switch.
1. Turn the ignition to the OFF position.
2. Check the fuel system for leaks.
3. If no fuel leak is apparent, reset the fuel pump shut-off switch by
pushing in on the reset button.
4. Turn the ignition to the ON position. Pause for a few seconds and
return the key to the OFF position.
5. Make a further check for leaks in the fuel system.
FUSES AND RELAYS
Fuses
If electrical components in the
vehicle are not working, a fuse may
have blown. Blown fuses are
identified by a broken wire within
the fuse. Check the appropriate
fuses before replacing any electrical
components.
Note:Always replace a fuse with one that has the specified amperage
rating. Using a fuse with a higher amperage rating can cause severe wire
damage and could start a fire.
15
Roadside emergencies
147
Page 235 of 240

turn signal indicator .................11
Load limits .................................139
GAWR ......................................139
GVWR ......................................139
trailer towing ..........................139
Locks
autolock .....................................83
childproof ..................................75
doors ..........................................74
Lubricant specifications ...214±215
Lumbar support, seats ...............94
M
Message center ...........................17
english/metric button ...............24
reset button ..............................18
Mirrors
automatic dimming rearview
mirror ........................................71
cleaning ...................................208
heated ........................................75
programmable memory ............84
side view mirrors (power) .......74
Moon roof ....................................71
Motorcraft parts ................194, 212
O
Octane rating ............................192
Odometer .....................................16
Oil (see Engine oil) ..................167
Overdrive .............................66, 137
P
Panic alarm feature, remote
entry system ................................81Parking brake ............................131
Parts (see Motorcraft parts) ....212
Passenger Occupant
Classification Sensor ...................98
Pedals (see Power adjustable
foot pedals) .................................58
Power distribution box (see
Fuses) ........................................151
Power door locks ........................74
Power steering ..........................134
fluid, checking and adding ....178
fluid, refill capacity ................212
fluid, specifications .........214±215
R
Radio ............................................33
Rear window defroster ...............33
Relays ........................................147
Remote entry system ...........79, 81
illuminated entry ......................83
locking/unlocking doors ...........80
opening the trunk .....................81
panic alarm ...............................81
replacement/additional
transmitters ...............................82
replacing the batteries .............81
S
Safety belts (see Safety
restraints) ..............15, 96, 100±104
Safety defects, reporting ..........230
Safety restraints ..........96, 100±104
belt minder .............................106
cleaning the safety
belts .................................109, 211
Index
235