Page 4 of 394
ii
Table of Contents
Windows
Keys and Door Locks
Keyless Entry System
Liftgate
Automatic Transmission Operation
All-Wheel Drive
Parking Brake
Tilt Wheel
Turn Signal/Multifunction Lever
Windshield WipersCruise Control
Exterior and Interior Lamps
Mirrors
Storage Compartments
Convenience Net/Luggage Carrier
Accessory Power Outlets
OnStar® System (If Equipped)
Sunroof (If Equipped)
HomeLink® Transmitter
Instrument Panel, Warning Lights and Gages Seats and Seat Controls
Safety BeltsAir Bag Systems
Restraint Systems for Children
Section
1
Section
2
Seats and Restraint Systems
Features and Controls
Page 11 of 394

ix
For example,
these symbols
are used on an
original battery:
CAUTION
POSSIBLE
INJURY
PROTECT
EYES BY
SHIELDING
CAUSTIC
BATTERY
ACID COULD
CAUSE
BURNS
AVOID
SPARKS OR
FLAMES
SPARK OR
FLAME
COULD
EXPLODE
BATTERY
These symbols
are important for
you and your
passengers
whenever your
vehicle is driven:
CHILD
RESTRAINT
TOP STRAP
ANCHOR
DOOR LOCK
UNLOCK
FASTEN
SEAT
BELTS
POWER
WINDOW
AIR BAG
These symbols
have to do with
your lamps:
MASTER
LIGHTING
SWITCH
TURN
SIGNALS
PARKING
LAMPS
HAZARD
WARNING
FLASHER
DAYTIME
RUNNING
LAMPS
FOG LAMPS
These symbols
are on some of
your controls:
WINDSHIELD
WIPER
WINDSHIELD
WASHER
WINDSHIELD
DEFROSTER
REAR
WINDOW
DEFOGGER
VENTILATING
FAN
These symbols
are used on
warning and
indicator lights:
ENGINE
COOLANT
TEMP
BATTERY
CHARGING
SYSTEM
BRAKE
COOLANT
ENGINE OIL
PRESSURE
ANTI-LOCK
BRAKES
Here are some
other symbols
you may see:
FUSE
LIGHTER
HORN
FUEL
Vehicle Symbols
These are some of the symbols you may find on your vehicle. Also see ªWarning Lights and Gagesº in the Index.
Page 88 of 394

2-
2-1
Section 2 Features and Controls
Here you can learn about the many standard and optional features on your vehicle, and information on starting,
shifting and braking. Also explained are the instrument panel and the warning systems that tell you if everything is
working properly
-- and what to do if you have a problem.
2
-2 Windows
2
-4 Keys
2
-6 Door Locks
2
-8 Keyless Entry System
2
-12 Liftgate/Liftgate Glass
2
-12 Theft
2
-14 Content Theft-Deterrent
2
-15 Passlock�
2-16 New Vehicle ªBreak Inº
2
-16 Ignition Positions
2
-17 Starting Your Engine
2
-19 Engine Coolant Heater (If Equipped)
2
-20 Automatic Transmission Operation
2
-23 Parking Brake
2
-24 Shifting Into PARK (P)
2
-27 Shifting Out of PARK (P)
2
-27 Parking Over Things That Burn
2
-28 Engine Exhaust2
-28 Running Your Engine While You're Parked
2
-30 Locking Rear Axle
2
-30 All-Wheel Drive
2
-30 Tilt Wheel
2
-31 Turn Signal/Multifunction Lever
2
-37 Exterior Lamps
2
-40 Interior Lamps
2
-42 Mirrors
2
-46 Storage Compartments
2
-53 OnStar� System (If Equipped)
2
-57 Sunroof (If Equipped)
2
-58 HomeLink� Transmitter
2
-62 The Instrument Panel - Your
Information System
2
-64 Instrument Panel Cluster
2
-65 Warning Lights, Gages and Indicators
2
-77 Message Center
2
-83 Secondary Information Center (SIC)
Page 110 of 394
2-23 Tow/Haul Mode Switch
Your vehicle is equipped with a tow/haul mode. The
switch is located on the end of the column shift lever.
You can use this feature to assist when towing or
hauling a heavy load. See ªTow/Haul Modeº in the
Index for more information.
The tow/haul mode also interacts with the Autoride�
feature to enhance the ride when trailering or with a
loaded vehicle. See ªAutoride�º in the Index.
Parking Brake
To set the parking brake, hold the regular brake pedal
down with your right foot. Push down the parking brake
pedal with your left foot.
If the ignition is on, the brake system warning light will
flash. A chime will activate when the parking brake is
applied and the vehicle is moving at least 3 mph
(5 km/h) for at least three seconds.
To release the parking brake, hold the regular brake
pedal down. Pull the bottom edge of the lever, located
above the parking brake pedal, marked BRAKE
RELEASE, to release the parking brake.
Page 111 of 394

2-24
If the ignition is on when the parking brake is released,
the brake system warning light will go off.
NOTICE:
Driving with the parking brake on can cause
your rear brakes to overheat. You may have to
replace them, and you could also damage other
parts of your vehicle.
If you are towing a trailer and are parking on any hill,
see ªTowing a Trailerº in the Index. That section shows
what to do first to keep the trailer from moving.
Shifting Into PARK (P)
CAUTION:
It can be dangerous to get out of your vehicle if
the shift lever is not fully in PARK (P) with the
parking brake firmly set. Your vehicle can roll. If
you have left the engine running, the vehicle can
move suddenly. You or others could be injured.
To be sure your vehicle won't move, even when
you're on fairly level ground, use the steps that
follow. If you're pulling a trailer, see ªTowing a
Trailerº in the Index.
1. Hold the brake pedal down with your right foot and
set the parking brake.
2. Move the shift lever into PARK (P) like this:
Page 122 of 394

2-35
Setting Cruise Control
CAUTION:
If you leave your cruise control switch on when
you're not using cruise, you might hit a button
and go into cruise when you don't want to. You
could be startled and even lose control. Keep the
cruise control switch off until you want to use
cruise control.
1. Move the cruise control switch to ON.
2. Get up to the speed you want.
3. Press in the SET button at the end of the lever and
release it.
4. Take your foot off the accelerator pedal.
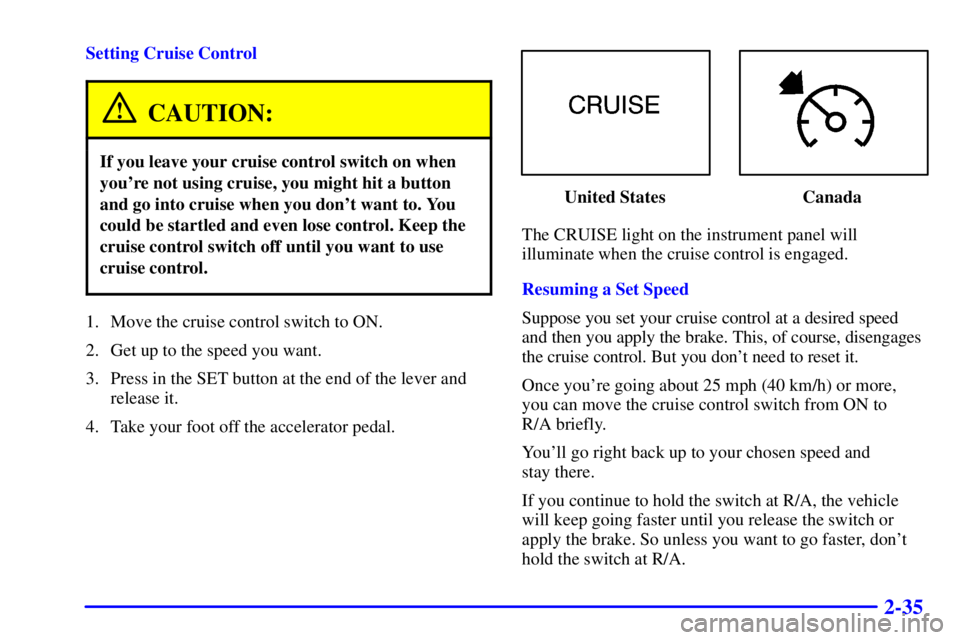
United States Canada
The CRUISE light on the instrument panel will
illuminate when the cruise control is engaged.
Resuming a Set Speed
Suppose you set your cruise control at a desired speed
and then you apply the brake. This, of course, disengages
the cruise control. But you don't need to reset it.
Once you're going about 25 mph (40 km/h) or more,
you can move the cruise control switch from ON to
R/A briefly.
You'll go right back up to your chosen speed and
stay there.
If you continue to hold the switch at R/A, the vehicle
will keep going faster until you release the switch or
apply the brake. So unless you want to go faster, don't
hold the switch at R/A.
Page 123 of 394

2-36
Increasing Speed While Using Cruise Control
There are two ways to go to a higher speed:
�Use the accelerator pedal to get to the higher speed.
Press the SET button at the end of the lever, then
release the button and the accelerator pedal. You'll
now cruise at the higher speed.
�Move the cruise switch from ON to R/A. Hold it
there until you get up to the speed you want, and
then release the switch. To increase your speed in
very small amounts, move the switch to R/A briefly.
Each time you do this, your vehicle will go about
1 mph (1.6 km/h) faster.
Reducing Speed While Using Cruise Control
�Press and hold the SET button at the end of the lever
until you reach the lower speed you want, then
release it.
�To slow down in very small amounts, press the SET
button briefly. Each time you do this, you'll go about
1 mph (1.6 km/h) slower.Passing Another Vehicle While Using Cruise Control
Use the accelerator pedal to increase your speed. When
you take your foot off the pedal, your vehicle will slow
down to the cruise control speed you set earlier.
Using Cruise Control on Hills
How well your cruise control will work on hills depends
upon your speed, load and the steepness of the hills.
When going up steep hills, you may want to step on the
accelerator pedal to maintain your speed. When going
downhill, you may have to brake or shift to a lower gear
to keep your speed down. Of course, applying the brake
takes you out of cruise control. Many drivers find this to
be too much trouble and don't use cruise control on
steep hills.
Ending Cruise Control
There are two ways to turn off the cruise control:
�Step lightly on the brake pedal.
�Move the cruise control switch to OFF.
Erasing Speed Memory
When you turn off the cruise control or the ignition,
your cruise control set speed memory is erased.
Page 125 of 394

2-38
There is a delay in the transition between the daytime
and nighttime operation of the Daytime Running Lamps
(DRL) and the automatic headlamp systems so that
driving under bridges or bright overhead street lights
does not affect the system. The DRL and automatic
headlamp system will only be affected when the light
sensor sees a change in lighting lasting longer than
the delay.
To idle your vehicle with the automatic headlamp
system off, set the parking brake while the ignition is
off. Then start your vehicle. The automatic headlamp
system will stay off until you release the parking brake.
As with any vehicle, you should turn on the regular
headlamp system when you need it.
You may be able to turn off your automatic headlamp
system. See ªDaytime Running Lamps (DRL)º later in
this section for more information.
Lamps On Reminder
A reminder chime will sound when your headlamps or
parking lamps are manually turned on and your ignition
is in OFF, LOCK or ACCESSORY. To disable the
chime, turn the thumbwheel all the way down. In the
automatic mode, the headlamps turn off once the
ignition key is in OFF.
Puddle Lamps
Your vehicle is equipped with puddle lamps to help you
see the area near the base of the front doors when it is
dark out. The puddle lamps will illuminate when a door
is opened or when you press the UNLOCK button on the
keyless entry transmitter. The lamps will time out or
turn off once the engine is started.
You can program the puddle lamps not to come on if
you choose. See ªSecondary Information Centerº in the
Index for more information.
Daytime Running Lamps
Daytime Running Lamps (DRL) can make it easier for
others to see the front of your vehicle during the day.
DRL can be helpful in many different driving
conditions, but they can be especially helpful in the
short periods after dawn and before sunset. Fully
functional daytime running lamps are required on all
vehicles first sold in Canada.
The DRL system will come on when:
�the ignition is on,
�the headlamp knob is in automatic headlamp mode,
�the automatic transmission is not in PARK (P),
�the light sensor determines it is daytime and
�the parking brake is released.