Page 61 of 240

CONVERTIBLE (IF EQUIPPED)
Do not store articles behind rear seat. Articles
stored in the convertible top stowage compartment
may break the rear glass window when the top is
lowered.
Lowering the convertible top
The convertible top can be lowered with the side
windows either up or down.
The convertible top will not operate unless the
parking brake is engaged. Do not lower the top while
the vehicle is moving because the top may be
severely damaged. Also, do not lower the top when
the top material is wet.
To lower the convertible top:
1. Bring vehicle to a complete stop. Engage the
parking brake. Key must be in the ON position.
2. Check the convertible top stowage compartment
behind the rear seat to be sure it is empty and ready
to receive the top.
3. Unclamp the top from the windshield header at
both the right and left sides by pulling each clamp
rearward until the hook in the windshield header is
free. The clamps are flush with the header when in
the closed position.
4. Close the windshield header clamps immediately
after disengagement, to avoid cutting the top
material and to permit installation of the vinyl boot.
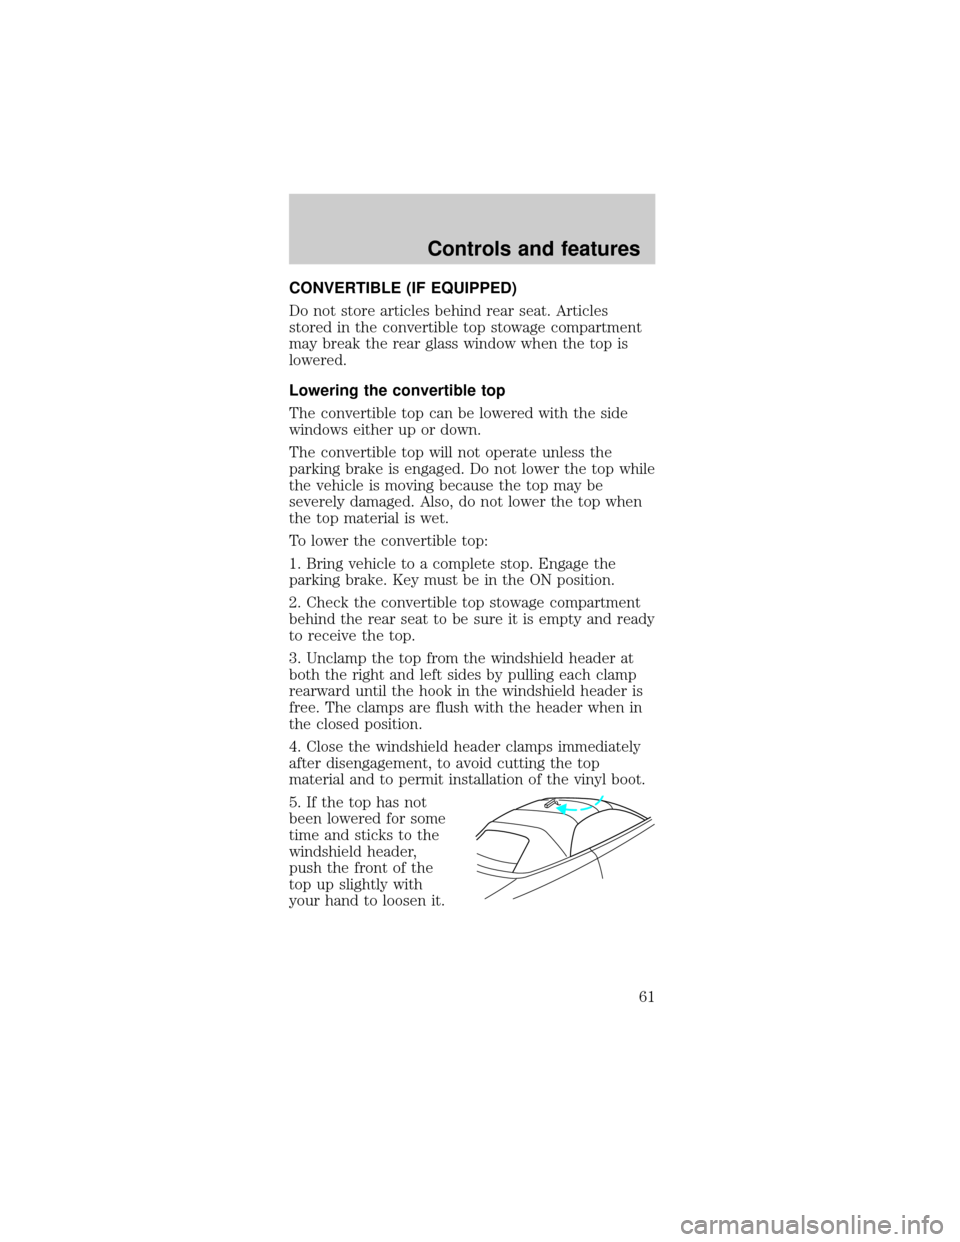
5. If the top has not
been lowered for some
time and sticks to the
windshield header,
push the front of the
top up slightly with
your hand to loosen it.
Controls and features
61
Page 63 of 240

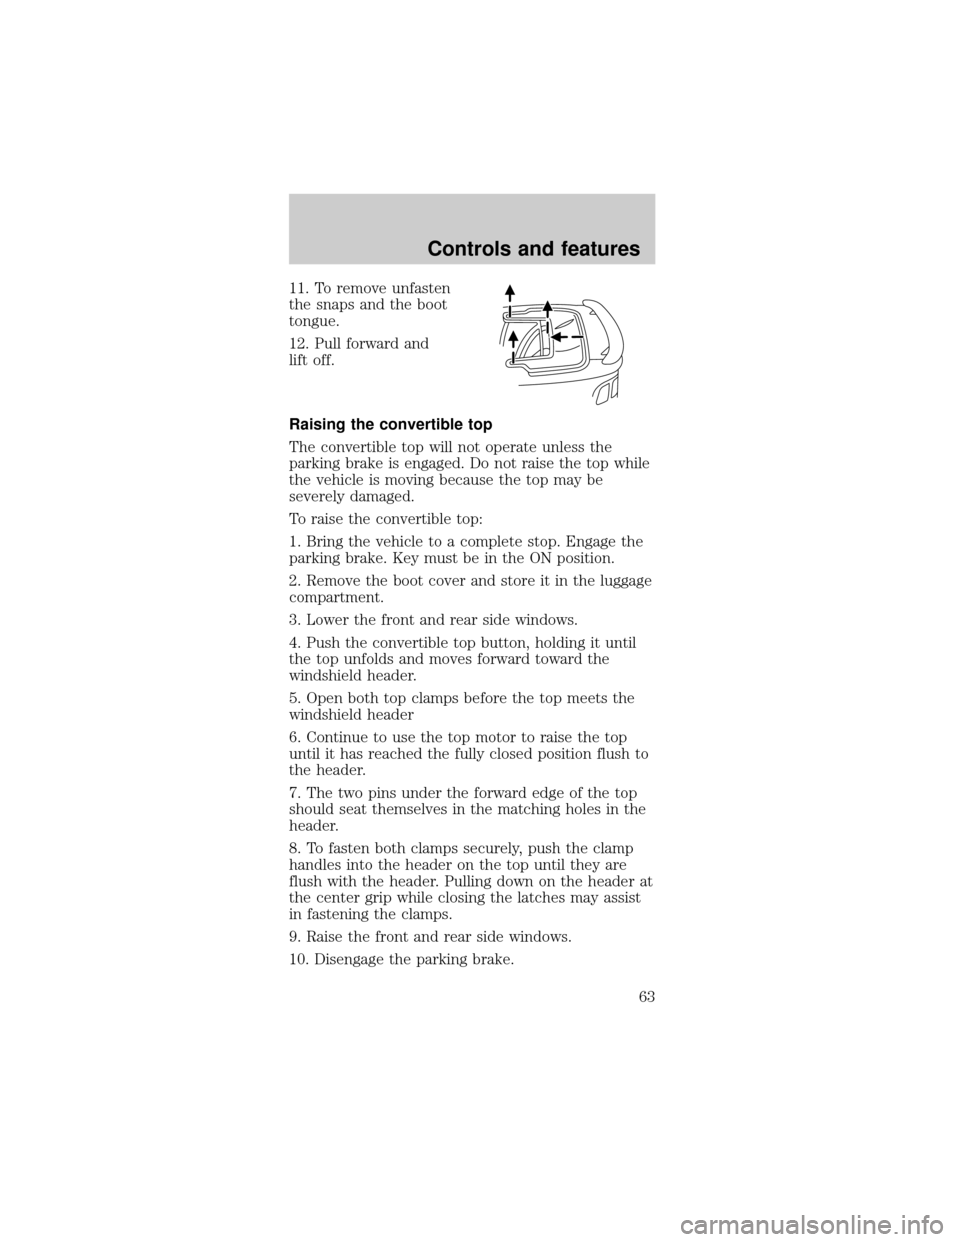
11. To remove unfasten
the snaps and the boot
tongue.
12. Pull forward and
lift off.
Raising the convertible top
The convertible top will not operate unless the
parking brake is engaged. Do not raise the top while
the vehicle is moving because the top may be
severely damaged.
To raise the convertible top:
1. Bring the vehicle to a complete stop. Engage the
parking brake. Key must be in the ON position.
2. Remove the boot cover and store it in the luggage
compartment.
3. Lower the front and rear side windows.
4. Push the convertible top button, holding it until
the top unfolds and moves forward toward the
windshield header.
5. Open both top clamps before the top meets the
windshield header
6. Continue to use the top motor to raise the top
until it has reached the fully closed position flush to
the header.
7. The two pins under the forward edge of the top
should seat themselves in the matching holes in the
header.
8. To fasten both clamps securely, push the clamp
handles into the header on the top until they are
flush with the header. Pulling down on the header at
the center grip while closing the latches may assist
in fastening the clamps.
9. Raise the front and rear side windows.
10. Disengage the parking brake.
Controls and features
63
Page 107 of 240

To prevent electrical shock, do not use your
heater with ungrounded electrical systems
or two-pronged (cheater) adapters.
Guarding against exhaust fumes
Although odorless and colorless, carbon monoxide is
present in exhaust fumes. Take precautions to avoid
its dangerous effects.
If you ever smell exhaust fumes of any kind
inside your vehicle, have your dealer inspect
and fix your vehicle immediately. Do not drive if
you smell exhaust fumes. These fumes are harmful
and could kill you.
Have the exhaust and body ventilation systems
checked whenever:
²the vehicle is raised for service.
²the sound of the exhaust system changes.
²the vehicle has been damaged in a collision.
WARNING:Engine exhaust, some of its
constituents, and certain vehicle components
contain or emit chemicals known to the State of
California to cause cancer and birth defects or
other reproductive harm. In addition, certain fluids
contained in vehicles and certain products of
component wear contain or emit chemicals known
to the State of California to cause cancer and birth
defects or other reproductive harm.
Important ventilating information
If the engine is idling while the vehicle is stopped in
an open area for long periods of time, open the
windows at least 2.5 cm (one inch).
Adjust the heating or air conditioning (if equipped)
to bring in fresh air.
Improve vehicle ventilation by keeping all air inlet
vents clear of snow, leaves and other debris.
Starting
107
Page 134 of 240
Fuse/Relay
LocationFuse Amp
RatingPassenger Compartment Fuse
Panel Description
18 15A Electronic Flasher
19 15A Power Mirror Switch, GEM,
Anti-Theft Relay, Power Door
Locks, Door Ajar Switches
20 15A Convertible Top Switch
21 5A Instrument Cluster and Engine
Control Memory
22 Ð Not Used
23 15A A/C Clutch, Defogger Switch
24 30A Climate Control Blower Motor
25 25A Luggage Compartment Lid
Release
26 30A Wiper/Washer Motor, Wiper
Relays
27 25A Radio
28 15A GEM, Overdrive Cancel Switch
29 15A ABS Module
30 15A DRL Module
31 10A Data Link Connector
32 15A Radio, CD Player, GEM
33 15A Stop Lamp Switch, Speed
Control Deactivation Switch
34 20A Instrument Cluster, CCRM, Data
Link Connector, Securilock
Transceiver Module
35 15A Shift Lock Actuator, PCM, Speed
Control Servo, ABS Module
36 15A Airbag Control Module
37 5A Adjustable Illumination
38 20A Highbeams
39 5A GEM
40 Ð Not Used
41 15A Brake Lamp
42 Ð Not Used
43 20A CB Power Windows
44 Ð Not Used
Roadside emergencies
134
Page 137 of 240

Fuse/Relay
LocationFuse Amp
RatingPower Distribution Box
Description
11 30A** Rear Window Defrost
Control
12 40A** Power Windows, Power
Locks
13 Ð Not Used
14 20A* Fuel Pump
15 Ð Not Used
16 20A* Horn
17 20A* Anti-Lock Brake System
18 30A* Power Seats
19 Ð Not Used
20 20A* Generator
21 Ð Not Used
22 Ð Not Used
23 Ð Not Used
24 20A* A/C Pressure
25 Ð Not Used
26 30A** PCM
27 20A** DRL Module, Foglamp Relay
28 25A CB Convertible Top
29 Diode Convertible top circuit
breaker
* Mini Fuses ** Maxi Fuses
CHANGING THE TIRES
If you get a flat tire while driving, do not apply the
brake heavily. Instead, gradually decrease your
speed. Hold the steering wheel firmly and slowly
move to a safe place on the side of the road.
Temporary spare tire information
Your vehicle may have a temporary spare tire. The
temporary spare tire for your vehicle is labeled as
such. It is smaller than a regular tire and is designed
for emergency use only. Replace this tire with a
full-size tire as soon as possible.
Roadside emergencies
137
Page 189 of 240

²Warming up a vehicle on cold mornings is not
required and may reduce fuel economy.
²Resting your foot on the brake pedal while driving
may reduce fuel economy.
²Combine errands and minimize stop-and-go
driving.
Maintenance
²Keep tires properly inflated and use only
recommended size.
²Operating a vehicle with the wheels out of
alignment will reduce fuel economy.
²Use recommended engine oil. Refer toLubricant
specifications.
²Perform all regularly scheduled maintenance
items. Follow the recommended maintenance
schedule and owner maintenance checks found in
your vehicle scheduled maintenance guide.
Conditions
²Heavily loading a vehicle or towing a trailer may
reduce fuel economy at any speed.
²Carrying unnecessary weight may reduce fuel
economy (approximately 0.4 km/L [1 mpg] is lost
for every 180 kg [400 lb] of weight carried).
²Adding certain accessories to your vehicle (for
example bug deflectors, rollbars/light bars,
running boards, ski/luggage racks) may reduce
fuel economy.
²Using fuel blended with alcohol may lower fuel
economy.
²Fuel economy may decrease with lower
temperatures during the first 12±16 km (8±10
miles) of driving.
²Driving on flat terrain offers improved fuel
economy as compared to driving on hilly terrain.
²Transmissions give their best fuel economy when
operated in the top cruise gear and with steady
pressure on the gas pedal.
²Close windows for high speed driving.
Maintenance and care
189
Page 190 of 240

EPA window sticker
Every new vehicle should have the EPA window
sticker. Contact your dealer if the window sticker is
not supplied with your vehicle. The EPA window
sticker should be your guide for the fuel economy
comparisons with other vehicles.
It is important to note the box in the lower left
corner of the window sticker. These numbers
represent the Range of L/100 km (MPG) expected
on the vehicle under optimum conditions. Your fuel
economy may vary depending upon the method of
operation and conditions.
EMISSION CONTROL SYSTEM
Your vehicle is equipped with various emission
control components and a catalytic converter which
will enable your vehicle to comply with applicable
exhaust emission standards. To make sure that the
catalytic converter and other emission control
components continue to work properly:
²Use only the specified fuel listed.
²Avoid running out of fuel.
²Do not turn off the ignition while your vehicle is
moving, especially at high speeds.
²Have the items listed in your scheduled
maintenance guide performed according to the
specified schedule.
The scheduled maintenance items listed in the
scheduled maintenance guide are essential to the life
and performance of your vehicle and to its emissions
system.
If other than Ford, Motorcraft or Ford-authorized
parts are used for maintenance replacements or for
service of components affecting emission control,
such non-Ford parts should be equivalent to genuine
Ford Motor Company parts in performance and
durability.
Maintenance and care
190
Page 202 of 240

Cleaning the windshield, wiper blades and rear
window
If the wiper blades do not wipe properly, clean the
wiper blade rubber element with undiluted
windshield washer solution or a mild detergent. To
avoid damaging the blades, do not use fuel,
kerosene, paint thinner or other solvents.
If the wiper still does not wipe properly, this could
be caused by substances on the windshield or rear
window such as tree sap and some hot wax
treatments used by commercial car washes. Clean
the outside of the windshield or rear window with a
non-abrasive cleaner such as Ford Ultra-Clear Spray
Glass Cleaner, (E4AZ-19C507±AA), available from
your Ford Dealer.Do notuse abrasive cleansers on
glass as they may cause scratches. The windshield or
rear window is clean if beads do not form when you
rinse it with water. The windshield, rear window and
wiper blades should be cleaned on a regular basis,
and blades or rubber elements replaced when worn.
Convertible top and padded molding care
To avoid damage to the vinyl top and moldings, use
only an approved Ford cleaner, or equivalent. Do not
use stiff bristle brushes or abrasive materials or
cleaners.
Hot waxes applied by commercial car washes can
affect the cleanability of vinyl material.
Using high water pressure or wand-type car washes
against the convertible top and windows may cause
water leaks and possible seal damage.
Cleaning the engine
Engines are more efficient when they are clean
because grease and dirt buildup keep the engine
warmer than normal. When washing:
²Take care when using a power washer to clean
the engine. The high pressure fluid could
penetrate the sealed parts and cause damage.
Maintenance and care
202