Page 111 of 240
The parking brake is not recommended to stop a moving vehicle.
However, if the normal brakes fail, the parking brake can be used to stop
your vehicle in an emergency. Since the parking brake only applies
retardation to the rear wheels, the vehicle's stopping distance will
increase greatly and the handling of your vehicle will be adversely
affected.
Push the palm release lever on the
parking brake handle and push
down as far as possible to release
the brake. Driving with the parking
brake on will cause the brakes to
wear out quickly and reduce fuel
economy.
Parking brake Ð F650 SuperCrewzer only
Pull the yellow parking brake knob
out to apply the parking brake. Push
the knob in to release the parking
brake.
PARKING
BRAKE
PULL TO
RELEASE
APPLY
PUSH TO
Driving
111
Page 112 of 240
Parking brake warning chime Ð F650 SuperCrewzer Only
If a chime sounds when pulling the yellow knob out, your parking brake
is not functioning properly, seek service immediately. This chime will
sound until the yellow knob is pushed in or eight minutes have passed. If
the yellow knob is pulled out again the chime sounds as a reminder that
immediate service is required to the parking brake system.
Releasing spring brake manually Ð F650 SuperCrewzer Only
Do not attempt to disassemble the parking brake chamber under
any circumstances. The high spring load may cause serious
injury if the chamber clamps are removed.
If air pressure is released from the spring brake chamber the power
spring applies the brake and, unless air pressure can be re-established,
the spring brake must be released as follows in order to move the
vehicle.
Block the wheels to prevent the vehicle from moving.
Unexpected and possibly sudden vehicle movement may occur if
these precautions are not taken.
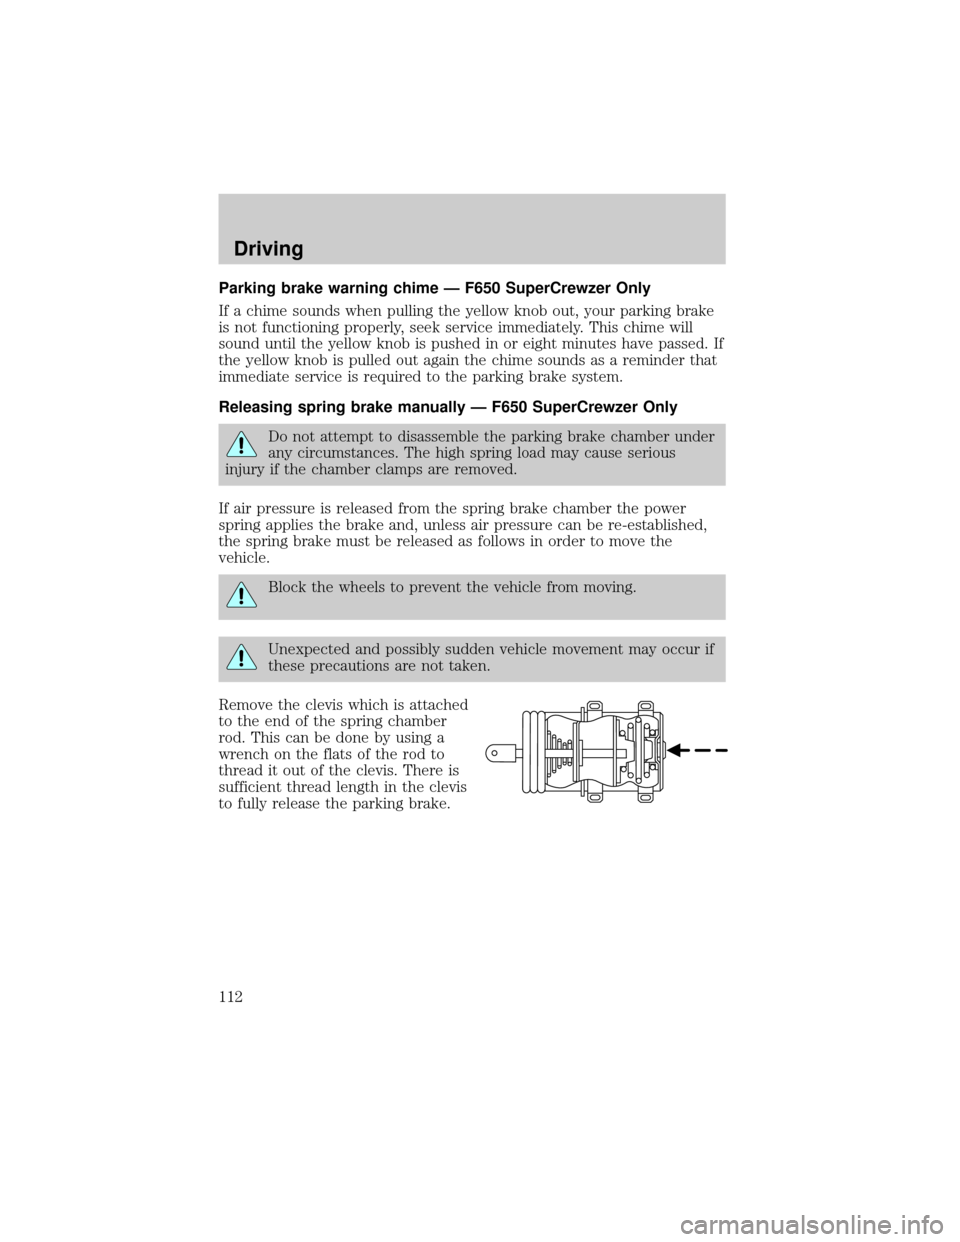
Remove the clevis which is attached
to the end of the spring chamber
rod. This can be done by using a
wrench on the flats of the rod to
thread it out of the clevis. There is
sufficient thread length in the clevis
to fully release the parking brake.
Driving
112
Page 113 of 240

Burnish procedure Ð All except F650 SuperCrewzer
For optimal performance of a new parking brake system/new linings
perform the following procedure:
1. While driving the vehicle at 40 km/h (20 mph) apply the parking brake
(with applicable force to set to approximately 18kg [40 lbs.]). Allow the
vehicle to come to a complete stop.
2. Release the parking brake, drive 16.8 km (1.5 miles) to cool the brakes.
3. Repeat steps 1 through 2 ten times.
AIR BRAKES (if equipped)
Foot service brakes
Air brakes are operated by a
standard dash-mounted foot pedal.
All standard equipment brakes are
designed to be self-adjusting.
Automatic adjustment, when
required, occurs whenever the
brakes are applied and released
during forward or reverse operation.
Know the required stopping
distances for all driving conditions
that may be encountered. For longer brake lining life, take full advantage
of engine braking power when coming to a stop.
Before descending a long or steep hill, shift to a lower gear and avoid
continuous application of the brakes.
Do not drive with your foot resting on the brake pedal. This will
result in abnormally high brake temperatures, excessive lining
wear and increased stopping distances.
Continuous application of the brakes will cause the brakes to
overheat, resulting in a temporary loss of braking.
Driving
113
Page 116 of 240
Emergency air brake
All vehicles are equipped with a dual brake system. In the unlikely event
of a failure of one system, the second system will function for emergency
stopping. These systems are all controlled by the brake pedal in the
same manner as for normal stops.
Do not continue to operate the vehicle with a failure of one of
the systems. Take the vehicle to your dealer for service
immediately.
Anti-lock braking system (if equipped)
For information on the anti-lock braking system (ABS), refer to
Hydraulic brakesin this chapter.
Driving with ABS
Maintain a steady brake pedal application; you do not need to pump or
remove your foot from the pedal. The ABS keeps the wheels rolling
during braking to maintain control and reduce stopping distances. For
information on the anti-lock braking system (ABS), refer toHydraulic
brakesin this chapter.
Parking brake
Do not use the gearshift selector in place of the parking brake.
Always set the parking brake fully AND make sure the gearshift
selector is in R (Reverse) for vehicles equipped with manual
transmission or N (Neutral) for vehicles with automatic transmission.
Unexpected and possible sudden vehicle movement may occur if
these precautions are not taken.
If the service brakes should fail to operate while the vehicle is in motion,
you can make an emergency stop with the parking brake. The stopping
distance, however, will be much greater than normal. Repairs should be
made immediately to an inoperative air brake system circuit.
Driving
116
Page 117 of 240
Parking brake control
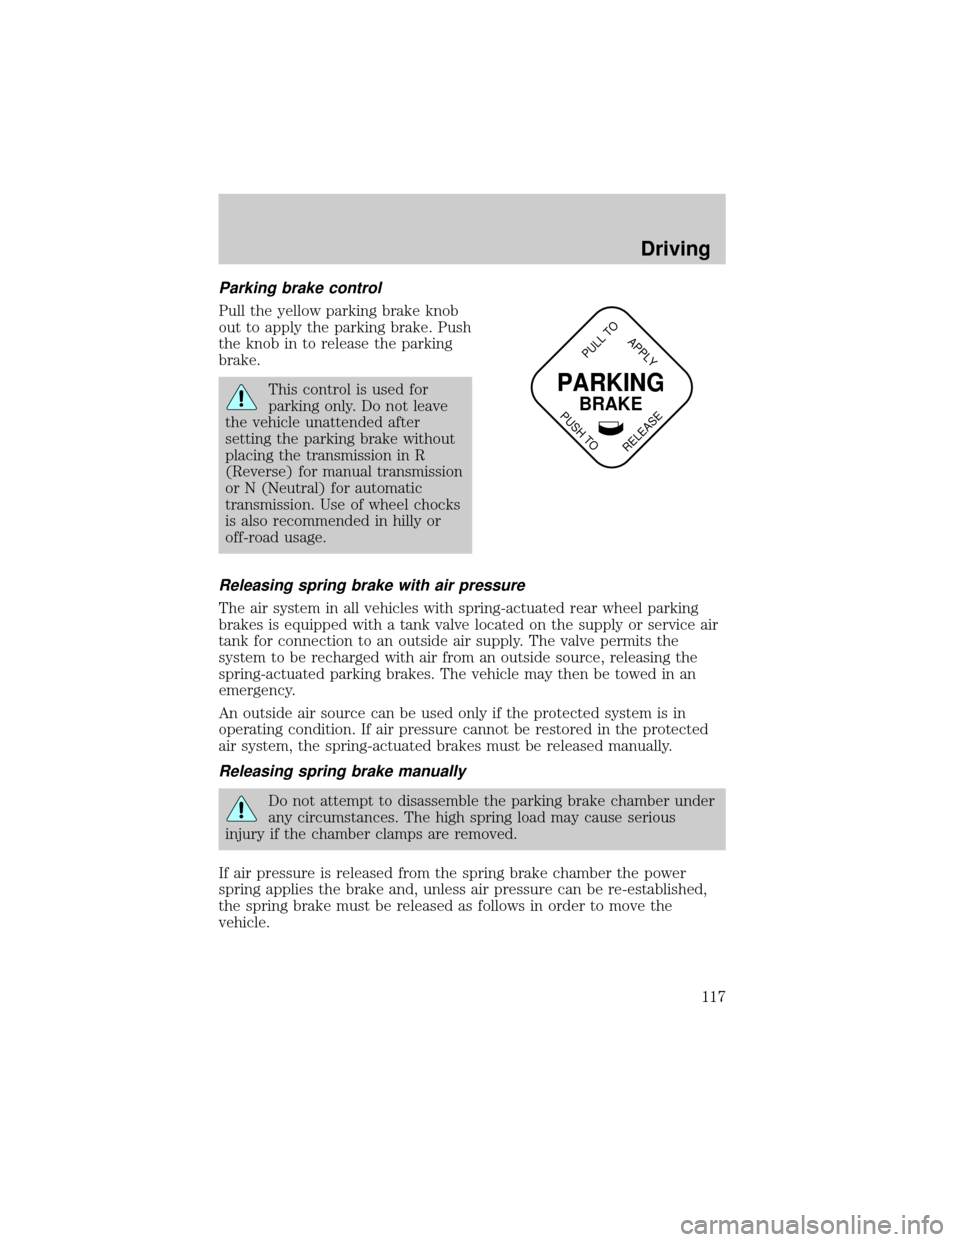
Pull the yellow parking brake knob
out to apply the parking brake. Push
the knob in to release the parking
brake.
This control is used for
parking only. Do not leave
the vehicle unattended after
setting the parking brake without
placing the transmission in R
(Reverse) for manual transmission
or N (Neutral) for automatic
transmission. Use of wheel chocks
is also recommended in hilly or
off-road usage.
Releasing spring brake with air pressure
The air system in all vehicles with spring-actuated rear wheel parking
brakes is equipped with a tank valve located on the supply or service air
tank for connection to an outside air supply. The valve permits the
system to be recharged with air from an outside source, releasing the
spring-actuated parking brakes. The vehicle may then be towed in an
emergency.
An outside air source can be used only if the protected system is in
operating condition. If air pressure cannot be restored in the protected
air system, the spring-actuated brakes must be released manually.
Releasing spring brake manually
Do not attempt to disassemble the parking brake chamber under
any circumstances. The high spring load may cause serious
injury if the chamber clamps are removed.
If air pressure is released from the spring brake chamber the power
spring applies the brake and, unless air pressure can be re-established,
the spring brake must be released as follows in order to move the
vehicle.
PARKING
BRAKE
PULL TO
RELEASE
APPLY
PUSH TO
Driving
117
Page 119 of 240
Do not use the trailer brake manual control lever for parking.
Trailer air supply control (MV-3) (Tractor package)
The MV-3 control module is a two-button, push-pull control valve housed
in a single body which includes a dual circuit supply valve and a check
valve.
Operation
During initial charge, with the system completely discharged, both
buttons are out.
When system pressure reaches
448 kPa (65 psi), the red control
(trailer supply) may be pushed in
and should stay in, charging the
trailer system and releasing the
trailer brakes.
The yellow control (parking brake)
may now be pushed in, which will
supply air to the tractor spring
brakes, releasing them.
Normal operating position
With both controls pushed in, air is supplied to the trailer and to the
tractor spring brakes; all brakes are released.
TRAILER
AIR SUPPLY
NOT FOR PARKING
PULL
TO
TOEVACUATE
PUSH
SUPPLY
PARKING
BRAKE
PULL
TOAPPLY
PUSH
TORELEASE
Driving
119
Page 120 of 240
Actuation of trailer parking or emergency brakes
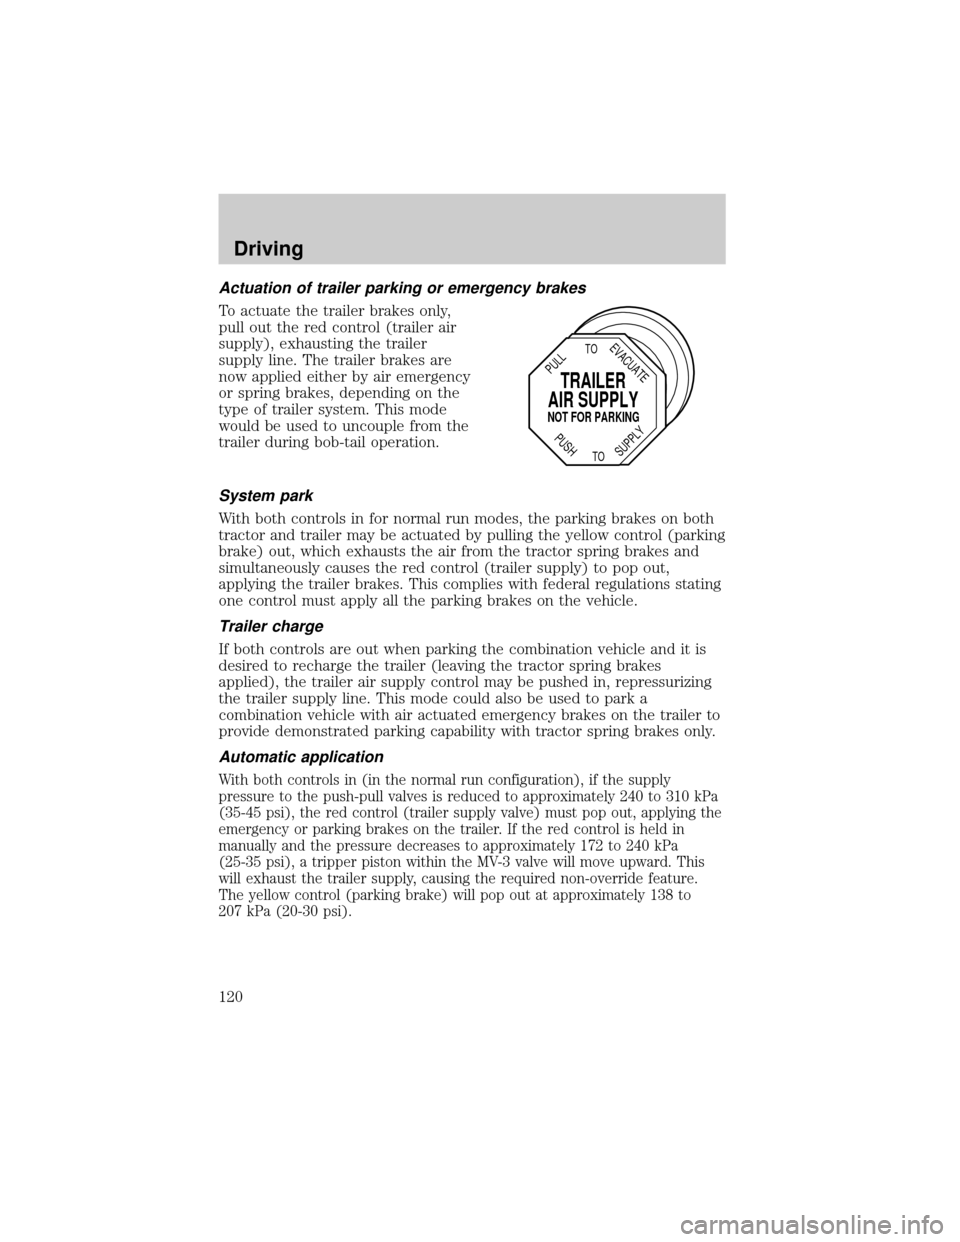
To actuate the trailer brakes only,
pull out the red control (trailer air
supply), exhausting the trailer
supply line. The trailer brakes are
now applied either by air emergency
or spring brakes, depending on the
type of trailer system. This mode
would be used to uncouple from the
trailer during bob-tail operation.
System park
With both controls in for normal run modes, the parking brakes on both
tractor and trailer may be actuated by pulling the yellow control (parking
brake) out, which exhausts the air from the tractor spring brakes and
simultaneously causes the red control (trailer supply) to pop out,
applying the trailer brakes. This complies with federal regulations stating
one control must apply all the parking brakes on the vehicle.
Trailer charge
If both controls are out when parking the combination vehicle and it is
desired to recharge the trailer (leaving the tractor spring brakes
applied), the trailer air supply control may be pushed in, repressurizing
the trailer supply line. This mode could also be used to park a
combination vehicle with air actuated emergency brakes on the trailer to
provide demonstrated parking capability with tractor spring brakes only.
Automatic application
With both controls in (in the normal run configuration), if the supply
pressure to the push-pull valves is reduced to approximately 240 to 310 kPa
(35-45 psi), the red control (trailer supply valve) must pop out, applying the
emergency or parking brakes on the trailer. If the red control is held in
manually and the pressure decreases to approximately 172 to 240 kPa
(25-35 psi), a tripper piston within the MV-3 valve will move upward. This
will exhaust the trailer supply, causing the required non-override feature.
The yellow control (parking brake) will pop out at approximately 138 to
207 kPa (20-30 psi).
TRAILER
AIR SUPPLY
NOT FOR PARKING
PULL
TO
TOEVACUATE
PUSH
SUPPLY
Driving
120
Page 124 of 240
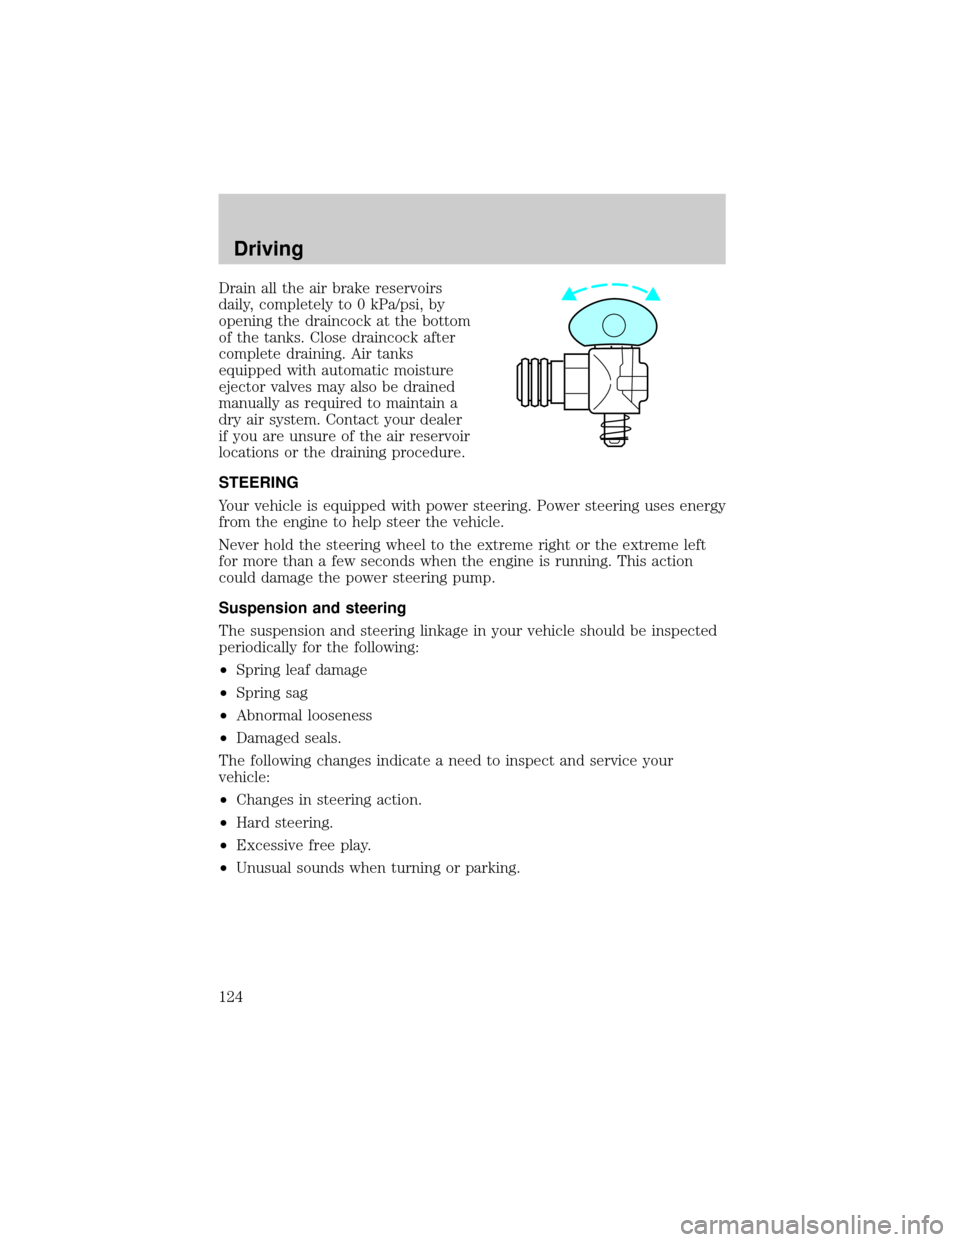
Drain all the air brake reservoirs
daily, completely to 0 kPa/psi, by
opening the draincock at the bottom
of the tanks. Close draincock after
complete draining. Air tanks
equipped with automatic moisture
ejector valves may also be drained
manually as required to maintain a
dry air system. Contact your dealer
if you are unsure of the air reservoir
locations or the draining procedure.
STEERING
Your vehicle is equipped with power steering. Power steering uses energy
from the engine to help steer the vehicle.
Never hold the steering wheel to the extreme right or the extreme left
for more than a few seconds when the engine is running. This action
could damage the power steering pump.
Suspension and steering
The suspension and steering linkage in your vehicle should be inspected
periodically for the following:
²Spring leaf damage
²Spring sag
²Abnormal looseness
²Damaged seals.
The following changes indicate a need to inspect and service your
vehicle:
²Changes in steering action.
²Hard steering.
²Excessive free play.
²Unusual sounds when turning or parking.
Driving
124

