Page 44 of 288

Automatic Music Search
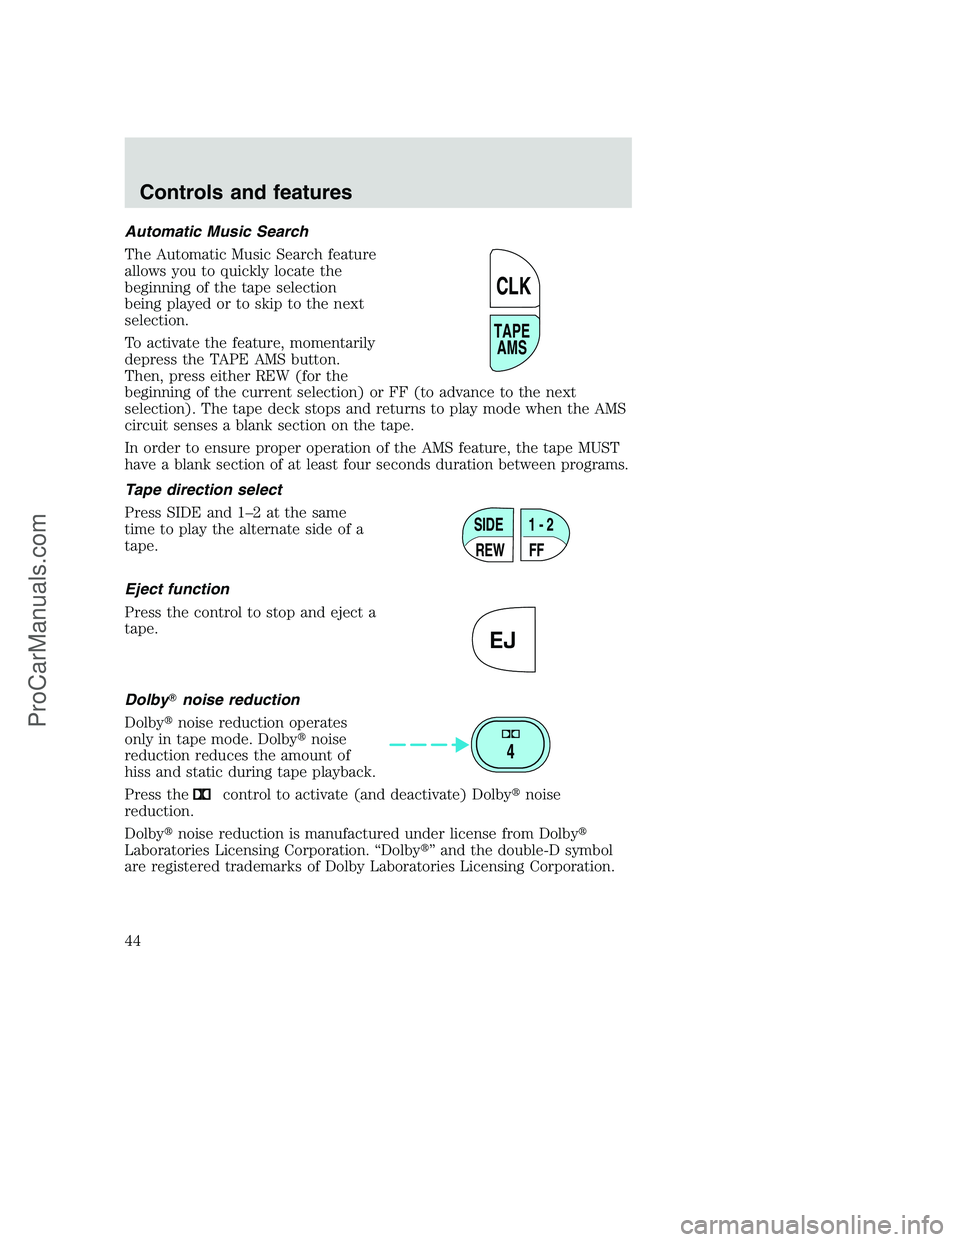
The Automatic Music Search feature
allows you to quickly locate the
beginning of the tape selection
being played or to skip to the next
selection.
To activate the feature, momentarily
depress the TAPE AMS button.
Then, press either REW (for the
beginning of the current selection) or FF (to advance to the next
selection). The tape deck stops and returns to play mode when the AMS
circuit senses a blank section on the tape.
In order to ensure proper operation of the AMS feature, the tape MUST
have a blank section of at least four seconds duration between programs.
Tape direction select
Press SIDE and 1–2 at the same
time to play the alternate side of a
tape.
Eject function
Press the control to stop and eject a
tape.
Dolby�noise reduction
Dolby�noise reduction operates
only in tape mode. Dolby�noise
reduction reduces the amount of
hiss and static during tape playback.
Press the
control to activate (and deactivate) Dolby�noise
reduction.
Dolby�noise reduction is manufactured under license from Dolby�
Laboratories Licensing Corporation. “Dolby�” and the double-D symbol
are registered trademarks of Dolby Laboratories Licensing Corporation.
TAPE
AMS
CLK
SIDE
REW FF1 - 2
EJ
4
Controls and features
44
ProCarManuals.com
Page 46 of 288
The CLK control will allow you to switch between media display mode
(radio station, stereo information, etc.) and clock display mode (time).
When in clock mode, the media information will display for 10 seconds,
when the radio is turned on, and then revert to clock information. Any
time that the media is changed, (new radio station, etc.), the media
information will again display for 10 seconds before reverting back to the
clock. In media mode, the media information will always be displayed.
Premium AM/FM Stereo/Cassette/Single CD
Volume/power control
Press the control to turn the audio
system on or off.
Audio power can also be turned on
by pressing the AM/FM select
control or the tape/CD select
control. Audio power is turned off
by using the volume/power control.
FM 1
AMC
BL RF
REW FFSCAN
BASS TREB SEL BALTAPE DISC
EJ CD
FADEAUTO
CLK
SIDE 1-2 COMP SHUFFLEEJ
MUTE
VOL PUSH ON
SEEK
TUNE AM FM
12 3456
DOLBY B NR
ST
VOL - PUSH ON
Controls and features
46
ProCarManuals.com
Page 48 of 288

Tune adjust for CD changer (if equipped)
•Press
to select the previous
disc in the CD changer. (Play will
begin on the first track of the
disc unless the CD changer is in
shuffle mode. Refer toShuffle
featurefor more information.
Hold the control to continue
reversing through the remaining discs.
•Press
to select the next disc in the CD changer. Hold the control
to fast-forward through the remaining discs.
Seek function
The seek function control works in radio, tape or CD mode.
Seek function in radio mode
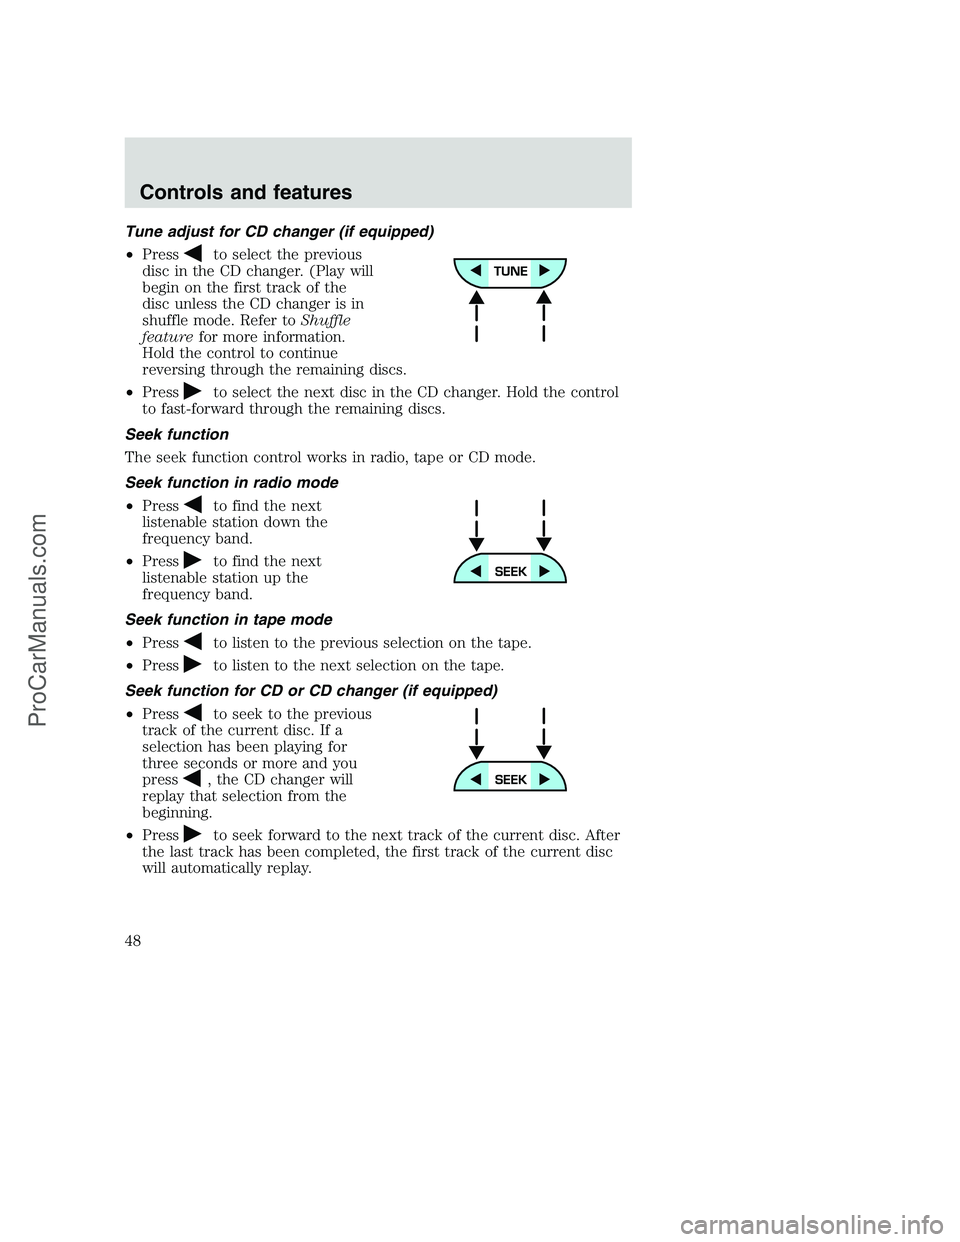
•Press
to find the next
listenable station down the
frequency band.
•Press
to find the next
listenable station up the
frequency band.
Seek function in tape mode
•Press
to listen to the previous selection on the tape.
•Press
to listen to the next selection on the tape.
Seek function for CD or CD changer (if equipped)
•Press
to seek to the previous
track of the current disc. If a
selection has been playing for
three seconds or more and you
press
, the CD changer will
replay that selection from the
beginning.
•Press
to seek forward to the next track of the current disc. After
the last track has been completed, the first track of the current disc
will automatically replay.
Controls and features
48
ProCarManuals.com
Page 56 of 288
The CLK button will allow you to
switch between media display mode
(radio station, stereo information,
etc.) and clock display mode (time).
When in clock mode, the media
information will display for 10
seconds, when the radio is turned
on, and then revert to clock
information. Any time that the
media is changed, (new radio station, etc.), the media information will
again display for 10 seconds before reverting back to the clock. In media
mode, the media information will always be displayed.
Mute mode
Press the MUTE control to mute the
playing media. Press the MUTE
control again to return to the
playing media.
Premium AM/FM Stereo In Dash Six CD Radio
AUTO
CLK
EJ
MUTE
LOADEJ
SHUFCOMPMUTE
SELBAL BASS
FADE TREB
SCANDISC
TUNE
PUSH ON
CD123456MENUAM
FM
SEEKREW FF
Controls and features
56
ProCarManuals.com
Page 70 of 288

Do not insert any promotional (odd shaped or sized) discs, or
discs with removable labels into the CD player as jamming may
occur.
Cleaning cassette player (if equipped)
Clean the tape player head with a cassette cleaning cartridge after 10 to
12 hours of play in order to maintain the best sound and operation.
Cassette and cassette player care
•Use only cassettes that are 90 minutes long or less.
•Do not expose tapes to direct sunlight, high humidity, extreme heat or
extreme cold. Allow tapes that may have been exposed to extreme
temperatures to reach a moderate temperature before playing.
•Tighten very loose tapes by inserting a finger or pencil into the hole
and turning the hub.
•Remove loose labels before inserting tapes.
•Do not leave tapes in the cassette player for a long time when not
being played.
Radio frequency information
The Federal Communications Commission (FCC) and the Canadian Radio
and Telecommunications Commission (CRTC) establish the frequencies
AM and FM stations may use for their broadcasts. Allowable frequencies
are:
•AM 530, 540–1600, 1610 kHz
a
•FM 87.9b, 88.1–107.7, 107.9 MHz
Not all frequencies are used in a given area.
aSome radios may tune up to 1710 kHz.
bSome radios may tune down to 87.7 MHz.
Radio reception factors
Three factors can affect radio reception:
•Distance/strength.The further an FM signal travels, the weaker it is.
The listenable range of the average FM station is approximately 40 km
(24 miles). This range can be affected by “signal modulation.” Signal
modulation is a process radio stations use to increase their
strength/volume relative to other stations.
Controls and features
70
ProCarManuals.com
Page 78 of 288

Push the control on the end of the
stalk to activate washer. Push and
hold for a longer wash cycle. The
washer will automatically shut off
after ten seconds of continuous use.
OVERDRIVE CONTROL (IF EQUIPPED)
Activating overdrive
(Overdrive) is the normal drive position for the best fuel economy.
The overdrive function allows automatic upshifts and downshifts through
all available gears.
Deactivating overdrive
Press the Transmission Control
Switch (TCS) located on the end of
the gearshift lever. The
Transmission Control Indicator Light
(TCIL) (the word OFF) will
illuminate on the end of the gearshift lever.
The transmission will operate in all
gears except overdrive. To return to
normal overdrive mode, press the
Transmission Control Switch again.
The TCIL (the word OFF) will no
longer be illuminated.
When you shut off and re-start your vehicle, the transmission will
automatically return to normal
(Overdrive) mode.
For additional information about the gearshift lever and the transmission
control switch operation refer to theAutomatic Transmission
Operationsection of theDrivingchapter.
OVERDRIVE
OVERDRIVEOFF
Controls and features
78
ProCarManuals.com
Page 87 of 288

Replacing lost transmitters
If a remote transmitter has been lost
and you would like to remove it
from the vehicle’s memory, or you
would like to purchase additional
remote transmitters and have them
programmed to your vehicle:
•Takeallyour vehicle’s
transmitters to your dealer for
programming, or
•Perform the programming
procedure yourself
Programming remote transmitters
It is necessary to haveall(maximum of four — original and/or new) of
your remote transmitters available prior to beginning this procedure.
To program the transmitters yourself:
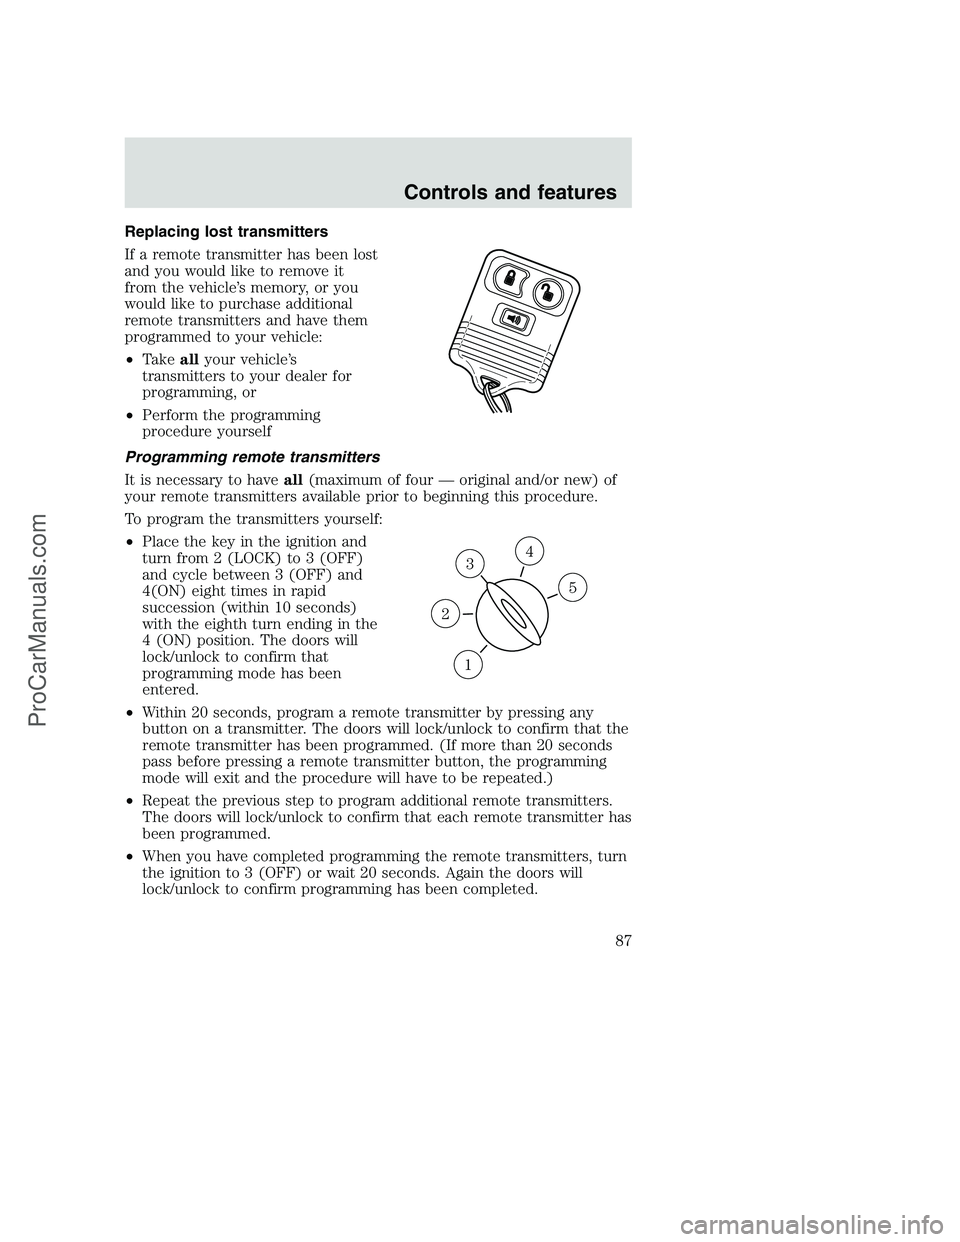
•Place the key in the ignition and
turn from 2 (LOCK) to 3 (OFF)
and cycle between 3 (OFF) and
4(ON) eight times in rapid
succession (within 10 seconds)
with the eighth turn ending in the
4 (ON) position. The doors will
lock/unlock to confirm that
programming mode has been
entered.
•Within 20 seconds, program a remote transmitter by pressing any
button on a transmitter. The doors will lock/unlock to confirm that the
remote transmitter has been programmed. (If more than 20 seconds
pass before pressing a remote transmitter button, the programming
mode will exit and the procedure will have to be repeated.)
•Repeat the previous step to program additional remote transmitters.
The doors will lock/unlock to confirm that each remote transmitter has
been programmed.
•When you have completed programming the remote transmitters, turn
the ignition to 3 (OFF) or wait 20 seconds. Again the doors will
lock/unlock to confirm programming has been completed.
3
1
2
5
4
Controls and features
87
ProCarManuals.com
Page 97 of 288

How to disengage the automatic locking mode
Ford recommends that all safety belt assemblies and attaching
hardware should be inspected by a qualified technician after any
collision. Safety belt assemblies not in use during a collision should also
be inspected and replaced if either damage or improper operation is
noted.
Disconnect the combination lap/shoulder belt and allow it to retract
completely to disengage the automatic locking mode and activate the
vehicle sensitive (emergency) locking mode.
After any vehicle collision, the front passenger outboard seat belt
system must be checked by a qualified technician to verify that
the “automatic locking retractor” feature for child seats is still
functioning properly. In addition, all seat belts should be checked for
proper function.
BELT AND RETRACTOR ASSEMBLY MUST BE REPLACED if
the seat belt assembly “automatic locking retractor” feature or
any other seat belt function is not operating properly when checked
according to the procedures in Workshop Manual.
Failure to replace the Belt and Retractor assembly could
increase the risk of injury in collisions.
Energy Management Feature
•This vehicle has a seat belt system with an energy management
feature at the front outboard seating position to help further reduce
the risk of injury in the event of a head-on collision.
•The front outboard seat belt system has a retractor assembly that is
designed to pay out webbing in a controlled manner. This feature is
designed to help reduce the belt force acting on the occupant’s chest.
Seating and safety restraints
97
ProCarManuals.com