2001 FORD EXPLORER SPORT TRAC turn signal
[x] Cancel search: turn signalPage 6 of 264

OFF
C
012345
6
RPMx1000
ABS!
ENGINE
FUEL DOOR
EFH
H
HSPEED
CONT
4WD
HIGH
4WD
LOW
O/D
OFFL
L
CHECK
GAGE
CHECK
SUSP
4X4
HIGH
2WD4X4
LOW
CHECK
ONRSM
SET
ACCEL
COAST
OFF
10MPH 205060
70
304080
90
km/h
0 0 0
10 100
1
20
10 0 0 0 0 0406080100
120
140
160
180
20O/D
ON/OFF
CHECK
FUEL
CAP
Headlamp
control
(pg. 18)Panel dimmer control
(pg. 19)Instrument cluster
(pg. 8)
Speed controls*
(pg. 56)Gearshift (includes
overdrive button)
(pg. 137)
Hood release
(pg. 183) Driver air bag
(pg. 112)
Turn signal control
(pg. 55)
Windshield wiper/washer control
(pg. 61) Parking brake release
(pg. 133) Tilt steering wheel lever*
(pg. 61)
* if equipped
Instrumentation
6
Page 11 of 264

Turn signal
Illuminates when the left or right
turn signal or the hazard lights are
turned on. If one or both of the
indicators stay on continuously or
flash faster, check for a burned-out
turn signal bulb. Refer toBulbsin theMaintenance and carechapter.
High beams
Illuminates when the high beam
headlamps are turned on.
Anti-theft system (if equipped)
Refer toSecuriLockypassive
anti-theft systemin theControls
and featureschapter.
Charging system
Illuminates when the ignition is
turned to the ON position and the
engine is off. The light also
illuminates when the battery is not
charging properly, requiring
electrical system service.
Check gage
Illuminates when the engine coolant
temperature is high, the engine oil
pressure is low or the fuel gauge is
at or near empty. The ignition must
be in the ON position for this lamp to illuminate. The lamp will also stay
illuminated after the ignition is turned to the ON position. Refer to
Engine coolant temperature gauge, Engine oil pressure gaugeor
Fuel gaugein this chapter for more information.
THEFT
CHECK
GAGE
Instrumentation
11
Page 50 of 264

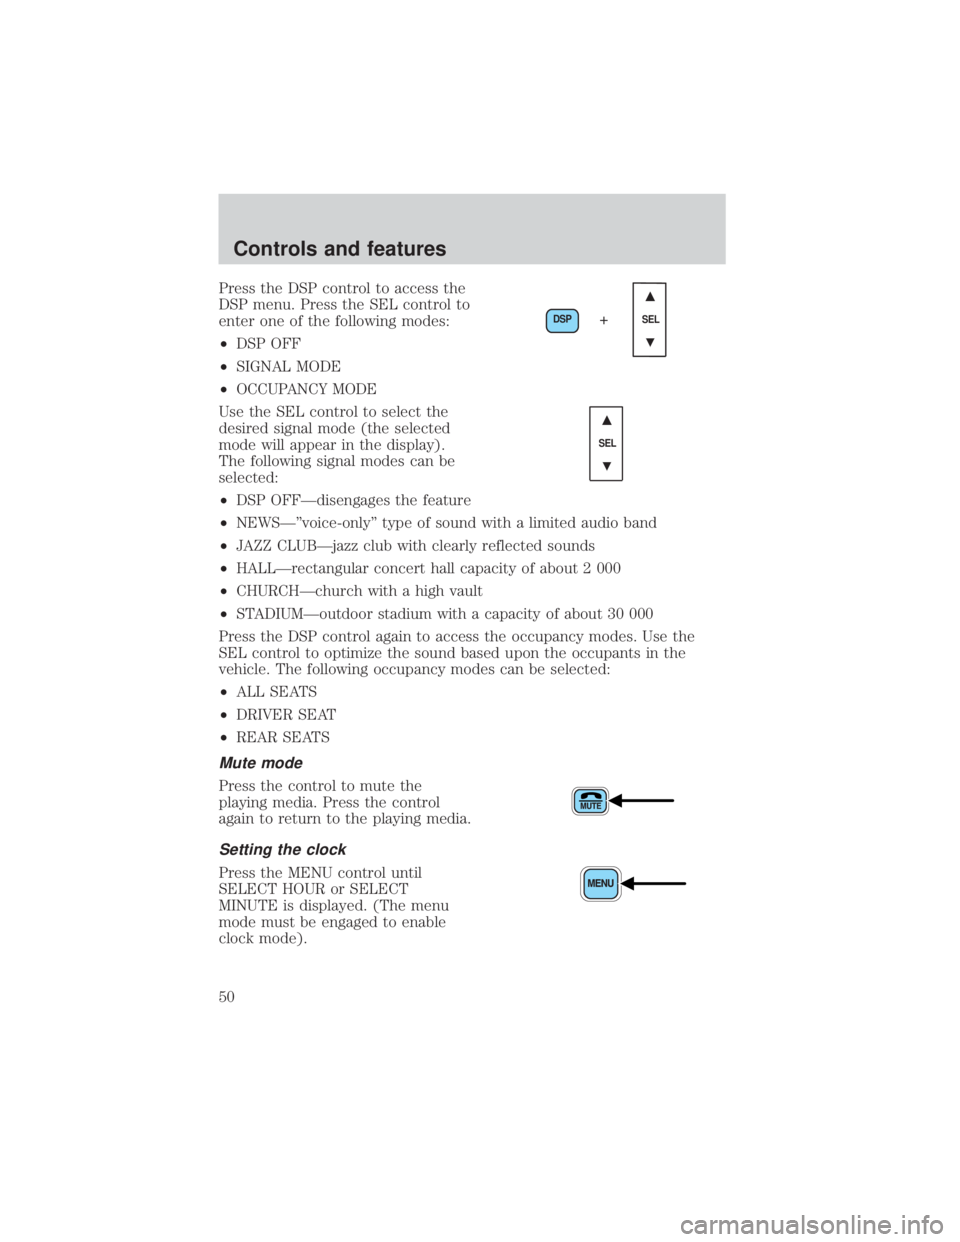
Press the DSP control to access the
DSP menu. Press the SEL control to
enter one of the following modes:
²DSP OFF
²SIGNAL MODE
²OCCUPANCY MODE
Use the SEL control to select the
desired signal mode (the selected
mode will appear in the display).
The following signal modes can be
selected:
²DSP OFFÐdisengages the feature
²NEWSкvoice-onlyº type of sound with a limited audio band
²JAZZ CLUBÐjazz club with clearly reflected sounds
²HALLÐrectangular concert hall capacity of about 2 000
²CHURCHÐchurch with a high vault
²STADIUMÐoutdoor stadium with a capacity of about 30 000
Press the DSP control again to access the occupancy modes. Use the
SEL control to optimize the sound based upon the occupants in the
vehicle. The following occupancy modes can be selected:
²ALL SEATS
²DRIVER SEAT
²REAR SEATS
Mute mode
Press the control to mute the
playing media. Press the control
again to return to the playing media.
Setting the clock
Press the MENU control until
SELECT HOUR or SELECT
MINUTE is displayed. (The menu
mode must be engaged to enable
clock mode).
DSP
SEL+
SEL
Controls and features
50
Page 55 of 264

Radio reception factors
Three factors can affect radio reception:
²Distance/strength.The further an FM signal travels, the weaker it is.
The listenable range of the average FM station is approximately 40 km
(24 miles). This range can be affected by ªsignal modulation.º Signal
modulation is a process radio stations use to increase their
strength/volume relative to other stations.
²Terrain.Hills, mountains and tall buildings between your vehicle's
antenna and the radio station signal can cause FM reception problems.
Static can be caused on AM stations by power lines, electric fences,
traffic lights and thunderstorms. Moving away from an interfering
structure (out of its ªshadowº) returns your reception to normal.
²Station overload.Weak signals are sometimes captured by stronger
signals when you pass a broadcast tower. A stronger signal may
temporarily overtake a weaker signal and play while the weak station
frequency is displayed.
The audio system automatically switches to single channel reception if it
will improve the reception of a station normally received in stereo.
Audio system warranties and service
Refer to theWarranty Guidefor audio system warranty information.
If service is necessary, see your dealer or a qualified technician.
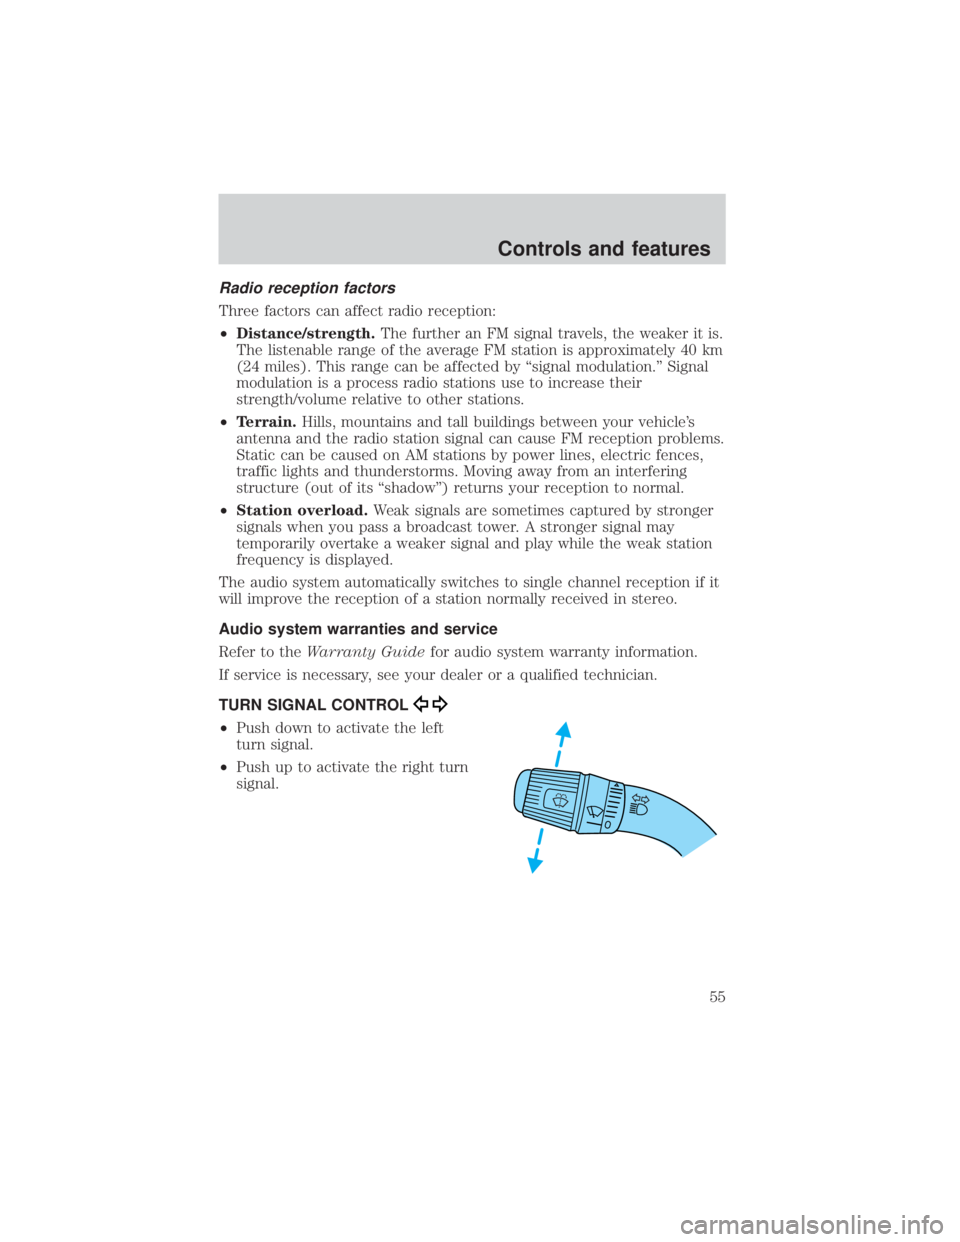
TURN SIGNAL CONTROL
²Push down to activate the left
turn signal.
²Push up to activate the right turn
signal.
Controls and features
55
Page 220 of 264

Readiness for Inspection/Maintenance (I/M) testing
In some localities, it may be a legal requirement to pass an I/M test of
the on-board diagnostics system. If your ªCheck Engine/Service Engine
Soonº light is on, refer to the description in theWarning lights and
chimessection of theInstrumentationchapter. Your vehicle may not
pass the I/M test with the ªCheck Engine/Service Engine Soonº light on.
If the vehicle's powertrain system or its battery has just been serviced,
the on-board diagnostics system is reset to a ªnot ready for I/M testº
condition. To ready the on-board diagnostics system for I/M testing, a
minimum of 30 minutes of city and highway driving is necessary as
described below:
²First, at least 10 minutes of driving on an expressway or highway.
²Next, at least 20 minutes driving in stop-and-go, city-type traffic with
at least four idle periods.
Allow the vehicle to sit for at least eight hours without starting the
engine. Then, start the engine and complete the above driving cycle. The
engine must warm up to its normal operating temperature. Once started,
do not turn off the engine until the above driving cycle is complete.
BULBS
Replacing exterior bulbs
Check the operation of the following lamps frequently:
²Headlamps
²Foglamps
²High-mount brakelamp
²Brakelamps
²Turn signals
²License plate lamp
²Tail lamps
²Back-up lamps
Do not remove lamp bulbs unless they can be replaced immediately with
new ones. If a bulb is removed for an extended period of time,
contaminants may enter the lamp housings and affect lamp performance.
Maintenance and care
220
Page 222 of 264

1. With the flat side of the new bulb's plastic base facing upward, insert
the glass end of the bulb into the lamp assembly. Turn the bulb left or
right to align the grooves in the plastic base with the tabs in the lamp
assembly. When the grooves are aligned, push the bulb into the lamp
assembly until the plastic base contacts the rear of the lamp assembly.
2. Install the bulb retaining ring over the plastic base until it contacts the
rear of the socket by rotating it clockwise until you feel a ªstop.º
3. Connect the electrical connector into the rear of the plastic base until
it snaps, locking it into position.
4. Install the headlamp on vehicle by aligning the lamp on the vehicle,
push rearward and secure with two retainer pins.
5. Install the protective cover over headlamps locking it in place.
6. Turn the headlamps on and make sure they work properly. If the
headlamp was correctly aligned before you changed the bulb, you should
not need to align it again.
Replacing front parking lamp/turn signal bulbs
1. Remove screw from the lamp
assembly.
2. Disengage lamp assembly.
3. Rotate bulb socket
counterclockwise and remove from
lamp assembly.
4. Carefully pull bulb straight out of
socket and push in the new bulb.
5. Install bulb socket in lamp
assembly by turning clockwise.
6. Align the parking lamp assembly
and push to snap in place.
7. Install screw on lamp assembly.
Maintenance and care
222
Page 257 of 264

driving with a heavy load ......148
location ....................................148
H
Hazard flashers .........................159
Head restraints .....................96, 99
Headlamps ...................................18
aiming ..............................225±226
bulb specifications ..................224
daytime running lights .............18
flash to pass ..............................19
high beam ...........................11, 19
replacing bulbs .......................221
turning on and off ....................18
warning chime ..........................13
Heating ........................................20
heating and air conditioning
system .......................................20
Hood ..........................................183
I
Ignition .................................56, 238
Infant seats
(see Safety seats) .....................119
Inspection/maintenance (I/M)
testing ........................................220
Instrument panel
cleaning ...................................230
cluster ..................................8, 231
lighting up panel and
interior .......................................19
location of components ..............8
J
Jack ............................................168
positioning ...............................168storage .....................................168
Jump-starting your vehicle ......174
K
Keyless entry system .................88
autolock .....................................91
keypad .......................................88
locking and unlocking doors ....90
programming entry code .........89
Keys .......................................92±94
key in ignition chime ...............13
positions of the ignition ...........56
L
Lamps
bulb replacement
specifications chart ................224
cargo lamps ...............................19
daytime running light ...............18
fog lamps ...................................18
headlamps .................................18
headlamps, flash to pass ..........19
instrument panel, dimming .....19
interior lamps ...................67, 225
replacing bulbs ...............220±224
Lane change indicator
(see Turn signal) ........................55
Lights, warning and indicator ......8
air bag ........................................10
anti-lock brakes (ABS) ....10, 133
anti-theft ...................................11
brake ..........................................10
charging system ........................11
check coolant ............................11
check engine ...............................8
cruise indicator .........................13
door ajar ....................................12
fuel cap light ...............................9
Index
257
Page 258 of 264

high beam .................................11
overdrive off ..............................12
safety belt .................................10
speed control ............................60
turn signal indicator .................11
Load limits .................................148
GAWR ......................................148
GVWR ......................................148
trailer towing ..........................148
Loading instructions .................149
Locks
autolock .....................................91
childproof ..................................70
doors ..........................................69
Lubricant specifications ...235, 238
Lumbar support, seats ...............99
M
Manual transmission .................140
fluid capacities ........................233
lubricant specifications ..........238
reverse .....................................141
Mirrors
cleaning ...................................232
fold away ...................................71
side view mirrors (power) .......70
Moon roof ....................................64
Motorcraft parts ................215, 233
O
Octane rating ............................211
Odometer .....................................15
Oil (see Engine oil) ..................185
Overdrive .....................................62P
Panic alarm feature, remote
entry system ................................86
Parking brake ............................133
Parts (see Motorcraft parts) ....233
Power distribution box (see
Fuses) ........................................165
Power door locks ........................69
Power steering ..........................134
fluid, checking and adding ....196
fluid, refill capacity ................233
fluid, specifications .........235, 238
Preparing to drive
your vehicle ...............................135
R
Radio ............................................27
Relays ........................................161
Remote entry system ...........84, 86
illuminated entry ......................88
locking/unlocking doors .....85, 88
panic alarm ...............................86
replacement/additional
transmitters ...............................87
replacing the batteries .............86
S
Safety belts (see Safety
restraints) ....................13, 102±106
Safety defects, reporting ..........253
Safety restraints ................102±106
belt minder .............................108
cleaning the
safety belts ......................111, 231
extension assembly ................107
Index
258