Page 11 of 264

Turn signal
Illuminates when the left or right
turn signal or the hazard lights are
turned on. If one or both of the
indicators stay on continuously or
flash faster, check for a burned-out
turn signal bulb. Refer toBulbsin theMaintenance and carechapter.
High beams
Illuminates when the high beam
headlamps are turned on.
Anti-theft system (if equipped)
Refer toSecuriLockypassive
anti-theft systemin theControls
and featureschapter.
Charging system
Illuminates when the ignition is
turned to the ON position and the
engine is off. The light also
illuminates when the battery is not
charging properly, requiring
electrical system service.
Check gage
Illuminates when the engine coolant
temperature is high, the engine oil
pressure is low or the fuel gauge is
at or near empty. The ignition must
be in the ON position for this lamp to illuminate. The lamp will also stay
illuminated after the ignition is turned to the ON position. Refer to
Engine coolant temperature gauge, Engine oil pressure gaugeor
Fuel gaugein this chapter for more information.
THEFT
CHECK
GAGE
Instrumentation
11
Page 18 of 264

HEADLAMP CONTROL
Rotate the headlamp control to the
first position to turn on the parking
lamps. Rotate to the second position
to also turn on the headlamps.
Foglamp control (if equipped)
The foglamps can be turned on
when the headlamp control is in
either of the following positions:
²Parking lamps
²Low beams
Press the foglamp control to activate the foglamps. The foglamp indicator
light will illuminate. When the highbeams are activated, the foglamps will
not operate.
Press the foglamp control again to deactivate the foglamps.
Daytime running lamps (DRL) (if equipped)
Turns the headlamps on with a reduced output. To activate:
²the ignition must be in the ON position and
²the headlamp control is in the OFF or Parking lamps position.
Always remember to turn on your headlamps at dusk or during
inclement weather. The Daytime Running Lamp (DRL) system
does not activate with your tail lamps and generally may not provide
adequate lighting during these conditions. Failure to activate your
headlamps under these conditions may result in a collision.
OFF
Controls and features
18
Page 167 of 264
Fuse/Relay
LocationFuse Amp
RatingPower Distribution Box Description
17 Ð Not Used
18 Ð Not Used
19 Ð Not Used
20 Ð Not Used
21 10A* PCM Memory
22 15A* Horn
23 20A* Fuel Pump Motor
24 25A* Headlamps
25 10A* A/C Clutch Solenoid
26 Ð Not Used
27 20A* Rear Power Point
28 30A* 4WABS Module
29 15A* Foglamps
30 Ð Not Used
31 15A* DRL
32 Ð Not Used
33 15A* Park Lamps
34 Ð Not Used
35 Ð Not Used
36 Ð Not Used
37 Ð Not Used
38 10A* Left Low Beam
39 Ð Not Used
40 Ð Not Used
41 15A* Heated Oxygen Sensors
42 10A* Right Low Beam
43 Ð Not Used
44 Ð Not Used
45A Ð Wiper Hi/Low Relay
45B Ð Wiper Run/Park Relay
46A Ð Park Lamp Relay
Roadside emergencies
167
Page 227 of 264

3. Turn on the low beam headlamps
to illuminate the wall or screen and
open the hood.
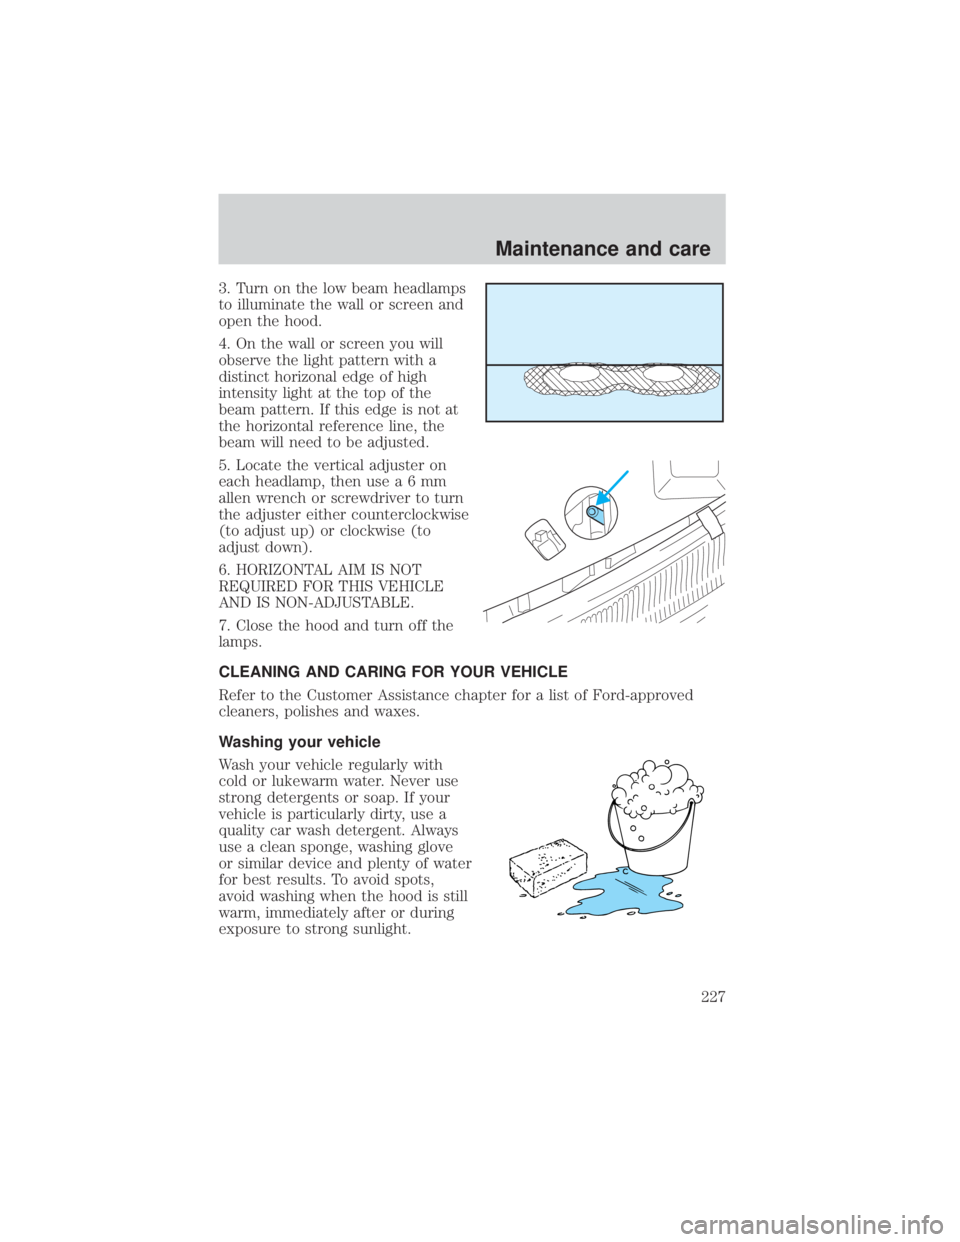
4. On the wall or screen you will
observe the light pattern with a
distinct horizonal edge of high
intensity light at the top of the
beam pattern. If this edge is not at
the horizontal reference line, the
beam will need to be adjusted.
5. Locate the vertical adjuster on
each headlamp, then usea6mm
allen wrench or screwdriver to turn
the adjuster either counterclockwise
(to adjust up) or clockwise (to
adjust down).
6. HORIZONTAL AIM IS NOT
REQUIRED FOR THIS VEHICLE
AND IS NON-ADJUSTABLE.
7. Close the hood and turn off the
lamps.
CLEANING AND CARING FOR YOUR VEHICLE
Refer to the Customer Assistance chapter for a list of Ford-approved
cleaners, polishes and waxes.
Washing your vehicle
Wash your vehicle regularly with
cold or lukewarm water. Never use
strong detergents or soap. If your
vehicle is particularly dirty, use a
quality car wash detergent. Always
use a clean sponge, washing glove
or similar device and plenty of water
for best results. To avoid spots,
avoid washing when the hood is still
warm, immediately after or during
exposure to strong sunlight.
Maintenance and care
227