2001 FORD EXPLORER SPORT CD player
[x] Cancel search: CD playerPage 33 of 256
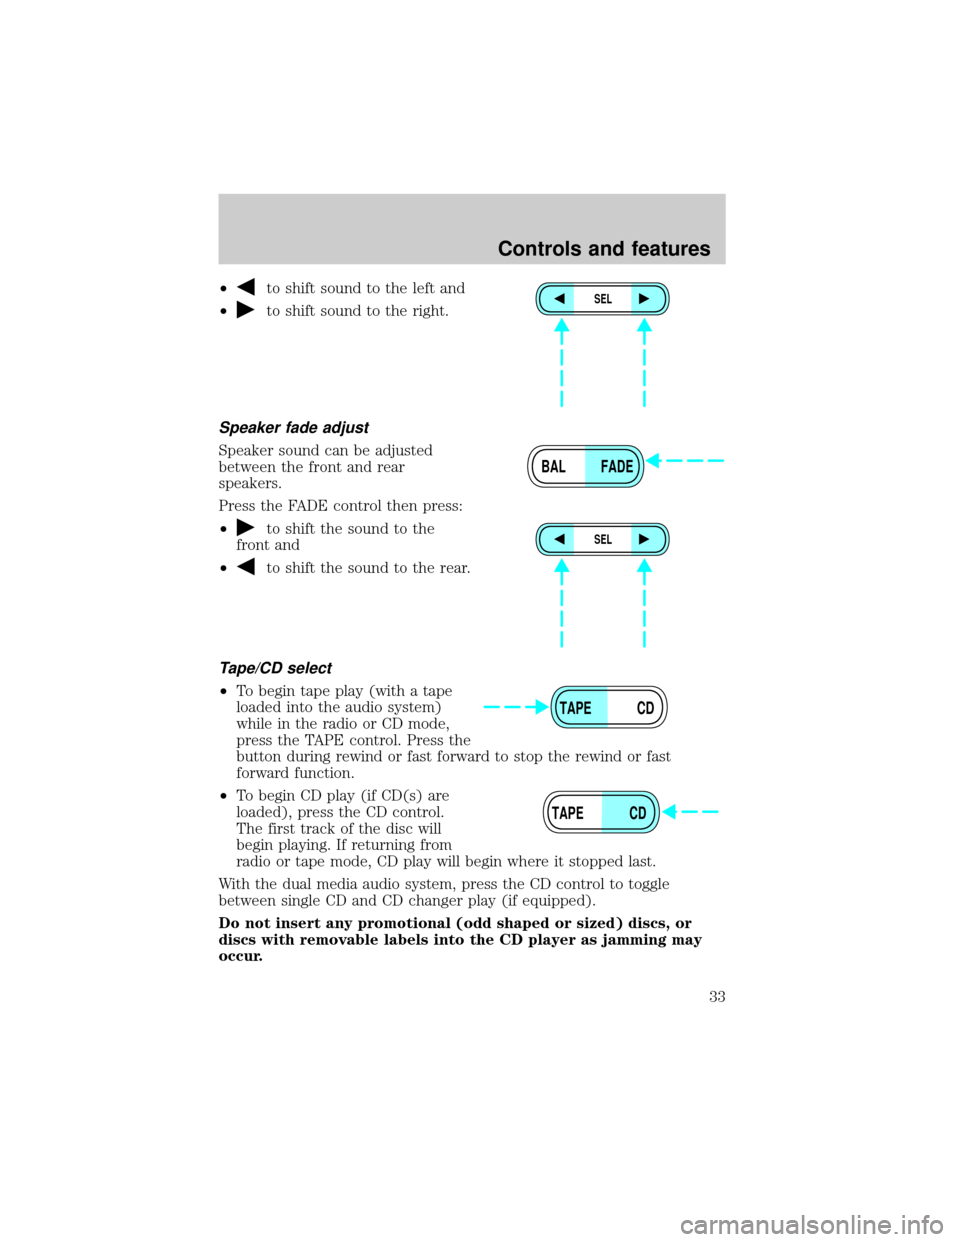
²to shift sound to the left and
²
to shift sound to the right.
Speaker fade adjust
Speaker sound can be adjusted
between the front and rear
speakers.
Press the FADE control then press:
²
to shift the sound to the
front and
²
to shift the sound to the rear.
Tape/CD select
²To begin tape play (with a tape
loaded into the audio system)
while in the radio or CD mode,
press the TAPE control. Press the
button during rewind or fast forward to stop the rewind or fast
forward function.
²To begin CD play (if CD(s) are
loaded), press the CD control.
The first track of the disc will
begin playing. If returning from
radio or tape mode, CD play will begin where it stopped last.
With the dual media audio system, press the CD control to toggle
between single CD and CD changer play (if equipped).
Do not insert any promotional (odd shaped or sized) discs, or
discs with removable labels into the CD player as jamming may
occur.
SEL
BAL FADE
SEL
TAPE CD
TAPE CD
Controls and features
33
Page 39 of 256
Tune adjust for CD mode
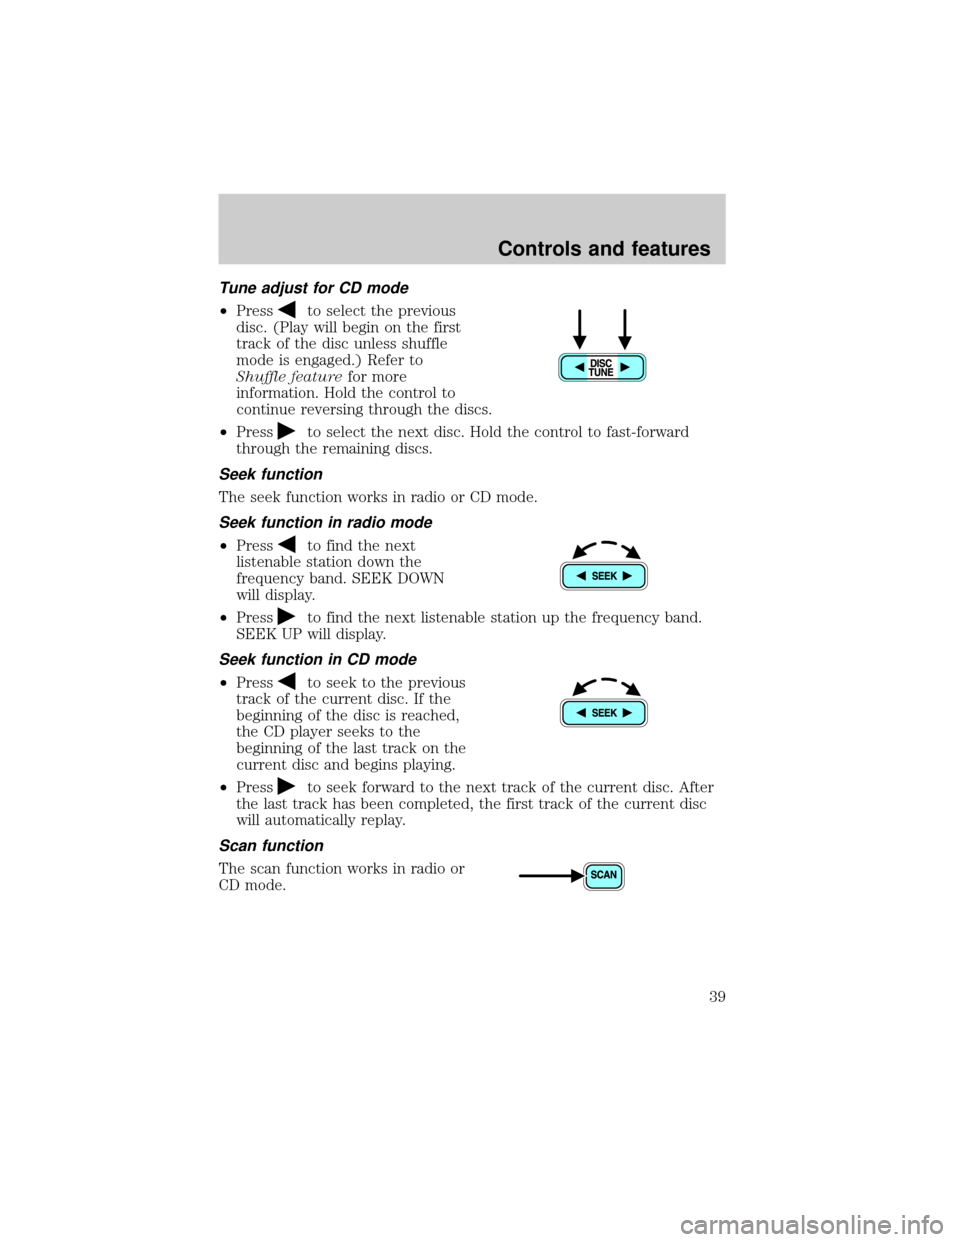
²Pressto select the previous
disc. (Play will begin on the first
track of the disc unless shuffle
mode is engaged.) Refer to
Shuffle featurefor more
information. Hold the control to
continue reversing through the discs.
²Press
to select the next disc. Hold the control to fast-forward
through the remaining discs.
Seek function
The seek function works in radio or CD mode.
Seek function in radio mode
²Pressto find the next
listenable station down the
frequency band. SEEK DOWN
will display.
²Press
to find the next listenable station up the frequency band.
SEEK UP will display.
Seek function in CD mode
²Pressto seek to the previous
track of the current disc. If the
beginning of the disc is reached,
the CD player seeks to the
beginning of the last track on the
current disc and begins playing.
²Press
to seek forward to the next track of the current disc. After
the last track has been completed, the first track of the current disc
will automatically replay.
Scan function
The scan function works in radio or
CD mode.
Controls and features
39
Page 41 of 256
Starting autostore
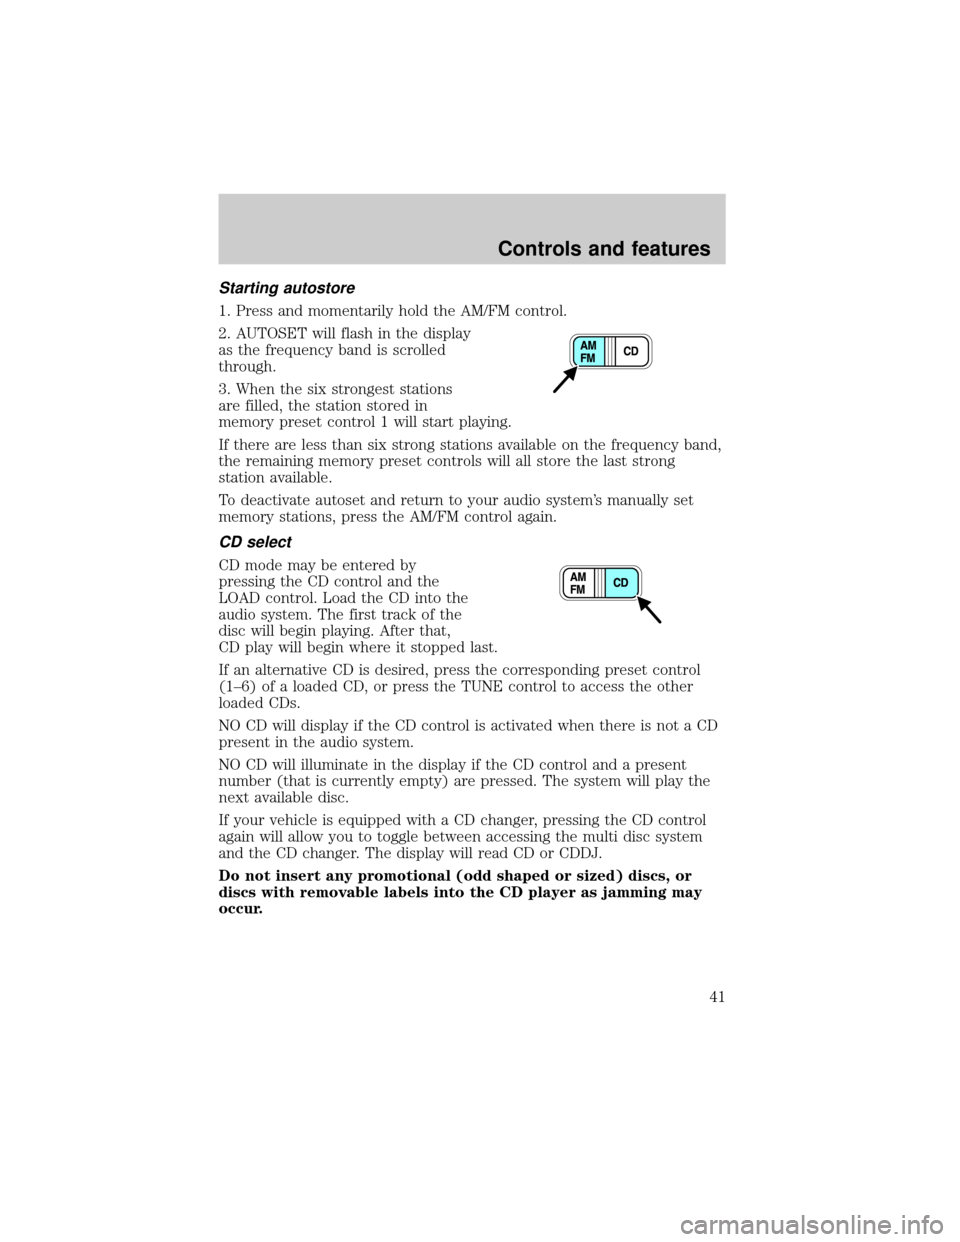
1. Press and momentarily hold the AM/FM control.
2. AUTOSET will flash in the display
as the frequency band is scrolled
through.
3. When the six strongest stations
are filled, the station stored in
memory preset control 1 will start playing.
If there are less than six strong stations available on the frequency band,
the remaining memory preset controls will all store the last strong
station available.
To deactivate autoset and return to your audio system's manually set
memory stations, press the AM/FM control again.
CD select
CD mode may be entered by
pressing the CD control and the
LOAD control. Load the CD into the
audio system. The first track of the
disc will begin playing. After that,
CD play will begin where it stopped last.
If an alternative CD is desired, press the corresponding preset control
(1±6) of a loaded CD, or press the TUNE control to access the other
loaded CDs.
NO CD will display if the CD control is activated when there is not a CD
present in the audio system.
NO CD will illuminate in the display if the CD control and a present
number (that is currently empty) are pressed. The system will play the
next available disc.
If your vehicle is equipped with a CD changer, pressing the CD control
again will allow you to toggle between accessing the multi disc system
and the CD changer. The display will read CD or CDDJ.
Do not insert any promotional (odd shaped or sized) discs, or
discs with removable labels into the CD player as jamming may
occur.
Controls and features
41
Page 42 of 256
Display description
Six circles are always lit in the digital display. These signify the six CD
slots in the audio system. When a disc is loaded into a particular slot
(1±6), the number inside that specific circle lights. If the circle is empty,
there is no CD in that particular slot.
Load
The load feature allows you to load
single CDs into the player internal
to the radio.
This six disc CD player is equipped with a CD door. Compact
discs should only be inserted into the player after the door has
been opened by the player. Do not attempt to force the door
open. Compact discs should only be loaded by pressing the LOAD
control.
Press the LOAD control. (You can choose which slot will be loaded by
pressing the desired preset number. If you do not choose a slot, the
system will choose the next available one.) Wait until the CD door opens.
Load the CD into the player. LOADING CD# is displayed. When the CD
has been loaded, the door will close and the CD will begin to play. For
example, to load a CD into slot 2, press the LOAD control and then press
preset 2.
Auto load
This feature allows you to autoload
up to 6 discs into the multi disc CD
player internal to the radio.
Press and hold the LOAD control until AUTOLOAD # is displayed. The
CD door will open. Load the desired disc, one at a time. The CD is
loaded into position and the audio system will display CD#. Each time
the CD door opens, INSERT CD# is displayed. The door will close and
the player will move to the next slot after each disc has been loaded.
The process is repeated until all 6 slots are full. The audio system plays
the last CD loaded and the display is updated. If some slots are already
full and autoload is activated, the system will fill all empty slots.
Controls and features
42
Page 43 of 256
Eject
Press the EJ control to stop and
eject a CD. You can choose which
CD will be ejected by pressing the
EJ control and the desired preset
number (1±6). For example, to eject CD 2, press the EJ control and then
press the preset 2 control. If you do not choose a specific CD, the player
will eject the current CD.
If a CD is ejected and not removed from the door of the CD player, the
player will automatically reload the CD. This feature may be used when
the ignition is ON or OFF.
Auto eject
Press and momentarily hold the EJ
control to engage auto eject. All CDs
which are present in the player will
be ejected one at a time. If a CD is
ejected and not removed from the door of the CD player, the player will
automatically reload the CD. This feature may be used when the ignition
is ON or OFF.
Rewind
The rewind control works in CD
modes.
Press and hold the REW control
until the desired selection is
reached. If the beginning of the disc is reached, the CD will begin play at
the first track. Release the control to disengage rewind mode.
When in rewind mode, your audio system will automatically lower the
volume level of the playing media.
Controls and features
43
Page 54 of 256
Cleaning compact discs
Inspect all discs for contamination before playing. If necessary, clean
discs only with an approved CD cleaner and wipe from the center out to
the edge. Do not use circular motion.
CD and CD changer care
²Handle discs by their edges only. Never touch the playing surface.
²Do not expose discs to direct sunlight or heat sources for extended
periods of time.
²Do not insert more than one disc into each slot of the CD changer
magazine.
Do not insert any promotional (odd shaped or sized) discs, or
discs with removable labels into the CD player as jamming may
occur.
Cleaning cassette player (if equipped)
Clean the tape player head with a cassette cleaning cartridge after 10 to
12 hours of play in order to maintain the best sound and operation.
Cassette and cassette player care
²Use only cassettes that are 90 minutes long or less.
²Do not expose tapes to direct sunlight, high humidity, extreme heat or
extreme cold. Allow tapes that may have been exposed to extreme
temperatures to reach a moderate temperature before playing.
²Tighten very loose tapes by inserting a finger or pencil into the hole
and turning the hub.
²Remove loose labels before inserting tapes.
²Do not leave tapes in the cassette player for a long time when not
being played.
Controls and features
54
Page 245 of 256

A
Air bag supplemental restraint
system ................................103, 109
and child safety seats ............105
description ......................103, 109
disposal ....................................112
driver air bag ..................106, 110
indicator light ...........12, 108, 111
operation .........................106, 110
passenger air bag ...........106, 110
side air bag ..............................109
Air cleaner filter ...............182, 224
Air conditioning ..........................22
rear seat controls .....................25
Ambulance packages ....................4
Antifreeze (see Engine
coolant) .....................................183
Anti-lock brake system (see
Brakes) ..............................125±126
Anti-theft system
warning light .............................13
Audio system (see Radio) .........28
Automatic transmission ............129
driving an automatic
overdrive .................................130
fluid, adding ............................188
fluid, checking ........................188
fluid, refill capacities ..............224
fluid, specification ..................228
Auxiliary power point .................72
Axle
lubricant specifications ..226, 228
refill capacities ........................224
traction lok ..............................128B
Battery .......................................192
acid, treating emergencies .....192
charging system warning
light ............................................13
jumping a disabled battery ....166
maintenance-free ....................192
replacement, specifications ...224
servicing ..................................192
voltage gauge ............................18
Belt minder .................................99
Brakes ........................................125
anti-lock ...........................125±126
anti-lock brake system (ABS)
warning light .....................12, 126
brake warning light ..................12
fluid, checking and adding ....180
fluid, refill capacities ..............224
fluid, specifications .........226, 228
lubricant specifications ..226, 228
parking ....................................126
shift interlock ..........................129
Break-in period .............................3
C
Capacities for refilling fluids ....224
Cargo area shade ........................74
Cargo cover .................................74
Cassette tape player ...................37
Certification Label ....................231
Child safety restraints ..............112
child safety belts ....................112
Child safety seats ......................113
attaching with tether straps ..117
in front seat ............................115
in rear seat ..............................115
Index
245