Page 79 of 256

Illuminated entry
The interior lamps illuminate when the remote entry system is used to
unlock the door(s) or sound the personal alarm.
The system automatically turns off after 25 seconds or when the ignition
is turned to the ON position. The dome lamp control (if equipped) must
notbe set to the OFF position for the illuminated entry system to
operate.
The inside lights will not turn off if:
²they have been turned on with the dimmer control or
²any door is open
The battery saver will shut off the interior lamps 40 minutes after the
ignition has been turned to the OFF position.
Power door trim switch inhibit
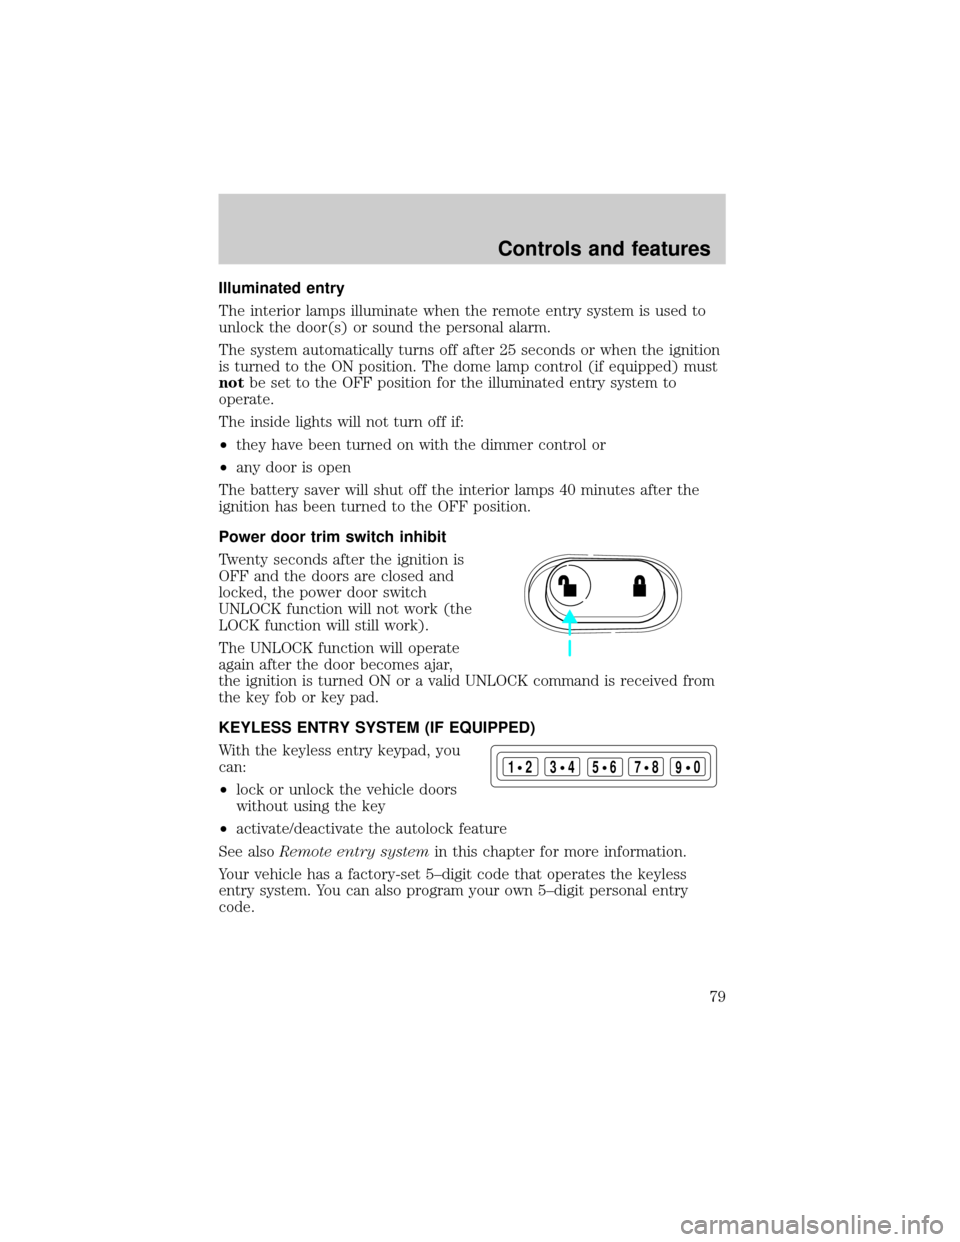
Twenty seconds after the ignition is
OFF and the doors are closed and
locked, the power door switch
UNLOCK function will not work (the
LOCK function will still work).
The UNLOCK function will operate
again after the door becomes ajar,
the ignition is turned ON or a valid UNLOCK command is received from
the key fob or key pad.
KEYLESS ENTRY SYSTEM (IF EQUIPPED)
With the keyless entry keypad, you
can:
²lock or unlock the vehicle doors
without using the key
²activate/deactivate the autolock feature
See alsoRemote entry systemin this chapter for more information.
Your vehicle has a factory-set 5±digit code that operates the keyless
entry system. You can also program your own 5±digit personal entry
code.
123
45678
90
Controls and features
79
Page 81 of 256
Anti-scan feature
The keyless entry pad is disabled for
1 minute after 7 unsuccessful
attempts at entering a valid key
code. The keypad will flash during
this 1 minute mode. However, the 7/8 and 9/0 controls will still lock the
vehicle.
Anti-scan will turned off after:
²one minute of keypad inactivity
²the keyfob UNLOCK button is pressed.
²the ignition is turned to the ON position
Unlocking the doors with the keyless entry system
To unlock the driver's door, enter either the factory-set code or personal
code (each digit pressed within five seconds of the prior digit). The
interior lamps will illuminate.
To unlock all doors, enter the
factory-set code or personal code
(driver door unlocks) and press the
3/4 control within five seconds.
Locking the doors with the keyless entry system
To lock all the doors, press 7/8 and
9/0 at the same time. It is not
necessary to first enter the keypad
code.
123
45678
90
123
45678
90
123
45678
90
Controls and features
81
Page 82 of 256

Autolock
The autolock feature will lock all of the vehicle doors when:
²all doors are closed
²ignition key is in the ON position
²you shift into or through R (reverse)
²the brake pedal is released
The autolock feature repeats when:
²any door is opened then closed while the engine is running and
²you put the vehicle in motion by releasing the brake pedal
Deactivating autolock
Before following the activation or deactivation procedures, make sure
that the ignition is OFF and all vehicle doors are closed.
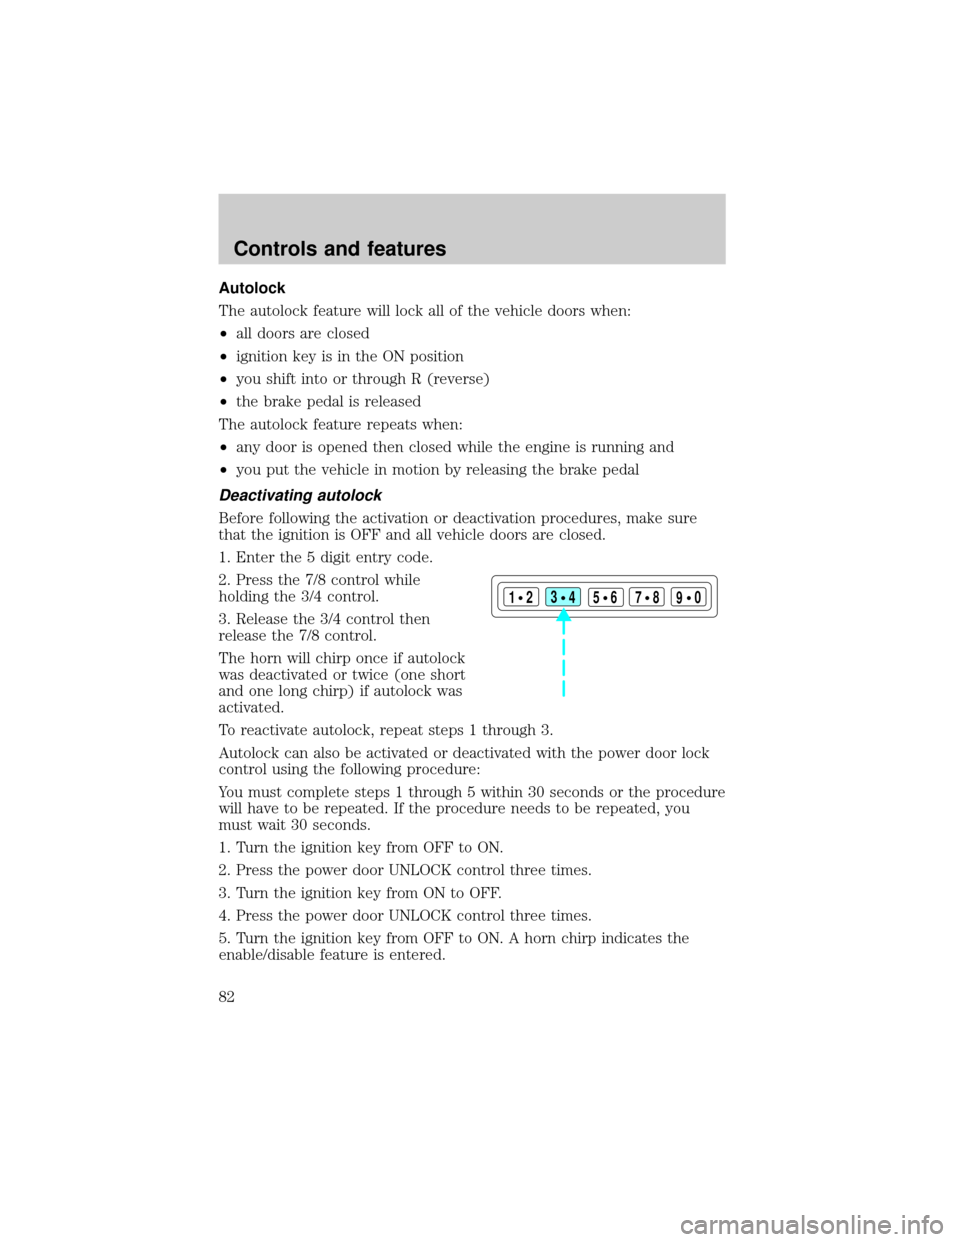
1. Enter the 5 digit entry code.
2. Press the 7/8 control while
holding the 3/4 control.
3. Release the 3/4 control then
release the 7/8 control.
The horn will chirp once if autolock
was deactivated or twice (one short
and one long chirp) if autolock was
activated.
To reactivate autolock, repeat steps 1 through 3.
Autolock can also be activated or deactivated with the power door lock
control using the following procedure:
You must complete steps 1 through 5 within 30 seconds or the procedure
will have to be repeated. If the procedure needs to be repeated, you
must wait 30 seconds.
1. Turn the ignition key from OFF to ON.
2. Press the power door UNLOCK control three times.
3. Turn the ignition key from ON to OFF.
4. Press the power door UNLOCK control three times.
5. Turn the ignition key from OFF to ON. A horn chirp indicates the
enable/disable feature is entered.
123
45678
90
Controls and features
82
Page 83 of 256

6. Press the power door UNLOCK control one time.
7. Press the power door LOCK control to toggle the Autolock/Relock
state. You will receive a horn chirp followed by either a long honk,
autolock/relock is enabled, or no honk, autolock/relock is disabled.
8. Turn ignition to OFF.
If autolock/relock has been changed, the horn will chirp to confirm
procedure is complete.
SECURILOCKYPASSIVE ANTI-THEFT SYSTEM
SecuriLockypassive anti-theft system is an engine immobilization
system. This system prevents the engine from being started unless a
coded key programmed to your vehicleis used.
The SecuriLockypassive anti-theft system is not compatible with
non-Ford aftermarket remote start systems. Use of these systems may
result in vehicle starting problems and a loss of security protection.
Automatic arming
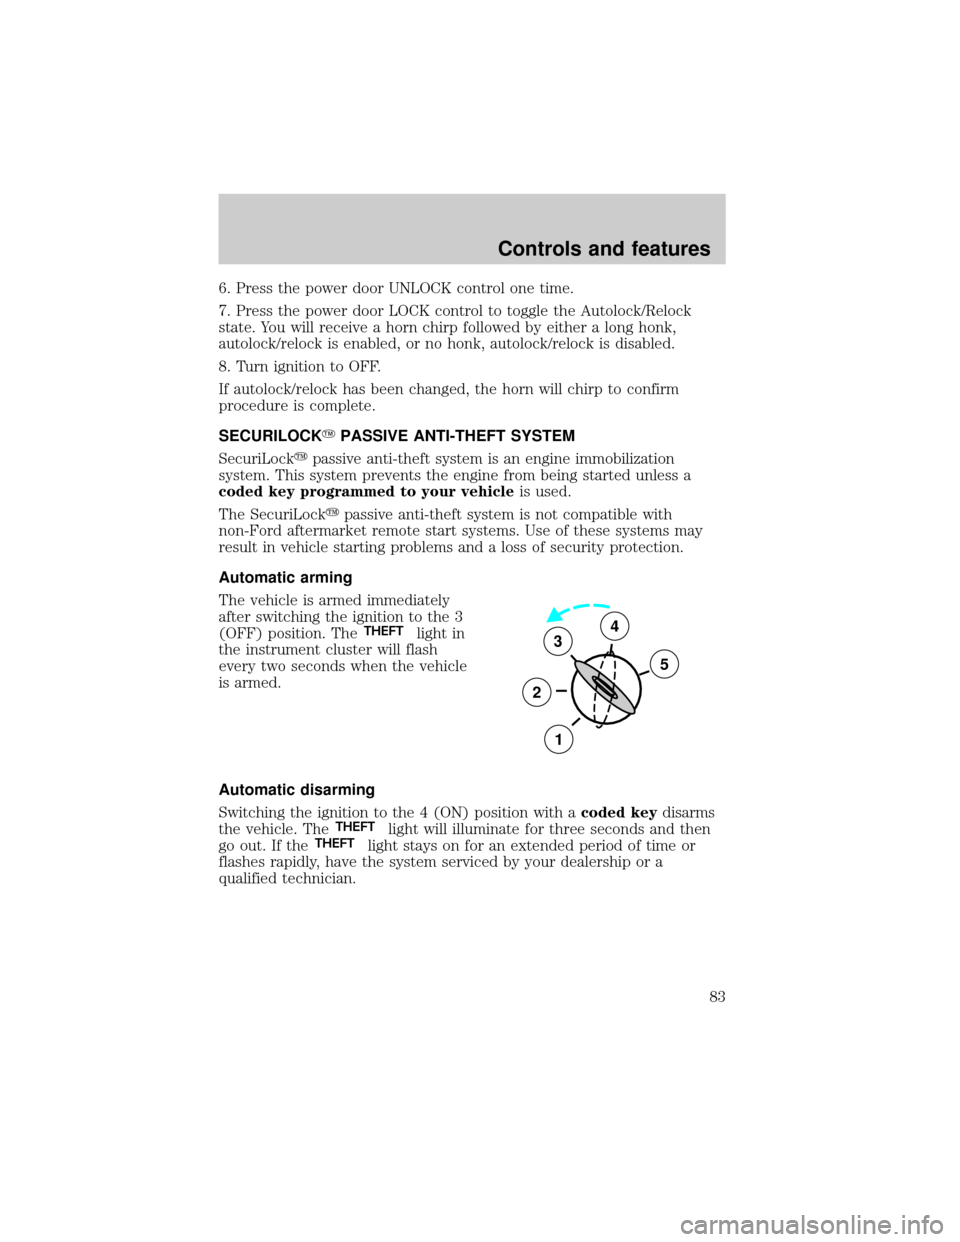
The vehicle is armed immediately
after switching the ignition to the 3
(OFF) position. The
THEFTlight in
the instrument cluster will flash
every two seconds when the vehicle
is armed.
Automatic disarming
Switching the ignition to the 4 (ON) position with acoded keydisarms
the vehicle. The
THEFTlight will illuminate for three seconds and then
go out. If theTHEFTlight stays on for an extended period of time or
flashes rapidly, have the system serviced by your dealership or a
qualified technician.
3
2
1
5
4
Controls and features
83
Page 156 of 256
The fuses are coded as follows:
Fuse/Relay
LocationFuse Amp
RatingPassenger Compartment Fuse
Panel Description
1 5A Power Mirror Switch
2 Ð Not Used
3 7.5A Left Stop/Turn Trailer Tow
Connector
4 15A Subwoofer
5 15A Park Lamps
6 15A (With rear
blower)
7.5A (Without
rear blower)Blower Motor Relay, Airbag
Diagnostic Monitor
7 7.5A Right Stop/Turn Trailer Tow
Connector
8 Ð Not Used
9 7.5A Brake Pedal Position Switch
10 7.5A Speed Control/Amplifier Assembly,
Generic electronic Module (GEM),
Shift Lock Actuator, Blend Door
Actuator, A/C - Heater Assembly,
Flasher, Overhead Console, 4X4
Module
11 7.5A Instrument Cluster, 4X4 Module
12 10A Washer Pump Relay, Rear Washer
Pump Relay
13 15A Brake Pedal Position Switch,
Brake Pressure Switch
14 10A 4 Wheel Anti-Lock Brake System
(4WABS) Module
15 7.5A Instrument Cluster
16 30A Windshield Wiper Motor, Wiper
Hi-Lo Relay, Wiper Run/Park
Relay
Roadside emergencies
156
Page 157 of 256
Fuse/Relay
LocationFuse Amp
RatingPassenger Compartment Fuse
Panel Description
17 20A Cigar Lighter, Data Link
Connector
18 20A Power Door Locks
19 25A PCM Power Diode
20 7.5A Generic Electronic Module
(GEM), Radio, Moonroof Relay,
Power Window Relay
21 15A Flasher (Hazard)
22 20A Auxiliary Power Socket
23 Ð Not Used
24 7.5A Starter Interrupt Relay, Anti-Theft
25 7.5A Generic Electronic Module
(GEM), Instrument Cluster,
Securi-Lock
26 10A Battery Saver Relay, Interior
Lamp Relay
27 15A DRL, Backup Lamps Switch, DTR
Sensor, Rear Defroster Relay
28 7.5A Radio
29 20A Radio
30 25A Power Seats
31 5A Rear Blower Motor
32 5A Heated Rear Window Switch
33 15A Headlamps, Daytime Running
Lamps (DRL) Module, Instrument
Cluster
34 5A Rear Integrated Control Panel
35 15A 4X4 Module
36 15A Trailer Tow Relay
Roadside emergencies
157
Page 231 of 256
IDENTIFYING YOUR VEHICLE
Certification label
The National Highway Traffic Safety
Administration Regulations require
that a Certification label be affixed
to a vehicle and prescribe where the
Certification label may be located.
The Certification label is located on
the front door latch pillar on the
driver's side.
Vehicle identification number
The vehicle identification number is
attached to a metal tag and is
located on the driver side
instrument panel. (Please note that
in the graphic XXXX is
representative of your vehicle
identification number.)
Engine number
The engine number (the last eight numbers of the vehicle identification
number) is stamped on the engine block, transmission, frame and
transfer case (if equipped).
XXXXXXXXXXXXXXXXX
Capacities and specifications
231
Page 241 of 256
Trailer hitch bars and balls
Trailer hitch wiring adaptor
Protection and appearance equipment
Air bag anti-theft locks
Cargo liners, interior (hard and soft)
Carpet floor mats
Cleaners, waxes and polishes
Door edge guards
Front end covers (full and mini)
Front tow hooks
Hood deflectors
Locking gas cap
Lubricants and oils
Molded splash guards
Molded vinyl floor mats
Rear air deflectors
Side window air deflectors
Skid plates
Touch-up paint
Universal floor mats
For maximum vehicle performance, keep the following information in
mind when adding accessories or equipment to your vehicle:
²When adding accessories, equipment, passengers and luggage to your
vehicle, do not exceed the total weight capacity of the vehicle or of
the front or rear axle (GVWR or GAWR as indicated on the Safety
compliance certification label). Consult your dealer for specific weight
information.
Customer assistance
241