Page 45 of 288
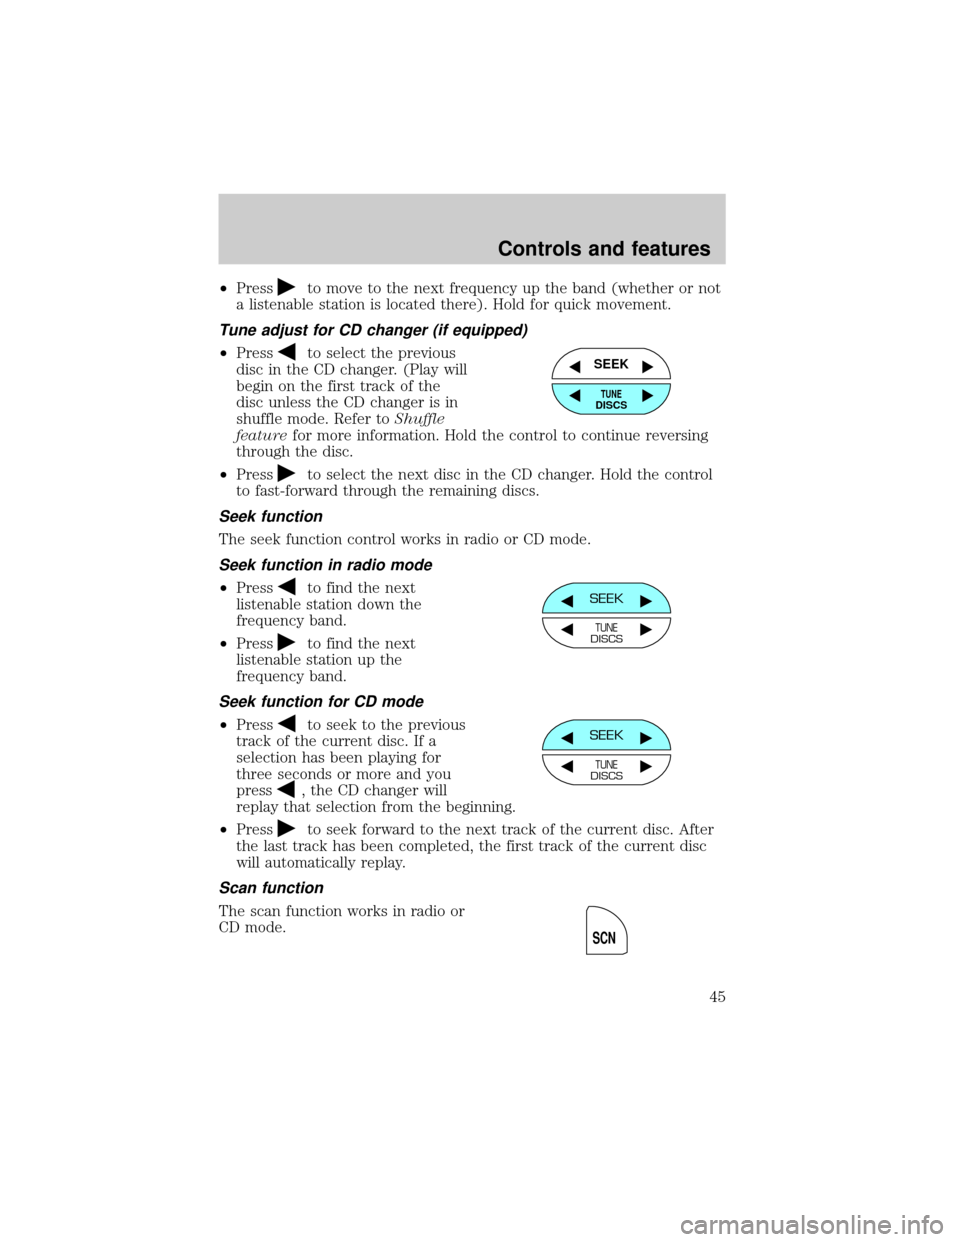
²Pressto move to the next frequency up the band (whether or not
a listenable station is located there). Hold for quick movement.
Tune adjust for CD changer (if equipped)
²Pressto select the previous
disc in the CD changer. (Play will
begin on the first track of the
disc unless the CD changer is in
shuffle mode. Refer toShuffle
featurefor more information. Hold the control to continue reversing
through the disc.
²Press
to select the next disc in the CD changer. Hold the control
to fast-forward through the remaining discs.
Seek function
The seek function control works in radio or CD mode.
Seek function in radio mode
²Pressto find the next
listenable station down the
frequency band.
²Press
to find the next
listenable station up the
frequency band.
Seek function for CD mode
²Pressto seek to the previous
track of the current disc. If a
selection has been playing for
three seconds or more and you
press
, the CD changer will
replay that selection from the beginning.
²Press
to seek forward to the next track of the current disc. After
the last track has been completed, the first track of the current disc
will automatically replay.
Scan function
The scan function works in radio or
CD mode.
SEEK
TUNEDISCS
SEEK
TUNEDISCS
SEEK
TUNEDISCS
SCN
Controls and features
45
Page 52 of 288
Seek function in radio mode
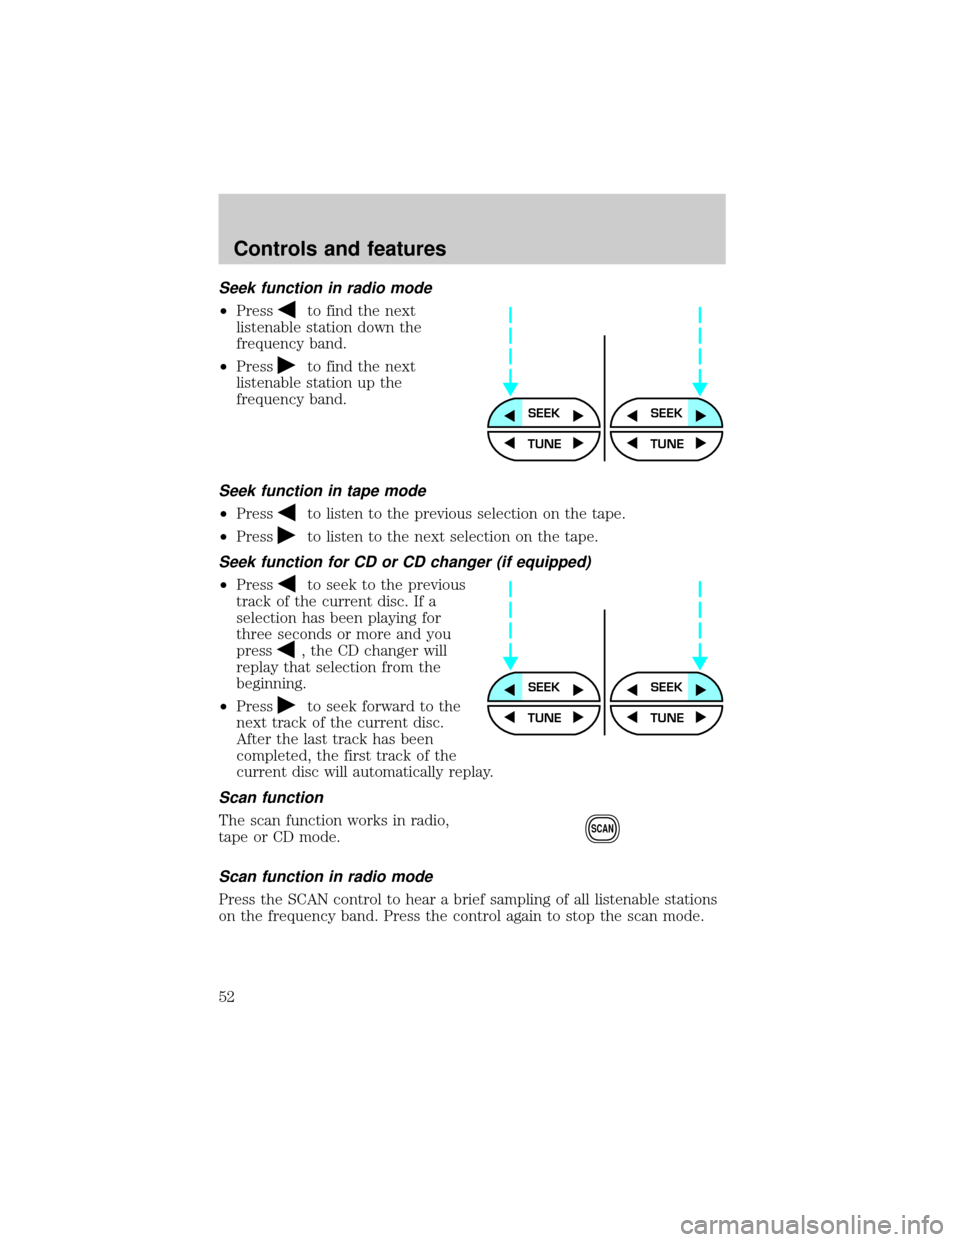
²Pressto find the next
listenable station down the
frequency band.
²Press
to find the next
listenable station up the
frequency band.
Seek function in tape mode
²Pressto listen to the previous selection on the tape.
²Press
to listen to the next selection on the tape.
Seek function for CD or CD changer (if equipped)
²Pressto seek to the previous
track of the current disc. If a
selection has been playing for
three seconds or more and you
press
, the CD changer will
replay that selection from the
beginning.
²Press
to seek forward to the
next track of the current disc.
After the last track has been
completed, the first track of the
current disc will automatically replay.
Scan function
The scan function works in radio,
tape or CD mode.
Scan function in radio mode
Press the SCAN control to hear a brief sampling of all listenable stations
on the frequency band. Press the control again to stop the scan mode.
SEEKSEEK
TUNE TUNE
SEEKSEEK
TUNE TUNE
SCAN
Controls and features
52
Page 59 of 288
²to decrease minutes and
²
to increase minutes.
If your vehicle has a separate clock
module, (other than the digital radio
display), the CLK button will not
function in the above manner.
The CLK button will allow you to
switch between media display mode
(radio station, stereo information,
etc.) and clock display mode (time).
When in clock mode, the media
information will display for 10
seconds, when the radio is turned
on, and then revert to clock
information. Anytime that the media
is changed, (new radio station, etc.), the media information will again
display for 10 seconds before reverting back to the clock. In media mode,
the media information will always be displayed.
Mute mode
Press the control to mute the
playing media. Press the control
again to return to the playing media.
SEEK
TUNE
SEEK
TUNE
AUTO
CLK
EJ
MUTE
Controls and features
59
Page 66 of 288
Seek function for CD changer (if equipped)
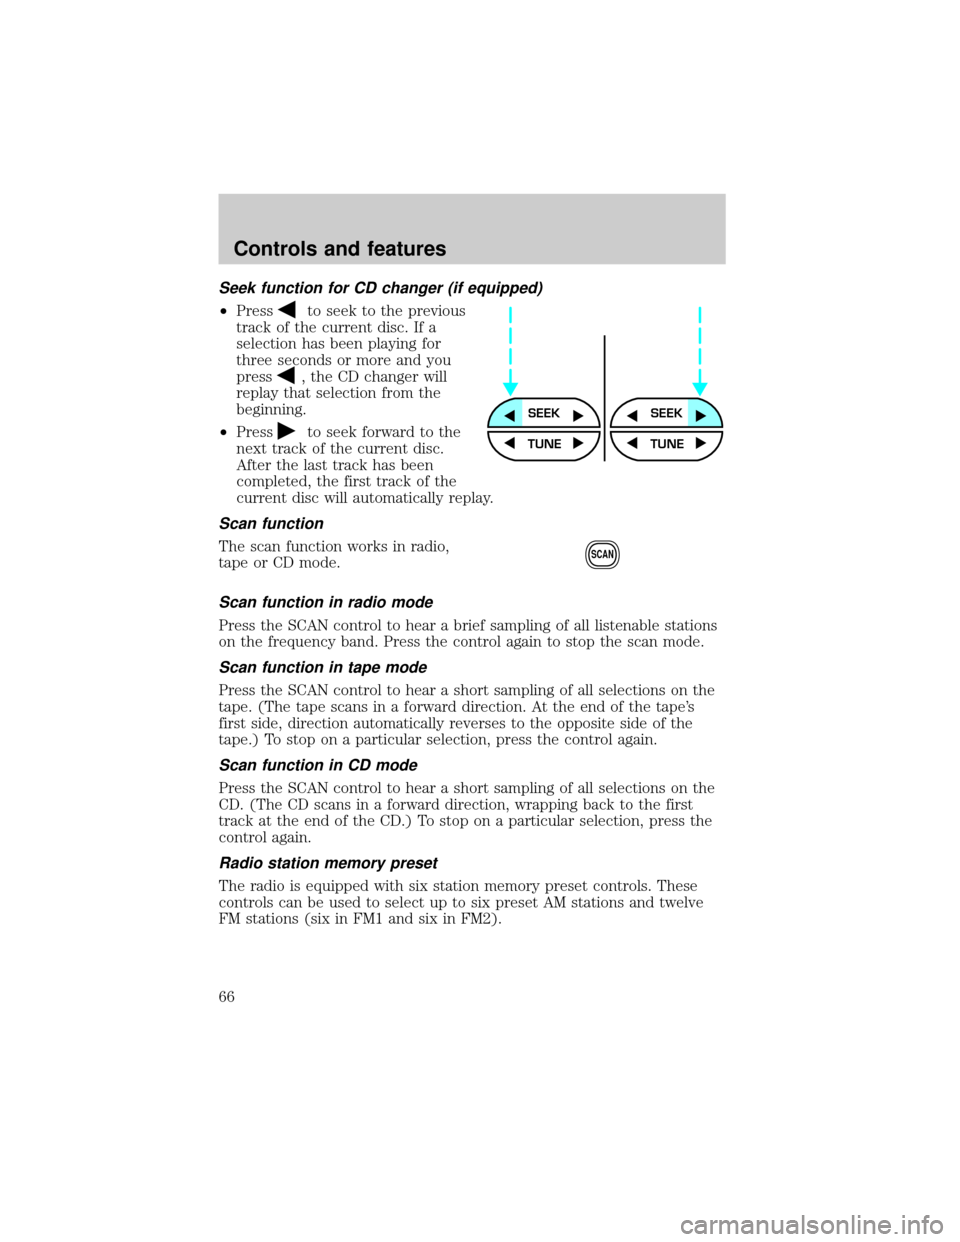
²Pressto seek to the previous
track of the current disc. If a
selection has been playing for
three seconds or more and you
press
, the CD changer will
replay that selection from the
beginning.
²Press
to seek forward to the
next track of the current disc.
After the last track has been
completed, the first track of the
current disc will automatically replay.
Scan function
The scan function works in radio,
tape or CD mode.
Scan function in radio mode
Press the SCAN control to hear a brief sampling of all listenable stations
on the frequency band. Press the control again to stop the scan mode.
Scan function in tape mode
Press the SCAN control to hear a short sampling of all selections on the
tape. (The tape scans in a forward direction. At the end of the tape's
first side, direction automatically reverses to the opposite side of the
tape.) To stop on a particular selection, press the control again.
Scan function in CD mode
Press the SCAN control to hear a short sampling of all selections on the
CD. (The CD scans in a forward direction, wrapping back to the first
track at the end of the CD.) To stop on a particular selection, press the
control again.
Radio station memory preset
The radio is equipped with six station memory preset controls. These
controls can be used to select up to six preset AM stations and twelve
FM stations (six in FM1 and six in FM2).
SEEKSEEK
TUNE TUNE
SCAN
Controls and features
66
Page 70 of 288
²In CD mode, pressing the REW control for less than three seconds
results in slow rewind. Pressing the control for more than three
seconds results in fast rewind.
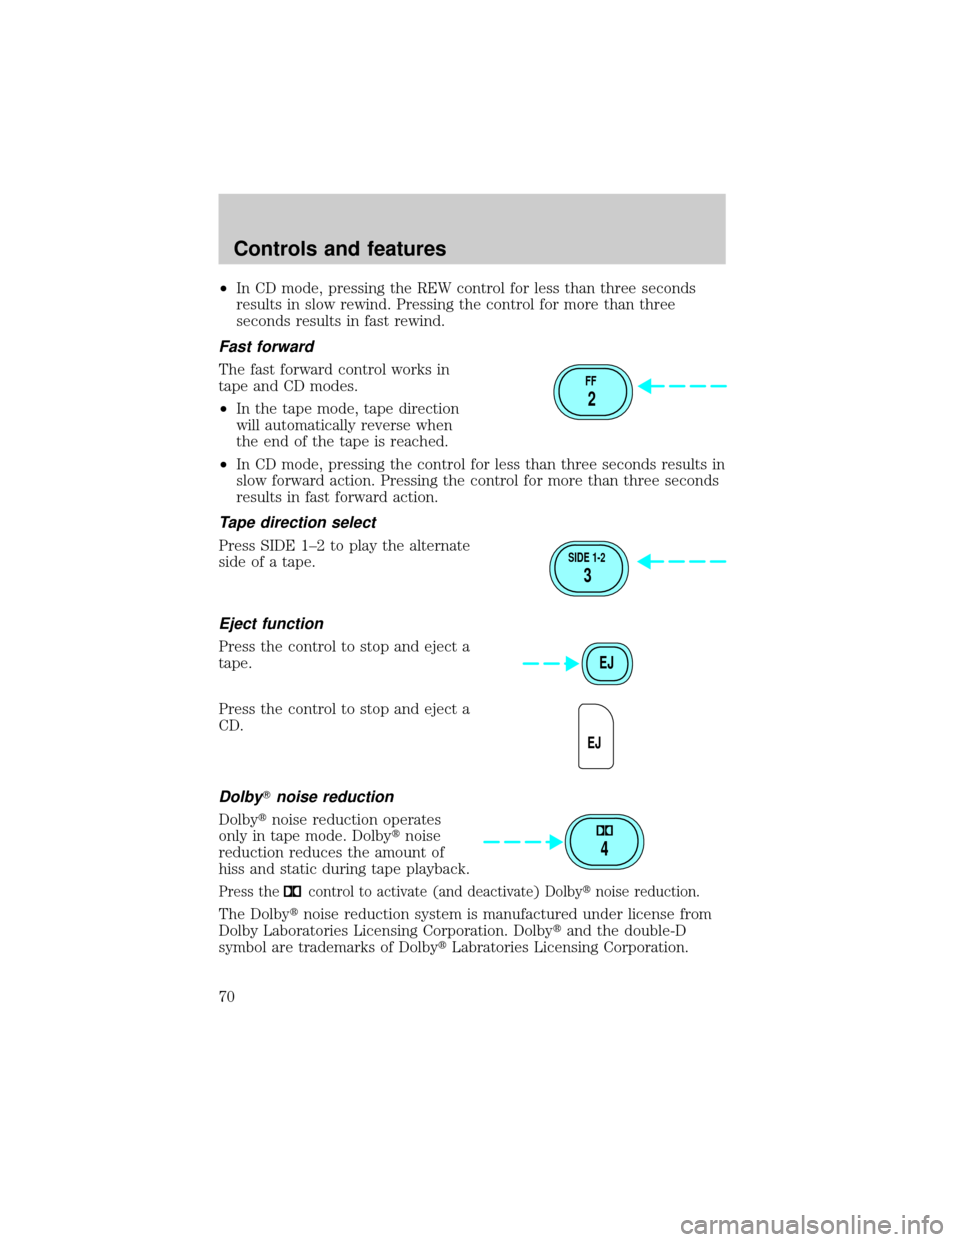
Fast forward
The fast forward control works in
tape and CD modes.
²In the tape mode, tape direction
will automatically reverse when
the end of the tape is reached.
²In CD mode, pressing the control for less than three seconds results in
slow forward action. Pressing the control for more than three seconds
results in fast forward action.
Tape direction select
Press SIDE 1±2 to play the alternate
side of a tape.
Eject function
Press the control to stop and eject a
tape.
Press the control to stop and eject a
CD.
DolbyTnoise reduction
Dolbytnoise reduction operates
only in tape mode. Dolbytnoise
reduction reduces the amount of
hiss and static during tape playback.
Press thecontrol to activate (and deactivate) Dolbytnoise reduction.
The Dolbytnoise reduction system is manufactured under license from
Dolby Laboratories Licensing Corporation. Dolbytand the double-D
symbol are trademarks of DolbytLabratories Licensing Corporation.
FF
2
SIDE 1-2
3
EJ
EJ
4
Controls and features
70
Page 93 of 288
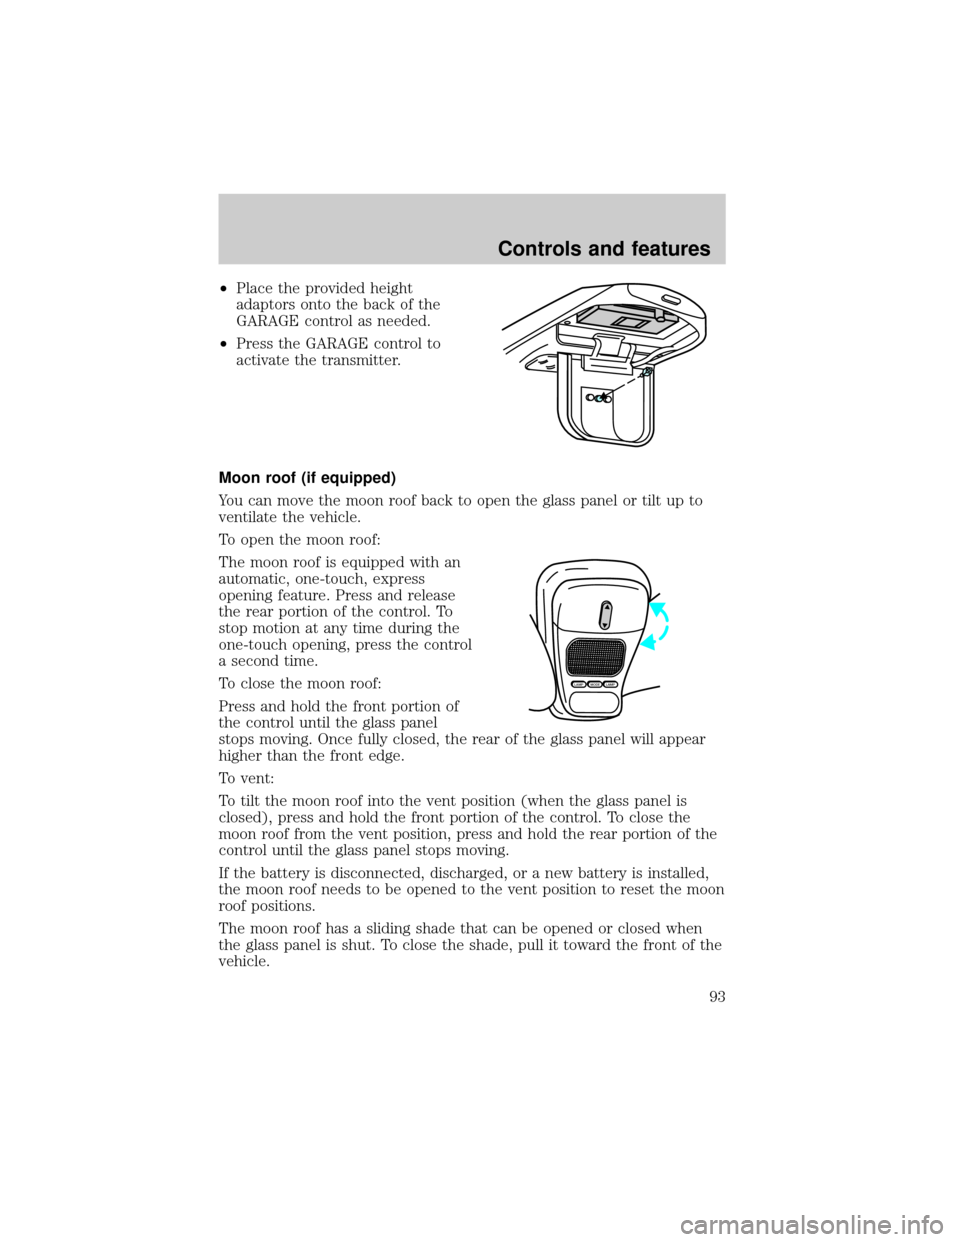
²Place the provided height
adaptors onto the back of the
GARAGE control as needed.
²Press the GARAGE control to
activate the transmitter.
Moon roof (if equipped)
You can move the moon roof back to open the glass panel or tilt up to
ventilate the vehicle.
To open the moon roof:
The moon roof is equipped with an
automatic, one-touch, express
opening feature. Press and release
the rear portion of the control. To
stop motion at any time during the
one-touch opening, press the control
a second time.
To close the moon roof:
Press and hold the front portion of
the control until the glass panel
stops moving. Once fully closed, the rear of the glass panel will appear
higher than the front edge.
To vent:
To tilt the moon roof into the vent position (when the glass panel is
closed), press and hold the front portion of the control. To close the
moon roof from the vent position, press and hold the rear portion of the
control until the glass panel stops moving.
If the battery is disconnected, discharged, or a new battery is installed,
the moon roof needs to be opened to the vent position to reset the moon
roof positions.
The moon roof has a sliding shade that can be opened or closed when
the glass panel is shut. To close the shade, pull it toward the front of the
vehicle.
MODELAMPLAMP
Controls and features
93
Page 94 of 288
Do not let children play with the moon roof. They may seriously
hurt themselves.
Electronic compass/temperature display (if equipped)
Outside air temperature
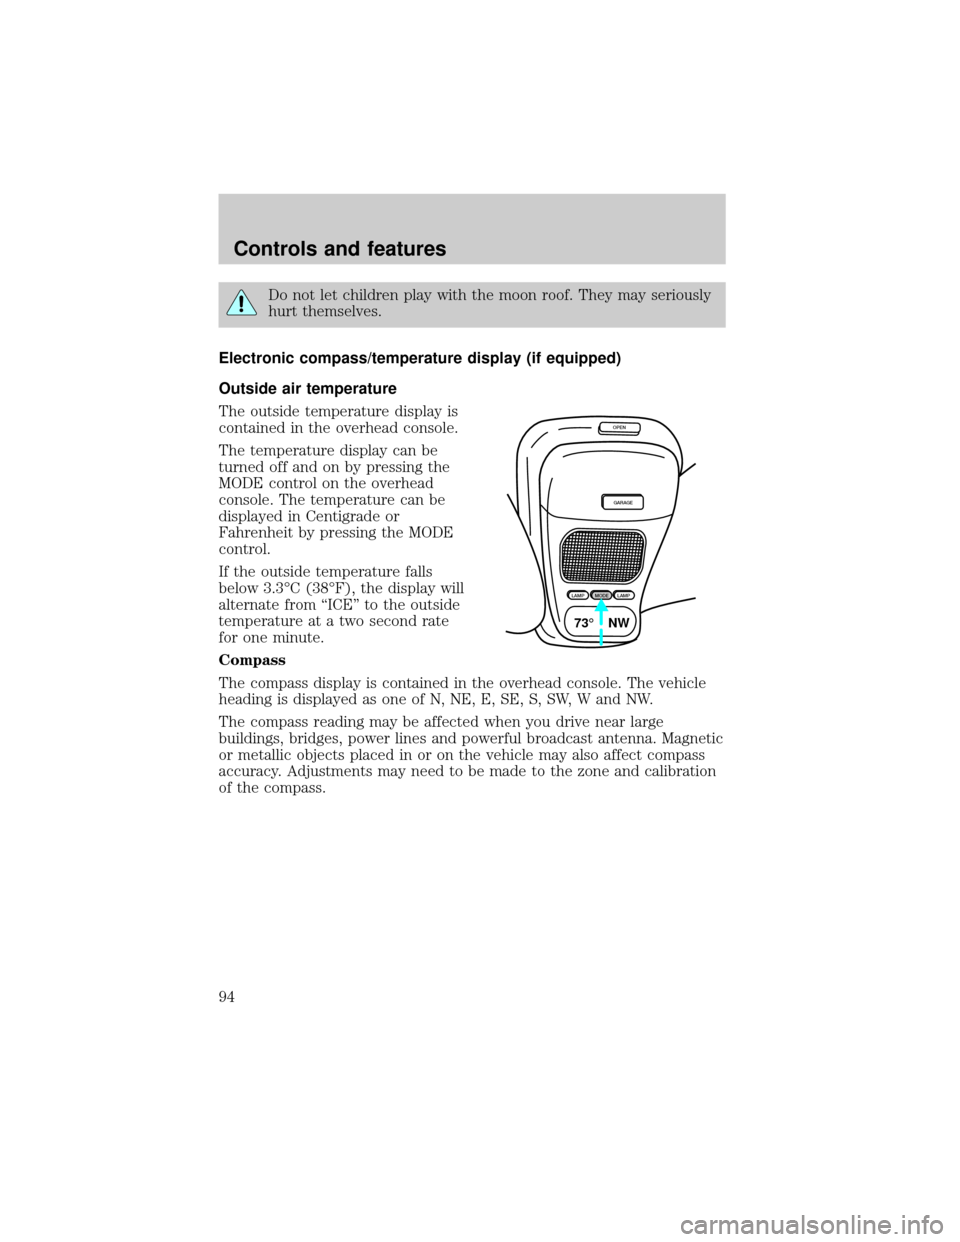
The outside temperature display is
contained in the overhead console.
The temperature display can be
turned off and on by pressing the
MODE control on the overhead
console. The temperature can be
displayed in Centigrade or
Fahrenheit by pressing the MODE
control.
If the outside temperature falls
below 3.3ÉC (38ÉF), the display will
alternate from ªICEº to the outside
temperature at a two second rate
for one minute.
Compass
The compass display is contained in the overhead console. The vehicle
heading is displayed as one of N, NE, E, SE, S, SW, W and NW.
The compass reading may be affected when you drive near large
buildings, bridges, power lines and powerful broadcast antenna. Magnetic
or metallic objects placed in or on the vehicle may also affect compass
accuracy. Adjustments may need to be made to the zone and calibration
of the compass.
OPEN
GARAGE
LAMPMODELAMP
73¡ NW
Controls and features
94
Page 96 of 288
Compass calibration adjustment
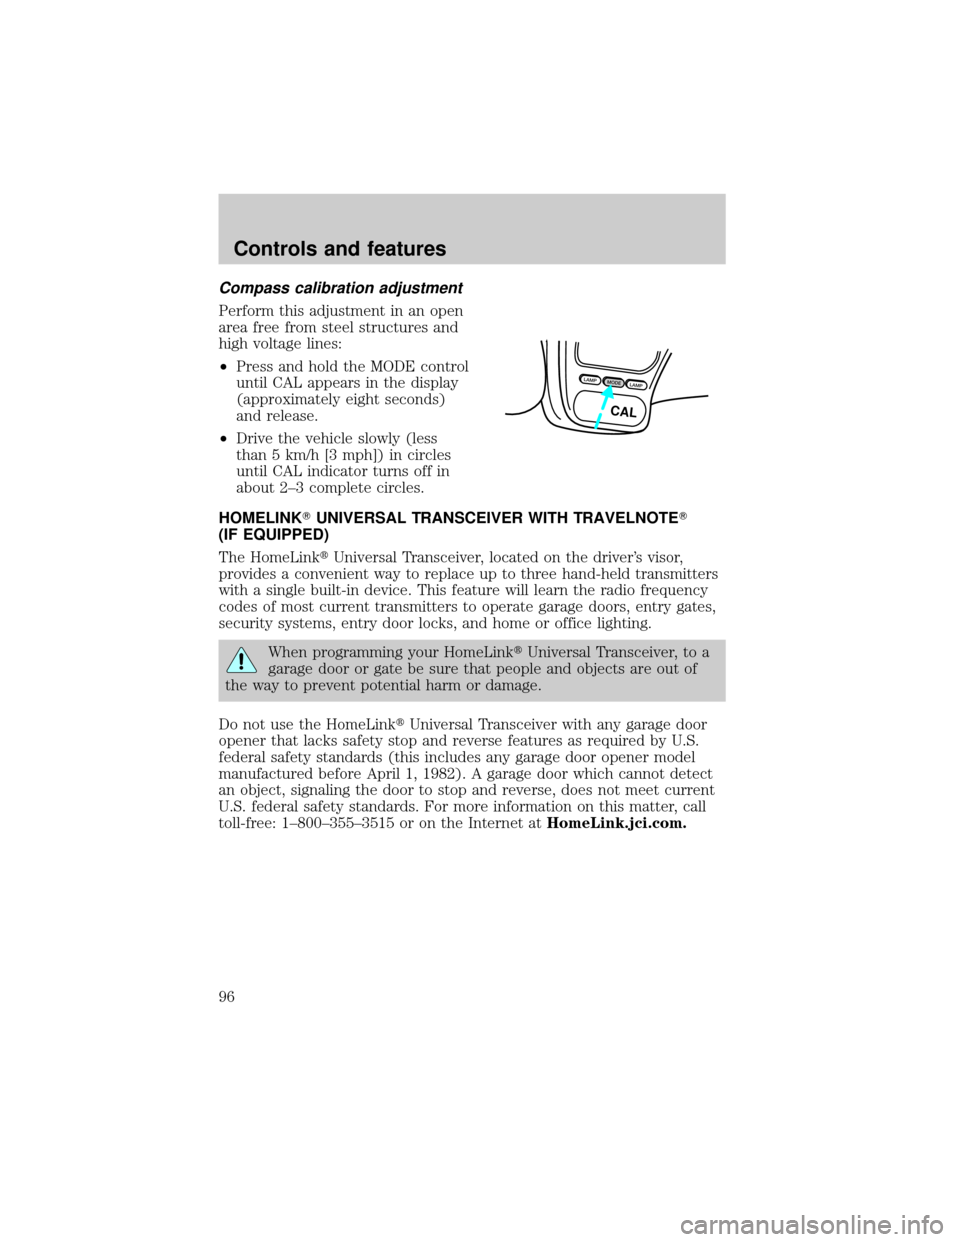
Perform this adjustment in an open
area free from steel structures and
high voltage lines:
²Press and hold the MODE control
until CAL appears in the display
(approximately eight seconds)
and release.
²Drive the vehicle slowly (less
than 5 km/h [3 mph]) in circles
until CAL indicator turns off in
about 2±3 complete circles.
HOMELINKTUNIVERSAL TRANSCEIVER WITH TRAVELNOTET
(IF EQUIPPED)
The HomeLinktUniversal Transceiver, located on the driver's visor,
provides a convenient way to replace up to three hand-held transmitters
with a single built-in device. This feature will learn the radio frequency
codes of most current transmitters to operate garage doors, entry gates,
security systems, entry door locks, and home or office lighting.
When programming your HomeLinktUniversal Transceiver, to a
garage door or gate be sure that people and objects are out of
the way to prevent potential harm or damage.
Do not use the HomeLinktUniversal Transceiver with any garage door
opener that lacks safety stop and reverse features as required by U.S.
federal safety standards (this includes any garage door opener model
manufactured before April 1, 1982). A garage door which cannot detect
an object, signaling the door to stop and reverse, does not meet current
U.S. federal safety standards. For more information on this matter, call
toll-free: 1±800±355±3515 or on the Internet atHomeLink.jci.com.
LAMPMODELAMP
CAL
Controls and features
96