Page 8 of 280
D
LHLH
EFCHBRAKEPRND2CRUISE DOOR
AJAR
SELECT/RESET
THEFT
FUEL DOOR
0MPHRPMX1000km/h
20406080
00
20
40
60
ON
OFFRES
SET
ACCEL
COAST
D
PEDALS
Headlamp
control
(pg. 21)Instrument panel
dimmer switch
(pg. 22)Instrument cluster
(pg. 10)
Driver air bag
(pg. 128)
Speed control
(pg. 69)
Turn signal control
(pg. 68)
Windshield wiper/washer control
(pg. 74) Hood release
(pg. 202)
Parking brake
release
(pg. 154) Power adjustable
foot pedals
(pg. 23)
Rear window
defroster control
(pg. 23)
Instrumentation
8
Page 12 of 280

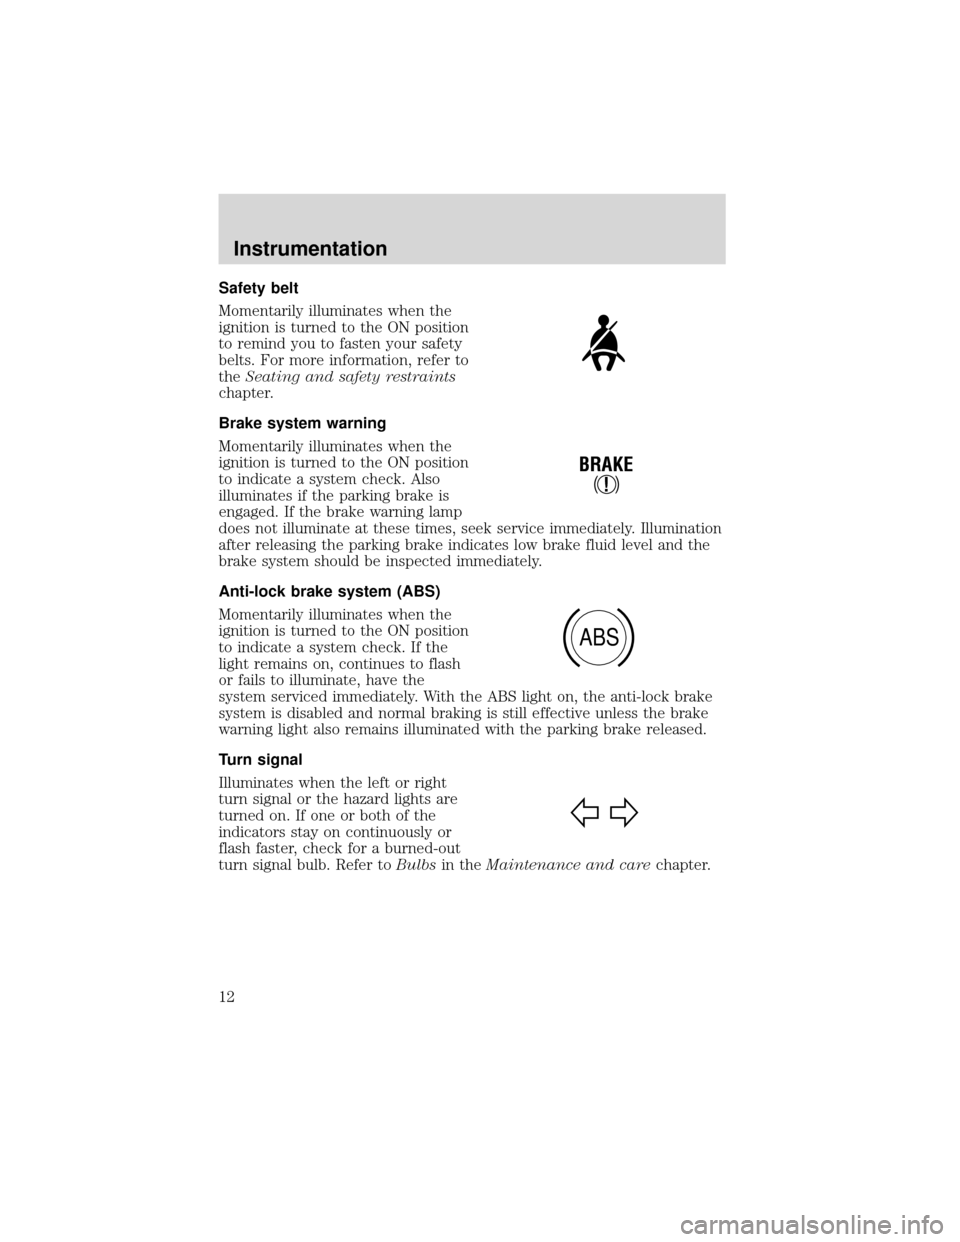
Safety belt
Momentarily illuminates when the
ignition is turned to the ON position
to remind you to fasten your safety
belts. For more information, refer to
theSeating and safety restraints
chapter.
Brake system warning
Momentarily illuminates when the
ignition is turned to the ON position
to indicate a system check. Also
illuminates if the parking brake is
engaged. If the brake warning lamp
does not illuminate at these times, seek service immediately. Illumination
after releasing the parking brake indicates low brake fluid level and the
brake system should be inspected immediately.
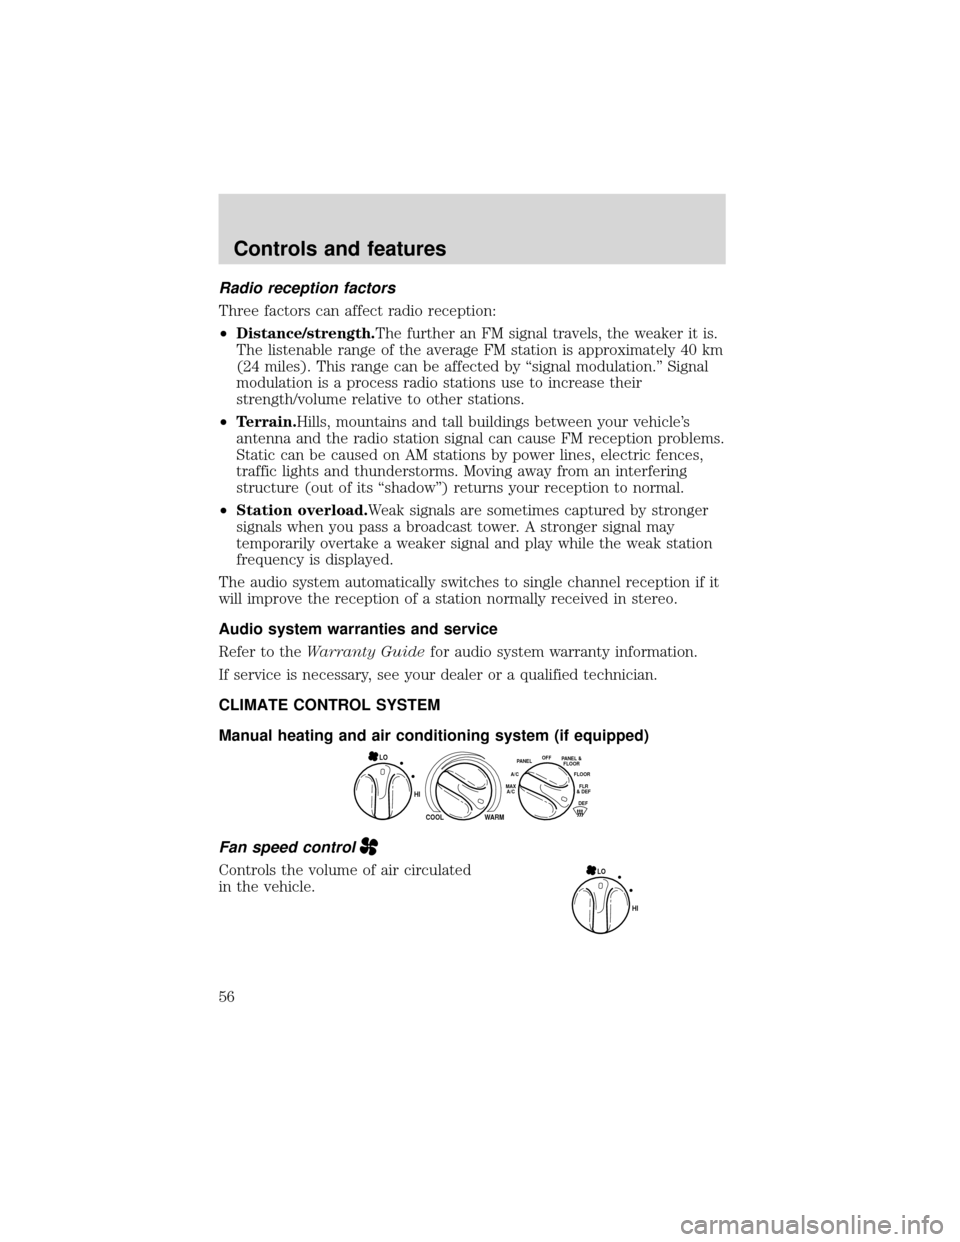
Anti-lock brake system (ABS)
Momentarily illuminates when the
ignition is turned to the ON position
to indicate a system check. If the
light remains on, continues to flash
or fails to illuminate, have the
system serviced immediately. With the ABS light on, the anti-lock brake
system is disabled and normal braking is still effective unless the brake
warning light also remains illuminated with the parking brake released.
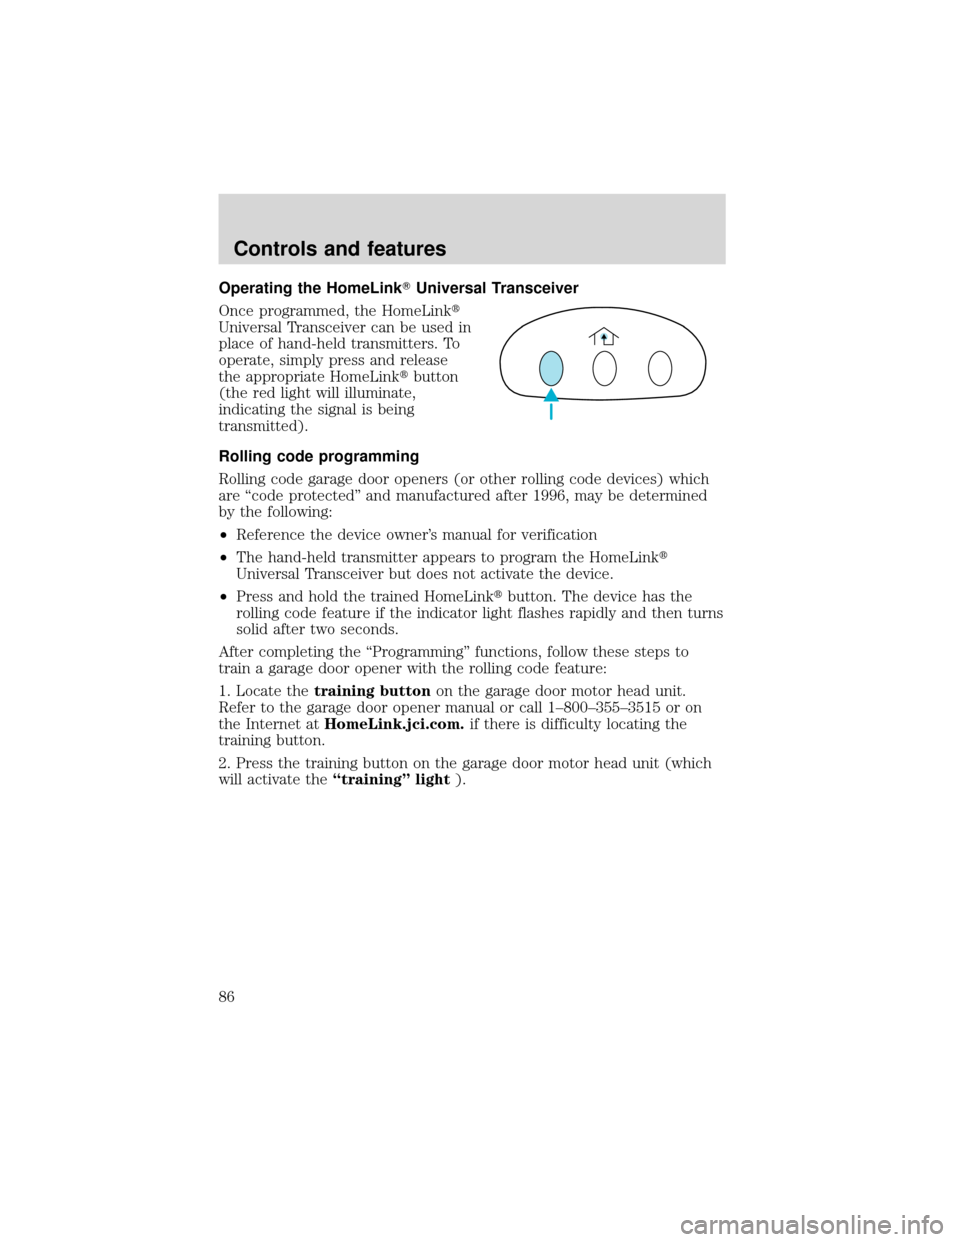
Turn signal
Illuminates when the left or right
turn signal or the hazard lights are
turned on. If one or both of the
indicators stay on continuously or
flash faster, check for a burned-out
turn signal bulb. Refer toBulbsin theMaintenance and carechapter.
!
BRAKE
ABS
Instrumentation
12
Page 37 of 280

Setting the clock with radio data system (RDS) feature
Press the RDS control until SELECT
HOUR or SELECT MINS is
displayed.
Use the SEL control to manually set
the time.
•Press
to increase
hours/minutes.
•Press
to decrease
hours/minutes.
Digital signal processing (if equipped)
The digital signal processing (DSP)
feature allows you to change the
signal mode to suit your listening
tastes.
These effects will change the sound quality and may need to be adjusted
based upon the program material to suit your listening needs.
Press the control to turn the feature on or off.
Use the SEL control to select the
desired signal mode (the selected
mode will appear in the display).
The following signal modes can be
selected:
•JAZZ CLUB—jazz club with
clearly reflected sounds.
•HALL—rectangular concert hall capacity of about 2 000
•CHURCH—church with a high vault.
•STADIUM—outdoor stadium with a capacity of about 30 000.
•NEWS—“voice-only”type of sound with a limited audio band.
Press the DSP control until one of
the following appears:
•ALL SEATS
•DRIVER SEAT
•REAR SEATS
RDSDSP
SEL
RDSDSP
SEL
RDSDSP
Controls and features
37
Page 56 of 280

Radio reception factors
Three factors can affect radio reception:
•Distance/strength.The further an FM signal travels, the weaker it is.
The listenable range of the average FM station is approximately 40 km
(24 miles). This range can be affected by“signal modulation.”Signal
modulation is a process radio stations use to increase their
strength/volume relative to other stations.
•Terrain.Hills, mountains and tall buildings between your vehicle’s
antenna and the radio station signal can cause FM reception problems.
Static can be caused on AM stations by power lines, electric fences,
traffic lights and thunderstorms. Moving away from an interfering
structure (out of its“shadow”) returns your reception to normal.
•Station overload.Weak signals are sometimes captured by stronger
signals when you pass a broadcast tower. A stronger signal may
temporarily overtake a weaker signal and play while the weak station
frequency is displayed.
The audio system automatically switches to single channel reception if it
will improve the reception of a station normally received in stereo.
Audio system warranties and service
Refer to theWarranty Guidefor audio system warranty information.
If service is necessary, see your dealer or a qualified technician.
CLIMATE CONTROL SYSTEM
Manual heating and air conditioning system (if equipped)
Fan speed control
Controls the volume of air circulated
in the vehicle.
HI
COOL
WARM
O
FFPANELFLOO
R
DEFFLR
& DEF A/C
M
AX
A/CPANEL &
FLOO
R
LO
HI LO
Controls and features
56
Page 68 of 280
POSITIONS OF THE IGNITION
1. ACCESSORY, allows the electrical
accessories such as the radio to
operate while the engine is not
running.
2. LOCK, locks the steering wheel,
automatic transmission gearshift
lever and allows key removal.
3. OFF, shuts off the engine and all
accessories without locking the
steering wheel.
4. ON, all electrical circuits operational. Warning lights illuminated. Key
position when driving.
5.
START, cranks the engine. Release the key as soon as the engine starts.
TURN SIGNAL CONTROL
•Push down to activate the left
turn signal.
•Push up to activate the right turn
signal.
3
1
2
5
4
Controls and features
68
Page 86 of 280

Operating the HomeLink�Universal Transceiver
Once programmed, the HomeLink�
Universal Transceiver can be used in
place of hand-held transmitters. To
operate, simply press and release
the appropriate HomeLink�button
(the red light will illuminate,
indicating the signal is being
transmitted).
Rolling code programming
Rolling code garage door openers (or other rolling code devices) which
are“code protected”and manufactured after 1996, may be determined
by the following:
•Reference the device owner’s manual for verification
•The hand-held transmitter appears to program the HomeLink�
Universal Transceiver but does not activate the device.
•Press and hold the trained HomeLink�button. The device has the
rolling code feature if the indicator light flashes rapidly and then turns
solid after two seconds.
After completing the“Programming”functions, follow these steps to
train a garage door opener with the rolling code feature:
1. Locate thetraining buttonon the garage door motor head unit.
Refer to the garage door opener manual or call 1–800–355–3515 or on
the Internet atHomeLink.jci.com.if there is difficulty locating the
training button.
2. Press the training button on the garage door motor head unit (which
will activate the“training” light).
Controls and features
86
Page 91 of 280
Signal mirrors (if equipped)
When the turn signal is activated,
the outer portion of the appropriate
mirror housing will blink red.
This provides an additional warning
to other drivers that your vehicle is
about to turn.
Fold-away mirrors
Pull the side mirrors in carefully
when driving through a narrow
space, like an automatic car wash.
CENTER CONSOLE
Your vehicle may be equipped with a variety of console features. These
include:
•Utility compartment
•Cupholders
•Coin holder slots
•Compact disc changer (if equipped)
Use only soft cups in the cupholder. Hard objects can injure you
in a collision.
Rear center console features (if equipped)
The rear center console incorporates the following features:
•utility compartment
•cupholders
Controls and features
91
Page 237 of 280
•Foglamps
•High-mount brakelamp
•Brakelamps
•Parking lamps
•Turn signals
•License plate lamp
•Tail lamps
•Back-up lamps
Do not remove lamp bulbs unless they can be replaced immediately with
new ones. If a bulb is removed for an extended period of time,
contaminants may enter the lamp housings and affect lamp performance.
Replacing headlamp bulbs
1. Make sure that the headlamp control is in the OFF position.
2. Open the hood.
3. At the back of the headlamp, pull
clips rearward and up to release the
headlamp assembly.
4. Slide headlamp assembly forward
and off of guide ribs to expose the
back of the bulb and wiring
connector.
5. Disconnect the electrical
connector from the bulb by pulling
rearward.
6. Remove bulb retainer ring by
turning it counterclockwise, then
slide the ring off the plastic base.
7. Without turning, carefully pull
bulb assembly out of headlamp
assembly.
Maintenance and care
237