Page 19 of 280
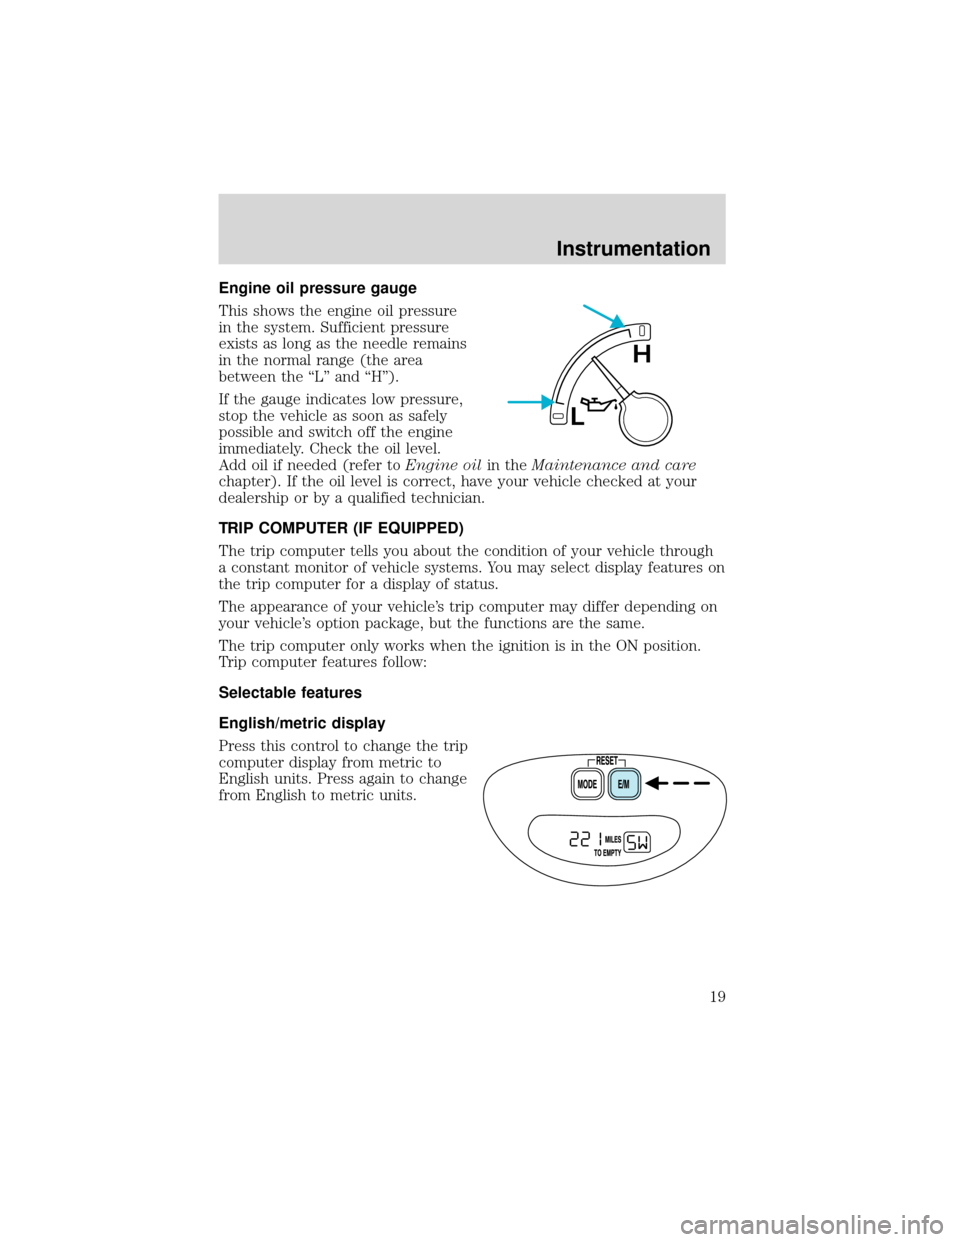
Engine oil pressure gauge
This shows the engine oil pressure
in the system. Sufficient pressure
exists as long as the needle remains
in the normal range (the area
between the“L”and“H”).
If the gauge indicates low pressure,
stop the vehicle as soon as safely
possible and switch off the engine
immediately. Check the oil level.
Add oil if needed (refer toEngine oilin theMaintenance and care
chapter). If the oil level is correct, have your vehicle checked at your
dealership or by a qualified technician.
TRIP COMPUTER (IF EQUIPPED)
The trip computer tells you about the condition of your vehicle through
a constant monitor of vehicle systems. You may select display features on
the trip computer for a display of status.
The appearance of your vehicle’s trip computer may differ depending on
your vehicle’s option package, but the functions are the same.
The trip computer only works when the ignition is in the ON position.
Trip computer features follow:
Selectable features
English/metric display
Press this control to change the trip
computer display from metric to
English units. Press again to change
from English to metric units.
L
H
Instrumentation
19
Page 21 of 280
HEADLAMP CONTROL
Rotate the headlamp control to the
first position to turn on the parking
lamps. Rotate to the second position
to also turn on the headlamps.
High beams
Push forward to activate.
Pull toward you to deactivate.
Flash to pass
Pull toward you to activate and
release to deactivate.
Daytime running lamps (DRL) (if equipped)
Turns the headlamps on with a reduced output. To activate:
•the ignition must be in the ON position and
•the headlamp control is in the OFF or Parking lamps position.
A
Controls and features
21
Page 23 of 280
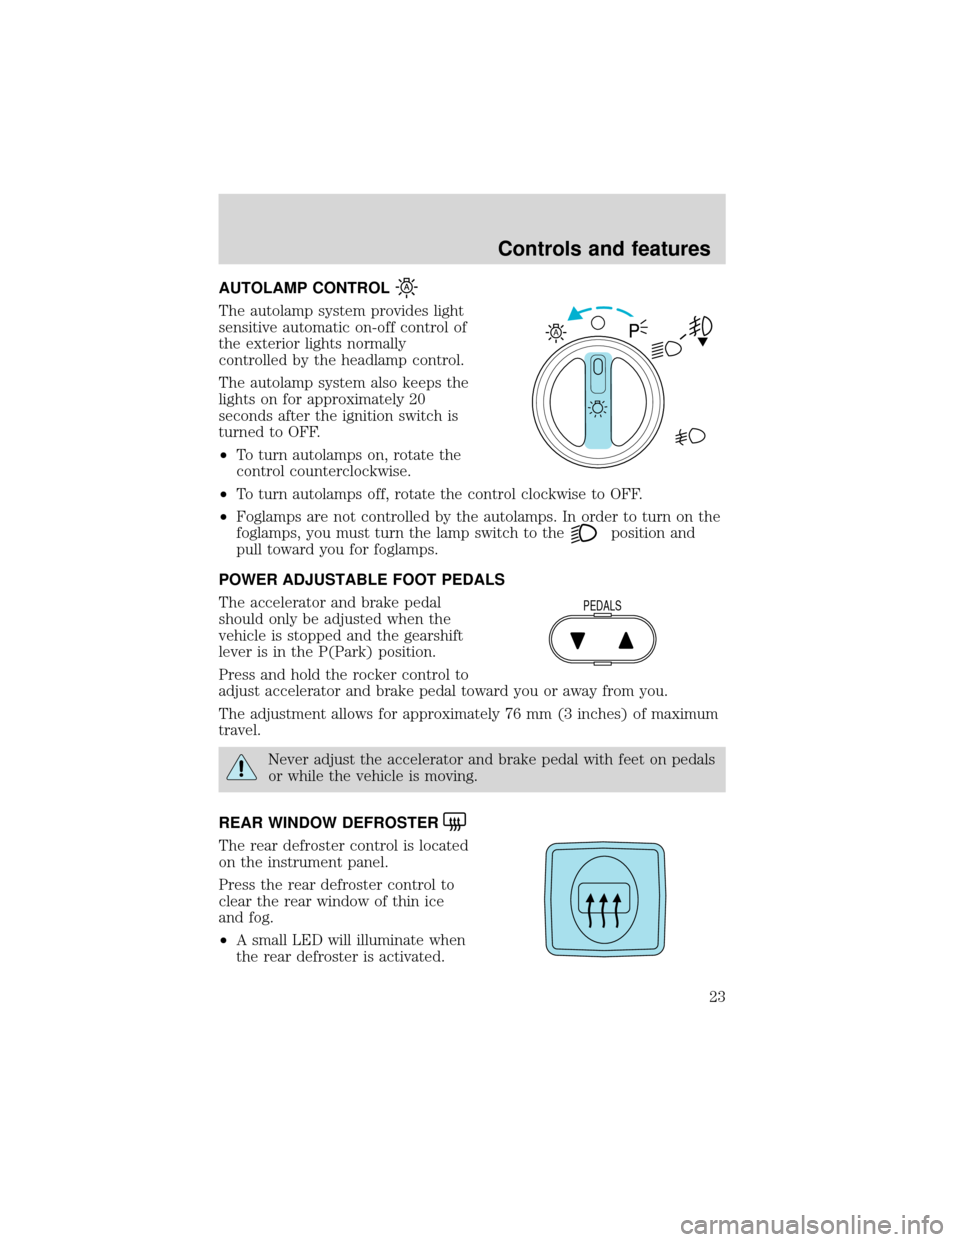
AUTOLAMP CONTROL
The autolamp system provides light
sensitive automatic on-off control of
the exterior lights normally
controlled by the headlamp control.
The autolamp system also keeps the
lights on for approximately 20
seconds after the ignition switch is
turned to OFF.
•To turn autolamps on, rotate the
control counterclockwise.
•To turn autolamps off, rotate the control clockwise to OFF.
•Foglamps are not controlled by the autolamps. In order to turn on the
foglamps, you must turn the lamp switch to the
position and
pull toward you for foglamps.
POWER ADJUSTABLE FOOT PEDALS
The accelerator and brake pedal
should only be adjusted when the
vehicle is stopped and the gearshift
lever is in the P(Park) position.
Press and hold the rocker control to
adjust accelerator and brake pedal toward you or away from you.
The adjustment allows for approximately 76 mm (3 inches) of maximum
travel.
Never adjust the accelerator and brake pedal with feet on pedals
or while the vehicle is moving.
REAR WINDOW DEFROSTER
The rear defroster control is located
on the instrument panel.
Press the rear defroster control to
clear the rear window of thin ice
and fog.
•A small LED will illuminate when
the rear defroster is activated.
A
PEDALS
Controls and features
23
Page 24 of 280
The ignition must be in the ON position to operate the rear window
defroster.
The defroster turns off automatically after 10 minutes or when the
ignition is turned to the OFF position. To manually turn off the defroster
before 10 minutes have passed, push the control again.
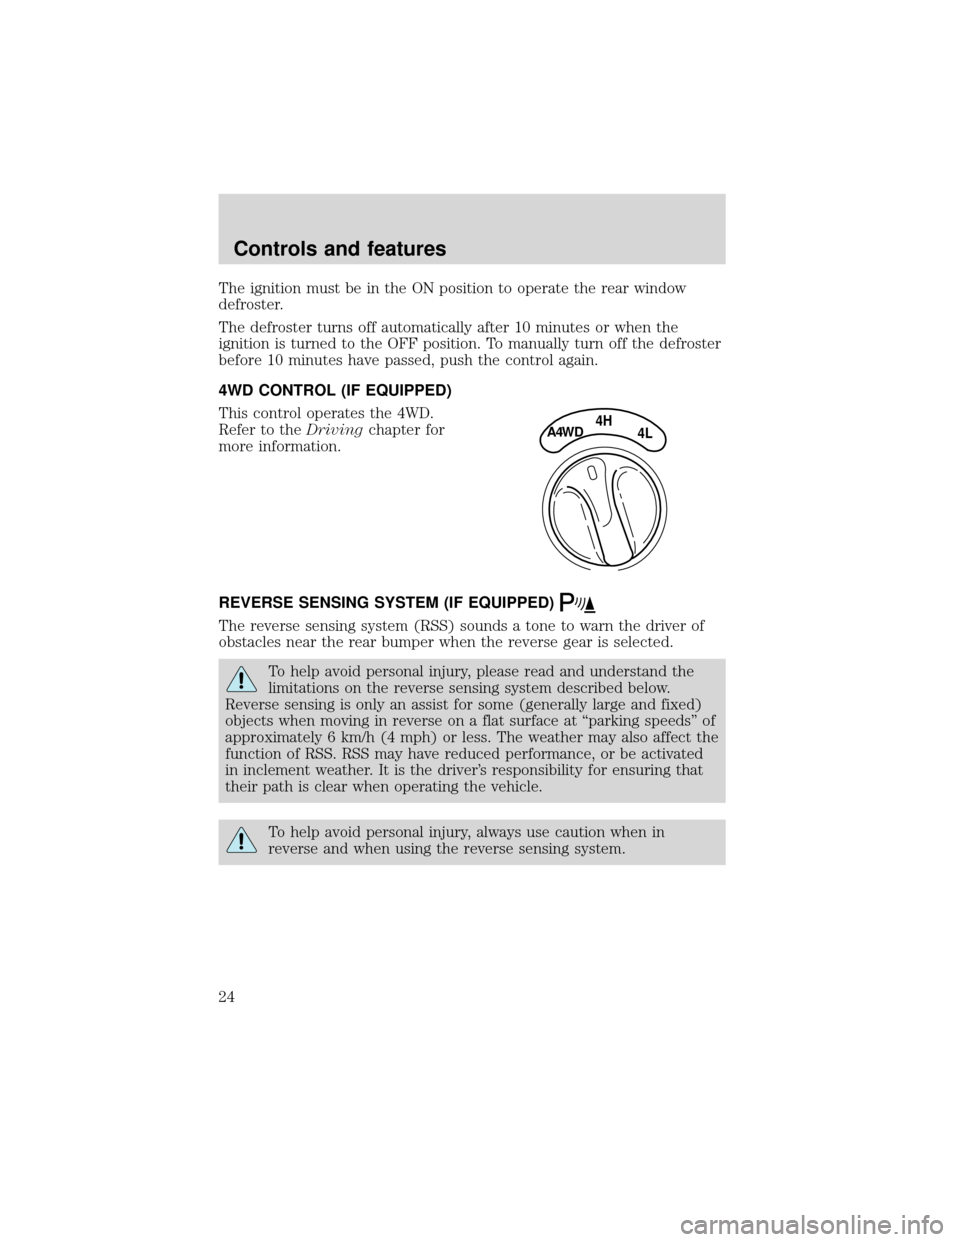
4WD CONTROL (IF EQUIPPED)
This control operates the 4WD.
Refer to theDrivingchapter for
more information.
REVERSE SENSING SYSTEM (IF EQUIPPED)
The reverse sensing system (RSS) sounds a tone to warn the driver of
obstacles near the rear bumper when the reverse gear is selected.
To help avoid personal injury, please read and understand the
limitations on the reverse sensing system described below.
Reverse sensing is only an assist for some (generally large and fixed)
objects when moving in reverse on a flat surface at“parking speeds”of
approximately 6 km/h (4 mph) or less. The weather may also affect the
function of RSS. RSS may have reduced performance, or be activated
in inclement weather. It is the driver’s responsibility for ensuring that
their path is clear when operating the vehicle.
To help avoid personal injury, always use caution when in
reverse and when using the reverse sensing system.
4HA4WD4L
Controls and features
24
Page 26 of 280
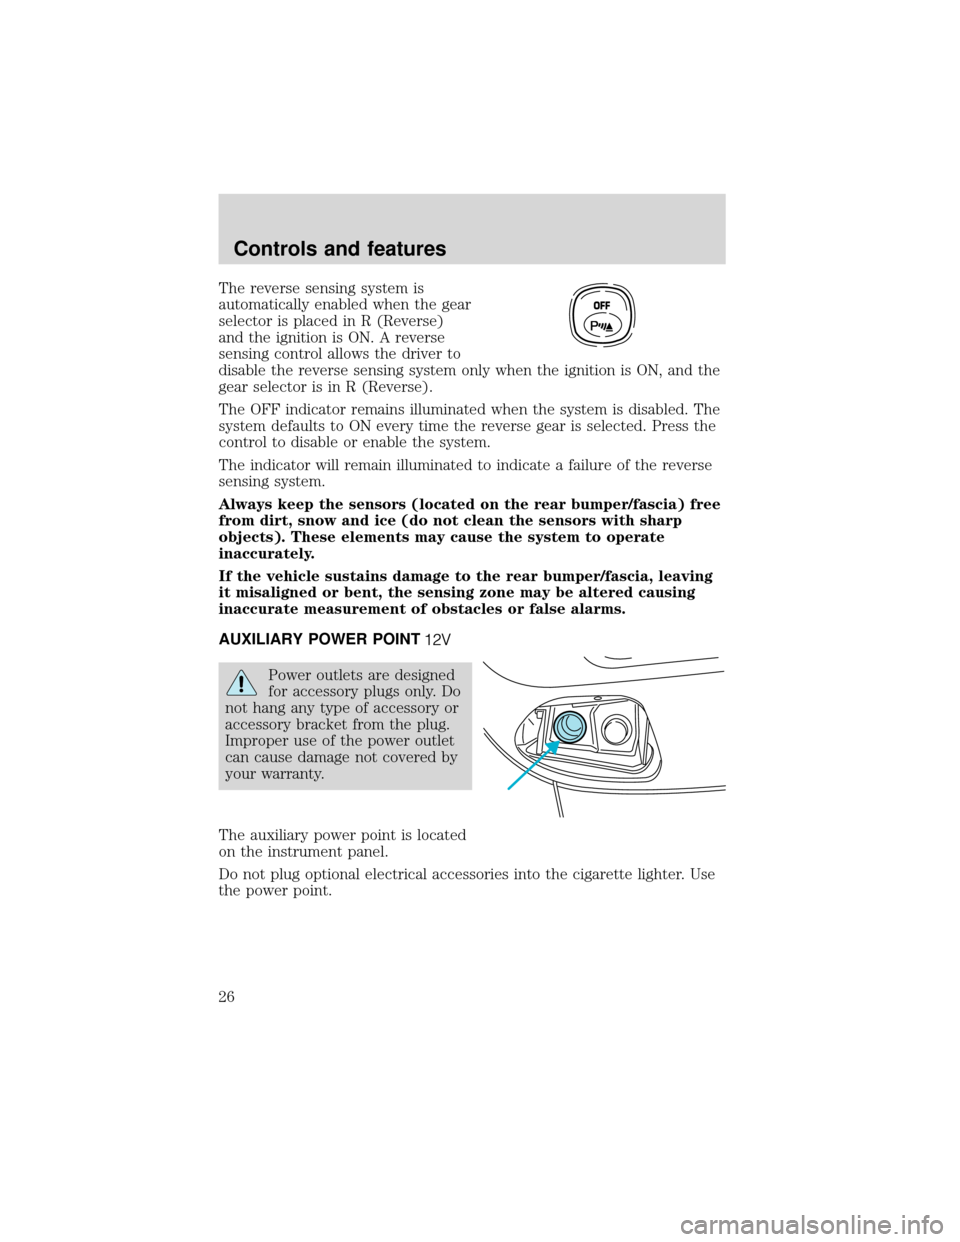
The reverse sensing system is
automatically enabled when the gear
selector is placed in R (Reverse)
and the ignition is ON. A reverse
sensing control allows the driver to
disable the reverse sensing system only when the ignition is ON, and the
gear selector is in R (Reverse).
The OFF indicator remains illuminated when the system is disabled. The
system defaults to ON every time the reverse gear is selected. Press the
control to disable or enable the system.
The indicator will remain illuminated to indicate a failure of the reverse
sensing system.
Always keep the sensors (located on the rear bumper/fascia) free
from dirt, snow and ice (do not clean the sensors with sharp
objects). These elements may cause the system to operate
inaccurately.
If the vehicle sustains damage to the rear bumper/fascia, leaving
it misaligned or bent, the sensing zone may be altered causing
inaccurate measurement of obstacles or false alarms.
AUXILIARY POWER POINT
Power outlets are designed
for accessory plugs only. Do
not hang any type of accessory or
accessory bracket from the plug.
Improper use of the power outlet
can cause damage not covered by
your warranty.
The auxiliary power point is located
on the instrument panel.
Do not plug optional electrical accessories into the cigarette lighter. Use
the power point.
OFF
Controls and features
26
Page 29 of 280
Volume/power control
Press the control to turn the audio
system on or off.
Turn the control to raise or lower
volume.
If the volume is set above a certain level and the ignition is turned off,
the volume will come back on at a“nominal”listening level when the
ignition switch is turned back on.
Speed sensitive volume (if equipped)
With this feature, radio volume automatically changes slightly with
vehicle speed to compensate for road and wind noise.
The recommended level for speed sensitive volume is from level 1
through level 3. Level 0 turns the speed sensitive volume off and level 7
is the maximum setting.
With the radio on, press and hold
the volume control for five seconds,
until the display reads SPEED VOL,
then press:
VOL
PUSH ON
VOL
PUSH ON
VOL
PUSH ON
Controls and features
29
Page 41 of 280
Turn the control to raise or lower
volume.
If the volume is set above a certain level and the ignition is turned off,
the volume will come back on at a“nominal”listening level when the
ignition switch is turned back on.
Speed sensitive volume (if equipped)
With this feature, radio volume changes automatically and slightly with
vehicle speed to compensate for road and wind noise.
The recommended level for speed sensitive volume is from level 1
through level 3. Level 0 turns the speed sensitive volume off and level 7
is the maximum setting.
With the radio on, press and hold
the volume control for five seconds,
then press:
•
to increase volume
compensation
•
to decrease or shut off the
volume compensation
AM/FM select
The AM/FM select control works in
radio, tape and CD changer modes
(if equipped).
VOL
PUSH ON
SEL
FM AM
Controls and features
41
Page 60 of 280
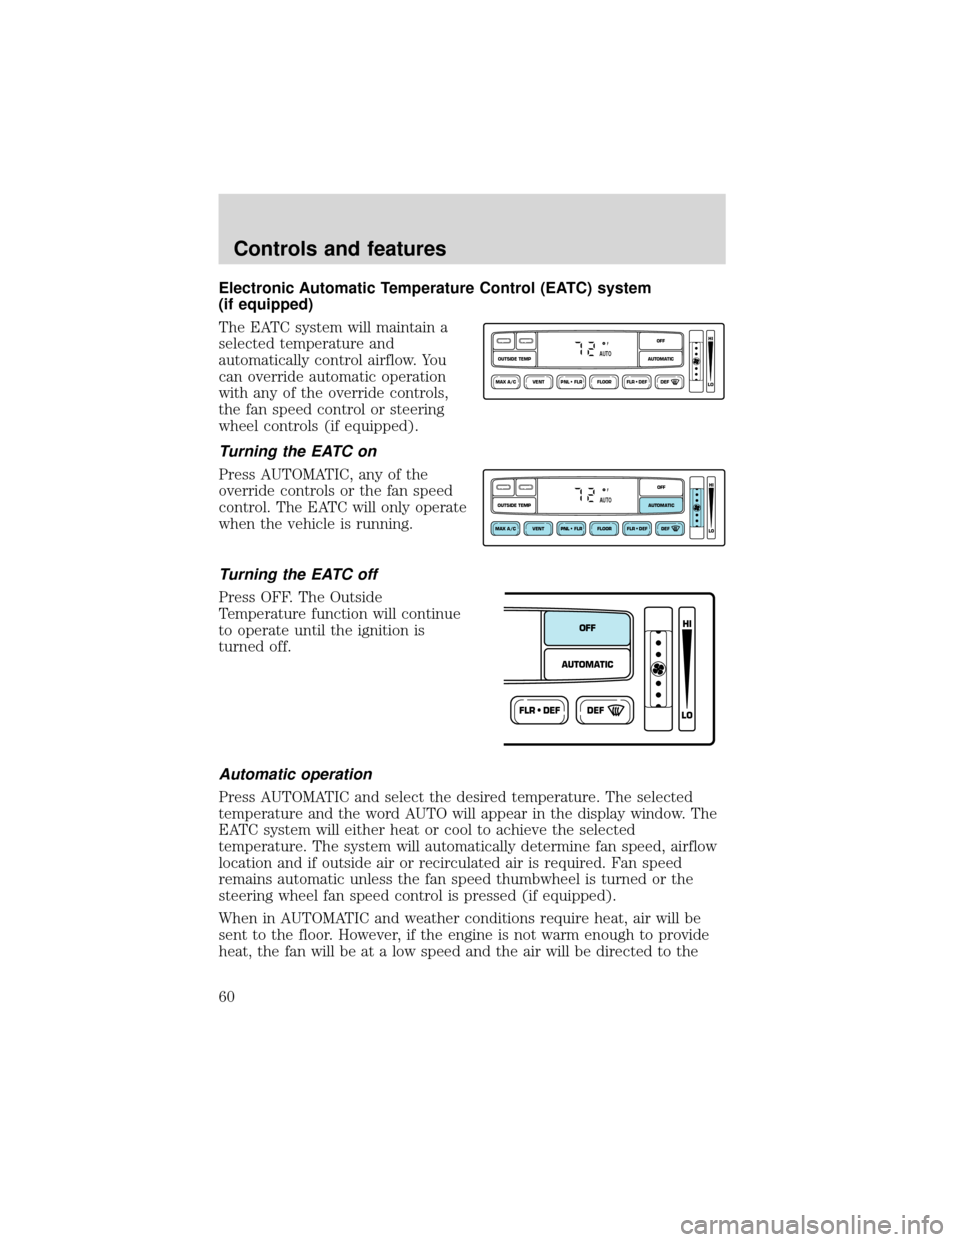
Electronic Automatic Temperature Control (EATC) system
(if equipped)
The EATC system will maintain a
selected temperature and
automatically control airflow. You
can override automatic operation
with any of the override controls,
the fan speed control or steering
wheel controls (if equipped).
Turning the EATC on
Press AUTOMATIC, any of the
override controls or the fan speed
control. The EATC will only operate
when the vehicle is running.
Turning the EATC off
Press OFF. The Outside
Temperature function will continue
to operate until the ignition is
turned off.
Automatic operation
Press AUTOMATIC and select the desired temperature. The selected
temperature and the word AUTO will appear in the display window. The
EATC system will either heat or cool to achieve the selected
temperature. The system will automatically determine fan speed, airflow
location and if outside air or recirculated air is required. Fan speed
remains automatic unless the fan speed thumbwheel is turned or the
steering wheel fan speed control is pressed (if equipped).
When in AUTOMATIC and weather conditions require heat, air will be
sent to the floor. However, if the engine is not warm enough to provide
heat, the fan will be at a low speed and the air will be directed to the
VENT PNL • FLR FLOOR FLR • DEF DEF
HI
LO
MAX A/C
OUTSIDE TEMP AUTOMATICOFFFAUTO
VENT PNL • FLR FLOOR FLR • DEF DEF
HI
LO
MAX A/C
OUTSIDE TEMP AUTOMATICOFFFAUTO
FLR • DEFDEF
HI
LO
AUTOMATICOFF
Controls and features
60